
YAY! SBC Fest starts TODAY at 10 AM EST! I've got my calendar blocked off and I'm ready to spend the day crafting along and taking in all the inspiration! Whether you love cardmaking, scrapbooking, mixed media, or clean and simple projects, you're sure to find something to inspire your next project!

SBC Fest begins each day at 7 AM PST / 10 AM EST and will end each day around 12:30 PM PST / 3:30 PM EST. This is a FREE virtual two-day papercrafting event hosted by Scrapbook.com on their YouTube channel!
While I'm not an instructor this go around, they have an amazing lineup of instructors for the Spring 2023 SBC Fest including: Paige Evans, Dyan Reaveley, Frank Garcia, Becki Adams, Anna Komenda, Joy Baldwin, Laura Evangeline, Jess Crafts, Robin Marshall Clark, Shannon Allor, and Laura Graff for Scrapbook.com! During the event, you'll have the opportunity to chat along with the instructors and fellow crafters, plus enter for some amazing giveaways!
If you haven't grabbed your class supplies , you can still do that or if you have other shopping to do, make sure to use the coupon code SBCFEST2 to save 10% off your order at checkout!
And while you're checking out, make sure to grab the newest Freebie..the Yay Tag Decorative Die Set! This fun die set is perfect for all the Yay moments in your life! I used it to create this tag. Keep reading to check out all the details on how it came together. (And yes that Tim Holtz Tailored Thinlits Die Set that I love so much has made another appearance!)
So now let me share the details on how I put this tag together.

As always, let's begin with the background. For this tag, I took a piece of Distress Watercolor Paper and die cut it using the Yay Tag Die. The tag dies is 2.375 x 4.75 inches. I then embossed it using the Sunburst A2 Coverplate Die. If you didn't know, you can emboss with any die you have, you just need a silicone mat. I used this technique recently in a card I created using the new Lost Shadow Distress Ink. I share how to emboss with a die in this Blog Post or you can also watch this Video.
After I had embossed the tag, I did some ink smooshing with some Brushed Corduroy, Frayed Burlap and Fossilized Amber Distress Oxide Ink, drying in between each color. Distress Oxide inks tend to build up layers of color instead of blending together which makes for a wonderful effect. Once dry, I inked the edges of the tag with Walnut Stain Distress Ink and set it to the side to work on the focal point.
I began by first embossing a piece of Black Kraft Stock using the Tim Holtz Woven 3D Texture Fade Embossing Folder. I then used this to die cut the top hat and jacket from the Tim Holtz Tailored Thinlits Die Set and the yay from the Yay Tag Die Set. I used a Distress Sanding Disk to gently sand off a bit of the black paper to reveal the kraft core. If you don't have one of these, you can use a piece of sand paper.

DESIGNER TIP: With the Tim Holtz Tailored Thinlits Die Set each piece is grouped together on one die. For example, all of the layers to create the top hat are on one die. To cut out the different layers from different papers, simply trim the paper close to the size of that part of the die and use a piece of Mint Tape to hold it in place as you run it through your die cutting machine. This will prevent you from wasting paper and die cutting some of the pieces that you won't use because of the color or type of paper.

Next, I used a piece of printer paper to cut out the shirt. I find this thinner paper folds nicely to create the shirt collar. Finally, I die cut the band on the hat, the tie and the hole reinforcer on the tag from a piece of paper from the Sunny Lane A2 Paper Pad. Once the die cutting was completed, I inked the edges with Walnut Distress Stain and adhered the layers together using Distress Collage Medium.
To finish off the sentiment, I cut the shadow layer from a piece of paper from the Playful A2 Paper Pad. I then adhered the yay sentiment to the shadow layer, and inked the edges with Walnut Distress Stain.
I then used double sided foam adhesive to adhere the die cuts to the tag to create some dimension. For the final touch, I added a bit of ribbon from my stash to the tag.

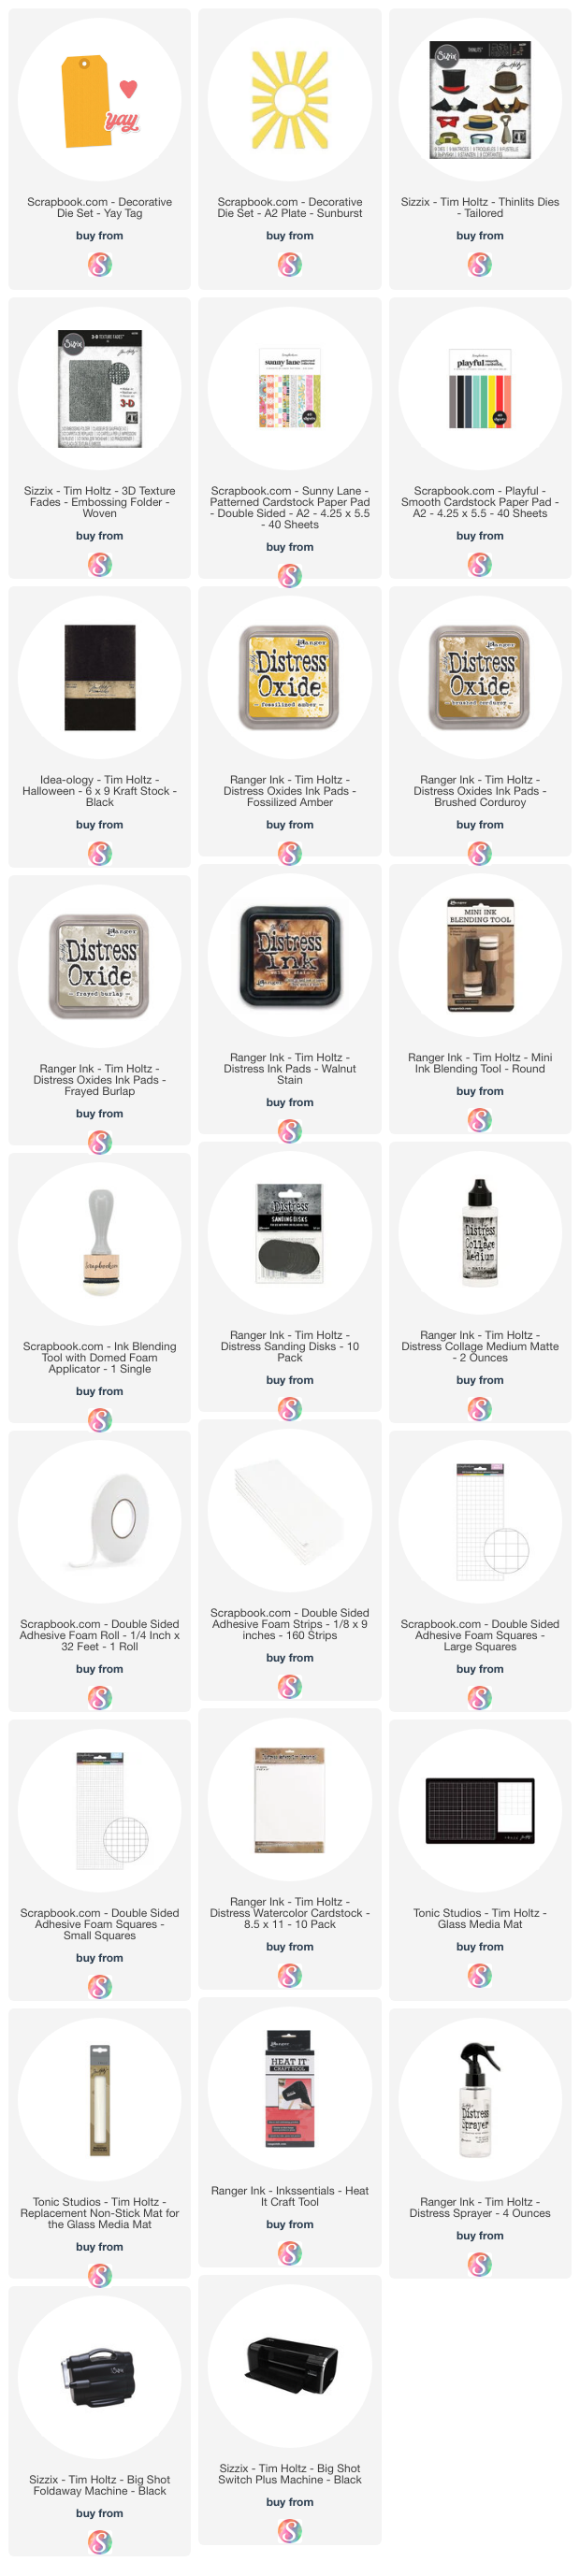
SUPPLIES
Below you can find the products I used to create this card along with compensated affiliate links to Scrapbook.com. These links are at absolutely no cost to you. When you shop through the links below, I receive a small commission from Scrapbook.com. These links are at absolutely no cost to you and the commission I receive helps me cover the costs of my blog and other expenses, which allows me to continue to provide you with FREE inspiration and tutorials. If you want to learn more about what an affiliate link is, you can see my full affiliate and product disclosure statement here. Thank you so much for your love and support!


No comments
Every time you smile at someone, it is an action of love, a gift to that person, a beautiful thing. ~Mother Teresa
HUGS!
JULIANA