In this video, I'm sharing some simple and fun Distress Ink techniques you can use with stamps and embossing folders to create custom backgrounds and embellishments for your cards.
For today’s project, I’m playing with stamps and stencils from the Tim Holtz Stampers Anonymous Spring Curated Collection. This collection is filled with spring and Easter-themed designs, and while the images themselves aren’t brand new—they were released in past seasons—they might be new to you.
Stampers Anonymous never retires any of their stamp or stencil designs, which means these gems are always available on their website. But since many of them came out before I became a full-on Tim Holtz fan, most of these designs feel brand new to me too! I was only familiar with a couple of the stamp sets and stencils—so discovering the rest felt like finding hidden treasures.
Please feel free to use products from your stash to recreate something similar. However, if you are interested in any of the products I’m using, you can find the supply list with links down below. Using these links does not cost you anything extra and it helps support my business. It also allows me to continue offering free content and keep my class costs low. I appreciate your support!
IT'S ALL PERSPECTIVE CARD

You can either watch the video below or head over to my YouTube Channel HERE to check it out.
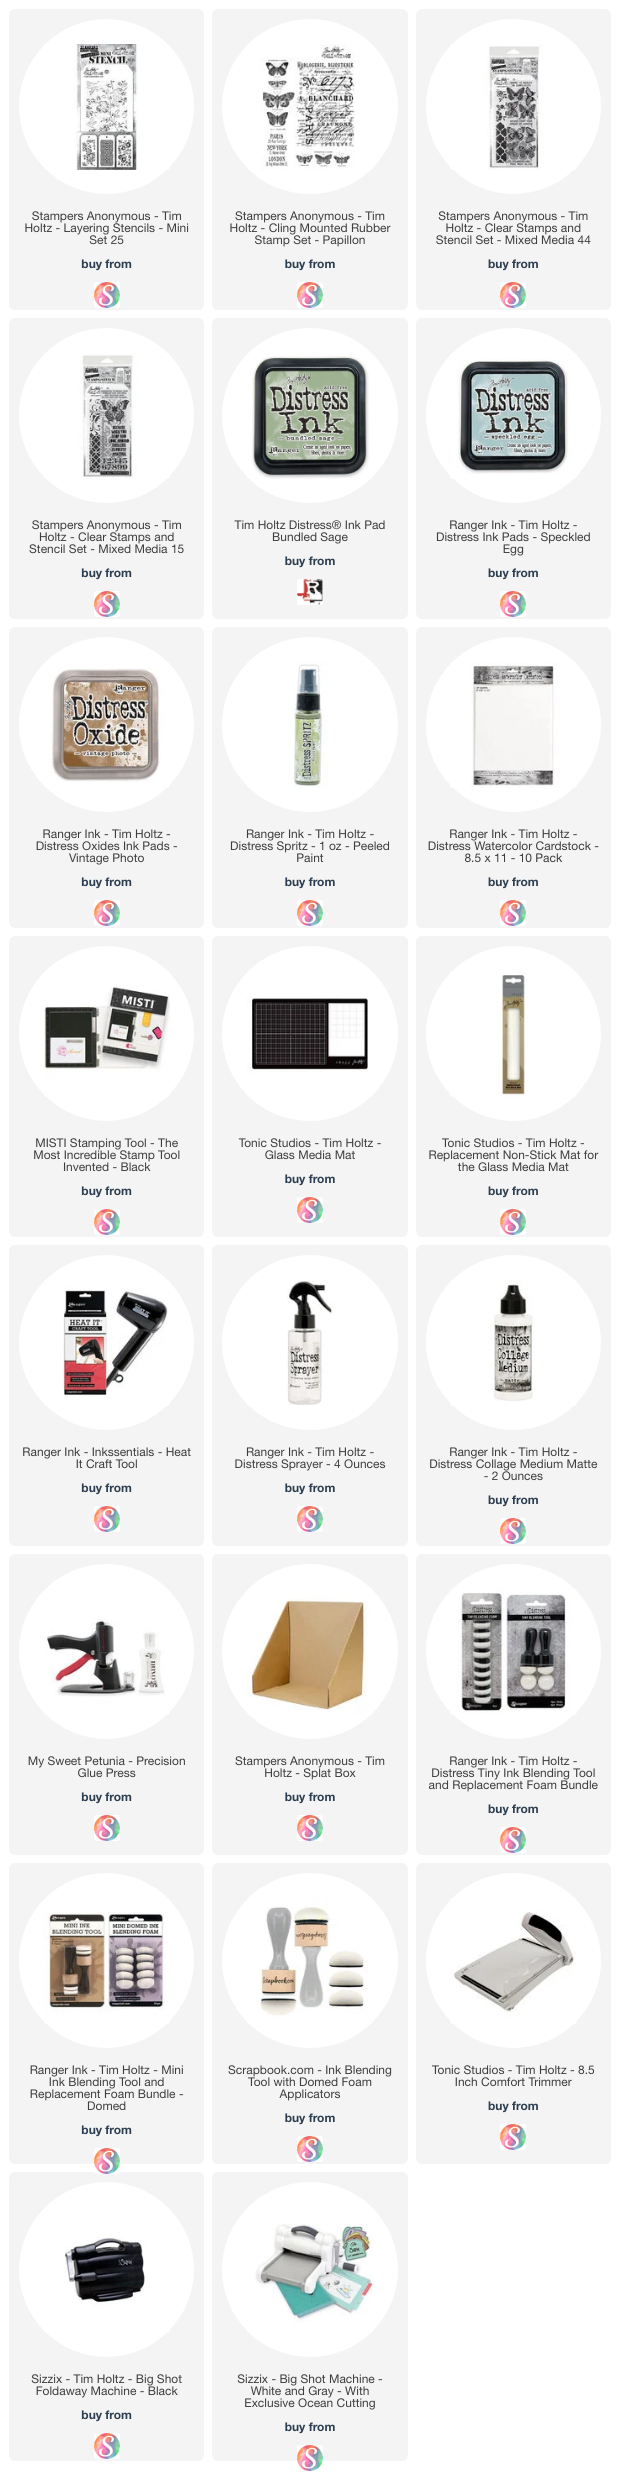
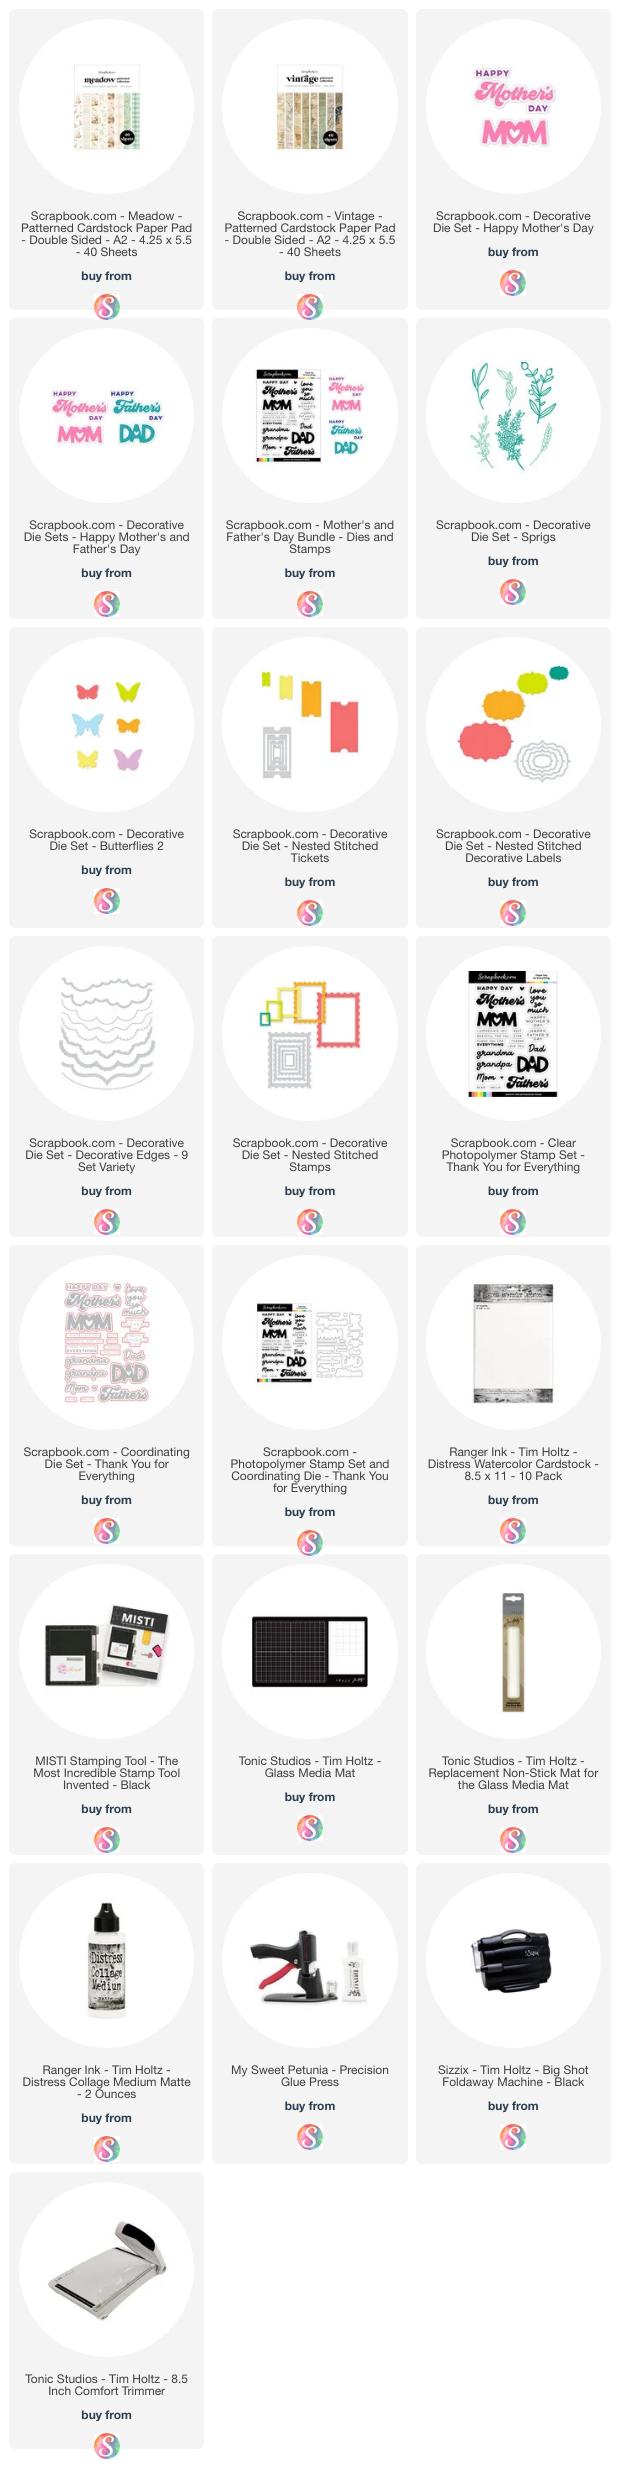
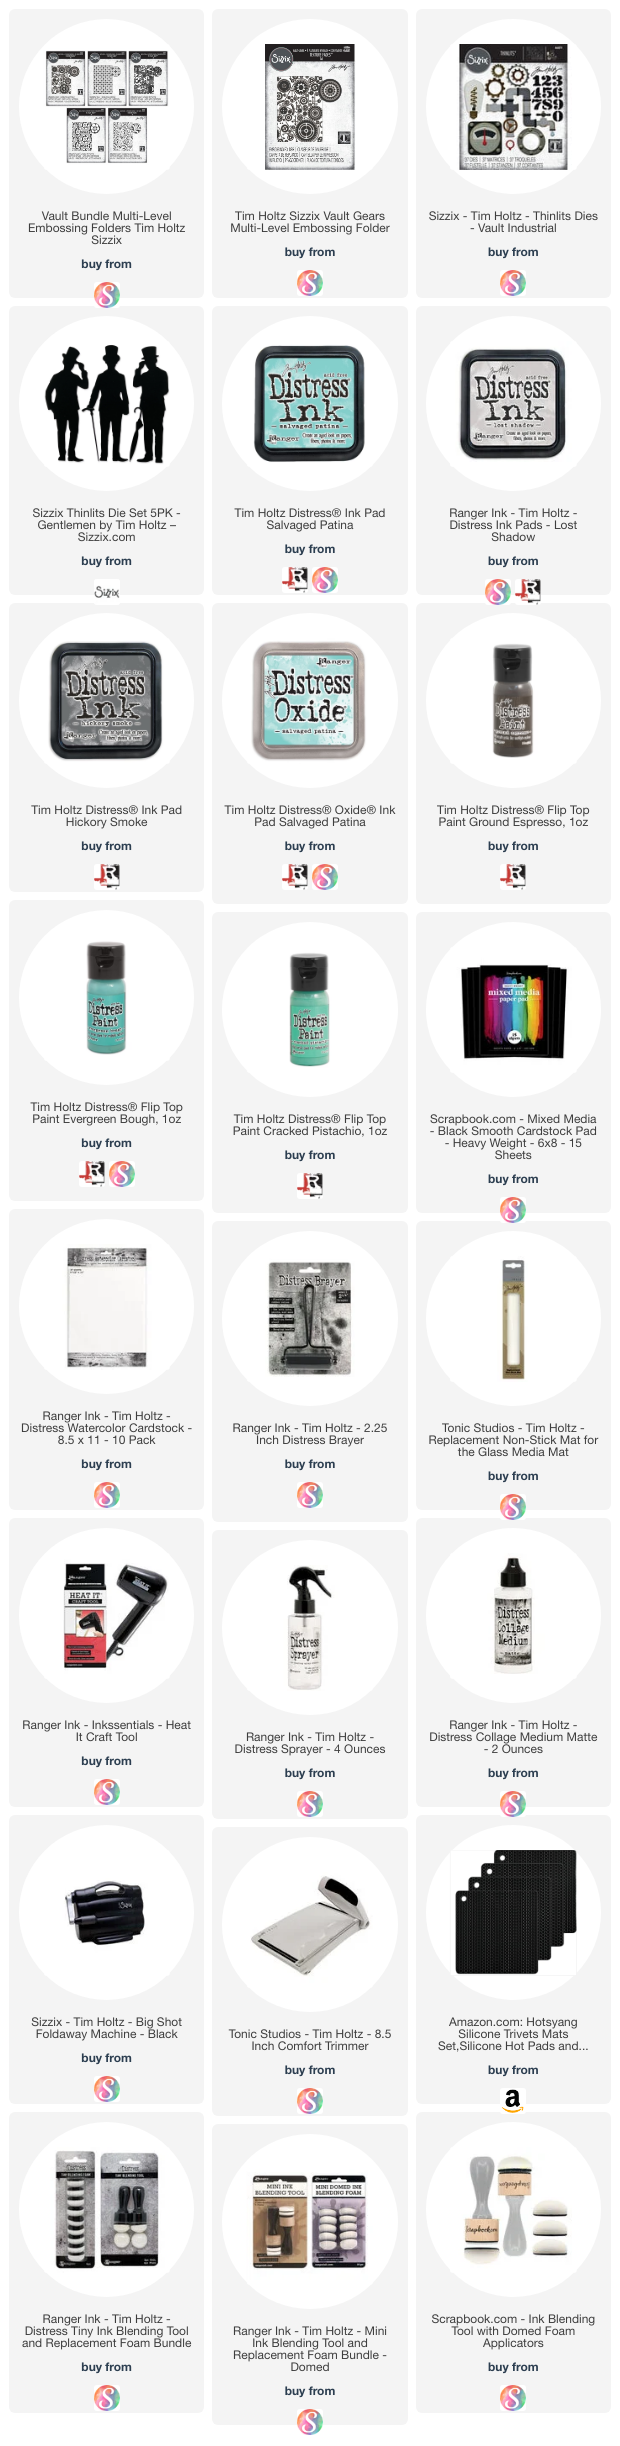
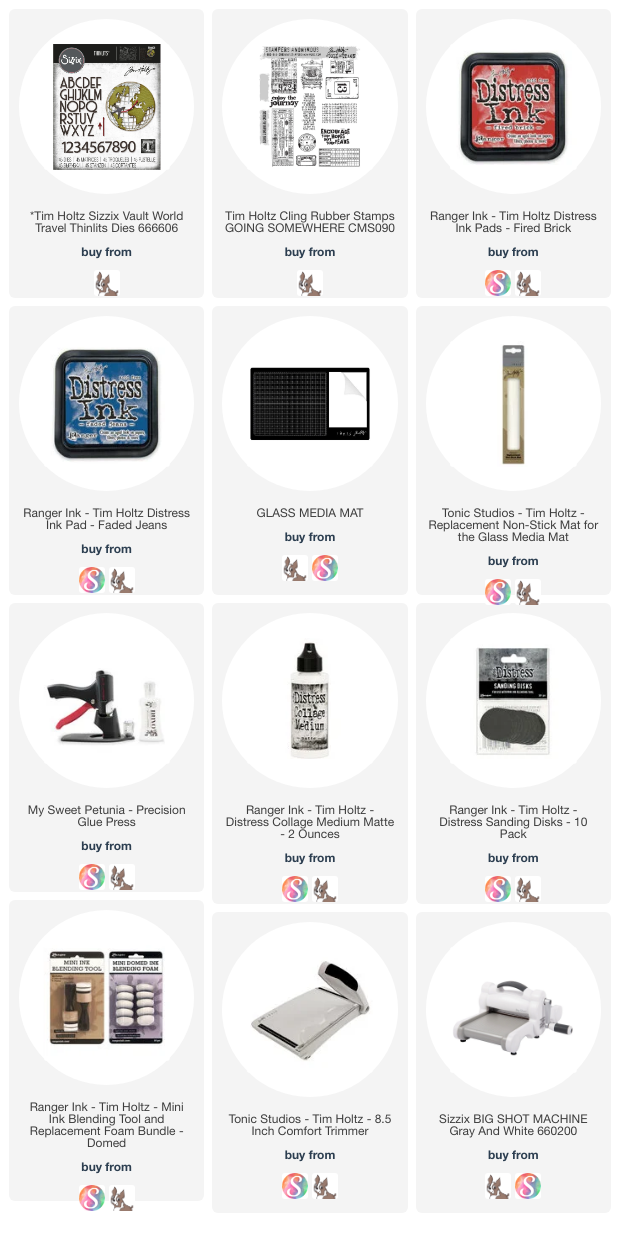
SUPPLIES
Below you can find the supplies I used to create this card and the swatches. When you shop through those links and whether you purchase that exact item or something else entirely, you’re supporting me at no extra cost to you. The commission I receive helps me cover the costs of my blog and other expenses, and allows me to continue to provide you with FREE inspiration and tutorials. If you want to learn more about what an affiliate link is, you can see my full affiliate and product disclosure statement here. Thank you so much for your love and support!