Showing posts with label Halloween. Show all posts

Tim Holtz Sizzix Colorize + Accessories | Vintage Halloween Tag

If you love Halloween as much as I do, this one is for you! I am so excited to share this mixed media Halloween tag I created using the brand new Sizzix Colorize + Accessories collection from Tim Holtz — and this project was actually featured in Tim's live release party on YouTube!

Hocus Pocus Winifred The Zebra Halloween Tag by Juliana Michaels featuring Tim Holtz Sizzix Winifred Colorize

If you missed the live, you can head over to his channel and watch the replay — the inspiration was absolutely incredible and so worth your time. This release brought back the beloved Colorize animal characters in their original size AND in a smaller Mini size, perfect for tags, cards, and smaller projects, plus two new Accessories die sets in both large and small sizes. The accessories are a total game changer — hats, scarves, masks, party hats, witch hats, and so much more — giving you endless ways to customize these characters for any season or occasion. Halloween? Christmas? Birthdays? You can dress them for anything!

For my project I chose the Mini Winifred the zebra, and of course she had to be dressed for Halloween. I used the Winifred Mini Colorize die along with the Accessories dies to give her a witch hat, a mask, and a trick-or-treat bucket. She is absolutely perfect for the season!

The background was created using the Tim Holtz Moon Mask with Distress Oxide inks — I love how the moody nighttime sky came together with that gorgeous full moon. For coloring the die cut pieces, I reached for my Distress Paints instead of my usual Distress Inks. I am so glad I did! The paint is much more durable during assembly — no worrying about wet fingers, inky hands, or liquid adhesive messing up your beautifully colored pieces while you're layering everything together. It's a trick I'll be using from now on when I want to custom color my die cuts!

I finished the tag off with Tim Holtz ephemera, some stitching, trim along the bottom, the "Just a Bunch of Hocus Pocus" sentiment, and the clip at the top. This is made on a Tim Holtz Etc Tag which is a sturdy board material, so this piece works beautifully as a home decor item — perfect for displaying all through the Halloween season!

I'd love to know — did you watch Tim's live release? Which character are you most excited to create with? Let me know in the comments!

Supplies

Below you will find links to the supplies I used to create this project. When you shop through these links—whether you purchase that exact item or something else entirely—you're supporting me at no extra cost to you. The commission I receive helps me cover the costs of my blog and other expenses, and allows me to continue providing you with FREE inspiration and tutorials. If you want to learn more, you can see my full affiliate and product disclosure statement here: https://www.17turtles.com/p/affiliate-and-product-disclosure.html. Thank you so much for your love and support!

Let's Go Ghouls! Creating a Whimsical Halloween Card

I love mixed media, but I'd be lying if I said it wasn't intense sometimes. The layers, the drying time, the beautiful mess of it all. So when I went to work on some projects for Scrapbook.com using their Exclusive Products, I decided to give myself permission to play a little differently. Just papers, die cuts, and the freedom to explore without overthinking it.

Halloween greeting card with whimsical witch illustration wearing coral dress and black hat, surrounded by yellow paper flowers, vintage tickets and stamps, with 'Let's Go Ghouls' sentiment on chevron patterned background

This Halloween card surprised me with how much I enjoyed the process. I'm not typically drawn to cutesy designs, but whimsical? That's different. This witch has character—and working with her as my focal point let me build something playful while keeping my aesthetic: vintage ephemera, intentional layering, and a color palette that feels sophisticated even in a fun theme.

These are unusual Halloween colors (peach, coral, sage) instead of traditional orange and black, but the color palette was made super easy using the Scrapbook.com Oak Lane Patterned Paper Pad.

Why This Card Works

Before I dive into the how, let me share what makes this design successful:

  • The illustrated witch is the star — everything else supports her rather than competing for attention
  • Unexpected color palette — peach, coral, and sage instead of traditional Halloween orange and black (thank you, Oak Lane Paper Pad!)
  • Busy vs. calm balance — the patterned background plays against that solid arched frame
  • Vintage ephemera grounds the whimsy — keeps it from tipping into overly cute territory

The "Character & Whimsy" Principle

Here's what I learned: when working with illustrated die cuts or character stamps, your job is to build a stage, not compete for attention. This means:

  • Choosing backgrounds that enhance without overwhelming
  • Creating frames or spaces that spotlight your character
  • Using repetition (notice those yellow flowers?) to tie elements together
  • Keeping sentiments simple and supportive

With that framework in mind, here's how I built this card:

Building the Card

Step 1: Build Your Star

The witch is the star of this show, so I began by die cutting her various pieces. Feel free to cut pieces from multiple patterns and colors and play around with combinations—I loved mixing patterns for her dress and hat. When it came time to adhere her, I used double-sided foam adhesive to add dimension.

Step 2: Choose Your Sentiment

Early on I came across "Let's Go Ghouls" from the Scrapbook.com Boo Time Stamp set, and it felt perfect—playful enough to support the witch without stealing her thunder.

Step 3: Create The Stage

Once I was happy with how she looked, I began laying out solid colors to go behind her. The Nested Notched Arches became my grounding layer—I knew patterned paper would compete too much here. Then I layered the striped paper behind the solid to create visual movement. Your eye travels up and down those stripes, which works perfectly with the vertical witch figure.

Step 4: Create The Background

At this point I began playing around with the background. I knew I wanted to use the diamond pattern as it had a vintage Halloween feel to the design, and it also wasn't overly busy so as to detract from the focal point. The spider web layer was created using the Scrapbook.com Spiderwebs A2 die. I trimmed off the border to give it a little more texture and openness to the design.

Step 5: Finishing Touches

Next I began adding the florals, again using papers from the Oak Lane Paper Pad and die cutting the various pieces from multiple colors until I was pleased with their arrangement. I used double-sided foam adhesive to give them a little bit of dimension. I then finished it off by tucking in some vintage-style ephemera in the way of some Tim Holtz Tickets and Stamps.

Design Techniques Worth Noting

Creating Depth Without Mixed Media

One of my biggest takeaways from this project? You can create serious dimension with just paper:

  • Layer various colors and patterns to build interest
  • Use foam adhesive strategically—not everywhere, just on key elements that should pop
  • Overlap elements intentionally to create shadows and depth

The Rule of Odd Numbers

Notice those three main yellow flowers? That's not an accident. Three creates visual interest, while odd-numbered groupings feel more organic than even ones. It's a design trick that works every time.

A Different Kind of Creative Energy

Normally, I would have built my own background using stamping, texture paste, stencils, and layers of ink. And honestly? I missed having my stamps and inks in hand—that's my comfort zone.

But this process taught me to trust good patterned paper and thoughtful layering. The Oak Lane Paper Pad did the heavy lifting on color and pattern coordination, which freed me up to focus purely on composition and storytelling. Different energy, but equally satisfying.

Coming Up in This Series

This is the first of four cards I'm sharing using Scrapbook.com Exclusives—each exploring paper-only cardmaking from a different angle:

  • Next: Christmas card — Foundation & Focal Points
  • Then: Love card — Dimension & Movement
  • Finally: Thinking of You — Vintage Vibes

Each card taught me something different about design principles that work across any style, mixed media or not.

Let's Connect!

Ready to create your own? Grab these Scrapbook.com exclusives using the supply list below.

I'd love to hear from you: Do you prefer traditional Halloween colors (orange and black) or something unexpected like these peachy corals? Drop a comment!

If you make this card, please tag me—I absolutely love seeing your versions!

Don't miss the rest of this series! Subscribe to my email newsletter so you never miss a new project, post, or video.

Halloween greeting card with whimsical witch illustration wearing coral dress and black hat, surrounded by yellow paper flowers, vintage tickets and stamps, with 'Let's Go Ghouls' sentiment on chevron patterned background

Supply List

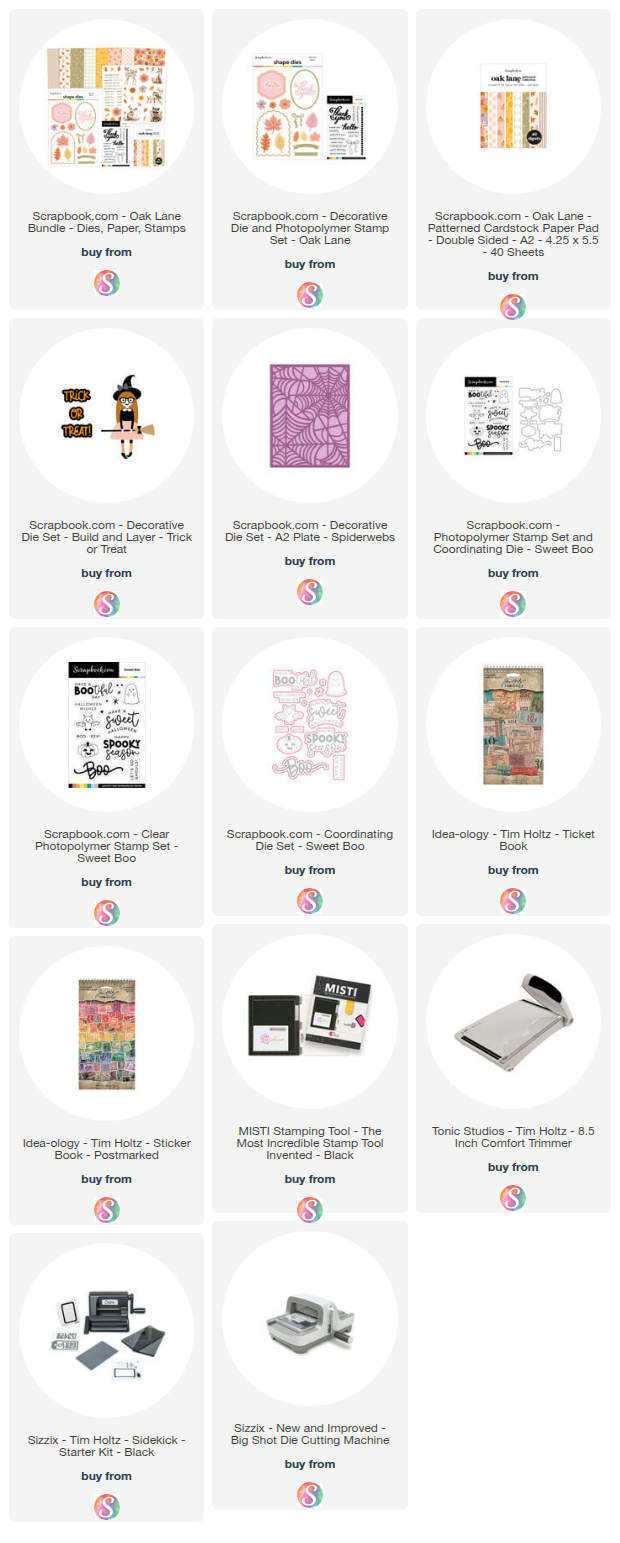
Below you can find the supplies I used to create this card. When you shop through those links—whether you purchase that exact item or something else entirely—you're supporting me at no extra cost to you. The commission I receive helps me cover the costs of my blog and other expenses, and allows me to continue to provide you with FREE inspiration and tutorials. If you want to learn more about what an affiliate link is, you can see my full affiliate and product disclosure statement here. Thank you so much for your love and support!
Caught in a Spider's Web | Mixed Media Halloween Card with Seth Apter Dies and Distress Oxides

Hello there and welcome! Today I'm sharing my second make as part of the Seth Apter Creative Collective, which I am so excited to be part of. This is a group of six creatives hand-picked by Seth to help showcase his latest release of dies and embossing folders from Sizzix.


I absolutely love his style, and while it's quite different from mine, the core elements he uses are SO GOOD for layering and adding texture—two things I love to do!

Using some of the new goodies from his release, I created another Halloween-themed card because, well... Halloween! I just can't get enough of it!

Now let's get into the details!

CREATING THE BACKGROUND


I began with a piece of watercolor cardstock and embossed it using the Grid Graph embossing folder. Next, I applied Distress Oxide Sprays in Wilted Violet, Twisted Citron, Fossilized Amber, and Lucky Clover, then dried it with my heat tool. I rubbed an Archival Ink Pad in Black Soot over the embossed areas, then gave the entire panel a light misting of Distress Spritz in Hickory Smoke for a touch of shimmer and shine.


BUILDING THE LAYERS

For the back layer, I die-cut the Diamond District die from white cardstock, applied embossing ink, and heat embossed it using Seth Apter's Wow Embossing Powder in Amethyst Ice.

Next, I used the Stretchers die set to cut three shapes from white cardstock. I applied Distress Oxide Ink using a brayer in Wilted Violet, Twisted Citron, and Carved Pumpkin.


THE FOCAL POINT


For the main focal point, I used the Tim Holtz Witchcraft die set. I die-cut the witch from black cardstock and heat embossed it using Seth Apter's Wow Embossing Powder in Asphalt. The cat was inked with Distress Oxide Ink in Wilted Violet.


FINISHING TOUCHES


The final touch was the sentiment, stamped using black ink on white cardstock with the Tim Holtz Tiny Text Halloween Stamp Set. I trimmed it into small strips and inked the edges with Distress Ink in Black Soot.

I then adhered all the layers to the card base, and it was complete!

Thanks so much for stopping by, and I hope you enjoyed this bit of Halloween inspiration featuring the latest Seth Apter Sizzix release. The new release is now available from your favorite retailer or Seth Apter's online store HERE.

A Wicked Thing Halloween Card | Seth Apter Sizzix

Seth Apter’s second release with Sizzix is now available, and I’m beyond thrilled to share that I’m part of his Creative Collective Team for this launch! I’ll be sharing two projects using his new collection—starting with today’s card and another coming very soon.

I’ve always loved Seth’s artistic style. His dies feel so organic, with shapes that flow and move in a way that makes them incredibly versatile. They’re perfect for adding texture, dimension, and interest to your projects—and that’s exactly my jam.

Handmade grungy Halloween card featuring a large layered butterfly with purple and glittered wings, a small skull centerpiece, and the sentiment “A Wicked Thing.” The textured background is bright green with embossed, distressed details, and metallic die cut accents.

The new release is now available from your favorite retailer or Seth Apter's online store HERE.


BUILDING THE BACKGROUND

For this first card, I started by embossing white cardstock with the Seth Apter Grid Graph Embossing Folder. To bring the design to life, I rubbed an embossing ink pad over the raised surface, sprinkled on Tim Holtz Twisted Citron Embossing Glaze, and heat set it. Once cool, I brushed black acrylic paint over the embossed piece, let it set for a few seconds, and then wiped away the excess with a damp towel. After it dried, I highlighted the raised areas with a touch of Sizzix Gold Luster Wax for that gorgeous grungy shine.
 

LAYERING WITH DIES

Next came the die cutting. I used the Seth Apter Stretchers dies to cut both purple kraftstock and white cardstock. I lightly sanded the kraftstock to distress it, cut it in half, and adhered it to the background. For the white piece, I heat embossed it in black for bold contrast.

I also cut the circular shape from the Seth Apter Twister die set using rose gold metallic cardstock, then sanded it lightly for texture. These elements formed the layered base for my focal point.
 

CREATING THE FOCAL POINT

The centerpiece of this card is a layered butterfly. I started with the Tim Holtz Tattered Butterfly die (a retired favorite) cut from white cardstock. To add more detail, I ran it through again with one of the speckled designs from Seth’s Paper Cutz 1 die set—this created grungy cut-outs for extra texture.

For the larger butterfly layer, I heat embossed it with Tim Holtz Seedless Preserves Embossing Glaze. For the smaller top layer, I used Seth Apter WOW Amethyst Ice Embossing Powder for a sparkly pop of purple.

The finishing touches included a small skull die cut from the Tim Holtz Vault Coffin Box set (embossed with clear powder for shine) and a stamped sentiment from the Tim Holtz Tiny Text Halloween set, heat embossed in white on black cardstock.


THE FINISHED CARD

And there you have it—layers upon layers of grungy, textured Halloween goodness! Between Seth’s organic die designs and a mix of embossing techniques, this project came together with just the right balance of spooky and stylish.


I can’t wait to share my second project with this release soon—so stay tuned for even more Seth Apter inspiration! In the meantime, I hope this card encourages you to mix, layer, and play with your favorite dies and embossing powders to create something wonderfully grungy of your own.

The new release is now available from your favorite retailer or Seth Apter's online store HERE.

Tim Holtz A5 Embossing Folders | Bigger Size, More Creative Possibilites!

Tim Holtz has just released three new A5 embossing folders—classic designs you may already know and love, now available in a larger A5 size. This new format opens up a whole new world of creative possibilities. You can use them for larger projects like journal covers or home décor, while still enjoying how beautifully they work for handmade cards.

Handmade Halloween card with a grungy embossed background in purple and brown using the Tim Holtz Numbered A5 embossing folder. The card is decorated with a die cut wreath of candy, leaves, and flowers, finished with a bold orange “Trick or Treat” sentiment and white paint splatters. 

For today’s project, I used the Numbered A5 Embossing Folder to create a grungy, colorful background for a Halloween card. Don’t worry if you only have the original size—the techniques I’m sharing work with any embossing folder.


WHAT YOU'LL LEARN

In my tutorial, I’ll walk you through:
  • Adding layered color to embossed paper using Distress Paints
  • Collage stamping to build extra depth and interest
  • Creating a Halloween wreath focal point with layered die cuts
  • Turning die cut candy pieces into sparkly, glossy embellishments using Glossy Accents + Rock Candy Glitter

WATCH THE VIDEO

You can either watch the video below or head over to my YouTube Channel HERE to check it out.


Please feel free to use products from your stash to recreate something similar. However, if you are interested in any of the products I’m using, you can find the supply list with links down below. Using these links does not cost you anything extra and it helps support my business. It also allows me to continue offering free content and keep my class costs low. I appreciate your support!


YEAR ROUND VERSATILITY

While I created a Halloween-themed card, this technique isn’t limited to spooky season. By simply changing your color palette and focal point, you can apply this embossed background technique to projects for any season, holiday, or occasion. Think bright florals for spring, rustic tones for fall, or festive colors for Christmas—the possibilities are endless!


Whether you’re new to embossing folders or just looking for fresh inspiration, I hope this project encourages you to explore the new Tim Holtz A5 embossing folders and discover how versatile they can be in your creative process.

Until next time, stay crafty my friend!

SUPPLIES

Below you can find the supplies I used to create this card. When you shop through those links and whether you purchase that exact item or something else entirely, you’re supporting me at no extra cost to you. The commission I receive helps me cover the costs of my blog and other expenses, and allows me to continue to provide you with FREE inspiration and tutorials. If you want to learn more about what an affiliate link is, you can see my full affiliate and product disclosure statement here. Thank you so much for your love and support!

Wicked Fun Halloween Card with Tim Holtz Mini Distress Oxide

Hello there! I’m thrilled to share that I'm up on the Ranger Ink YouTube channel again and this time I'm sharing some wicked fun cardmaking inspiration featuring the Tim Holtz Distress Oxides. If you aren't aware, Ranger Ink just released the Distress Oxides in mini size. And while they might be mini, they are mighty! They can be used in all the same great ways that you use the regular full size ink pads, but the smaller size has some benefits when it comes to certain techniques, storage and travel. In this video I'm sharing how to use them with stencils, how to stamp with them and how to watercolor with them and these are just some of them many ways you can use them.


You can either watch the video below or head over to the Ranger Ink YouTube Channel HERE to check it out.

🎞️ WATCH THE VIDEO HERE 🎞️

Please feel free to use products from your stash to recreate something similar. However, if you are interested in any of the products I’m using, you can find the supply list with links down below. Using these links does not cost you anything extra and it helps support my business. It also allows me to continue offering free content and keep my class costs low. I appreciate your support!


Thanks so much for stopping by and I hope you enjoy these wicked fun Distress Oxide techniques!

SUPPLIES

Below you can find the supplies I used to create this card. When you shop through those links and whether you purchase that exact item or something else entirely, you’re supporting me at no extra cost to you. The commission I receive helps me cover the costs of my blog and other expenses, and allows me to continue to provide you with FREE inspiration and tutorials. If you want to learn more about what an affiliate link is, you can see my full affiliate and product disclosure statement here. Thank you so much for your love and support!

New Tim Holtz A5 Embossing Folder! Faux Cobblestone + Distress Spray Fall Leaves

Tim Holtz just released two new A5 Embossing Folders, and I couldn’t wait to start creating with them! These larger-sized folders are perfect for bigger projects, but they also work beautifully on standard A2 cards.

Wicked Skull Halloween Card by Juliana Michaels featuring Tim Holtz A5 Embossing Folder Faux Cobblestone and Fall Leaves Spray Ink Techniques

FAUX COBBLESTONE TECHNIQUE

For today’s project, I used one of the new designs to create a faux cobblestone background. With a little Distress Embossing Glaze and Distress Paint, I transformed plain cardstock into a textured, grungy finish that’s perfect for a Halloween card. Of course, this technique would also be amazing for other themes — just switch up your colors!


DISTRESS SPRAY FALL LEAVES

Along with the embossing folder technique, I also shared how to create spray ink panels. These panels are perfect for die cutting fall leaves or adding colorful, layered backgrounds to your Halloween and autumn projects. One of my favorite things about spray inks is how easy it is to customize your color palette to fit the season or mood of your project.


Want to see the full process in action? Watch my latest video below or head over to my YouTube Channel HERE to check it out.


Please feel free to use products from your stash to recreate something similar. However, if you are interested in any of the products I’m using, you can find the supply list with links down below. Using these links does not cost you anything extra and it helps support my business. It also allows me to continue offering free content and keep my class costs low. I appreciate your support!


Whether you’re crafting for Halloween or Fall, these techniques will give your cards and projects a unique, textured finish. I hope you’ll give them a try — and don’t forget to share your creations with me!

SUPPLIES

Below you can find the supplies I used to create this card. When you shop through those links and whether you purchase that exact item or something else entirely, you’re supporting me at no extra cost to you. The commission I receive helps me cover the costs of my blog and other expenses, and allows me to continue to provide you with FREE inspiration and tutorials. If you want to learn more about what an affiliate link is, you can see my full affiliate and product disclosure statement here. Thank you so much for your love and support!

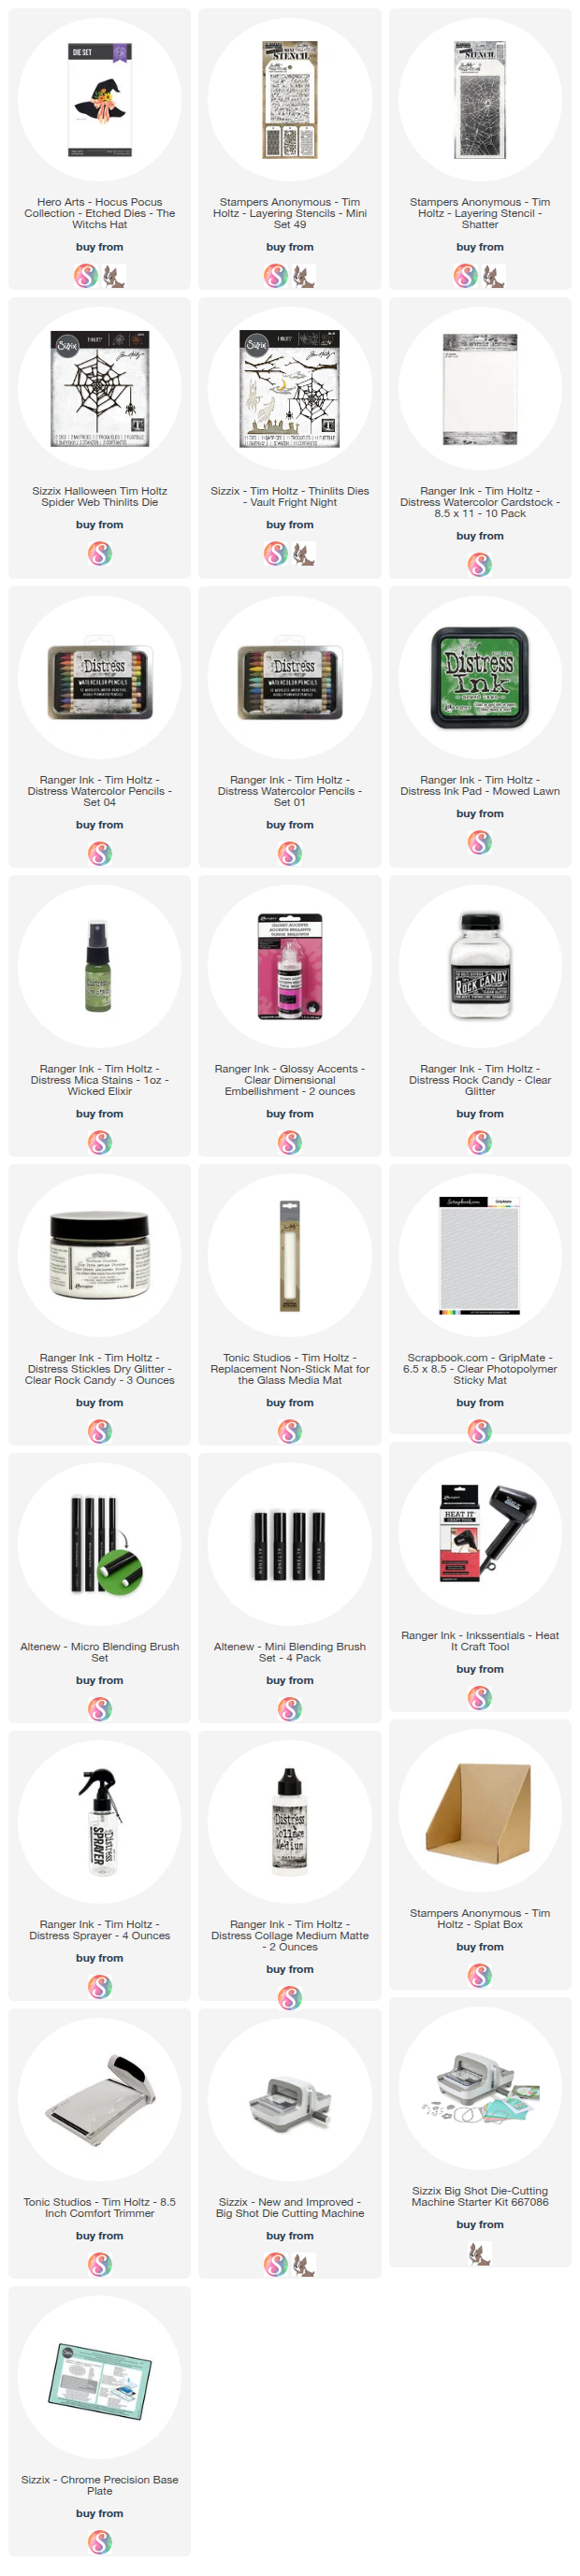
A Wicked Fun Halloween Card | Inspired by Jenn Shurkus

I’m wicked excited to be part of the Jenn Shurkus’ 20 Years of Blogging Inspiration Party! What an incredible milestone—20 years of sharing ideas, creativity, and inspiration in the papercrafting world we all love.

Wicked Witch's Hat Halloween Card by Juliana Michaels featuring Hero Arts Witch's Hat Die Set and Tim Holtz Distress Watercolor Pencils

WICKED INSPIRATION

For this celebration, Jenn invited us to choose something from her blog that inspired us and create a project based on it. As I was looking through her work, I was immediately drawn to one of her Halloween cards with rainbow details. Jenn has such a fun and colorful style, and of course, she loves to “glitter all the things!”

Here is the card created by Jenn that inspired me. You can see more details about it HERE.

Jenn Shurkus Trick Or Treat Halloween Card

WICKED FUN HALLOWEEN CARD

With that in mind, I created my own wicked fun Halloween card inspired by her rainbow elements, use of Distress Watercolors, and signature sparkle. I painted a rainbow of flowers for my witch hat and then added glittery accents to the spider webs in the background for that extra bit of shimmer Jenn is known for.

Distress Watercolors Pencils used include: Picked Raspberry, Carved Pumpkin, Mustard Seed, Mowed Lawn, Mermaid Lagoon and Wilted Violet.
Distress Ink used: Mowed Lawn
Distress Mica Stain used: Wicked Elixir

Wicked Witch's Hat Halloween Card by Juliana Michaels featuring Hero Arts Witch's Hat Die Set and Tim Holtz Distress Watercolor Pencils

I love how this card blends spooky Halloween vibes with unexpected pops of color and sparkle—perfect for celebrating Jenn’s milestone!

Make sure to check out the rest of the amazing projects being shared for her Inspiration Party over on Jenn's Instagram. You’ll find so many unique takes and creative spins—it’s truly a celebration of inspiration.

JENN SHURKUS 20 YEAR INSPIRATION CELEBRATION


And don’t forget, there will be prizes from some of Jenn’s favorite crafty brands, so you won’t want to miss it!

SUPPLIES


Below you can find the supplies I used to create this card. When you shop through those links and whether you purchase that exact item or something else entirely, you’re supporting me at no extra cost to you. The commission I receive helps me cover the costs of my blog and other expenses, and allows me to continue to provide you with FREE inspiration and tutorials. If you want to learn more about what an affiliate link is, you can see my full affiliate and product disclosure statement here. Thank you so much for your love and support!

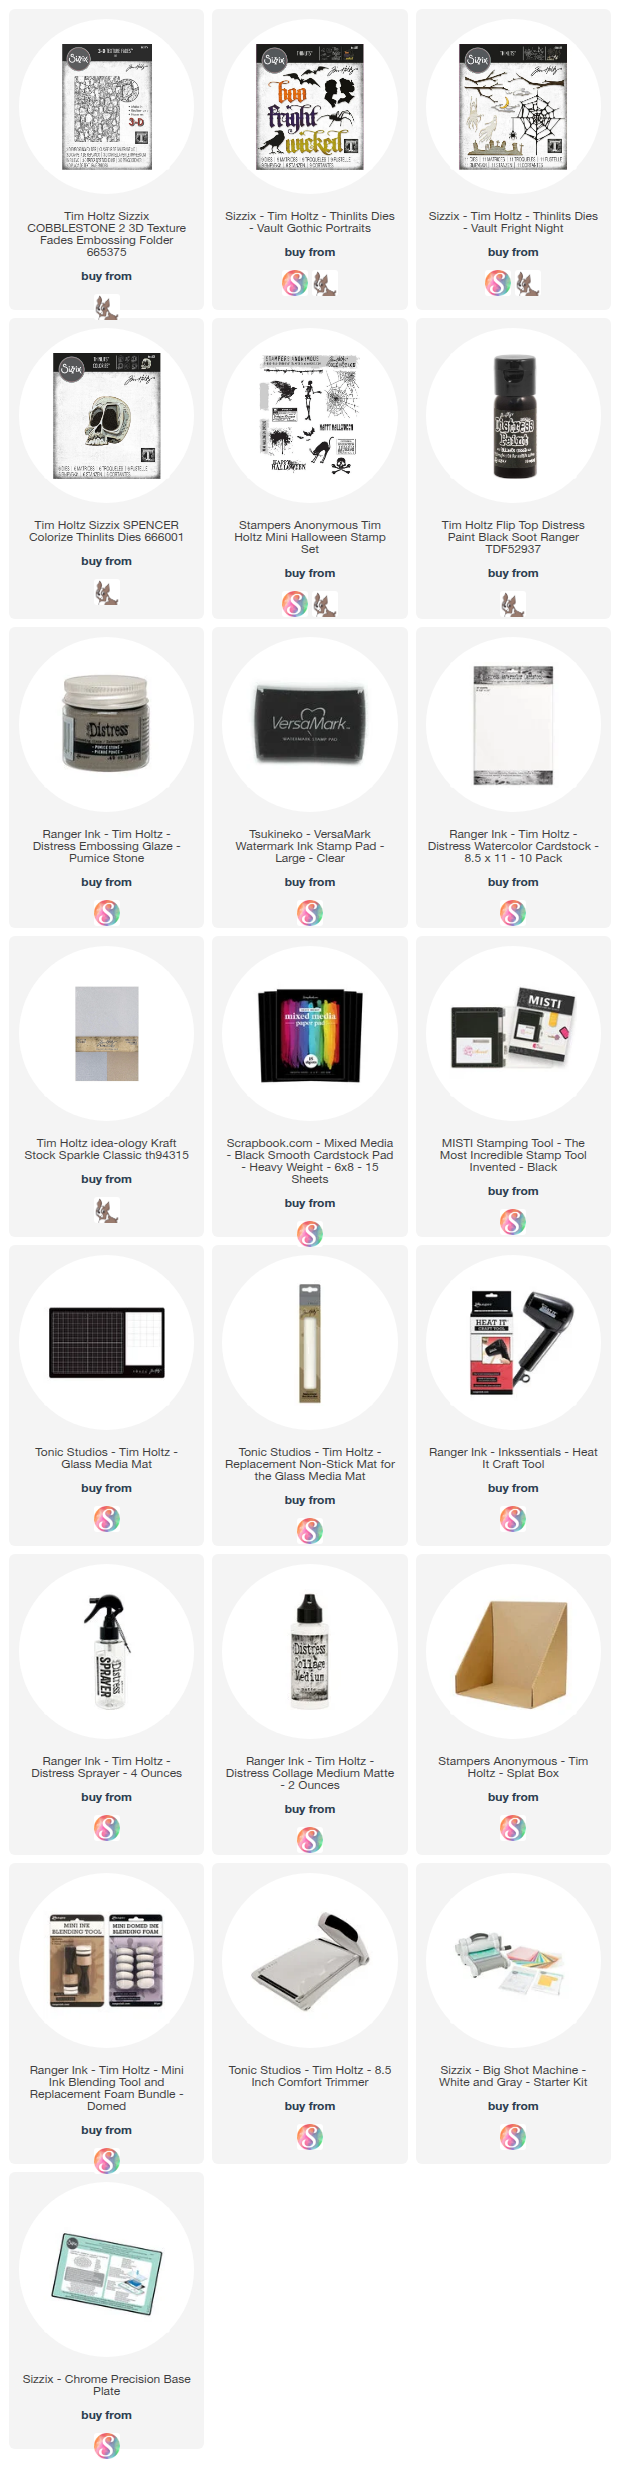
Grungy Halloween Jack-O-Lantern Card | Tim Holtz Stampers Anonymous Fall Halloween Curation

The Fall Halloween Curation by Stampers Anonymous is filled with classic Tim Holtz Halloween designs that continue to inspire fresh ideas year after year. This curated collection brings back some new to me (and maybe new to you too) stamps and stencils that are perfect additions to my Halloween crafting collection.

Happy Halloween Grungy Mixed Media Card by Juliana Michaels featuring Tim Holtz Stampers Anonymous Fall Halloween Curation and Jack O Lantern Die

GRUNGY GOODNESS

To create this card, I built up a grungy textured background using layers of Distress Sprays, Crackle Paste and Heat Embossing that give the card a rich, dimensional effect. I added some stamping details that give it even more depth and dimension. And then to finish off the background I added a touch of Distress Crayons for a truly grungy Halloween effect. The Jack-o-Lantern die cut becomes the star of the design, layered over the background for a bold, spooky focal point.

This card is the third project in my series using the Fall Halloween Curation — each one highlights different techniques to inspire your Halloween crafting. However, if you aren't into Halloween you can still find some inspiration that can be used on your next mixed media project.

You can either watch the video below or head over to my YouTube Channel HERE to check it out.

VIDEO

Please feel free to use products from your stash to recreate something similar. However, if you are interested in any of the products I’m using, you can find the supply list with links down below. Using these links does not cost you anything extra and it helps support my business. It also allows me to continue offering free content and keep my class costs low. I appreciate your support!


Thanks so much for stopping by and I hope you enjoyed this bit of Halloween inspiration I've shared as part of my Fall Halloween Curation series. If you missed any of the previous videos you can check them out HERE.

SUPPLIES

Below you can find the supplies I used to create this card. When you shop through those links and whether you purchase that exact item or something else entirely, you’re supporting me at no extra cost to you. The commission I receive helps me cover the costs of my blog and other expenses, and allows me to continue to provide you with FREE inspiration and tutorials. If you want to learn more about what an affiliate link is, you can see my full affiliate and product disclosure statement here. Thank you so much for your love and support!

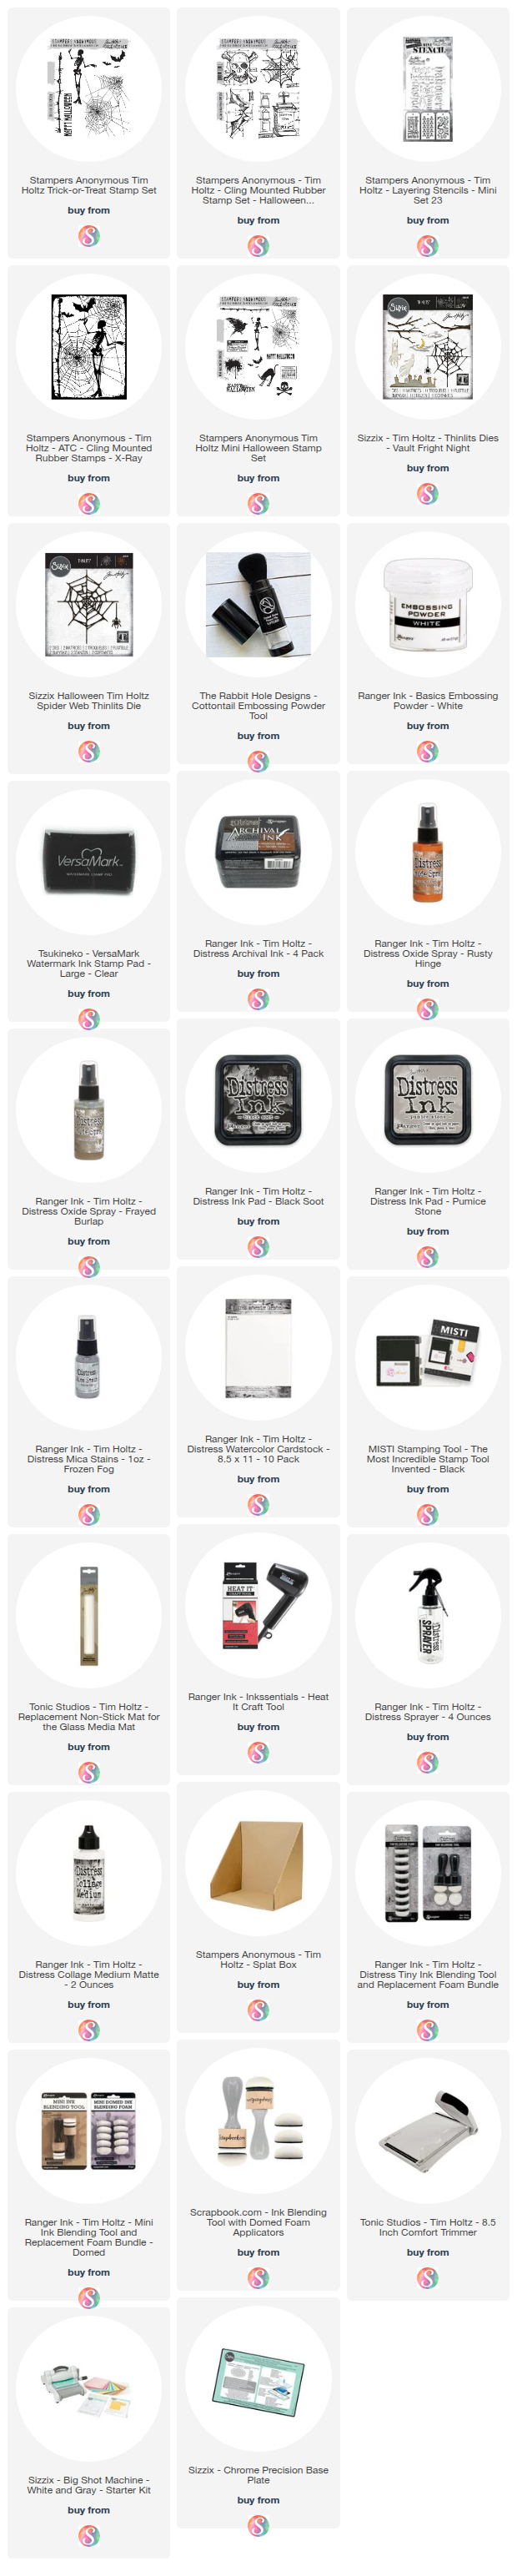
Halloween Haunted House Card With A Twist on Ink Smooshing | Tim Holtz Stampers Anonymous Fall Halloween Curation

Halloween crafting is in full swing, and today I’m sharing a Haunted House Halloween card that’s full of moody layers, texture, and spooky vibes. I pulled out the Tim Holtz Fall & Halloween Curation Stamp Set along with some of his classic stencils to create an inky layered background that sets the perfect stage for this haunted house scene.

Halloween Haunted House Card by Juliana Michaels featuring Tim Holtz Stampers Anonymous Fall Halloween Curation

The best part about this project is that it’s all about building depth with layers. By combining stamping, stenciling, and inky blending, I was able to create a background that feels atmospheric and slightly eerie — just right for Halloween night.

If you’re looking to try out some mixed media techniques in your cardmaking, this project is a great place to start. I walk you through each step in my video tutorial, where I share tips on blending, layering, and keeping your background from getting muddy while still packing in the detail.

SUPPLIES & TECHNIQUES

Distress Inks for the inky background with a twist on ink smooshing
Ink blending with a stencil for added interest
Heat embossing with a stamp for another layer of fun
Stamping and more ink smooshing to add interest to the die cut focal image

You can either watch the full Haunted House Halloween Card Tutorial below or over on my YouTube channel.


Please feel free to use products from your stash to recreate something similar. However, if you are interested in any of the products I’m using, you can find the supply list with links down below. Using these links does not cost you anything extra and it helps support my business. It also allows me to continue offering free content and keep my class costs low. I appreciate your support!


Thanks so much for stopping by! Ready to create your own spooky masterpiece? I hope this card inspires you to get out your inks and start smooshing!

SUPPLIES

Below you can find the supplies I used to create this card. When you shop through those links and whether you purchase that exact item or something else entirely, you’re supporting me at no extra cost to you. The commission I receive helps me cover the costs of my blog and other expenses, and allows me to continue to provide you with FREE inspiration and tutorials. If you want to learn more about what an affiliate link is, you can see my full affiliate and product disclosure statement here. Thank you so much for your love and support!
    

Spooky Skull Mixed Media Halloween Card | Tim Holtz Stampers Anonymous Fall Halloween Curation

I’m sharing a spooky Halloween card I created with the Fall Halloween Curation by Stampers Anonymous. If you’re new to Curations, they’re thoughtfully themed seasonal collections that bring together classic Tim Holtz stamps and stencils. Many of these designs were released years ago, and Stampers Anonymous has curated them into collections to remind us of their incredible artwork and inspire new ideas with them.

Happy Halloween Spooky Skull Card by Juliana Michaels featuring Tim Holtz Halloween Blueprint and Stampers Anonymous Fall Halloween Curation

HALLOWEEN BLUEPRINT
For this card, I went bold with a skull blueprint stamp as my focal point and built up the background with lots of mixed media layers. I used:
  • Distress Oxide Sprays for the inky background
  • Collage stamping + heat embossing for extra depth and texture
  • Die cuts to add dimension and more texture
  • Distress Inks to add color to the stamped focal image
It all comes together for a grungy, spooky Halloween vibe—perfect for October cardmaking.

You can either watch the video below or head over to my YouTube Channel HERE to check it out.

VIDEO

Please feel free to use products from your stash to recreate something similar. However, if you are interested in any of the products I’m using, you can find the supply list with links down below. Using these links does not cost you anything extra and it helps support my business. It also allows me to continue offering free content and keep my class costs low. I appreciate your support!


This is just one of the projects I’ve created with the Fall Halloween Curation, and each one explores a different technique. Be sure to check back for more seasonal inspiration! You can check out all of my Fall Halloween Curation projects HERE.

SUPPLIES
Below you can find the supplies I used to create this card. When you shop through those links and whether you purchase that exact item or something else entirely, you’re supporting me at no extra cost to you. The commission I receive helps me cover the costs of my blog and other expenses, and allows me to continue to provide you with FREE inspiration and tutorials. If you want to learn more about what an affiliate link is, you can see my full affiliate and product disclosure statement here. Thank you so much for your love and support!

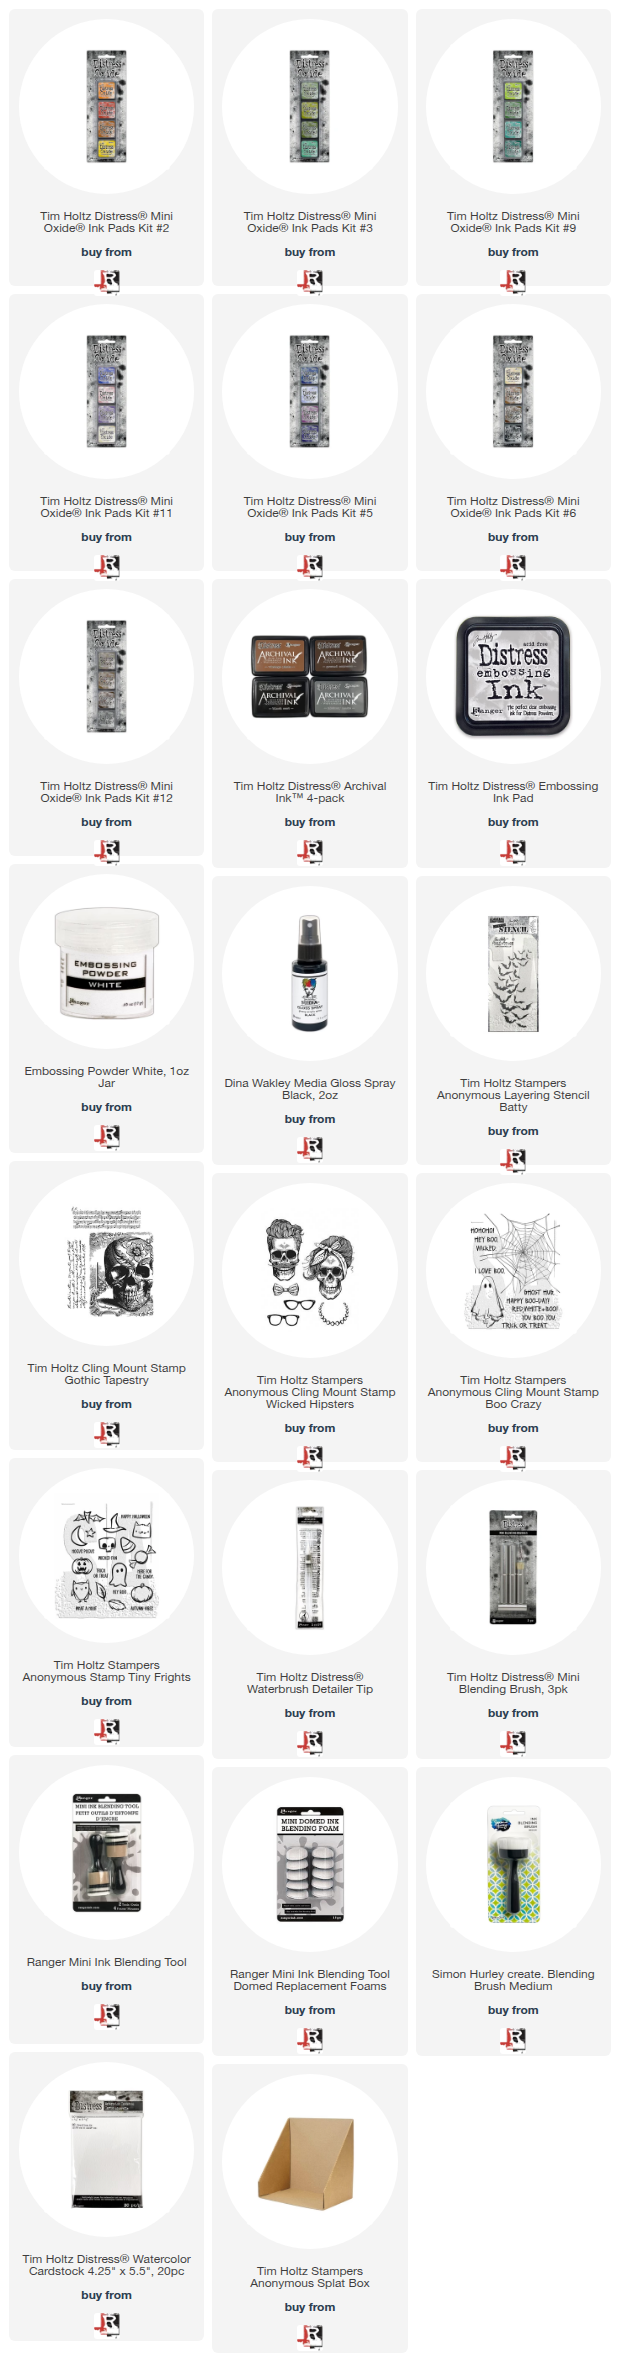
Mini But Mighty | Halloween Tags & Cards with Tim Holtz Mini Distress Oxides

Hey crafty friends! Today I’m back with another Mini but Mighty project—this time with a spooky twist. I recently got my hands on the latest set of Mini Distress Oxide Ink Pads from Tim Holtz and Ranger Ink, and I couldn’t wait to try them out with some of the new colors. Tim Holtz and Ranger Ink just released 24 more colors from the Distress Palette, so there are now a total of 48 colors of the 72 colors available. Even though these ink pads are small, they pack a powerful punch and are perfect for so many techniques.

Halloween Tags & Cards by Juliana Michaels featuring Tim Holtz Stamps, Stencils and Mini Distress Oxides

For this project, I created three wickedly fun Halloween tags using the exact same techniques I shared in my Christmas Mini Distress Oxide video. The only difference? A new palette of colors and a Halloween theme! This just goes to show how versatile these inks are—by swapping out colors and imagery, you can carry your favorite ideas across seasons.

While I’m focusing on tags in the video, keep in mind you can always turn them into cards, add them to your junk journal, or use them as little handmade treats for friends and family.

Please feel free to use products from your stash to recreate something similar. However, if you are interested in any of the products I’m using, you can find the supply list with links down below. Using these links does not cost you anything extra and it helps support my business. It also allows me to continue offering free content and keep my class costs low. I appreciate your support!

Watch the full video below or click HERE to watch over on my YouTube channel.
 

Missed the Christmas version? Watch below or click HERE to watch over on my YouTube channel.


HALLOWEEN TAGS & CARD INSPIRATION

Below you can take a look at the tags I created in the video, along with a bonus option. 

Hocus Pocus Halloween Tag by Juliana Michaels featuring Tim Holtz Stamps, Stencils and Mini Distress Oxides

Happy Halloween Skull Halloween Tag by Juliana Michaels featuring Tim Holtz Stamps, Stencils and Mini Distress Oxides

Wicked Hipster Guy Halloween Tag by Juliana Michaels featuring Tim Holtz Stamps, Stencils and Mini Distress Oxides

BONUS TAG IDEA

Here is a bonus idea using the same techniques, just slightly different colors and of course the Hipster Girl instead of the Guy.

Wicked Hipster Girl Halloween Tag by Juliana Michaels featuring Tim Holtz Stamps, Stencils and Mini Distress Oxides

I hope this inspires you to give your Mini Distress Oxide Ink Pads a workout and start experimenting with seasonal twists of your own. Mini really is mighty—no matter the holiday!

SUPPLIES 

Below you can find the supplies I used to create these tags. When you shop through those links and whether you purchase that exact item or something else entirely, you’re supporting me at no extra cost to you. The commission I receive helps me cover the costs of my blog and other expenses, and allows me to continue to provide you with FREE inspiration and tutorials. If you want to learn more about what an affiliate link is, you can see my full affiliate and product disclosure statement here. Thank you so much for your love and support!
Subscribe