Hello friends and welcome! Today I'm sharing a birthday card that features a plaid background created using the Mixed Striped Stencil from Scrapbook.com . I've paired it with one of their new stamp sets and some other supplies to create an elegant, but simple to create, birthday card. After I made this card, my mind immediately thought about how fun it would be to make this card in other colors. Wouldn't this make a great gift set with a card in each color of the rainbow and a different sentiment on each card?
PLAID BACKGROUND WITH MIXED STRIPED STENCIL
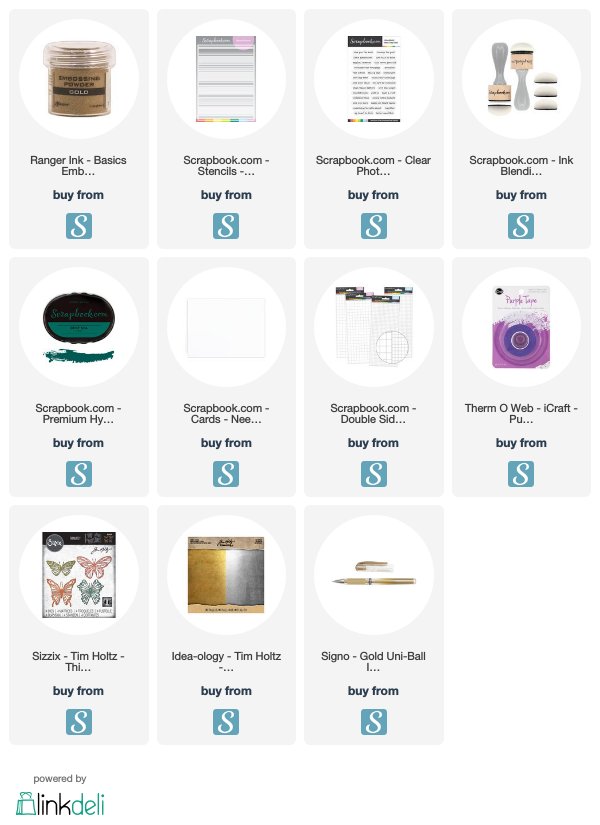
All of the supplies I'm using are linked below using affiliate links to Scrapbook.com. Thanks so much for your support!
I began with a piece of teal colored cardstock and placed the Mixed Stripes Stencil. I always like to think about how I can use things outside of their norm. That's when I thought of rotating the Mixed Stripes Stencil to create a plaid design. To achieve this, simply place the stencil at a 45 degree angle to the paper. I used Therm O Web Purple Tape to help hold the paper and stencil in place. I then inked over the stripes using Scrapbook.com's Domed Foam Blending Tool and Deep Sea Hybrid Ink Pad. Once all the stripes were inked, I then rotated the stencil 90 degrees and repeated the ink blending to create a simple plaid pattern. The design needed a little pizazz, so I pulled out a gold pen and added some hand drawn lines. I used a metal edged ruler as a guide and ran the pen along the edge to create the gold detail.
As the focal point, I used the Tim Holtz Sizzix Scribbly Butterfly Thinlit Dies. I cut it from a piece of gold Metallic Kraft Stock and adhered it to the card front using double sided foam adhesive.
To create the sentiment, I used the new Wordfetti Best Day Ever Stamp Set. This has to be one of my new favorite stamp sets. I love typewriter style fonts, so this set will get a lot of mileage on my upcoming card makes! I stamped the sentiment using Scrapbook.com Premium Embossing Ink Pad. I then sprinkled it with gold embossing powder and set it with my heat gun. I then adhered it with a bit more double sided foam adhesive.
For a bit more depth, I added a bit more ink blending to the edges with the Deep Sea Ink and foam blending tool.
To finish the card, I trimmed the front panel to 4 x 5.25" and then mounted it onto a Neenah Solar White A2 Scored Card Base.
There you have it! A simple, but elegant card that uses a simple striped stencil to create a beautiful plaid design.
SUPPLIES
This post contains affiliate links to Scrapbook.com. If you buy anything through my links, it adds no extra cost to you. I truly appreciate and thank you for your support! (If you're interested, you can see my full disclosure statement here.)


