Ranger Ink Letter It™ | Clear Stamps & Metallic Markers

Hello friends! I'm back with another post to share even more with you about the Ranger Ink Letter It™ program. Recently I shared a post about how to use the Perfect Pearls and Heat Embossing to create Thank You Cards.

I was invited by Scrapbook.com to use the products from this new program to create and share some inspiration with you. Today, I'm sharing a trio of Birthday Cards I created using some of the Clear Stamps and Metallic Pens that are a part of the Letter It™ program.

Ranger Ink Letter It™ Clear Stamps


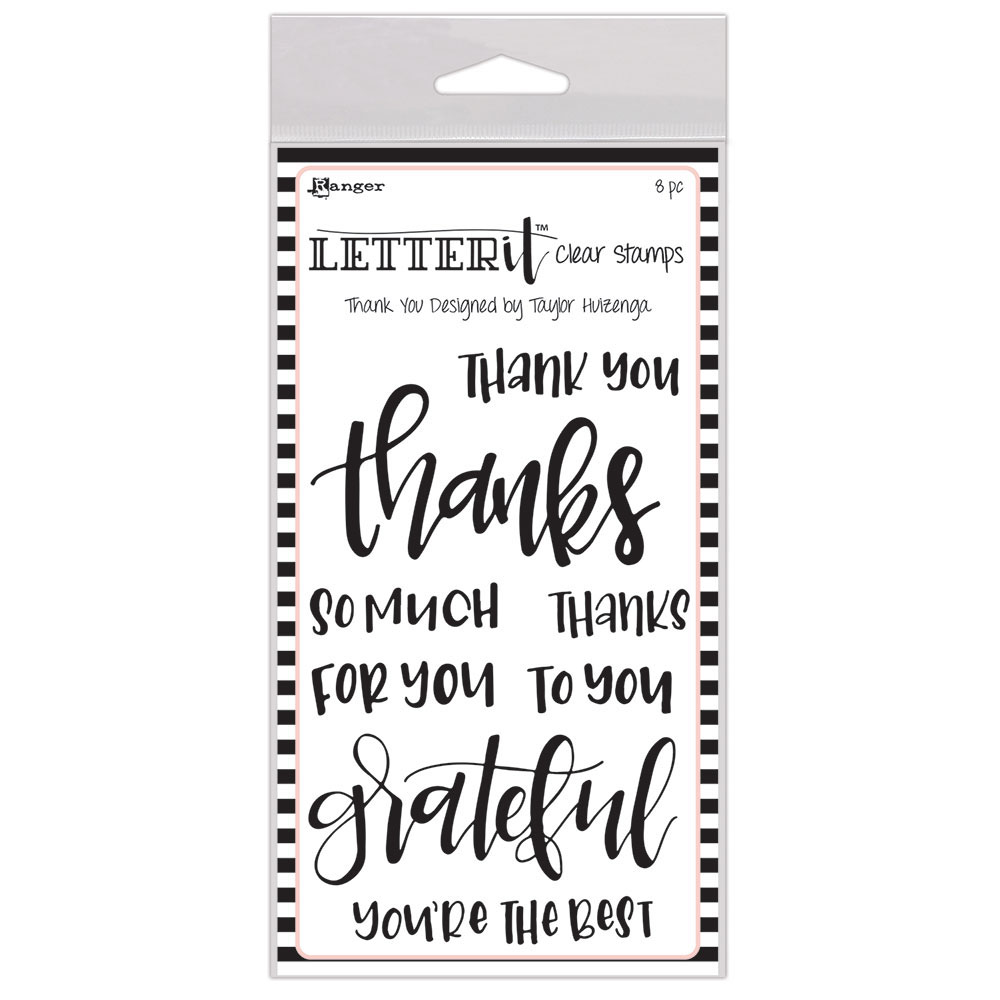
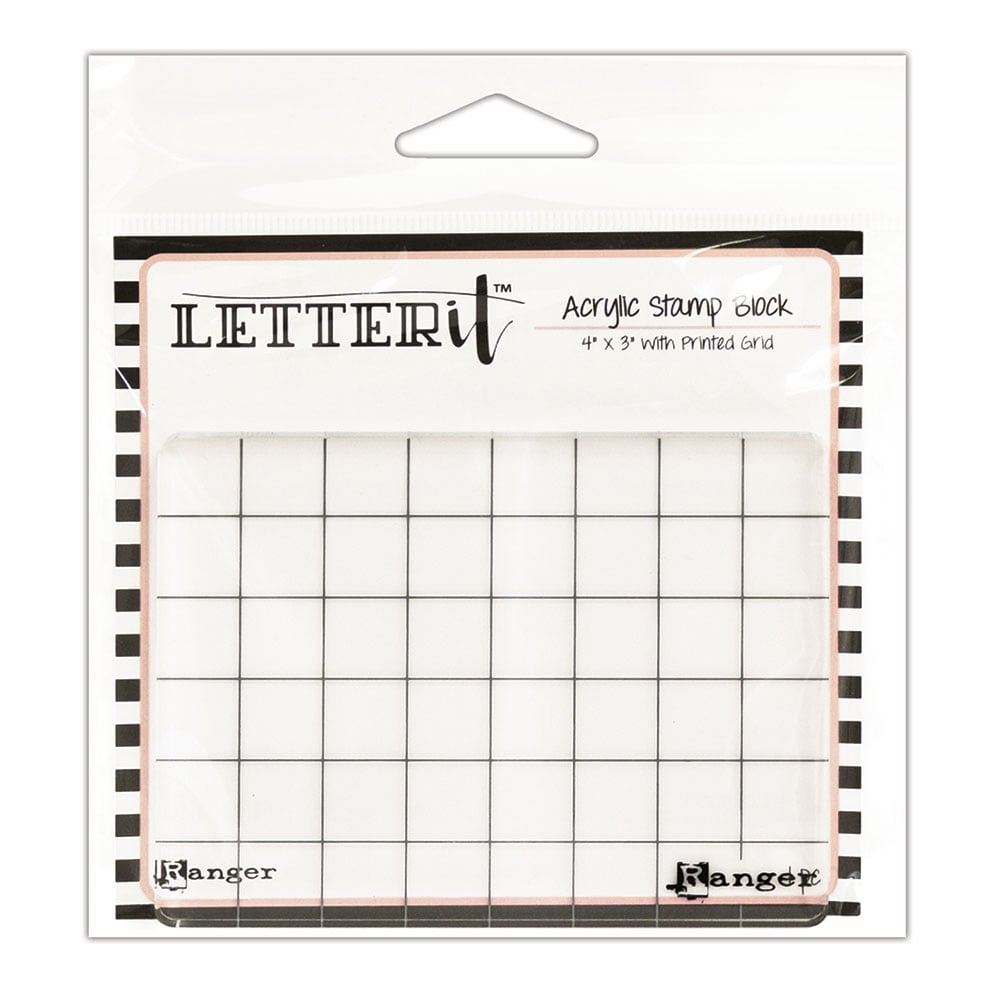
One of my favorite products from this program are the 6 clear stamp sets. I'm totally in love the gorgeous handwritten script and with all the themes they have, you're pretty much covered for just about any occasion you can imagine.


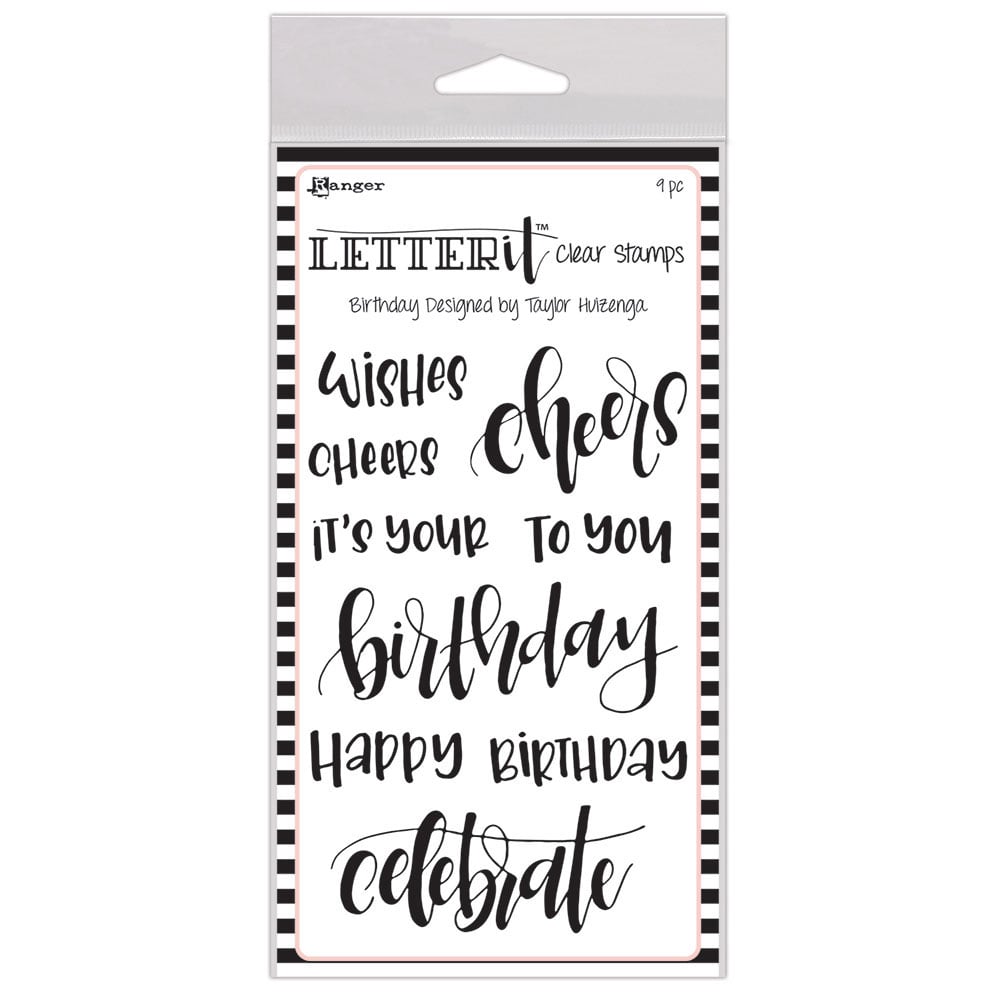
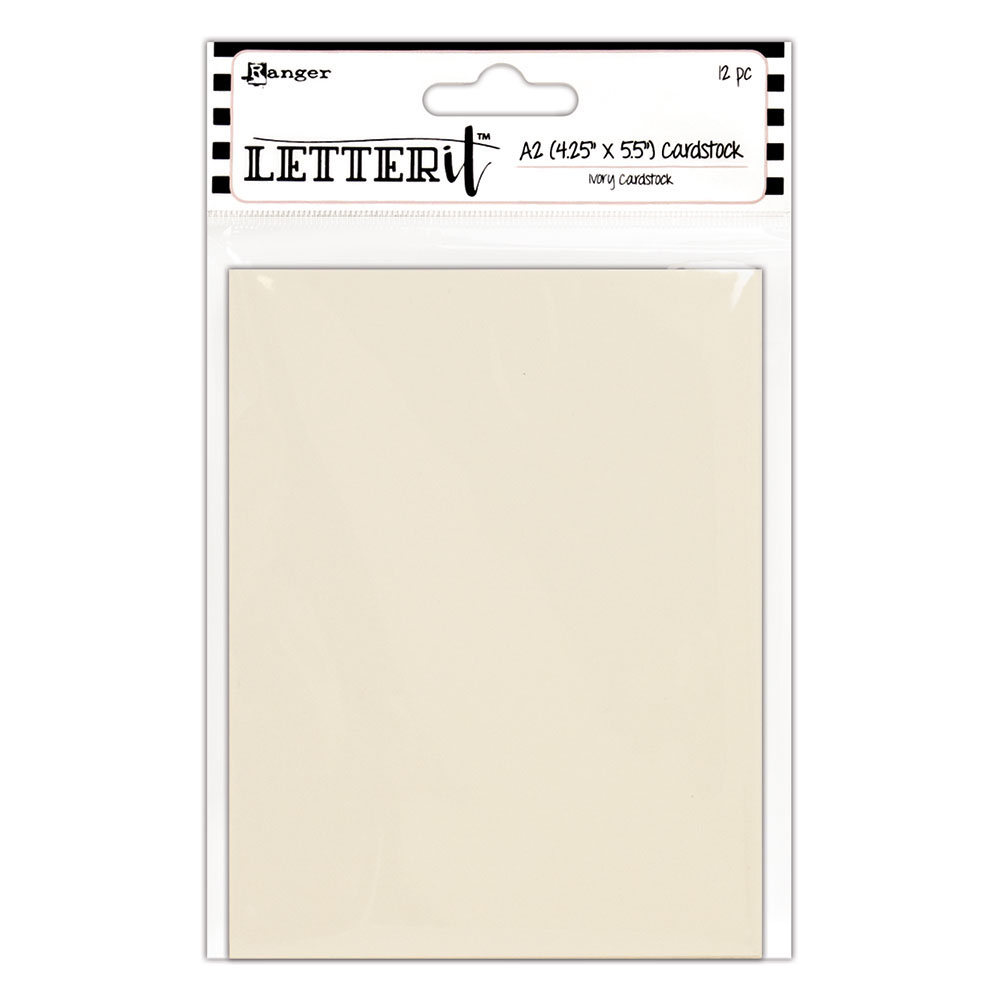
I created three simple, yet elegant, one layer birthday cards using the Birthday Clear Stamp Set. To give each card a slightly different look, I used a different color of ink to stamp each sentiment and then matted the Ranger Ink Letter It Cream Cardstock with a cardstock that matched the ink color.


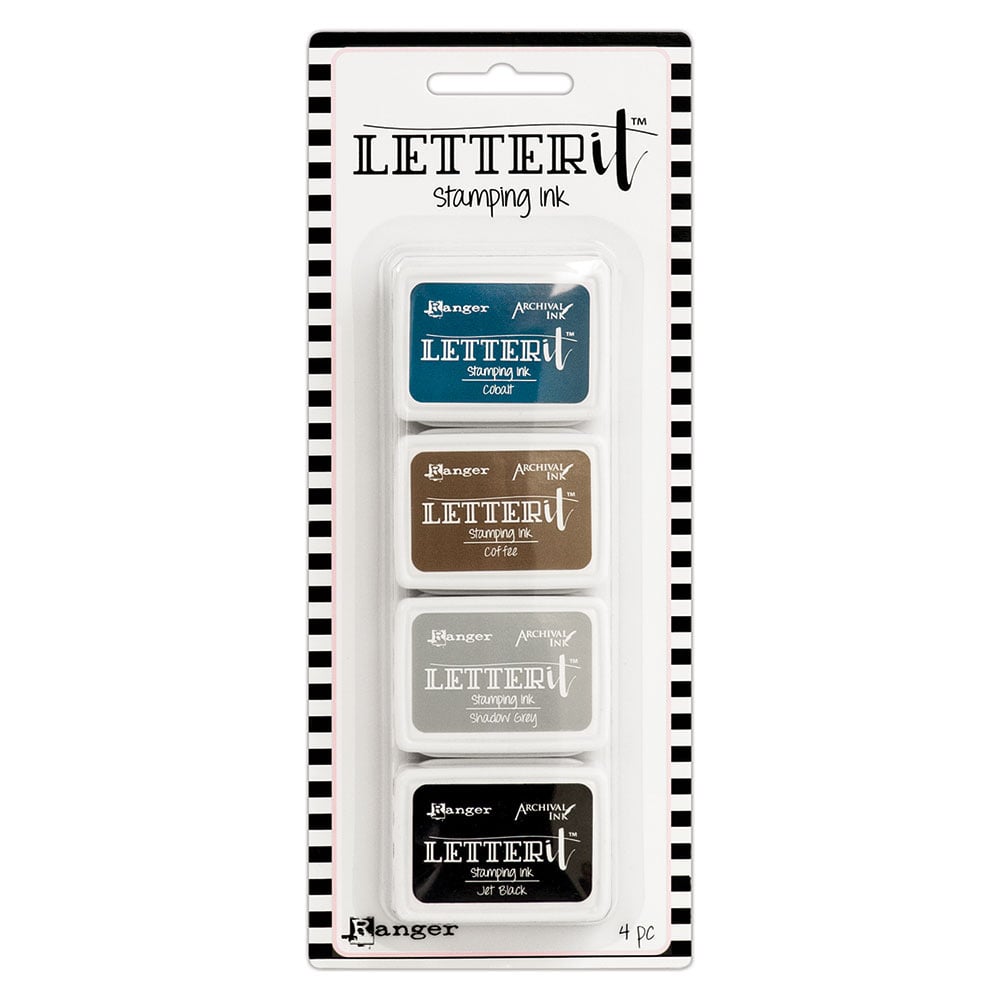
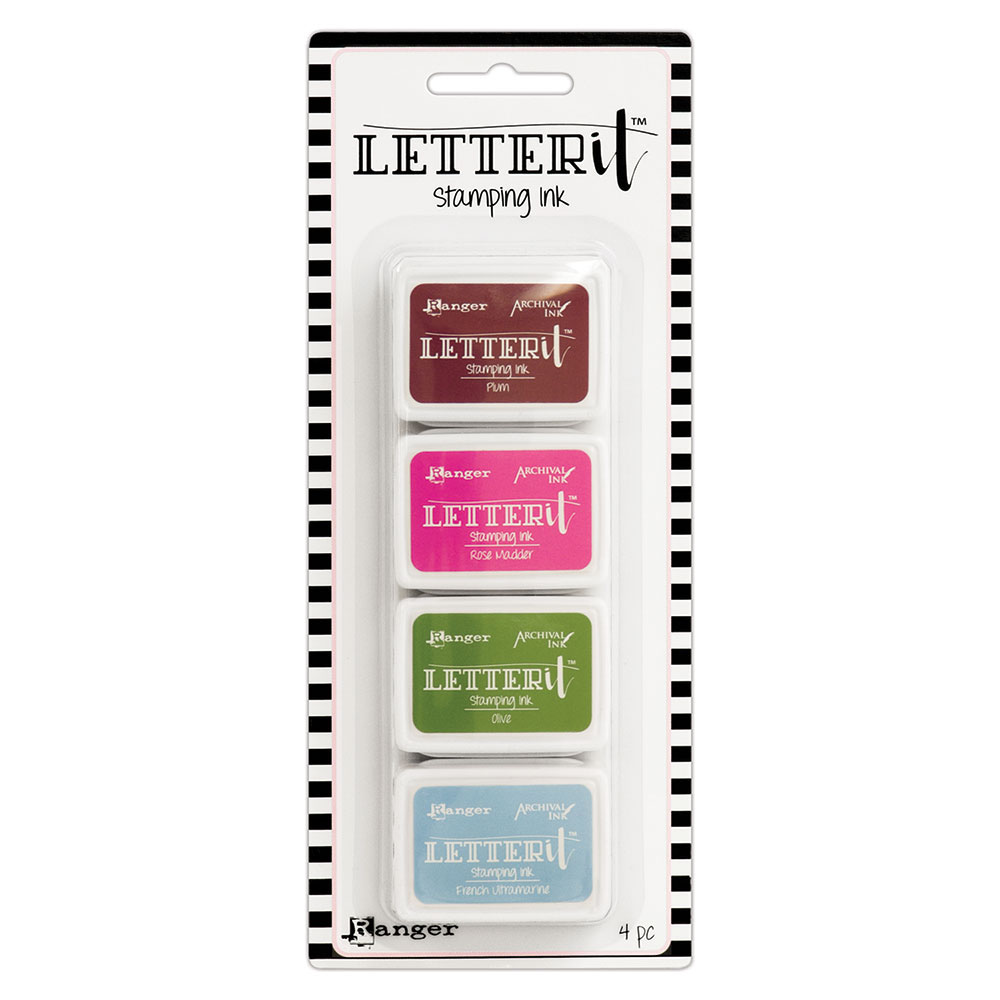
The Letter It™ program includes two Archival Ink sets. For this first card I used Archival Ink in Rose Madder. By switching up the colors, I felt like I was able to create a mix of cards that can be used for a male or female birthday depending on which color I choose.


For the second card, I went with a more masculine look and used Archival Ink in Cobalt.


For my third card, I used Archival Ink in Olive. Isn't it great how you can get an entirely different look just by switching out the colors?


Adding Details with Metallic Markers


As you've been looking at each card, you might have noticed the little pen detail I added to each of the words. To do this, I used the Letter It™ Metallic Markers! These are another of my favorite products from this program. They write so smoothly and add a beautiful touch of shimmer and shine. They also look really pretty on darker papers!


I used a ruler to help me draw the straight lines around the outside edge on each card. There is just something about a border that makes my little crafty heart happy!


I hope you enjoyed learning more about the Ranger Ink Letter It™ program. If you have any questions about any of these products or other products included in this collection, please feel free to ask in the comment section. Feel free to visit Ranger Ink for more details and to view the complete Letter It™ program!

Supplies


Here are the supplies I used on the cards I created and shared with you. Affiliate links have been used to Scrapbook.com. Thank you for your support!


Coffee Lovers Blog Hop Winner

Hello friends! Just popping in to announce the winner of the Newton's Nook Cup of Cocoa Stamp Set from the recent Coffee Lovers Blog Hop. So without further ado....the winner is Lisa!!!


Congratulations! I'll be sending an email to you to collect your address and so I can get your prize in the mail!  I also want to thank everyone for stopping by and sharing with me their favorite warm drinks! I even got some ideas for some new ones for me!

Perfect Pearls & Heat Embossing | Ranger Letter It™

Hello friends! I'm super excited to introduce you all to a brand new program from Ranger Ink called Letter It™! What is this program you ask? Letter It™ is a carefully curated collection of stamps, pens, embossing powders, pearl powders, mediums, tools and surfaces designed to work together so you can create beautifully personalized cards, tags, gifts, and more for all of life’s occasions! You can visit Ranger Ink for more details and to view the complete collection.

I was invited by Scrapbook.com to use the products from this new program to create and share some inspiration with you. Today, I'm sharing two Thank You cards that use the pearl powders (Perfect Pearls), embossing powders, stamps and metallic markers.

If you are looking for MORE GREAT IDEAS using the Ranger Ink Letter It™ program. Make sure to check out my Ranger Ink Letter It™ Clear Stamps & Metallic Markers post.

Perfect Pearls with Ranger Ink Letter It™


First off I want to introduce you to the Letter It™ Perfect Pearls. If you aren't familiar with Perfect Pearls, here's a bit of info about them. They are a pigment powder that was specially developed with a built in resin and can be used either wet or dry. They can be used with Perfect Medium Ink and Letter It™ Clear Stamps or over Letter It™ Medium Pens to create your own hand lettering, doodles, and designs. They can be combined with water and a water brush or paintbrush for painted pearlescent watercolor effects.

Thanks So Much Card by Juliana Michaels featuring Ranger Ink Letter It™ Perfect Pearls and Heat Embossing

To get started on the background for this card take a piece of the Ranger Letter It™ Grey Cardstock and position a stencil on top of it. Use low tack tape to hold the stencil in place. Next, take the Perfect Medium ink pad and stamp it all over the stencil. You are applying the ink through the stencil. Once you have good coverage of the ink over the stencil, remove the stencil. Next, take the brush included in the set and brush the Perfect Pearl powder over the entire piece of paper. Brush off the excess powder, spritz the entire piece with water and then heat set it with a heat tool.

Ranger Ink Letter It™ Perfect Pearls with a stencil

Heat Embossing with Ranger Ink Letter It™


Next we are going to do some heat embossing using some of the new Letter It™ Embossing Powders and Stamps. For these cards I used the Thank You Clear Stamp Set. I am so in love with the beautiful handwritten script using on all of the stamp sets that are part of this collection! This program has 6 different stamp sets with the following themes: Thank You, Baby, Birthday, Wedding, Hello/Get Well, and Congrats. They pretty much have every occasion covered!

Before you do any stamping, rub over the entire piece with a powder tool to help prevent the embossing powder from sticking anywhere other than the ink. Next, place your stamp onto the Letter It 4x3 Acrylic Stamping Block and stamp your sentiment using the Letter It Embossing Ink Pad. Sprinkle the stamped image with embossing powder (for this first card I used Navy), tap off the excess powder and then heat set the image using a heat tool.

Ranger Ink Letter It™ Perfect Pearls and Heat Embossing

Now check out the shimmer and shine from the Perfect Pearls and embossing powder!

Thanks So Much Card by Juliana Michaels featuring Ranger Ink Letter It™ Perfect Pearls and Heat Embossing

A bit more tilt so you can see the shine even more!


Thanks So Much Card by Juliana Michaels featuring Ranger Ink Letter It™ Perfect Pearls and Heat Embossing

On this second card, I mixed it up a bit by using different colors. For the card base, I used the Letter It™ Ivory Cardstock. I then used the same technique as above, I just used different colors of Perfect Pearls and embossing powder.

Thanks So Much Card by Juliana Michaels featuring Ranger Ink Letter It™ Perfect Pearls and Heat Embossing

I used the Perfect Bronze pearl powder. I then stamped the sentiment and heat embossed it using the Gunmetal Embossing Powder.

Ranger Ink Letter It™ Perfect Pearls with stencil

For a final touch of interest on both cards, I used some of the new Metallic Markers. On the blue card, I added some highlights to the letters and drew a free hand border around the outside edge using the Silver Metallic Marker. On the cream card, I used the Gold Metallic Marker.

Ranger Ink Letter It™ details added with Metallic Markers

I wanted to again try to show you how shiny and pretty these cards are in real life.

Thanks So Much Card by Juliana Michaels featuring Ranger Ink Letter It™ Perfect Pearls and Heat Embossing

I just love the shimmer and shine!

Thanks So Much Card by Juliana Michaels featuring Ranger Ink Letter It™ Perfect Pearls and Heat Embossing

I hope you enjoyed learning more about the Ranger Ink Letter It™ program.  If you have any questions about any of these products or other products included in this collection, please feel free to ask in the comment section.

More Inspiration

If you are looking for MORE GREAT IDEAS using the Ranger Ink Letter It™ program. Make sure to check out my Ranger Ink Letter It™ Clear Stamps & Metallic Markers post.

Supplies

Here are the supplies I used on the cards I created and shared with you. Affiliate links have been used to Scrapbook.com. Thank you for your support!


Fa La La La Llama Card | Newton's Nook Designs

Hello friends! Christmas is almost here and I think that maybe I've made my final Christmas card of the year. Are your Christmas cards ready? Now, I just need to get them in the mail! 

Today, I'm sharing a Fa La La La Llama Christmas card I created using some fabulous products from Newton's Nook Designs and  I've also got a fun little technique to share with you using one of their new stencils.

Fa La La La Llama Card


I have to admit, I've fallen in love with the adorable Llama from the Llama Delivery Stamp Set and I'm sure he'll be showing up again in future projects! To get started on this card, I began by stamping and coloring the Llama using my Chameleon Pens. I then die cut the image using the coordinating dies.

Fa La La La Llama Christmas Card by Juliana Michaels featuring Newton's Nook Designs

Next I moved on to creating the background for the card. I was inspired by this beautiful card created by Yoonsun Hur. She was a recent guest designer over on the Newton's Nook Design Blog. I loved the look of the white on kraft cardstock however, I didn't have any embossing paste so I went with the supplies I had on hand to get a similar look.

Heat Embossing with Stencils


I positioned the Snowfall Stencil onto a piece of kraft cardstock and then inked it up with a Versamark Embossing Ink Pad. To do this, I simply stamped the ink pad over and over again on top of the stencil. I occasionally lifted a corner of the stencil to make sure I was getting good coverage. Once it was fully inked, I removed the stencil and sprinkled the cardstock with white embossing powder and then heat set it with a heat gun. I then took my new favorite die set and die cut the embossed paper using the rounded corner shape from the Frames and Flags Die Set.

Heat embossing with a stencil and Versamark Watermark Ink Pad

For the sentiment, I die cut a banner from red cardstock using the stitched banner from the Frames and Flags Die Set. I then stamped the Fa La La sentiment from the Sentiments Of The Season Stamp Set and embossed it with white embossing powder.

Fa La La La Llama Christmas Card by Juliana Michaels featuring Newton's Nook Designs

For the final touch, I die cut some holly leaves and berries using the Pines & Holly Die Set.

Fa La La La Llama Christmas Card by Juliana Michaels featuring Newton's Nook Designs

Supplies


Are you interested in the supplies I used to create this card? If so, you can check them out below. I've used affiliate links to Simon Says Stamp at no additional cost to you.


Winter Coffee Lovers Blog Hop | Cup of Cheer + Blog Candy

Hello friends and welcome to the Winter Coffee Lover's Blog Hop! I'm so excited to be participating again with this fun and inspirational blog hop. I look forward to this hop each season and I know this one will be just as amazing as all of the others, if not even better! Keep reading to learn about the Cup of Cheer Coffee Card I created to share with you today and for your chance to win a fabulous prize package!

Cup of Cheer | Newtons' Nook Cup of Cocoa Stamp Set


This card uses one of my new favorite coffee stamp sets called Cup of Cocoa by Newton's Nook Designs. Yes, it says cocoa, but those mugs are full of coffee in my house!

Cup Of Cheer Coffee Card by Juliana Michaels featuring Newton's Nook Designs Cup of Cocoa Stamp Set

To start, I stamped the adorable kitties and mugs. The large kitty on the left is from Newton's Nook Newton Loves Coffee Stamp Set. The other kitty is from the Newton's Costume Party. And the mugs are of course from the Cup of Cocoa Stamp Set. All of the images were stamped using Memento Black Tuxedo Ink onto Neenah 110lb white cardstock.

After stamping the images, I colored them using Chameleon Pens. I then die cut all of the images using the coordinating dies for each image.

Cup Of Cheer Coffee Card by Juliana Michaels featuring Newton's Nook Designs Cup of Cocoa Stamp Set

Next, I used my favorite new die set the Frames & Flags Die Set to cut out the panels that are layered behind the little scene. I used a dot embossing folder to add a bit of texture to the white layer.

For the final touch, I stamped the sentiment onto white cardstock. I then die cut it using one of the small banners from the Frames & Flags Die Set and layered it with another banner cut from teal cardstock.

Cup Of Cheer Coffee Card by Juliana Michaels featuring Newton's Nook Designs Cup of Cocoa Stamp Set


Winter Coffee Lovers Blog Hop Details


To play along all you have to do is create a new spring themed coffee, tea and/or cocoa project and then head over over to the Coffee Loving Cardmakers Blog to link it up. While you're there, make sure to check out all of the details. There are loads of great prizes being given away for playing along. Anyone is welcome to link up any time between Friday, December 8 - Friday, December 15. There are no limits to the number of entries - in fact, the more the merrier and the more chances you have of winning some of the prizes from the many amazing sponsors! By linking up your project, you become eligible to win a prize from one the amazing Super Sponsors! If you share your project on social media, make sure to tag it with #winter2017clh


Giveaway Details


And now, let's get to the fun giveaway I mentioned! I'm giving away the Cup of Cheer Stamp Set by Newton's Nook Designs to one lucky winner.


To win, all you need to do is leave a comment on this post telling me if you prefer coffee, tea or cocoa and please make sure to leave a way for me to contact you if you're the winner. Commenting will be open until Friday December 15 at 11:59 EST.

Supplies


Are you interested in the Newton's Nook Designs products I used to create my cards? These are the stamps I used to create the Cup of Cheer Coffee Card. Affiliate links to Simon Says Stamp have been used at no cost to you and I really appreciate your support! By clicking on these links, it allows me to continue to provide giveaways like the one for this blog hop.
Subscribe