Hi friends! Today I'm sharing how to use the back side of your clear stamps for a floral watercolor card I created for the CardMaker and Impression Obsession Blog Hop. You'll find all the blog hop details below. First though, I invite you to check out this fun technique to help you stretch your stash of stamps!


There you have it...a fun and simple way to stretch your stash of stamps!


And now for the good stuff...Impression Obsession is hosting a giveaway! Make sure to leave a comment on each blog for your chance to win a $25 gift certificate to their shop. Comments will be open until Sunday, September 4th and the winner will be announced on the Impression Obsession blog on Monday, September 5th. Happy Hopping!
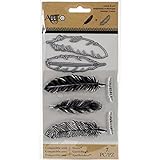
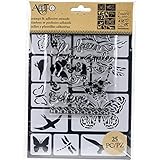
Are you interested in any of the products I used to create these cards? Click on the image below to check it out. Where available, I use affiliate links. If you make a purchase after clicking, this means I'll receive a small commission at no extra cost to you. Thanks so much for your support!

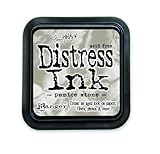
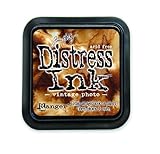
1. Gather your supplies: Scrap paper, watercolor paper, clear stamp, stamping block, Distress Ink, small paint brush, water.
For this card, I'm using the Doodles Flowers stamp set by Impression Obsession. You can find a full detailed list of the supplies I used below.
2. Place your stamp backward onto your stamping block.

3. Ink your stamp and stamp it onto the scrap paper to remove some of the ink.
4. Stamp the image onto the watercolor paper.

5. Use a small paint brush and water to blend the ink and achieve a watercolor effect.
6. Allow this to dry. You can speed up the drying process with a heat gun if you are in a hurry.

7. Clean your stamp and place it right side up on your stamping block.
8. Apply ink and stamp image on top of the first image.
9. Allow this to dry.
10. Repeat this process with each flower.

Tip: I recommend doing a test stamp for each color you select. Some inks become too light when you off stamp them, so you may need a darker color to use when you stamp the actual image.
There you have it...a fun and simple way to stretch your stash of stamps!

For the sentiment, I stamped "Get Well" and heat embossed it with black embossing powder. The word "Wishes" is die cut from black Fun Foam. I love how this adds a little dimension to the card without adding a lot of bulk.

Blog Hop Details
If you're hopping along you should have arrived here from the blog of Dina Kowal. The next stop on the hop is Jenny Gropp. For those of you just joining the party, I've included the entire hop list below:
And now for the good stuff...Impression Obsession is hosting a giveaway! Make sure to leave a comment on each blog for your chance to win a $25 gift certificate to their shop. Comments will be open until Sunday, September 4th and the winner will be announced on the Impression Obsession blog on Monday, September 5th. Happy Hopping!
• • • • • • • • • • • • • • • • • •
Are you interested in any of the products I used to create these cards? Click on the image below to check it out. Where available, I use affiliate links. If you make a purchase after clicking, this means I'll receive a small commission at no extra cost to you. Thanks so much for your support!