
Spring has officially arrived and with it the promise of warmer weather, blossoming flowers, and a renewed sense of energy and inspiration. With spring in full swing, I wanted to share a couple of spring like birthday cards I created featuring the Tim Holtz Blossom Thinlits Die. They're sure to brighten your spirits and the recipients with their spring color palettes.

To create these cards, I did something I don't normally do. I dug through my pile of backgrounds and grabbed two of them to use and I let the colors of each one inspire the colors I used to create the Blossom.
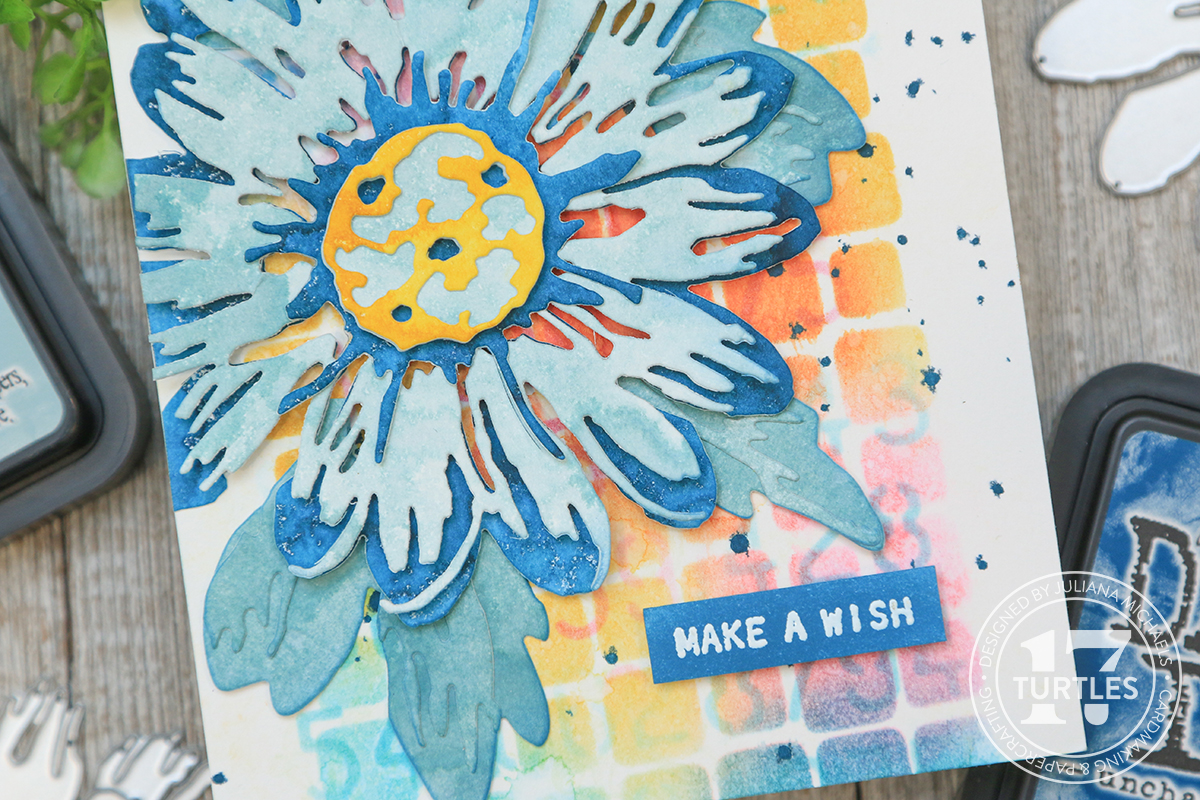
I made this first background quite some time ago by just layering the stencils and applying Distress Oxide Ink through the stencil and while I didn't use the exact same blue as the background, I think it ended up coordinating nicely once it was put together. The Distress Oxide colors used on the background are: Crackling Campfire, Fossilized Amber, Peacock Feathers and Picked Raspberry.

Before I die cut the flower layers, I created several ink smooshed panels. I took pieces of Distress Watercolor Paper, smooshed the ink onto my craft mat, spritzed it with water, smooshed the paper into the ink and then dried it with my heat tool. For this Blossom, I used Speckled Egg, Uncharted Mariner and Fossilized Amber.

The sentiment is from the Tim Holtz Tiny Text Stamp Set. I stamped it in Embossing Ink and then heat embossed it with white embossing powder. I then applied Uncharted Mariner Distress Ink to the paper, wiped over it to remove the ink from the embossed letters and then trimmed it to size.

Before adhering the flower and sentiment with double sided foam tape, I added a few splatters of Uncharted Mariner Distress Ink. And with that this card was complete.
This second card uses another background from my stash. This one was created by applying different colors of Distress Ink to my craft mat and spritzed them with water. I then took the Tim Holtz Bubbles Stamp and stamped it into the ink before stamping it onto a piece of Distress Watercolor Paper. I love the dreamy watercolor effect this achieves. The Distress Ink colors used on the background are: Abandoned Coral, Wild Honey, Peeled Paint and Cracked Pistaschio.

I used the same ink smooshing technique for this flower as I did on the first one, I just used different colors. Here I used Saltwater Taffy and Abandoned Coral. For the leaves and the sentiment I used Cracked Pistachio.

To make this one slightly different, I trimmed the background down to 4 x 5.25 and mounted it onto a piece of custom colored cardstock.

To create the custom colored cardstock, I took a piece of Distress Watercolor Paper cut to 4.25 x 5.5 inches and applied Cracked Pistachio Distress Ink just around the outer edges of the paper since that is all that would be showing. This is a great way to create custom colored cardstock without wasting time and ink.

Thanks for stopping by today! I hope these birthday cards featuring the Tim Holtz Blossom Thinlits Die inspires you and brightens your day!
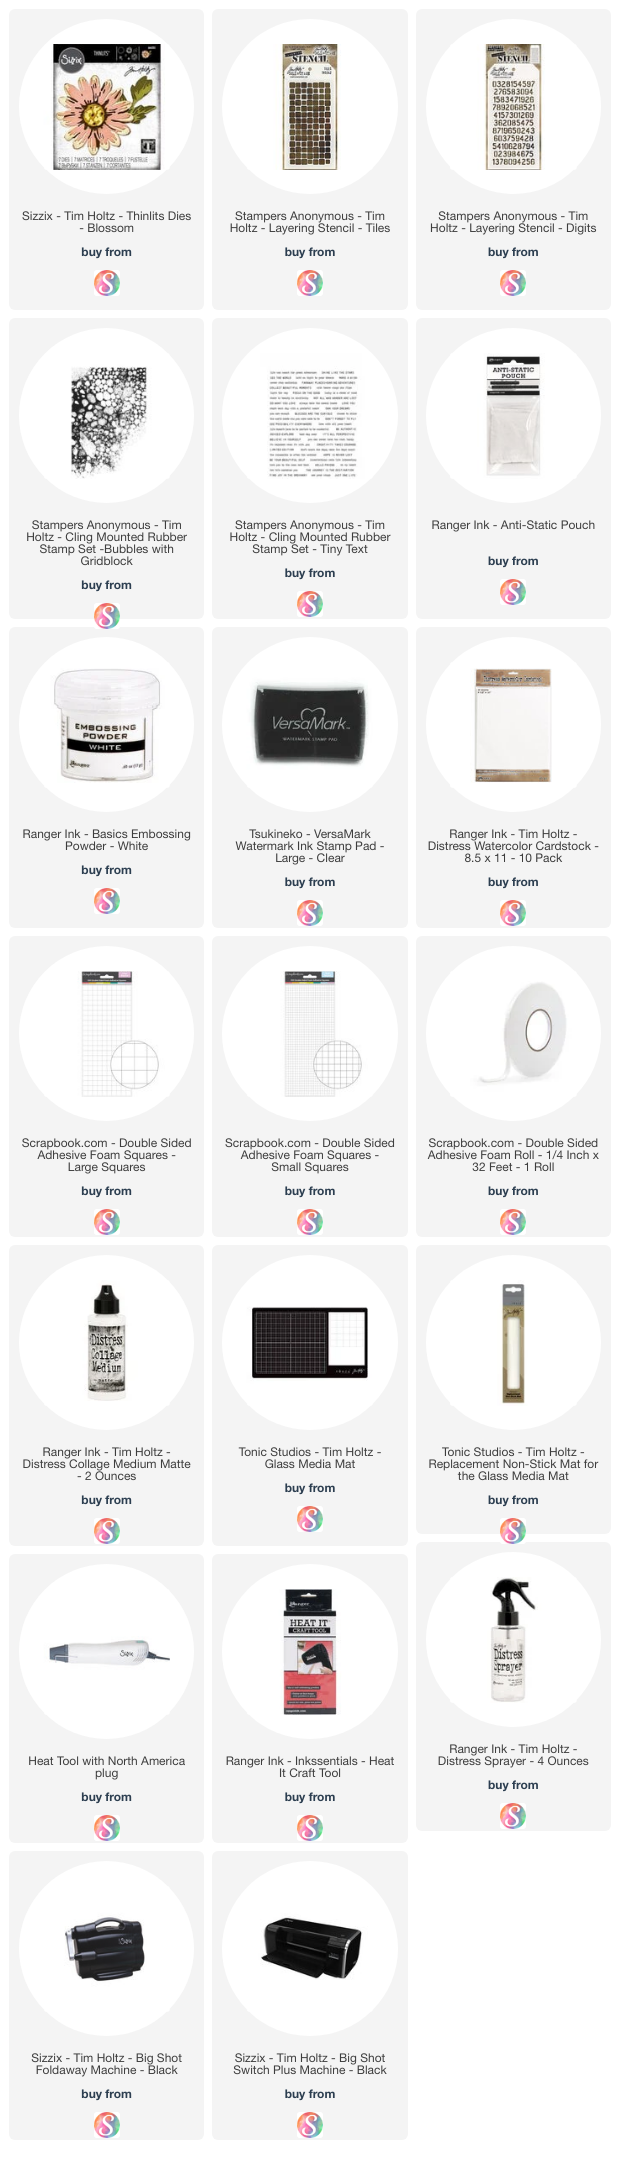
SUPPLIES
Below you can find the products I used to create these cards along with compensated affiliate links to Scrapbook.com. These links are at absolutely no cost to you. When you shop through the links below, I receive a small commission from Scrapbook.com. These links are at absolutely no cost to you and the commission I receive helps me cover the costs of my blog and other expenses, which allows me to continue to provide you with FREE inspiration and tutorials. If you want to learn more about what an affiliate link is, you can see my full affiliate and product disclosure statement here. Thank you so much for your love and support!


These are absolutely stunning! Definitely in my top 5 favorites of yours. Beautiful!
ReplyDeletethese are gorgeous, love the colors you used
ReplyDelete