Have you seen the new Tim Holtz A5 Embossing Folders? They’re larger than your standard embossing folders—which might leave you wondering: Can I actually use these to make cards?
The answer is a resounding YES! In fact, in my latest video, I’m sharing how you can get multiple cards from just one embossed panel. That’s right—more value, more texture, and more creative options from a single tool. But don’t worry—the techniques I’m sharing will work with ANY embossing folders you already have, no matter the size. So there’s no need to run out and buy the new ones.

WHY A5 EMBOSSING FOLDERS?
These folders are designed to emboss larger surfaces, which makes them perfect for bigger projects. But that doesn’t mean they’re only for home decor or journal pages. With just a few cuts and a little creative thinking, you can easily turn one embossed panel into two cards. It’s a great way to get more from your supplies!
A FUN TECHNIQUE TO TRY
In the video, I go beyond dry embossing and add a little mixed media flair with a gorgeous technique using heat embossing and Distress Sprays. This combo brings out all the beautiful details of the embossing and makes your background truly stand out.You can go two ways with this:
- Keep it simple and elegant with a monochromatic color scheme
- Go bold and artsy with layered, vibrant color blends

WATCH THE VIDEO
Want to see the technique in action and check out the finished cards? Click below to watch:

Whether you’re new to A5 folders or just looking for a new way to use them, I hope this inspires you to dig into your stash and give it a try!
Have you tried these larger folders yet? Do you prefer bold color combos or soft, tone-on-tone looks? Let me know in the comments!
Until next time—stay crafty my friend!
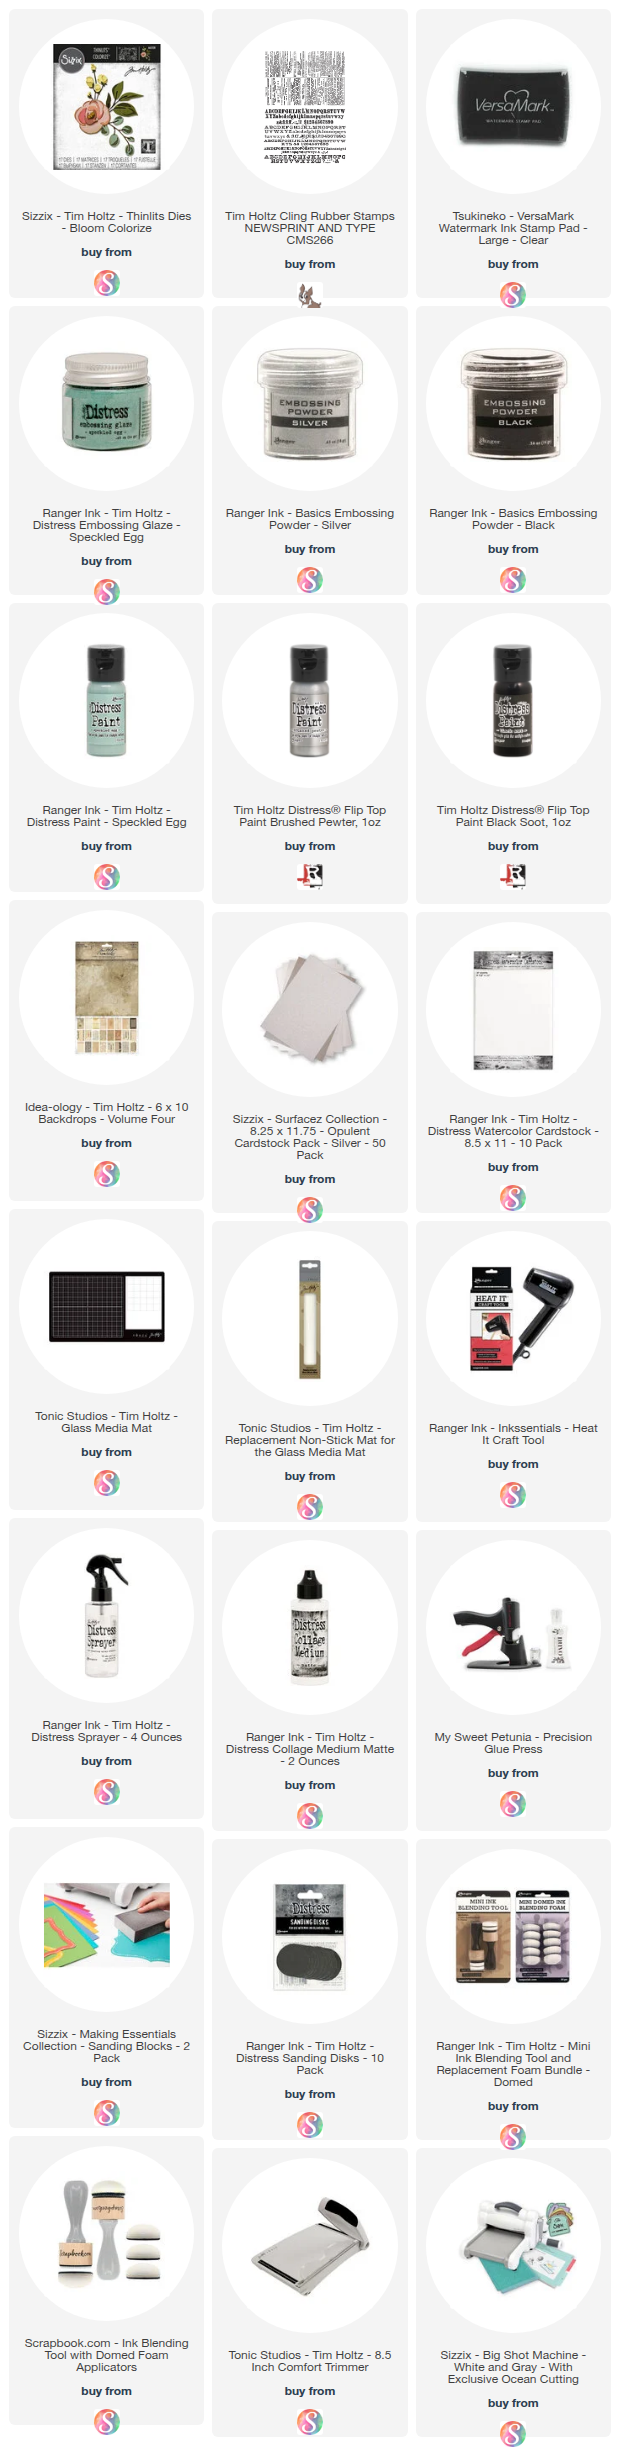
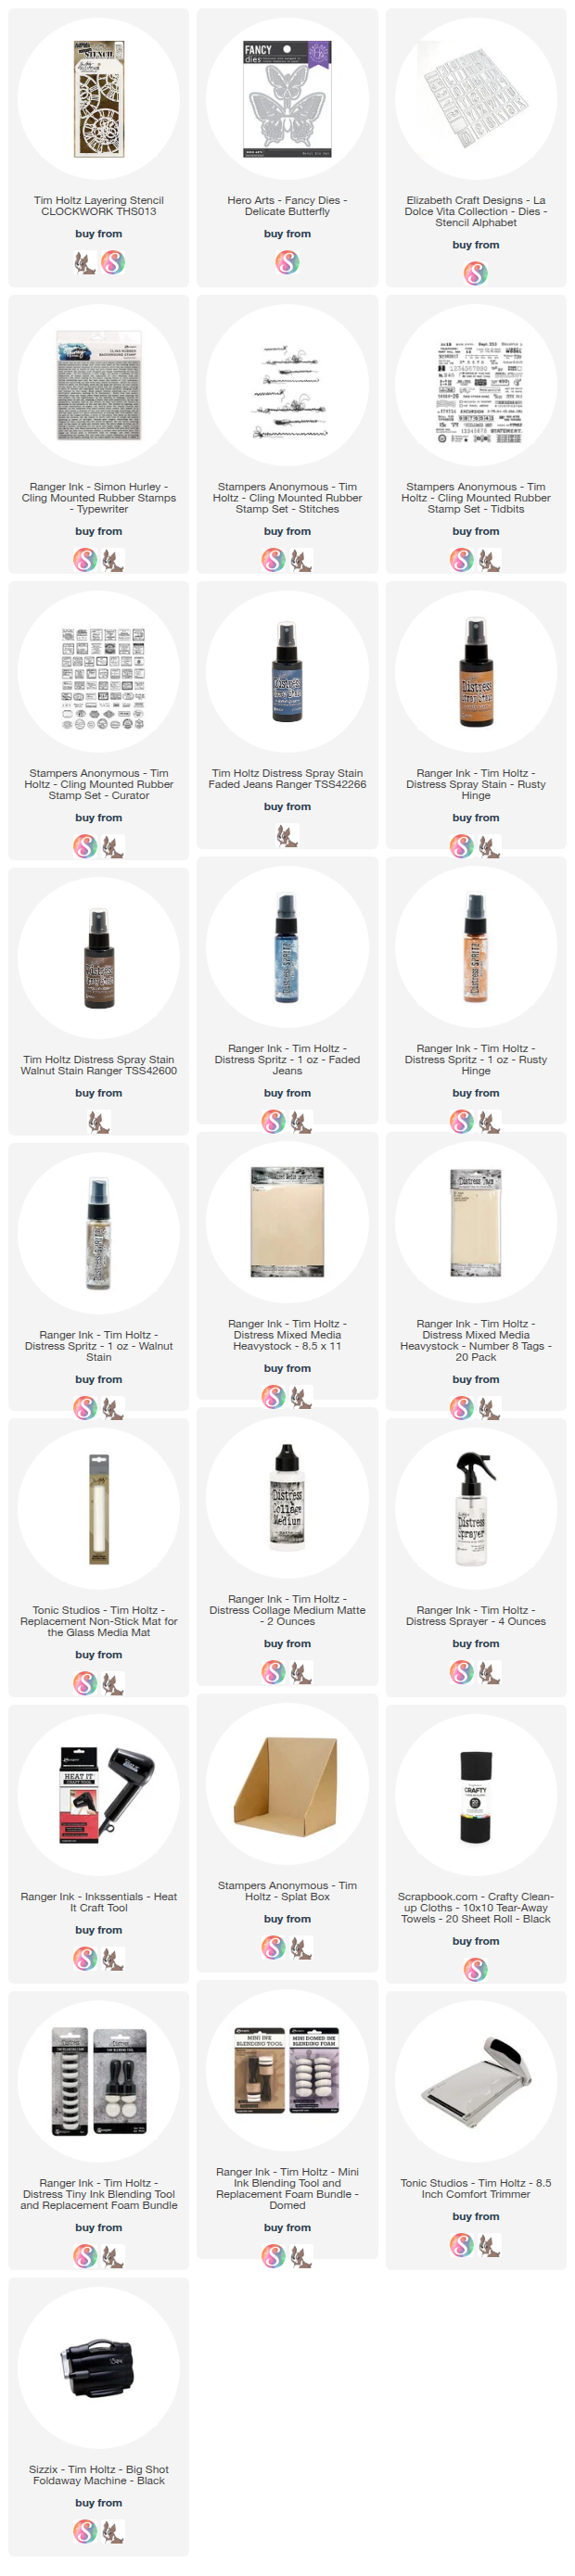
SUPPLIES USED
Below you can find the supplies I used to create this card and the swatches. When you shop through those links and whether you purchase that exact item or something else entirely, you’re supporting me at no extra cost to you. The commission I receive helps me cover the costs of my blog and other expenses, and allows me to continue to provide you with FREE inspiration and tutorials. If you want to learn more about what an affiliate link is, you can see my full affiliate and product disclosure statement here. Thank you so much for your love and support!