Happy Birthday Card | How A Piece of Patterned Paper Inspired A Card

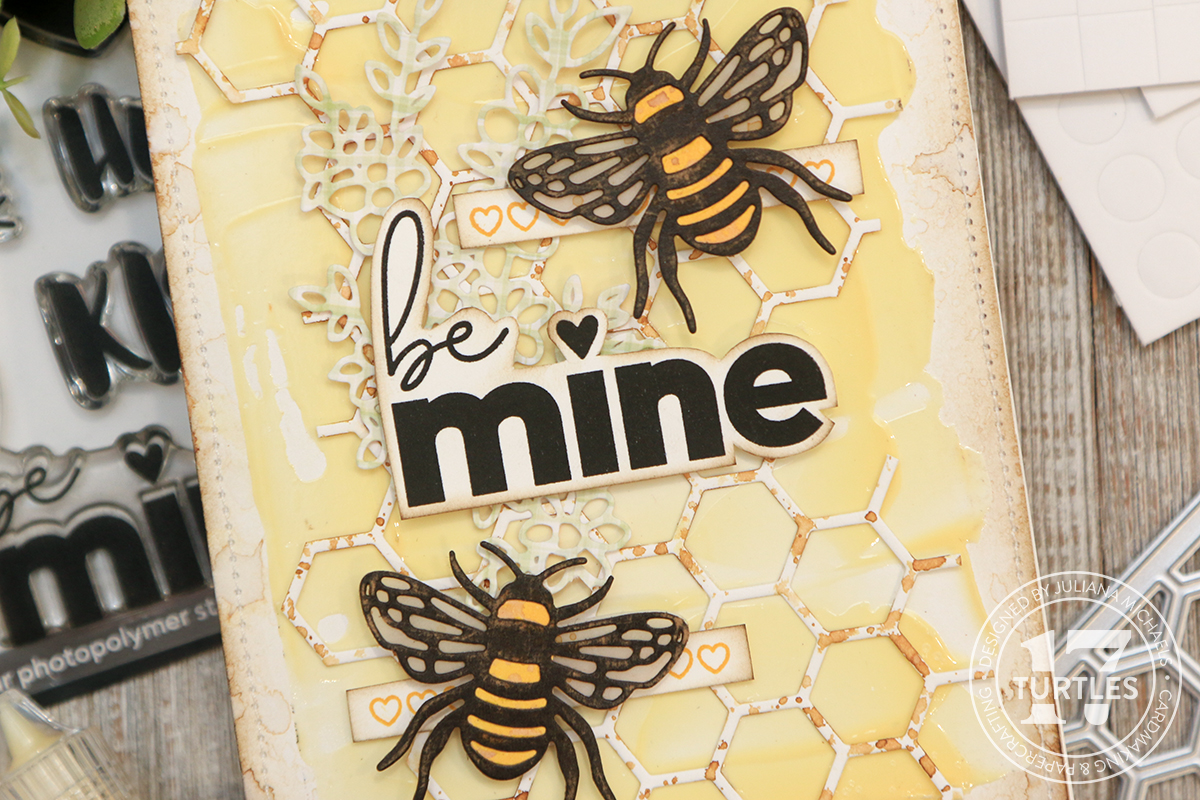
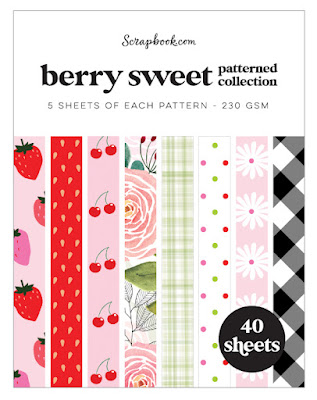
I recently received the Berry Sweet Paper Pad from Scrapbook.com and I immediately fell in love with this beautiful floral pattern that was included and it inspired me to create the card I'm sharing today.

Happy Birthday Card by Juliana Michaels featuring Scrapbook.com Berry Sweet Paper Pad, Layered Roses Bundle Die Set

While a few of the patterns in the Berry Sweet Paper Pad have berries and cherries as part of their design, most of the papers are quite neutral in their pattern and there are even some solid papers as well. This particular paper though, really spoke to me so I went through my other supplies and pulled out some things that I thought would good to use with this including the Scrapbook.com Layered Roses Bundle and Sprigs Die Sets.

HAPPY BIRTHDAY CARD | A2

Because the paper I had chosen for my background already had a lot going on, I decided to pick just one other pattern and some of the solid colors from the Berry Sweet Paper Pads to die cut for this card. I also used some a light pink cardstock from the Sherbet Paper Pad, plain white cardstock and my latest addiction...Tim Holtz Black Kraft Stock. (This is kraft paper that has a black color printed on one side. It came out for Halloween, but it is a well loved staple in my stash at the moment!)


The dies I used are the Scrapbook.com Layered Roses Bundle and Sprigs Die Sets. The rose has a solid shape and an outline shape that can be layered to create the flower. I die cut the the solid piece from white cardstock to have a base. I then die cut the outline 4 times...once each from white, dark pink, and light pink cardstock and then from Black Kraft Stock. I used the negative pieces from the dark and light pink die cuts to fill in the white outline and make it look similar to the roses on the background paper. I then took the black outline and trimmed it to fit around the rose and create another layer of interest. One other note of interest, I used a sanding disk to sand all of the Black Kraft Stock die cuts. This removes the black color and reveals the kraft paper underneath, giving it a slightly distressed look.


Once I had all of the die cutting completed, I inked the edges of the green leaves with Vintage Photo Distress Ink. I trimmed the background paper down to 4 x 5.25 inches and inked the edges with Vintage Photo Distress Ink and adhered it to a piece of Black Kraft Stock. I then adhered the began adhering the die cuts to the background using a combination of double sided foam adhesive squares and liquid adhesive.

The sentiment is from the Berry Sweet Stamp Set. It was stamped with embossing ink onto Black Kraft Stock and heat embossed with white embossing powder. I then trimmed it into a strip and adhered it with double sided foam adhesive strip. The final touch was the addition of some Pink Fresh Studio Iridescent Clear Drops.
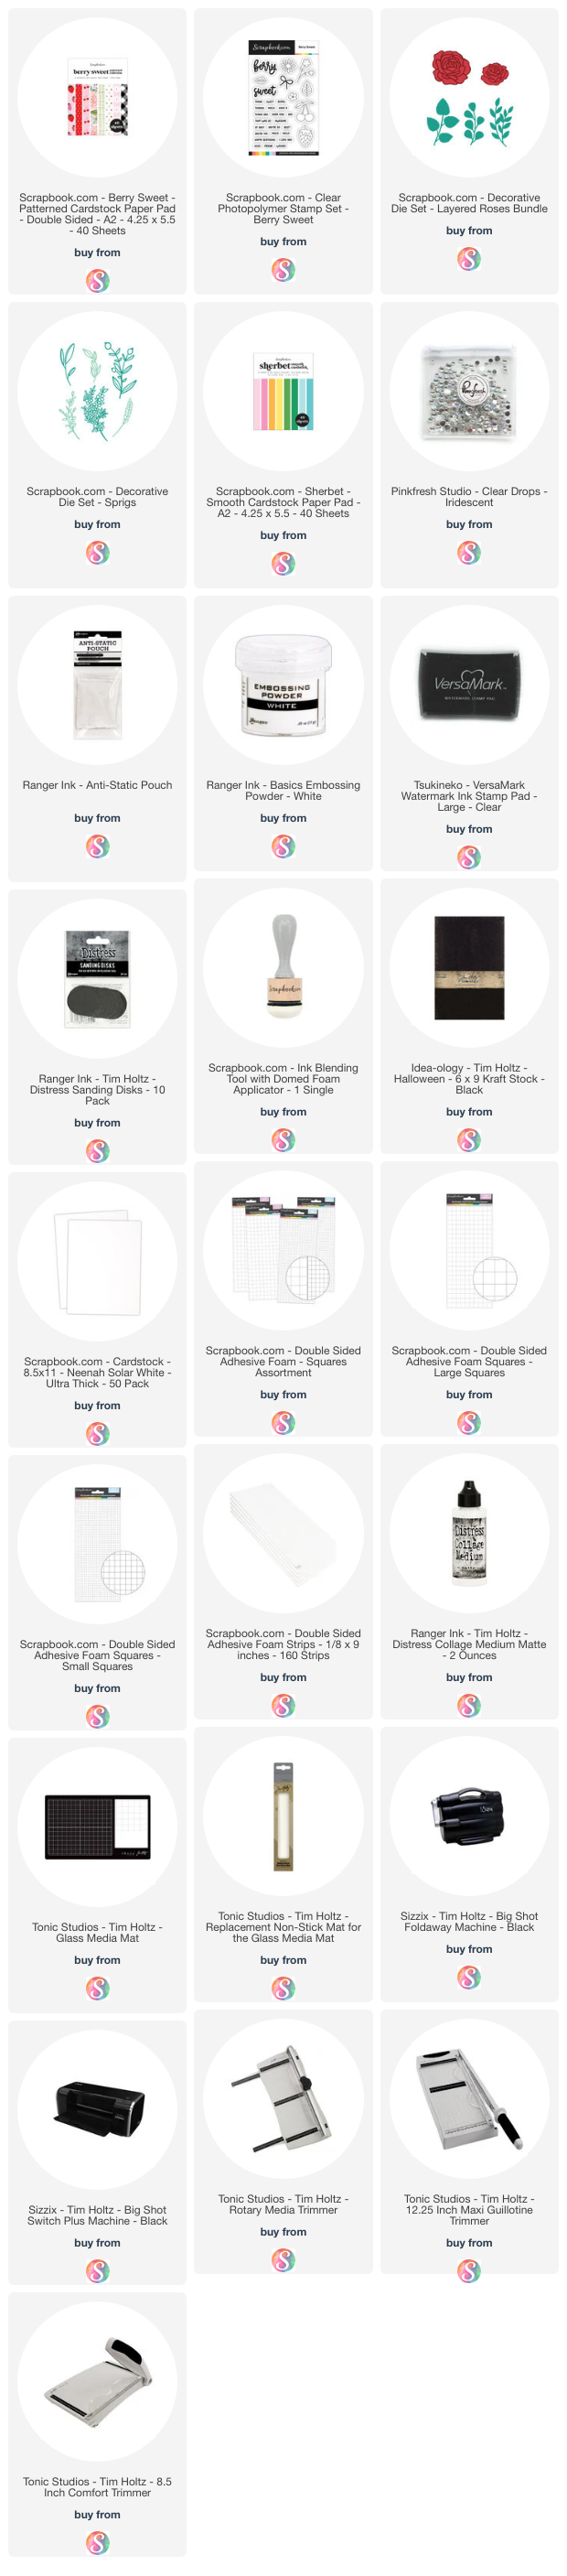
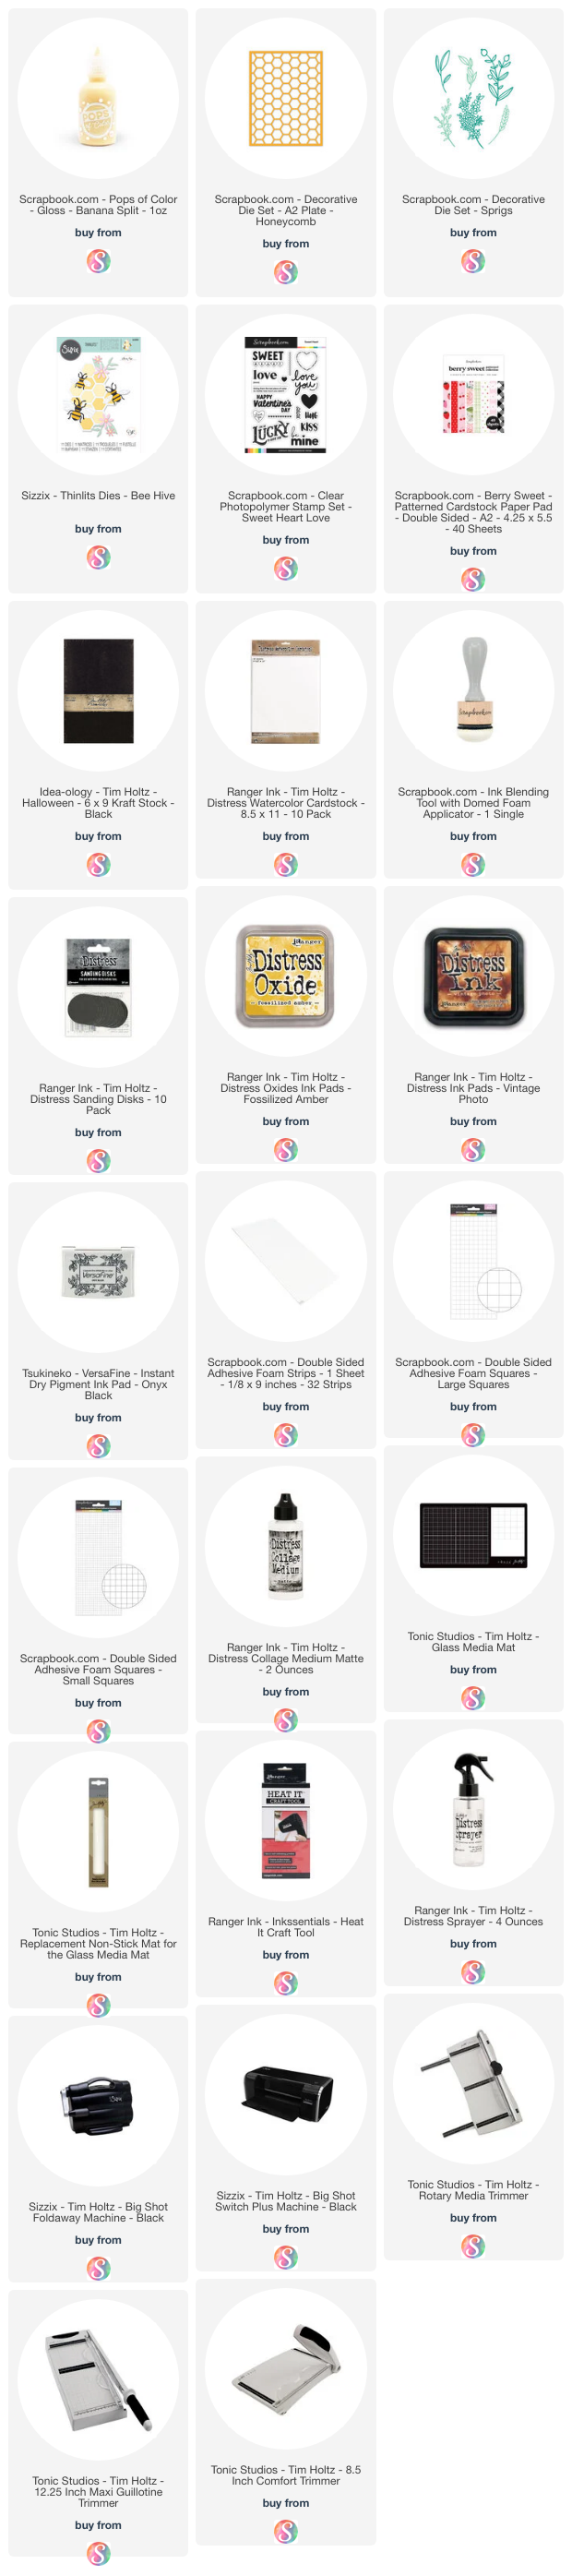
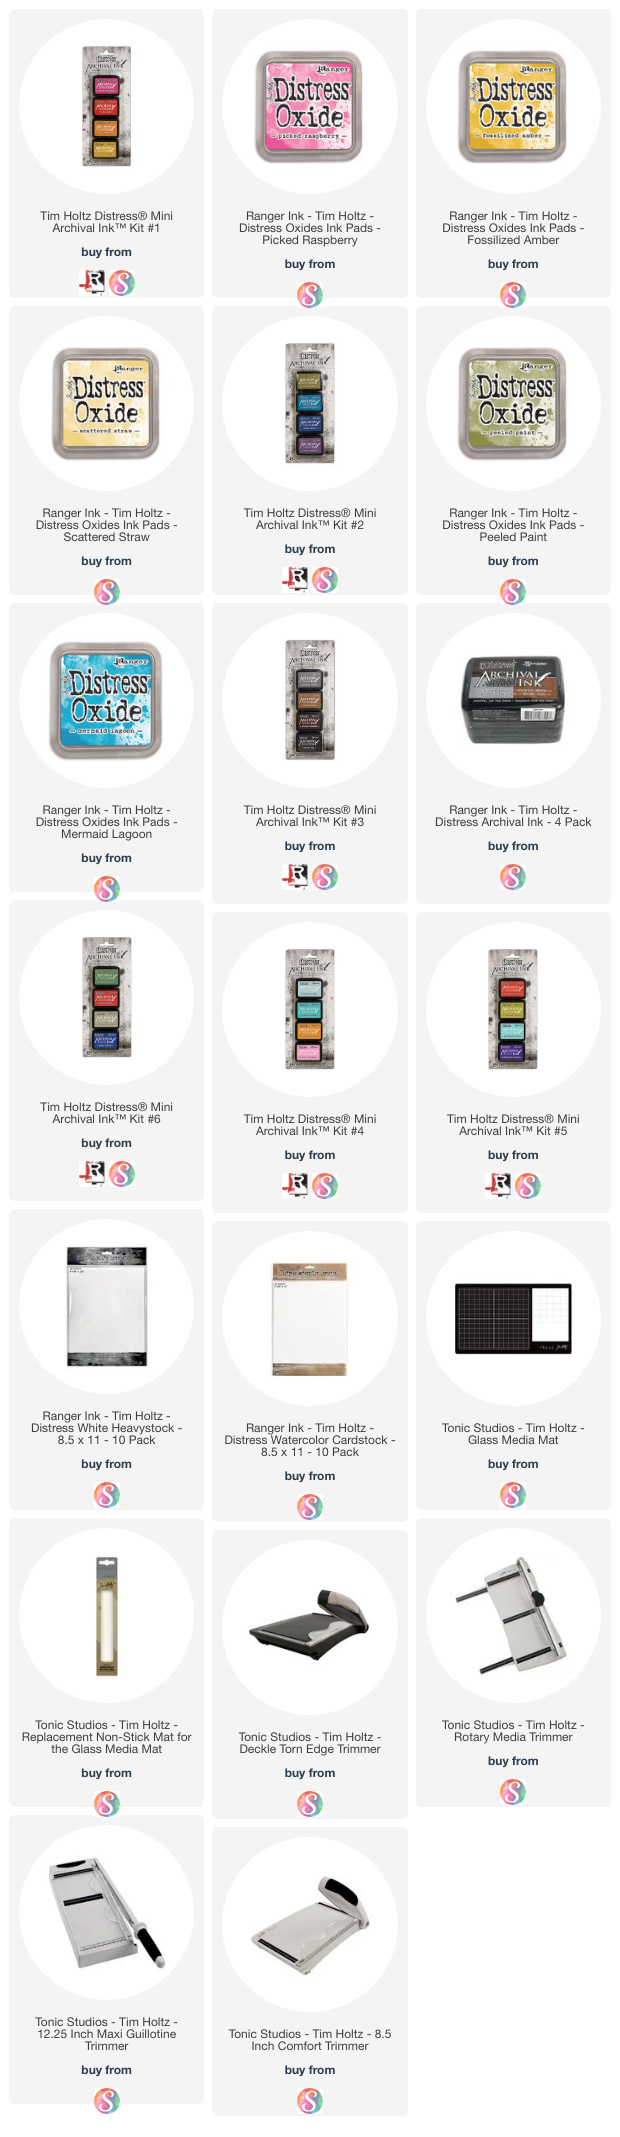

Thanks for stopping by! I hope you enjoyed learning how a piece of patterned paper inspired a card. It just goes to show...you never know where you might find inspiration for your next project.

SUPPLIES

Below you can find the products I used to create this card along with compensated affiliate links to Scrapbook.com. These links are at absolutely no cost to you. When you shop through the links below, I receive a small commission from Scrapbook.com. These links are at absolutely no cost to you and the commission I receive helps me cover the costs of my blog and other expenses, which allows me to continue to provide you with FREE inspiration and tutorials. If you want to learn more about what an affiliate link is, you can see my full affiliate and product disclosure statement here. Thank you so much for your love and support!

Bee Mine Card | How 2 New Products Inspired A Card

Scrapbook.com continues to expand their Pops of Color Collection. Most recently they added some dreamy spring time colors including Banana Split, Honeydew and Vanilla Bean. These new colors along with wanting to play with the Honeycomb A2 Plate Die inspired the card I'm sharing with you today.

I'm often inspired by the products I create with and this card is no exception. It was completely inspired by the Scrapbook.com Banana Split Pops of Color and Honeycomb A2 Plate die. After making the decision to create something with these products, I went through my stash and found other items that worked with the theme including the other dies and stamps I used.

Bee Mine Card by Juliana Michaels featuring Scrapbook.com Pops Of Color, Honeycomb Plate Die, Sprigs Die, Sweet Heart Stamp Set

BE MINE CARD | A2 SIZE

I started off with a piece of Distress Watercolor Paper and applied Banana Split Pops of Color directly to the paper. I then used an old credit card to smear the Pops Of Color across the panel. I choose to use a credit card instead of the Scrapbook.com Scraper because it was smaller in size. The smaller size allowed me to better control where the color went. I wanted to keep it toward the center of the paper and leave a border around the outer edge of just plain paper thus creating a frame for the Pops of Color.

I set this paper to the side to dry and I will admit the paper warped quite a bit. But after it was dry I adhered it to the card base using a strong adhesive and it was fine.


While the Pops of Color was drying, I worked on the other pieces for the card. I die cut a piece of Distress Watercolor Paper using the Honeycomb A2 Plate Die and ink smooshed it into a bit of Vintage Photo Distress Ink. I then used my scissors to trim it down and create a more organic look to it. I die cut a piece of patterned paper from the Scrapbook.com Berry Sweet Paper Pad using a die from the Scrapbook.com Sprigs Die Set. I die cut the bees from Black Kraft Stock (which I sanded with the Distress Sanding Disk) and Distress Watercolor Paper inked with Fossilized Amber Distress Oxide.


I also did some stamping using the Scrapbook.com Sweet Heart Stamp Set. I stamped the sentiment using Versafine Ink in Onyx Black, fussy cut it and then inked the edges with Vintage Photo Distress Ink. I also stamped the outlined mini hearts using Fossilized Amber Distress Oxide, trimmed them into strips and inked the edges with Vintage Photo Distress Ink.

Once the Pops of Color was dry, I began adhering the various layers using a combination of liquid adhesive and double sided foam adhesive. 

The final touch was to ink the edges of the background with Vintage Photo Distress Ink and to add some machine stitching.


Thanks for your visit and I hope you enjoyed seeing how two products inspired the card I created and shared. Do your products and supplies ever inspire you to create? I'd love to hear more about it!

SUPPLIES

Below you can find the products I used to create this card along with compensated affiliate links to Scrapbook.com. These links are at absolutely no cost to you. When you shop through the links below, I receive a small commission from Scrapbook.com. These links are at absolutely no cost to you and the commission I receive helps me cover the costs of my blog and other expenses, which allows me to continue to provide you with FREE inspiration and tutorials. If you want to learn more about what an affiliate link is, you can see my full affiliate and product disclosure statement here. Thank you so much for your love and support!

Bold Botanicals Notecard Set

Hello friend! I hope you're doing well! Did you catch the Tim Holtz 2023 Stampers Anonymous LIVE launch?! Tim shared all of the new stamps and stencils along with some amazing inspiration from the makers. If you missed the party, you can watch the replay and see all the maker inspiration over on Tim’s blog.

Bold Botanicals Notecard Set by Juliana Michaels featuring Tim Holtz Bold Botanicals, Tiny Prints and The Inspector Stamp Sets

I used the new Bold Botanicals to create a set of notecards that can be used for any occasion. I think they would make the perfect gift and I plan to create a larger set to gift to my Mom for Mother's Day!

I have to admit that when I first saw this set, I wasn't so sure about it. They are quite bold and modern looking. But after some stewing on ideas of what to create, an idea popped into my head and I had to give it a try. This set is the end result! I went with a slightly rainbow color theme and you could repeat the flowers to add even more colors, pick your favorite colors or go more neutral and create some in shades of brown and gray! The color options are limited only by your imagination.

Bold Botanicals Notecard Pink by Juliana Michaels featuring Tim Holtz Bold Botanicals, Tiny Prints and The Inspector Stamp Sets

I'm going to share a photo tutorial with you on how I created each note card.  To get started, I stamped the image onto a piece of Distress Watercolor Paper cut to 3.25 x 4 inches using Distress Oxide Ink in Picked Raspberry.


As I've already mentioned these images are quite bold...hence the name Bold Botanicals! And since they were a little too bold for me, I choose to use the stamp and smudge technique. For this technique you simply stamp the image using Distress Oxide Ink and then smudge the ink to create a distressed effect. Distress Oxide is the ink of choice for this technique since it stays wet for a bit after stamping.

Before you begin smudging though, I suggest dabbing off some of the excess ink in the more solid areas. If you don't do this, the ink will smudge so much that you will lose all of the details from the image.


After I dabbed off some of the excess ink, I used a paper towel to smudge the ink.


Take a look at this photo to see the effect this creates. On the right hand side you can see how it looks before the smudging and on the left side how it looks with the smudging.


Once the smudging was completed and the ink dry, I went a little old school and used my Deckle Edge Scissors to cut around the outer edge of the image leaving a small white border. If you're lucky enough to have Tim's Deckle Edge Trimmer, you could use that to get the same look. The final touch for this layer was to take the Register stamp from The Inspector stamp set and stamp it in the bottom left hand corner with Hickory Smoke Archival Ink.


Now for the background. For this step, I adhered a piece of Distress Watercolor Paper cut to 3.5 x 4.25 inches onto the center of my stamping platform using temporary adhesive. Because the paper is smaller than the stamp, you can't use the magnets to hold the paper in place.


I then took one of the stamps from the Tiny Prints Stamp Set, centered it over the paper in my stamping platform, pushed down and picked it up with the lid.


I then inked it Picked Raspberry Distress Oxide and stamped it onto the paper. The tiny floral prints on these stamps are some of my favorites and I know they'll be getting a lot of use in my future projects.


Once the ink was dry, I then took the Strictly Hand Made stamp from The Inspector stamp set. I used a stamping block to repeatedly stamp it across the paper using Distress Archival Ink in Picked Raspberry.


I love the finished look of this, but you could certainly skip this step if you are wanting to mass produce these as a gift for someone.


After I finished stamping the background, I layered it onto a piece of Distress White Heavystock cut to 3.75 x 4.5 inches to complete the card.

Here's a look at the other cards I created. For this card I used Fossilized Amber Distress Oxide for the Bold Botanical and Scattered Straw Distress Oxide for the Tiny Prints and Fossilized Amber Archival Ink for Strictly Hand Made. 

Bold Botanicals Yellow Notecard by Juliana Michaels featuring Tim Holtz Bold Botanicals, Tiny Prints and The Inspector Stamp Sets

For this card I used Peeled Paint Distress Oxide for the Bold Botanical and for the Tiny Prints and Peeled Paint Archival Ink for Strictly Hand Made. Even though I had done some test stamping, afterwards I felt like the Strictly Hand Made image didn't stand out as much as I would have liked. Another option to help it stand out more might be to use Bundled Sage when stamping with the Tiny Prints.

Bold Botanicals Green Notecard by Juliana Michaels featuring Tim Holtz Bold Botanicals, Tiny Prints and The Inspector Stamp Sets

On this one I used Mermaid Lagoon Distress Oxide for the Bold Botanical and for the Tiny Prints and Mermaid Lagoon Archival Ink for Strictly Hand Made. Here, Tumbled Glass might be an option to help the Strictly Hand Made stamping stand out more.

Bold Botanicals Blue Notecard by Juliana Michaels featuring Tim Holtz Bold Botanicals, Tiny Prints and The Inspector Stamp Sets

All in all, I'm quite pleased with the completed set and I'm pretty sure I'll be making a larger set of these to gift to my mother for Mother's Day! I hope you enjoyed this bit of inspiration and tutorial using some of the new stamps from the Tim Holtz Stampers Anonymous 2023 release including Bold Botanicals, Tiny Prints and The Inspector.

SUPPLIES

Below you can find the products I used to create this notecard set along with compensated affiliate links to Scrapbook.com. These links are at absolutely no cost to you. When you shop through the links below, I receive a small commission from Scrapbook.com. These links are at absolutely no cost to you and the commission I receive helps me cover the costs of my blog and other expenses, which allows me to continue to provide you with FREE inspiration and tutorials. If you want to learn more about what an affiliate link is, you can see my full affiliate and product disclosure statement here. Thank you so much for your love and support! 

Tim Holtz The Inspector | Three of My Favorite Techniques in One Card

Hello friend! Today I'm sharing how I incorporated three of my favorite techniques in one card using some of the new stamps and stencils from Tim Holtz Stampers Anonymous 2023 Release. There is something for everyone in this release, with it's combination of gorgeous florals, sentiments and my new favorite...The Inspector. Our beloved Professor now has a friend!

Strictly Hand Made Card by Juliana Michaels featuring Tim Holtz Stampers Anonymous The Inspector, Collage Tiles and Note Quotes Stamp Set

In the video, I'm showing you how to watercolor the main image using Distress Watercolor Pencils and then how to create the background using Distress Oxide Inks and Embossing Glaze. If the video isn't showing up for you, click HERE to watch it.


Here are few close up photos of the card to show you more of the details. To create this card I used several of the new stamp sets including The Inspector, Collage Tiles and Note Quotes. I also used the Brush Arch Stencil from the Mini Stencil Set 55. You can find a complete supply list below.


Thanks for stopping by! I hope you enjoyed the video and how I incorporated three of my favorite techniques in one card. If you're looking for more inspiration using the new stamps and stencils from the Tim Holtz Stampers Anonymous 2023 Release make sure to check out Tim's YouTube Live.


SUPPLIES

Below you can find the products I used to create this card along with compensated affiliate links to Scrapbook.com. These links are at absolutely no cost to you. When you shop through the links below, I receive a small commission from Scrapbook.com. These links are at absolutely no cost to you and the commission I receive helps me cover the costs of my blog and other expenses, which allows me to continue to provide you with FREE inspiration and tutorials. If you want to learn more about what an affiliate link is, you can see my full affiliate and product disclosure statement here. Thank you so much for your love and support!

Subscribe