Now that Metamorphosis is out in the world, I wanted to show you what you can actually do with it. I made four cards using the A2 size papers and ephemera from the collection, each one building on the last. Whether you're new to mixed media or you like to layer it on thick, there's a card here for you.
All four cards use the A2 size papers as the base layer. On all of them, I inked the edges of the papers and ephemera with Ground Espresso Distress Ink and added white splatters with Dr. Ph. Martin's Bleedproof White.

Card No. 1 — Keeping It Simple
This one's a good starting point if you're new to the collection or to mixed media. Just an A2 size paper as the base and two pieces of ephemera on top. Sometimes simple is all a card needs.

Card No. 2 — Adding More Layers
This card adds more ephemera on top of an A2 size paper base. In the video, I walk through how I choose which pieces to use together and how I layer them for balance — one of the questions I get asked most.

Card No. 3 — Embossing and Luster Wax
Here I used an embossing folder on one of the A2 size papers, then Sizzix Luster Wax to make that embossed design pop. I share tips for getting a clean embossed design, plus how to distress ephemera pieces with a sanding disc and Distress Ink. I also show a few different A2 paper options for the base layer.

Card No. 4 — Texture Paste for Serious Texture
This one starts with Clear Gesso on the printed A2 size paper, which helps it hold up to mixed media techniques. Once that's dry, I add texture paste through a stencil for real dimension. Same as the others, I talk through how I chose the ephemera to finish it off.

Watch the Full Tutorial
I walk through the full process for all four cards, including my tips on ephemera selection and placement, in the video below.

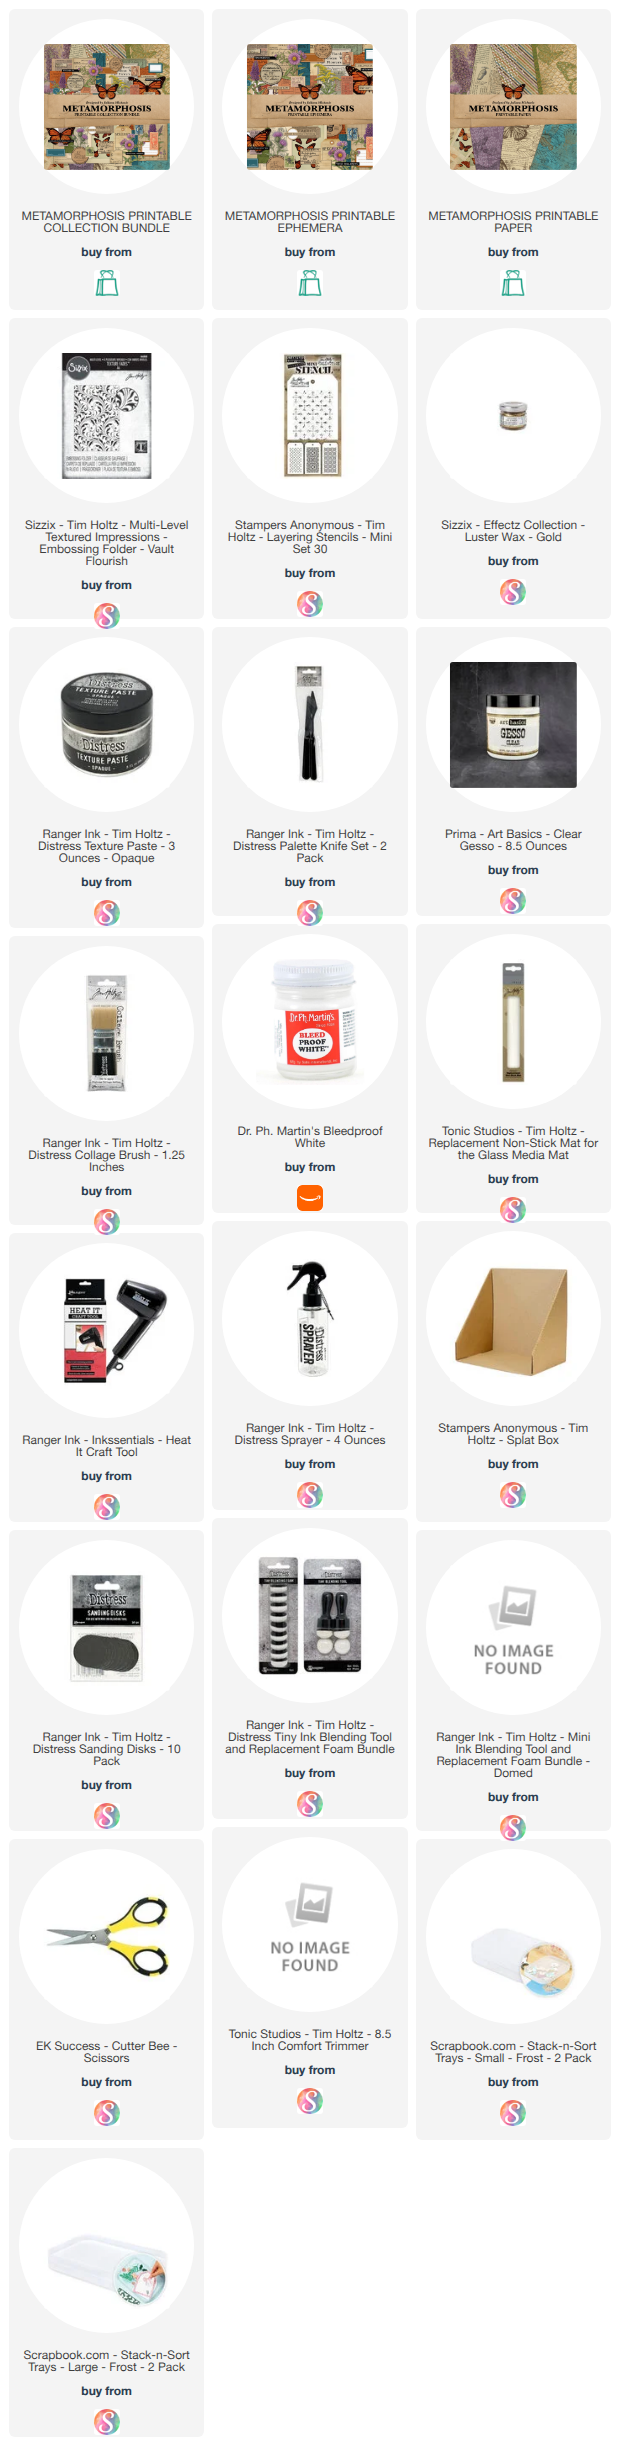
If you haven't grabbed the Metamorphosis collection yet, you can find it in my Podia shop. You can also read more about the story behind the collection in my Metamorphosis launch post.
Coming up next, I've got an art journal page and a junk journal project using this same collection, so keep an eye out for those. Thanks so much for reading and watching along today — I hope these cards gave you a few ideas to try with your own Metamorphosis papers.
Until next time, stay crafty my friend!
Juliana
Supplies
Below you will find links to the supplies I used to create these cards. When you shop through these links—whether you purchase that exact item or something else entirely—you're supporting me at no extra cost to you. The commission I receive helps me cover the costs of my blog and other expenses, and allows me to continue providing you with FREE inspiration and tutorials. If you want to learn more, you can see my full affiliate and product disclosure statement HERE. Thank you so much for your love and support!
.jpg "SBC Fest September 2026 Scrapbook.com")