Showing posts with label Ranger. Show all posts

Nothing Like A Dream | Ranger Ink Embossing Powders and Liquid Pearls

Hello friends and welcome! Today I'm excited to share with you a card I created using some fabulous new products from Ranger Ink. A couple of weeks ago, they contacted me and asked if I would like to try out some of the new products they released at Creativation. Of course I said yes and I'm still quite honored they contacted me to do this. 

For the project I'm sharing today, I played with some of their new Liquid Pearls and Embossing Powders. I'll be honest, I've never used Liquid Pearls. But...I think I may have found a fun new product to play with! I love the dimension it added to my project.

Nothing Like A Dream Card by Juliana Michaels featuring Ranger Ink Liquid Pearls, Embossing Powders, Distress Ink and Distress Oxide Inks, Tim Holtz Stampers Anonymous Entomology and Flutter Stamp Sets and Sizzix Skeleton Leaves Dies.

Creating Just For Me | Time For A Confession

Creating Just For Me

Wow, this blog has been silent for a bit hasn't it?! It's not for lack of creating on my part. Rest assured. I just needed a break from some of the "work" involved with creating, and blogging was one of those things. You may (or may not) have noticed that I stepped down from some of my design teams. This was purely based on a need for a break and realizing that I needed more time for me to do my own creating. Creating without deadlines and work. See...it was starting to become work and I was finding that I just didn't have the time for all of it. And...I was starting to not enjoy the creative process. I knew I had to make some tough decisions. In the end though, it was the right thing to do. Since the beginning of the year, I've had more time for me and more time to create just for me. Yes, I know that sounds a bit selfish. It's not that I don't want to share it with anyone. I plan on doing that for sure. It's more the type of creating that doesn't have guidelines, product specifications, deadlines, etc. My soul needed more creating just for me time and I'm so glad to be finally doing just that! It has brought fresh eyes to what I'm creating for my design teams and time for me to just play!

Along with this change in my life, I've also got a bit of confession to share. During the time I was making these decisions I realized something. As much as I tend toward the clean and graphic style, I also really love the grungy and distressed. I love getting my hand dirty with ink and paint and gesso! I've also come to admit that I'm a Tim Holtz crazy fan! Yes, I've got my fair share of Distress Inks and such, but I'm talking about doing more of the grungy, mixed media style that his products can lend themselves toward. I've secretly hoarded tons of his Halloween and Christmas products with dreams of creating vintage and distressed style vignettes and projects. However, when you don't have the time to do anything but your design team assignments, it's difficult to fit in anything extra. And then of course self doubt would set in and I'd wonder about whether or not people would like to see mixed media projects from me when they are used to what I normally share. Yes, I'll admit that thought has crept into my head more than once. It still does, even as I'm writing this post.

So, yeah, I've rarely made the time to do this sort of creating. And maybe those doubts added to my excuses to not do it. A few crafting friends have seen me play with this stuff, but they are the very few who have actually seen what I've made. And truth be told...I've not really made that much until recently. When I decided to step down from some of my teams I gave myself permission to play and create what I wanted to. In January, I began playing with some of my Tim Holtz products and of course I also added to my stash of stuff as well. I needed to fuel this creative fire within me and his products spoke to me in a way I've not had in a long time. I actually day dreamed about what I wanted to create. This is something I used to do years ago, when I spent most of my creative time scrapbooking. I have missed that type of creating. Ideas popping into your head when you aren't even creating. Usually, I've had to sit and play with the products for the ideas to come to me. I now know that this was because my creative brain had been stifled by my own doing. I've learned a valuable lesson when it comes to creating for others. Too much of good thing can be a bad thing. So from here on out, I'll be focusing on my 2 design teams and then spending the rest of my creative time doing things just for me. Yes, I'm open to doing guest design spots and such. In fact I'll be doing one here very shortly for an amazing company and I can't wait to share about it with you! But in the end, the focus will be on creating just for me.

Have you ever felt this way? Join me on IG and share what you create just for you using the #creatingjustforme. It would be great to know that I'm not alone and....that it's OK to step outside your known style and spread your wings and just create! It really is all about finding your creative joy!

Speaking of "creating just for me" here's a project I recently created just for me. It's super grungy and distressed and all things mixed media. I'm going to be putting this little "piece of art" in a prominent place in my craft room. I want it to be a reminder of what I've shared today and learned about myself recently.

Mr. Bones | Possibility Begins with Imagination


Mr Bones Possibility Begins With Imagination Mixed Media piece by Juliana Michaels featuring Tim Holtz, Stampers Anonymous, Ranger Ink, and Sizzix products.

To create this mixed media piece I used some fabulous Tim Holtz products of course.
The background was creating using Distress Oxide Ink in Vintage Photo, Antique Linen and Brushed Corduroy.  I then stamped on it using the following stamp sets by Stampers Anonymous: Inventor 1 and Entomology. I stamped them with a mix of Distress Ink and Archival Ink.

Mr Bones Possibility Begins With Imagination Mixed Media piece by Juliana Michaels featuring Tim Holtz, Stampers Anonymous, Ranger Ink, and Sizzix products.

For the focal stamping, I stamped  Mr. Bones and a moth from the Entomology set using Memento Ink in Tuxedo Black and I colored them in with my Copic Markers.

Mr Bones Possibility Begins With Imagination Mixed Media piece by Juliana Michaels featuring Tim Holtz, Stampers Anonymous, Ranger Ink, and Sizzix products.

Behind Mr. Bones you'll find some die cutting that includes the Gearhead Thinlit Dies and Timekeeper Bigz Die. I used Prima Finnabair Art Alchemy Metallique Wax in several different colors to give some color and shine to these pieces. I also used gesso, crackle paint and Alcohol Inks on the Timekeeper piece to make it look like a piece of metal.

Mr Bones Possibility Begins With Imagination Mixed Media piece by Juliana Michaels featuring Tim Holtz, Stampers Anonymous, Ranger Ink, and Sizzix products.

The phrase on the piece is one of the Tim Holtz Ideology Word Bands that I grunged up with some Alcohol Inks. I then tied it in place with a piece of string that I colored with some Distress Stain.

Mr Bones Possibility Begins With Imagination Mixed Media piece by Juliana Michaels featuring Tim Holtz, Stampers Anonymous, Ranger Ink, and Sizzix products.

To finish it off, I layered the piece onto some patterned paper from the most recent Tim Holtz Halloween Paper Pad and then finally onto a piece of gold paper from the 8x8 Kraft Stock Metallic Paper Pad.
Mr Bones Possibility Begins With Imagination Mixed Media piece by Juliana Michaels featuring Tim Holtz, Stampers Anonymous, Ranger Ink, and Sizzix products.

Finding Your Creative Joy

I hope you aren't frightened away with all that I've shared today. But if you are I completely understand. This new style I'll be sharing here and there may not be for you. This is for me though and I'm so happy to be finding my creative joy again. That alone means so very much to me. And maybe this will inspire you to search for your creative joy and starting creating just for you! Thanks so much for stopping by today and for taking the time to read through this crazy long post.

PS...If you're interested in more details on how I created this piece, just let me know in the comments below or you can message me on IG at julianamichaels.

Ranger Ink Letter It™ | Clear Stamps & Metallic Markers

Hello friends! I'm back with another post to share even more with you about the Ranger Ink Letter It™ program. Recently I shared a post about how to use the Perfect Pearls and Heat Embossing to create Thank You Cards.

I was invited by Scrapbook.com to use the products from this new program to create and share some inspiration with you. Today, I'm sharing a trio of Birthday Cards I created using some of the Clear Stamps and Metallic Pens that are a part of the Letter It™ program.

Ranger Ink Letter It™ Clear Stamps


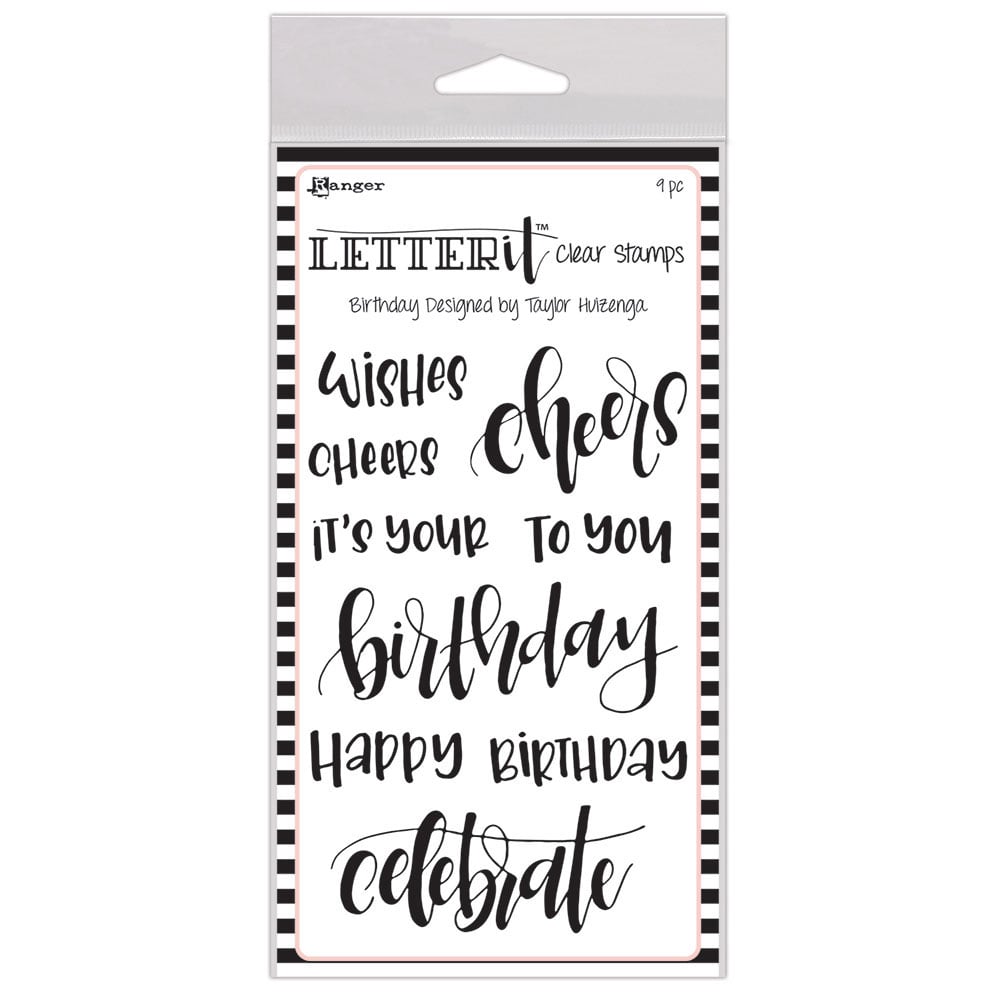
One of my favorite products from this program are the 6 clear stamp sets. I'm totally in love the gorgeous handwritten script and with all the themes they have, you're pretty much covered for just about any occasion you can imagine.


I created three simple, yet elegant, one layer birthday cards using the Birthday Clear Stamp Set. To give each card a slightly different look, I used a different color of ink to stamp each sentiment and then matted the Ranger Ink Letter It Cream Cardstock with a cardstock that matched the ink color.


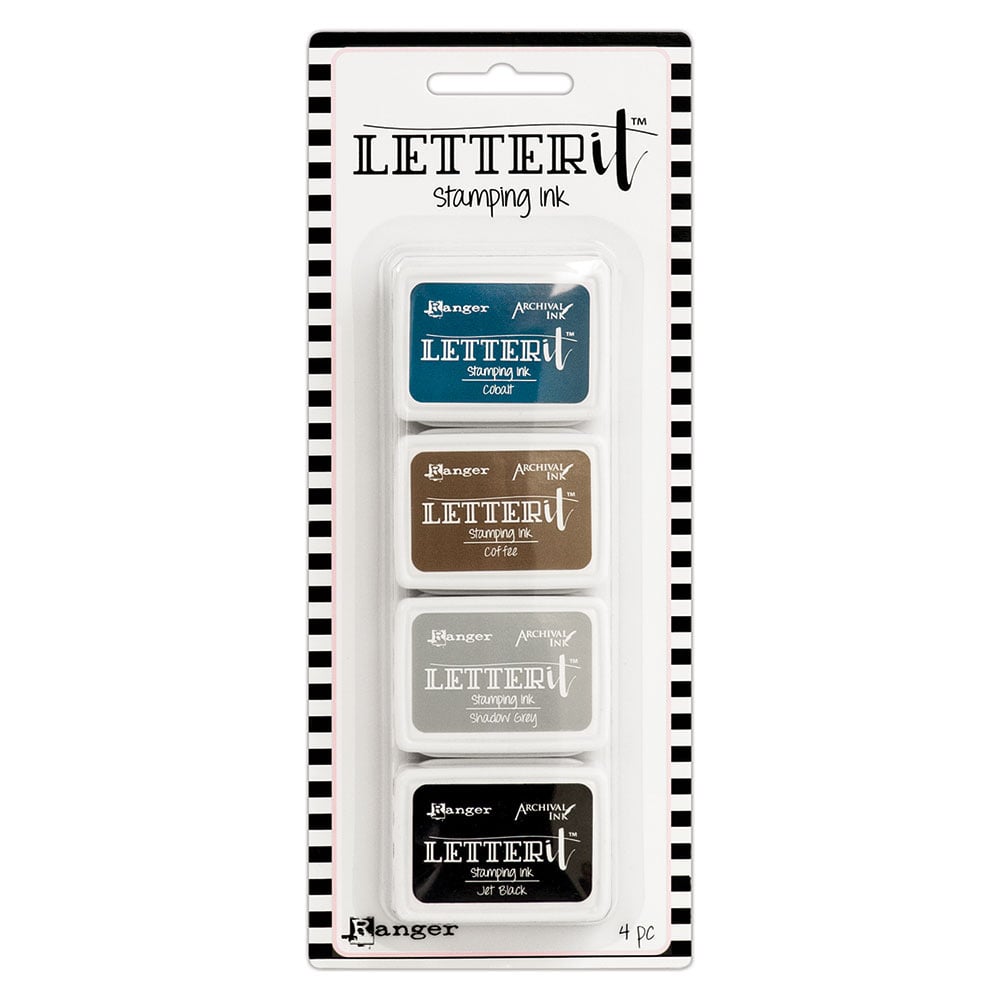
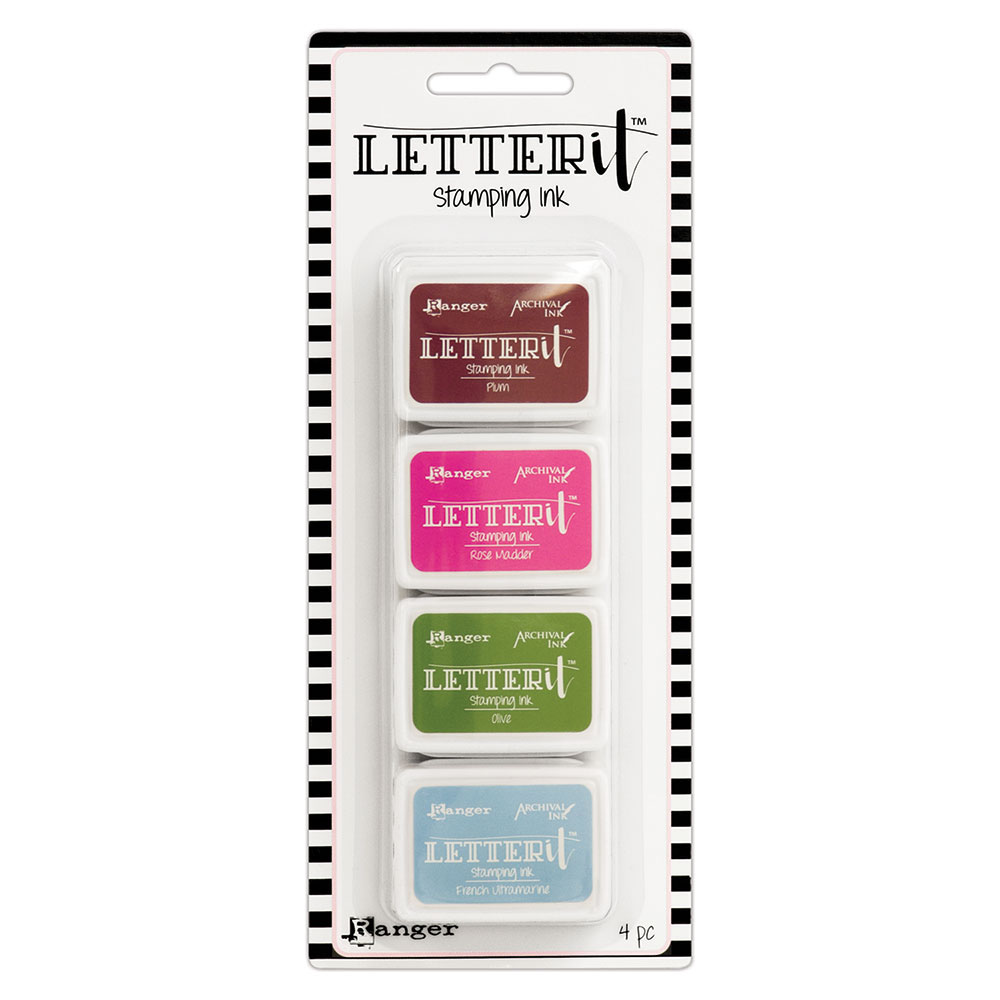
The Letter It™ program includes two Archival Ink sets. For this first card I used Archival Ink in Rose Madder. By switching up the colors, I felt like I was able to create a mix of cards that can be used for a male or female birthday depending on which color I choose.


For the second card, I went with a more masculine look and used Archival Ink in Cobalt.


For my third card, I used Archival Ink in Olive. Isn't it great how you can get an entirely different look just by switching out the colors?


Adding Details with Metallic Markers


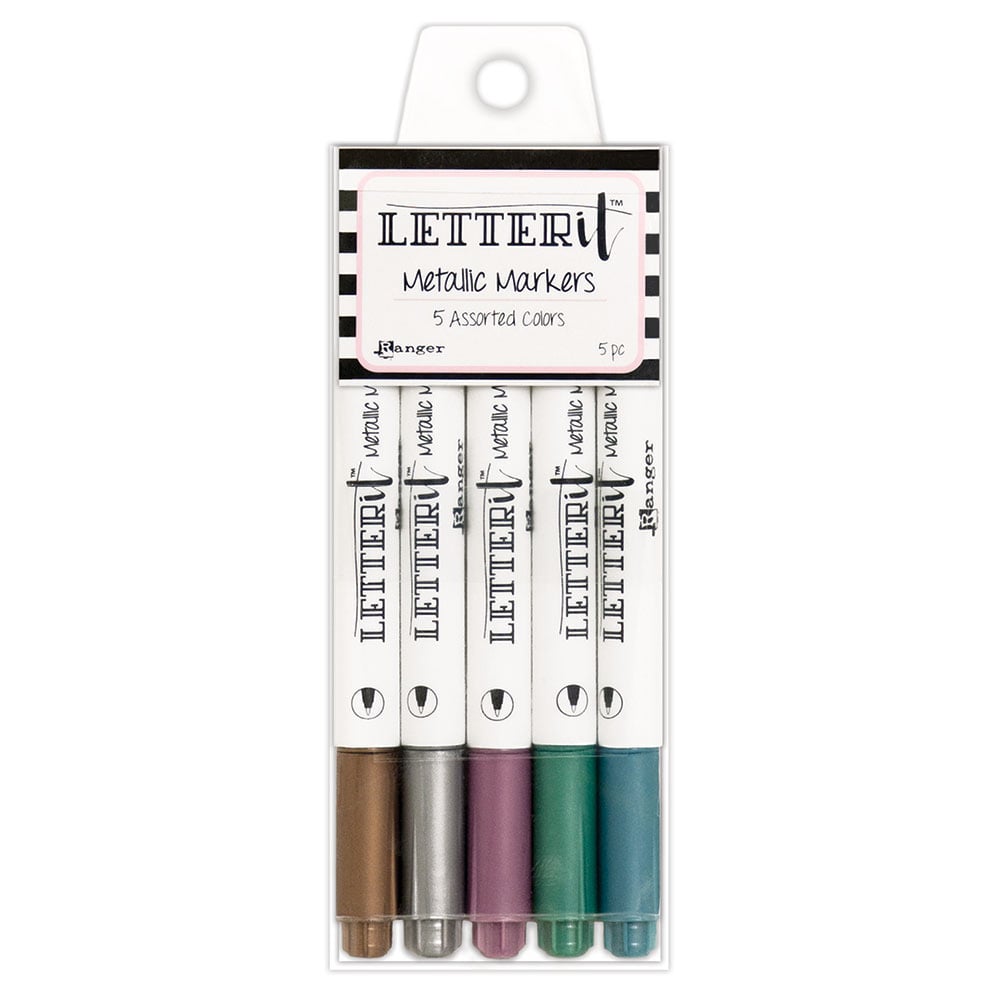
As you've been looking at each card, you might have noticed the little pen detail I added to each of the words. To do this, I used the Letter It™ Metallic Markers! These are another of my favorite products from this program. They write so smoothly and add a beautiful touch of shimmer and shine. They also look really pretty on darker papers!


I used a ruler to help me draw the straight lines around the outside edge on each card. There is just something about a border that makes my little crafty heart happy!


I hope you enjoyed learning more about the Ranger Ink Letter It™ program. If you have any questions about any of these products or other products included in this collection, please feel free to ask in the comment section. Feel free to visit Ranger Ink for more details and to view the complete Letter It™ program!

Supplies


Here are the supplies I used on the cards I created and shared with you. Affiliate links have been used to Scrapbook.com. Thank you for your support!


Perfect Pearls & Heat Embossing | Ranger Letter It™

Hello friends! I'm super excited to introduce you all to a brand new program from Ranger Ink called Letter It™! What is this program you ask? Letter It™ is a carefully curated collection of stamps, pens, embossing powders, pearl powders, mediums, tools and surfaces designed to work together so you can create beautifully personalized cards, tags, gifts, and more for all of life’s occasions! You can visit Ranger Ink for more details and to view the complete collection.

I was invited by Scrapbook.com to use the products from this new program to create and share some inspiration with you. Today, I'm sharing two Thank You cards that use the pearl powders (Perfect Pearls), embossing powders, stamps and metallic markers.

If you are looking for MORE GREAT IDEAS using the Ranger Ink Letter It™ program. Make sure to check out my Ranger Ink Letter It™ Clear Stamps & Metallic Markers post.

Perfect Pearls with Ranger Ink Letter It™


First off I want to introduce you to the Letter It™ Perfect Pearls. If you aren't familiar with Perfect Pearls, here's a bit of info about them. They are a pigment powder that was specially developed with a built in resin and can be used either wet or dry. They can be used with Perfect Medium Ink and Letter It™ Clear Stamps or over Letter It™ Medium Pens to create your own hand lettering, doodles, and designs. They can be combined with water and a water brush or paintbrush for painted pearlescent watercolor effects.

Thanks So Much Card by Juliana Michaels featuring Ranger Ink Letter It™ Perfect Pearls and Heat Embossing

To get started on the background for this card take a piece of the Ranger Letter It™ Grey Cardstock and position a stencil on top of it. Use low tack tape to hold the stencil in place. Next, take the Perfect Medium ink pad and stamp it all over the stencil. You are applying the ink through the stencil. Once you have good coverage of the ink over the stencil, remove the stencil. Next, take the brush included in the set and brush the Perfect Pearl powder over the entire piece of paper. Brush off the excess powder, spritz the entire piece with water and then heat set it with a heat tool.

Ranger Ink Letter It™ Perfect Pearls with a stencil

Heat Embossing with Ranger Ink Letter It™


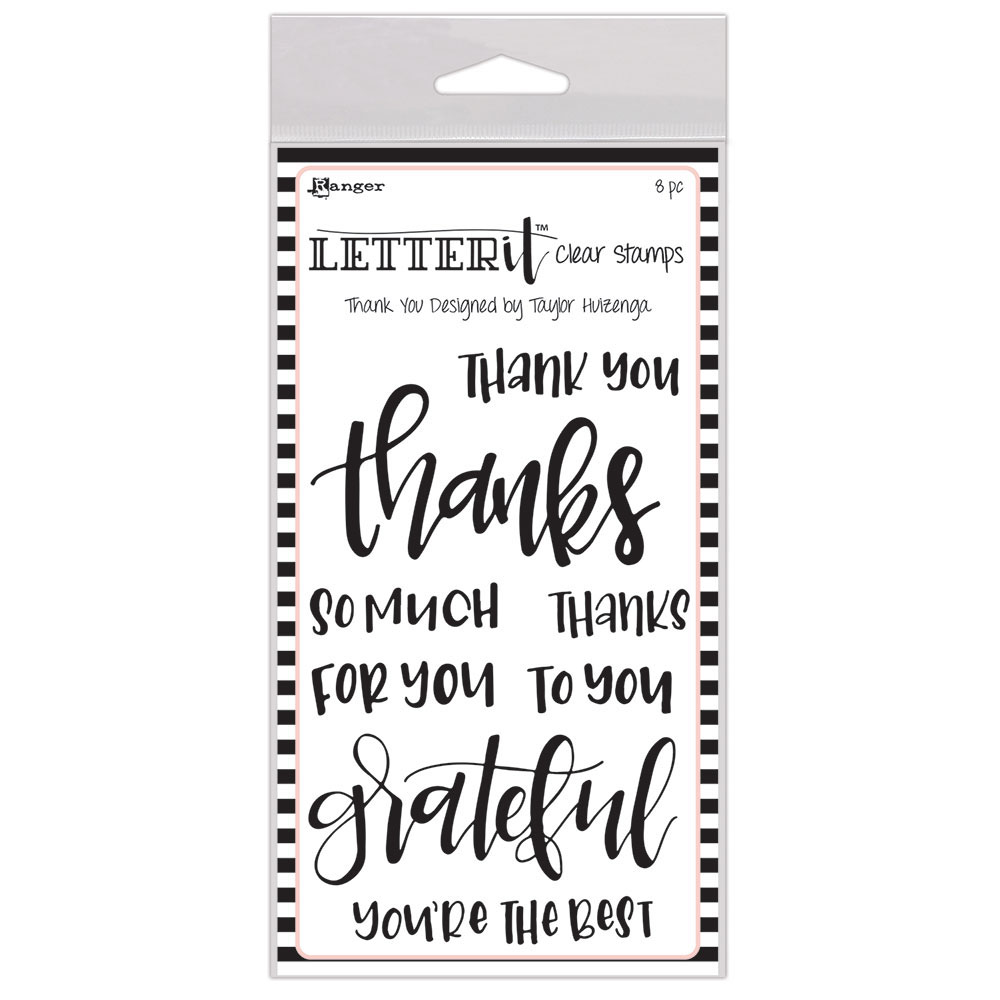
Next we are going to do some heat embossing using some of the new Letter It™ Embossing Powders and Stamps. For these cards I used the Thank You Clear Stamp Set. I am so in love with the beautiful handwritten script using on all of the stamp sets that are part of this collection! This program has 6 different stamp sets with the following themes: Thank You, Baby, Birthday, Wedding, Hello/Get Well, and Congrats. They pretty much have every occasion covered!

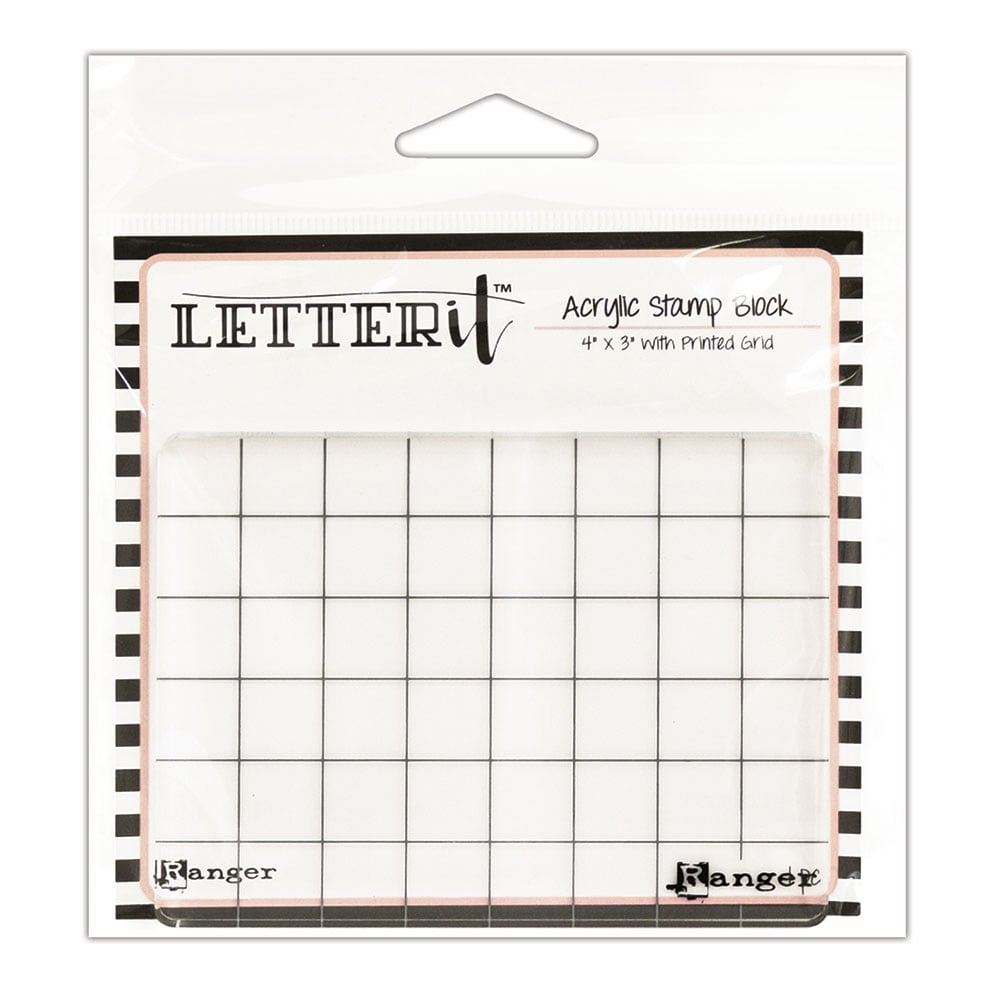
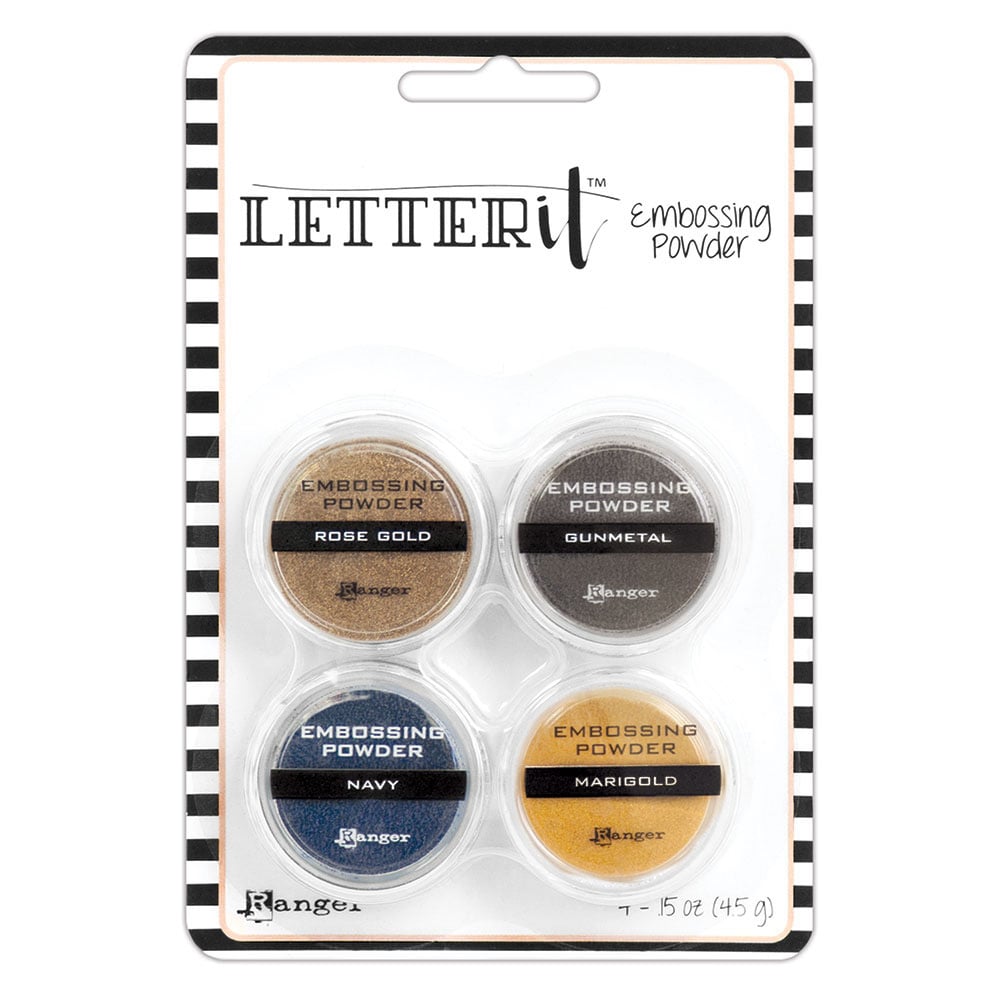
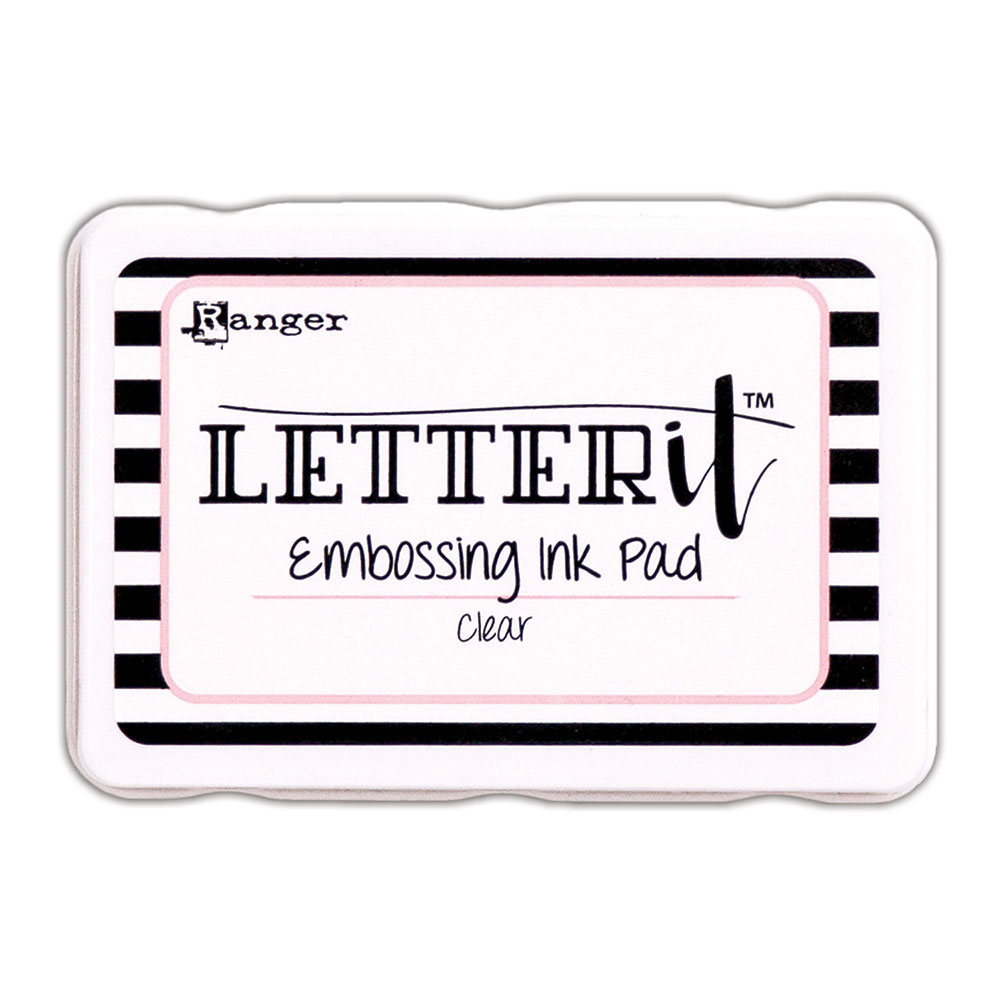
Before you do any stamping, rub over the entire piece with a powder tool to help prevent the embossing powder from sticking anywhere other than the ink. Next, place your stamp onto the Letter It 4x3 Acrylic Stamping Block and stamp your sentiment using the Letter It Embossing Ink Pad. Sprinkle the stamped image with embossing powder (for this first card I used Navy), tap off the excess powder and then heat set the image using a heat tool.

Ranger Ink Letter It™ Perfect Pearls and Heat Embossing

Now check out the shimmer and shine from the Perfect Pearls and embossing powder!

Thanks So Much Card by Juliana Michaels featuring Ranger Ink Letter It™ Perfect Pearls and Heat Embossing

A bit more tilt so you can see the shine even more!


Thanks So Much Card by Juliana Michaels featuring Ranger Ink Letter It™ Perfect Pearls and Heat Embossing

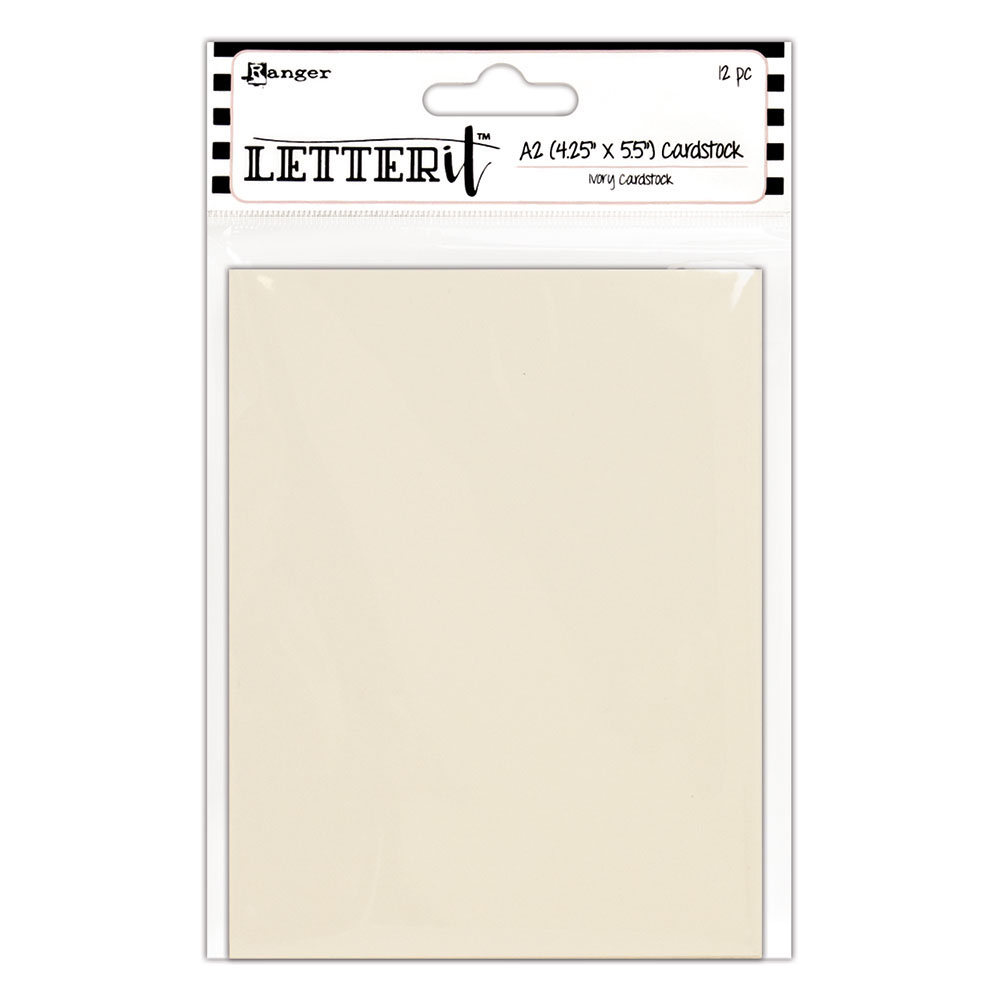
On this second card, I mixed it up a bit by using different colors. For the card base, I used the Letter It™ Ivory Cardstock. I then used the same technique as above, I just used different colors of Perfect Pearls and embossing powder.

Thanks So Much Card by Juliana Michaels featuring Ranger Ink Letter It™ Perfect Pearls and Heat Embossing

I used the Perfect Bronze pearl powder. I then stamped the sentiment and heat embossed it using the Gunmetal Embossing Powder.

Ranger Ink Letter It™ Perfect Pearls with stencil

For a final touch of interest on both cards, I used some of the new Metallic Markers. On the blue card, I added some highlights to the letters and drew a free hand border around the outside edge using the Silver Metallic Marker. On the cream card, I used the Gold Metallic Marker.

Ranger Ink Letter It™ details added with Metallic Markers

I wanted to again try to show you how shiny and pretty these cards are in real life.

Thanks So Much Card by Juliana Michaels featuring Ranger Ink Letter It™ Perfect Pearls and Heat Embossing

I just love the shimmer and shine!

Thanks So Much Card by Juliana Michaels featuring Ranger Ink Letter It™ Perfect Pearls and Heat Embossing

I hope you enjoyed learning more about the Ranger Ink Letter It™ program.  If you have any questions about any of these products or other products included in this collection, please feel free to ask in the comment section.

More Inspiration

If you are looking for MORE GREAT IDEAS using the Ranger Ink Letter It™ program. Make sure to check out my Ranger Ink Letter It™ Clear Stamps & Metallic Markers post.

Supplies

Here are the supplies I used on the cards I created and shared with you. Affiliate links have been used to Scrapbook.com. Thank you for your support!


Tea Dyed Doilies Tutorial | Bo Bunny

Hi all! As I mentioned yesterday, I created a tutorial for the Bo Bunny blog. In case you didn't see it on the Bo Bunny blog yesterday, I thought I would share the Doily Tutorial on my blog today. I used a combination of Ranger Distress Stains to create a wonderful vintage, tea dyed look on the new Bo Bunny Doilies. Also, they are having a giveaway for a one year subscription to Scrapbook Trends just for becoming a follower and leaving a comment on the blog post HERE. Make sure you hop over there and check it out!!!

The supplies you will need are Bo Bunny Doilies, Ranger Distress Stain in Picket Fence, Vintage Photo and Old Paper. You will also need a craft mat, spray water bottle and a heat tool.


Begin by dabbing the ink onto your craft mat.


Then spritz it with water using your spray bottle.


Take your finger and run it through the ink to mix it all together.


Take your doily and mist it lightly with water.


Next drag your doily through the ink.


The doily will be rather wet.


Use your heat tool to dry the doily.


Drag and smoosh your doily into the remaining ink on your craft mat.


Dry the doily again.


Add more ink to your mat. Do not use Picket Fence or water this time.


Drag your doily through the ink again.


Dry it again. Now you have your distressed tea/coffee stained doily.


And here is the layout I used my doily on...


I hope you enjoyed this tutorial! If you have any questions, just ask!


Subscribe