Wicked Halloween Tags

Happy Halloween friends! Today I have one last Halloween project to share with you... a trio of Wicked Halloween Tags.

Wicked Halloween Tags featuring Stamp and Smear Background Technique with Distress Oxide Inks. Products used include Tim Holtz Stampers Anonymous stamps and Ranger Ink

STAMP & SMEAR DISTRESS OXIDE TECHNIQUE

These tags are rather easy to make. Just grab a paper tag, any tag size you prefer. Here I used the largest tag die from the Stacked Tags Dies and cut it from Bristol paper.

Next came the fun part...one of my favorite background techniques that I like to refer to as Stamp and Smear! You simply stamp the image, wait just a bit to let it slightly dry and then smear the ink with an ink blender or paper towel. If waiting isn't your thing, you can also dab the wet ink off and then smear.

Stamp and Smear Background Technique with Distress Oxide Ink

The stamped images I used came from the following stamp sets, but feel free to go through your stash to select a mix that fits your style or the theme of your project.

Stamps used: Entomology, Mini Halloween 3, Ticket Booth, Mr Bones, The Professor, Distinguished, Tangled Webs and Fragments.

I then began stamping the images onto the tag using various Distress Oxide inks using the Stamp and Smear Technique mentioned above.

Distress Oxide Inks used: Wilted Violet, Twisted Citron, Carved Pumpkin, Brushed Corduroy, Frayed Burlap, and Black Soot. 

Once I was finished with the background, I added some extra interest by stamping the branch on a couple of these with embossing ink and then I heat embossed it with black embossing powder.

I then inked the edges and slightly over the images with Antique Linen. I added a little Black Soot and Frayed Burlap only on the edges.

Wicked Halloween Tags featuring Stamp and Smear Background Technique with Distress Oxide Inks. Products used include Tim Holtz Stampers Anonymous stamps and Ranger Ink

Now for the main feature on each tag. Here I stamped the Professor and his hat onto watercolor paper with Black Archival Ink. I then fussy cut the pieces and colored them with Distress Ink and a water brush. I also added the little spider which is heat embossed with black embossing powder and I added Glossy Accents to the lenses on his goggles.

Wicked Halloween Tag featuring Stamp and Smear Background Technique with Distress Oxide Inks. Products used include Tim Holtz Stampers Anonymous stamps and Ranger Ink

I then added the sentiment which is heat embossed with black embossing powder.

Wicked Halloween Tag featuring Stamp and Smear Background Technique with Distress Oxide Inks. Products used include Tim Holtz Stampers Anonymous stamps and Ranger Ink

This tag features Mr Bones. I used the same process as on the Professor and added Glossy Accents to his eye!

Happy Halloween Tag featuring Stamp and Smear Background Technique with Distress Oxide Inks. Products used include Tim Holtz Stampers Anonymous stamps and Ranger Ink

Happy Halloween Tag featuring Stamp and Smear Background Technique with Distress Oxide Inks. Products used include Tim Holtz Stampers Anonymous stamps and Ranger Ink

On this final tag, I used the Falling Stars Stencil to add some interest to the background. I inked through it with embossing ink and heat embossed it with liquid platinum embossing powder. I then stamped the large web and heat embossed it with black embossing powder.

The main image here is a combo of the small skull from the Mini Halloween 3 set and the hat and bowtie from the Distinguished set.

Trick or Treat Halloween Tag featuring Stamp and Smear Background Technique with Distress Oxide Inks. Products used include Tim Holtz Stampers Anonymous stamps and Ranger Ink

Trick or Treat Halloween Tag featuring Stamp and Smear Background Technique with Distress Oxide Inks. Products used include Tim Holtz Stampers Anonymous stamps and Ranger Ink

Thanks so much for stopping by today! I hope you enjoyed learning about how I created these Wicked Halloween Tags!
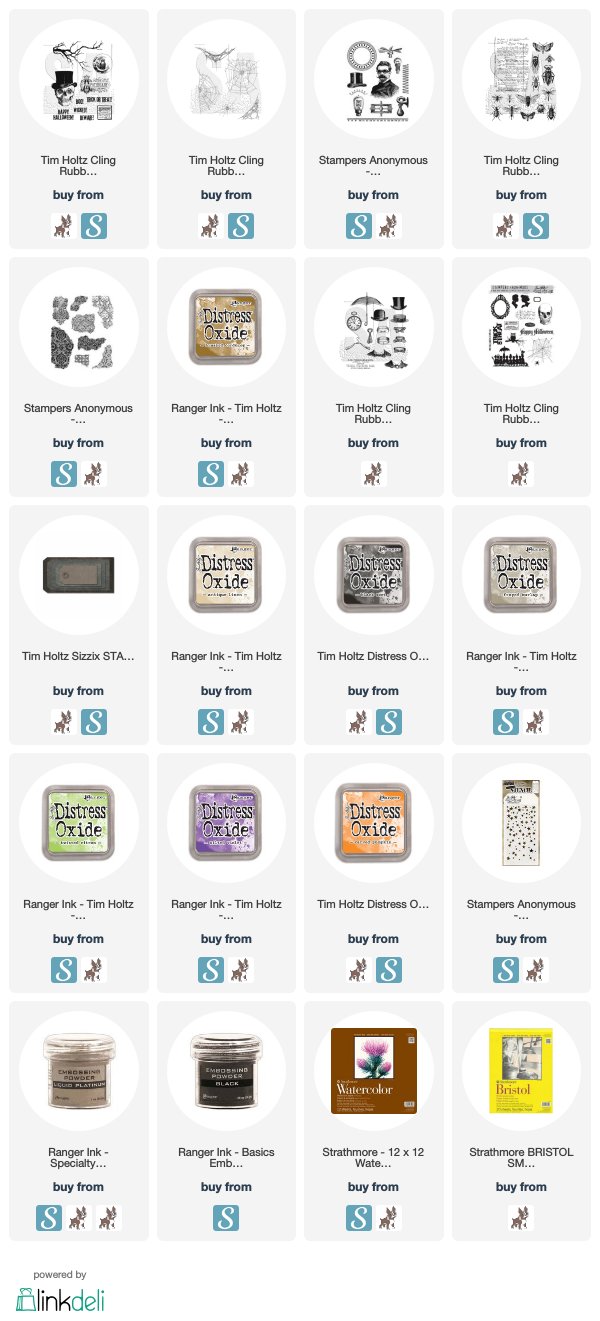
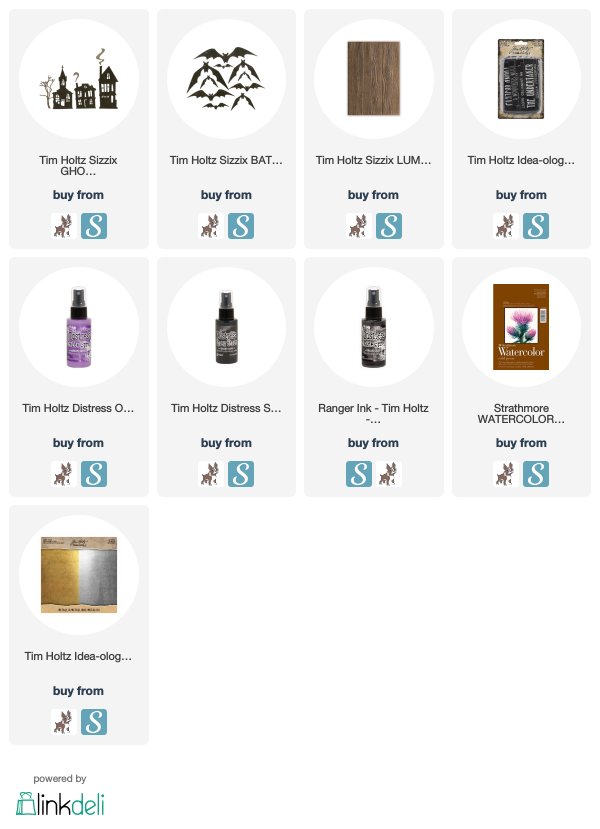
SUPPLIES

This post contains affiliate links to Scrapbook.com and Simon Says Stamp. If you buy anything through my links, it adds no extra cost to you, but it does help me keep my blog up and running and allows me to share this content with you! I truly appreciate and thank you for your support! (If you're interested, you can see my full disclosure statement here.)


Lost in the Darkness Halloween Card | Tim Holtz

Hello my crafty friends! It's been a bit, but I'm back today to share a Halloween card I created recently using a mix of Tim Holtz Sizzix dies and a fun full moon background technique. I came across this technique thanks to the talented Stacy Hutchison. I modified her technique a bit to fit the supplies I had on hand, but in the end I was Lost In The Darkness for sure!

LOST IN THE DARKNESS | HALLOWEEN CARD


Lost In The Darkness Halloween Card  featuring Tim Holtz Sizzix by Juliana Michaels

(A full list of supplies with affiliate links is located below.)

To create the background, I die cut a piece of gold foiled cardstock with a 3 inch circle die to use as a mask for the moon. (Stacy used a piece of Yupo paper, however I didn't have this on hand.) You really just need a piece of paper that has a slick surface on one side, so dig through you crafty stash to see what you have on hand that will work. The slick surface prevents the ink from drying, so you can wipe off the ink and use the mask over and over.

Lost In The Darkness Halloween Card  featuring Tim Holtz Sizzix by Juliana Michaels

I then took a piece of watercolor paper cut to 4 x 5.25 inches, placed the moon mask on top, lightly misted it with water and then sprayed the paper with Wilted Violet Distress Spray and Pumice Stone Distress Spray. I then sprayed it with some Black Soot Distress Oxide Spray. I then heat dried the piece with my heat tool.

Once everything was dry, I spritzed the piece with water and that as Stacy says..."is when the magic happens!" The ink magically runs toward the center of the moon and creates these cool streaks.

I then dried it again and then splattered the piece with a bit of watered down black acrylic paint, dried it again and then repeated the splattering with white acrylic paint.


Once the background was dry, I was able to add a spooky Halloween scene using the Ghost Town and Bat Crazy dies.

The houses use the same technique for the windows that I shared in my Halloween Haunted House. I switched up the color of the houses to more brown tones of Distress Ink. For the roofs, I cut extra houses and trimmed off the roofs. I then went a little old school and pulled out my Deckle Edge scissors and trimmed the edges to give them some interest. I then embossed them using the Lumber 3D Texture Fade Embossing Folder. This was another fun idea I saw on another amazing project Stacy shared.


After I finished adhering the haunted houses and bats I added a Halloween Quote Chip. To grunge it up a bit, I distressed the edges with the back side of my kraft knife and added a bit of Distress Ink.


To complete the card, I mounted it onto a scrap of play time paper that I wasn't super happy with but the color was perfect for this card. I then distressed the edges of the main panel using the backside of my kraft knife and inked them with a bit of Black Soot Distress Ink.


Thanks so much for stopping by today! I hope you enjoyed learning some of the details on how I created this Lost in the Darkness Halloween Card.

SUPPLIES


This post contains affiliate links to Scrapbook.com and Simon Says Stamp. If you buy anything through my links, it adds no extra cost to you, but it does help me keep my blog up and running and allows me to share this content with you! I truly appreciate and thank you for your support! (If you're interested, you can see my full disclosure statement here.)


Subscribe