I love all things entomology related. Maybe it's the nature side of it or the colors. Either way, it's something that has always caught my eye. When I saw the Tim Holtz Stampers Anonymous Moth Study Stamp Set I was immediately inspired to create some sort of curio / specimen box display. I didn't have anything that fit the size I was looking for, so I started playing around with the idea of creating my own. With a bit of trial and error I ended up with this Moth Study Curio Card that was shared during the Tim Holtz Stampers Anonymous Halloween YouTube Live. Today I'm going to walk you through the steps of how I created it.
I began with a piece of Distress Watercolor, the Square Stacked Thinlits and the Rectangle Stacked Thinlits. To create the various windows, I laid out a combination of the rectangles and squares to create a rectangle shaped layout. I used repositionable tape to hold the dies together and then placed them onto the paper and ran it through my die cut machine. By taping the dies together, I was able to easily cut the same pattern multiple times. I cut it once from the Distress Watercolor and then again from a piece of thin white craft foam. I cut each piece down to 4 5/8 x 5 7/8 inches making sure to keep each layer the same size and then glued all of the layers together to create a shadow box effect. I ink blended the top layer with Brushed Corduroy Distress Ink. I also adhered a back to the shadow box that I cut from Distress Heavy Kraftstock.
As I was cutting the layers I had a lot of "scrap" rectangles and squares, so I took one of each window shape and created a background to go into each opening. Using a mix of ink smooshing and stamping with the Moth Study and Tiny Toadstools Stamp Sets I created a scene for each window.
Next, I stamped several moth's to fit into the openings. Once the stamping was done, I watercolored the images using Distress Ink and a water brush. I then fussy cut the moths and adhered them using thin strips of double sided foam adhesive. The sentiment is from the Tiny Text Stamp Set.
With the inside of the curio box complete it was time to create the frame. As you can see, it actually opens, but you could certainly adhere the frame so that it doesn't.
To create the frame I took a piece of Distress Kraft Heavystock and embossed it with the 3D Lumber Embossing Folder. I then cut it into strips to create the top, bottom and both sides of the frame. To make things more challenging, I cut each piece twice (because I wanted the frame to look good on the inside when you opened the curio box) and I cut the corners to be at 45 degrees. With all of the frame pieces cut I heavily ink blended them with Brushed Corduroy Distress Ink, making sure to get the ink down into the cracks. I then lightly rubbed the Ground Espresso Archival Ink Pad over the paper to hit the high spots of the embossed design which really brings out the wood grain.
Before assembling the frame, I cut a piece of acetate to 4 5/8 x 5 7/8 inches. I then adhered each piece of the frame to both the front and back of the acetate.
To create the hinges, I cut a piece of champagne colored metallic kraftstock and inked it with a bit of Mushroom Alcohol Ink. I also added some Hardware Heads that were inked with the Mushroom Alcohol Ink as well.
Well, there you have it! This is how my Moth Studio Curio Specimen Box Card came to be. I hope you enjoyed learning how I put it together and that you are inspired to try making one of them yourself. If you do, I'd love to see it, so make sure and tag me on social media!
Supplies
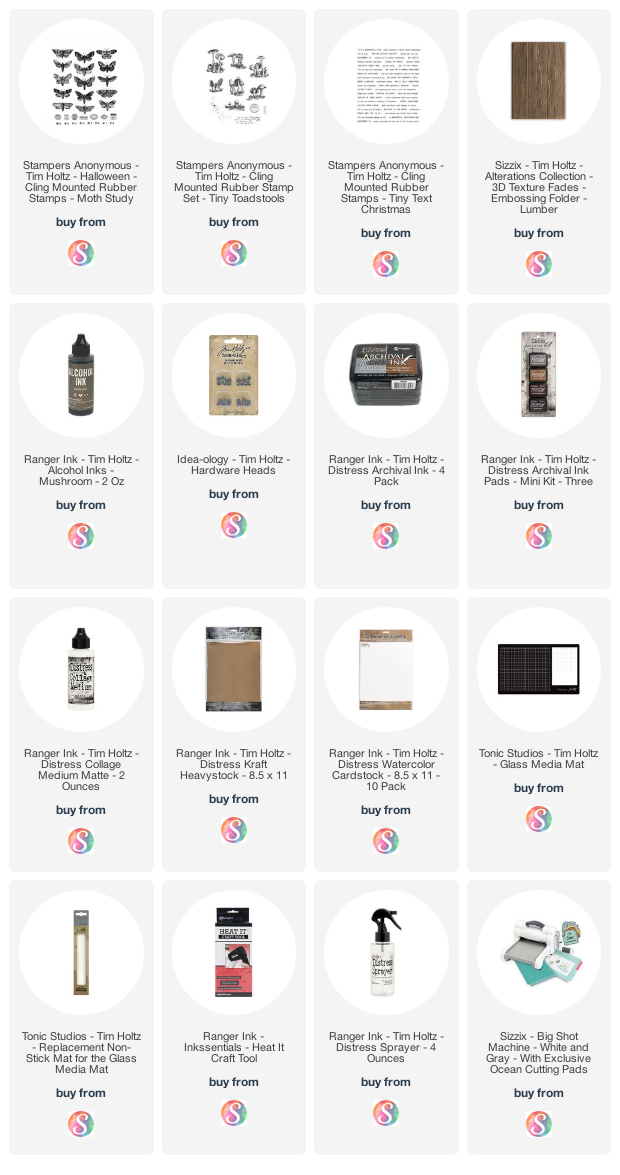
As always, you can find the products I used to create this project along with compensated affiliate links to Scrapbook.com. These links are at absolutely no extra cost to you. If you want to learn more about what an affiliate link is, you can see my full affiliate and product disclosure statement here.


I was blown away by your make when I watched the replay! Thank you for sharing the details of the making process of this fantastic work of art.
ReplyDeleteI love entomology stuff as well...I am thinking about constructing a shallow box, to make my own display box and then fill it with the Moth Study images....If/when I get it done I will let you know....Stacy did one in a pre-made display box last year I think...love both versions....thanks for filling in the how-to-dos.....
ReplyDeleteI love the entomology. I love what you did with it. Is this an A-2 card size? (4 1/4 x 5) or a A-7 (5 x 7)? or larger? Thanks for posting the how-to. Love your detail.
ReplyDeleteThanks so much Cathy! It is not a standard size because of how I had to construct the windows. It is 4 5/8 x 5 7/8 inches, so it will at least fit in a 5x7 envelope. I hope that is helpful!
Delete