

Understanding Mixed Media: It's All About Planning
When it comes to mixed media cardmaking, a little planning goes a long way. The biggest challenge people face isn't the techniques themselves—it's knowing what order to use them in so you don't create a muddy disaster or lose the crisp details you worked so hard on.
Here's what I've learned: different mediums behave differently, and understanding those behaviors helps you make better decisions. Water-reactive inks (like dye inks) will reactivate when they get wet again, which means they can blend and move. Pigment inks are more permanent once they dry. And archival inks are waterproof, so they won't budge no matter what you layer on top of them.
This is why I always reach for waterproof or pigment inks when I'm stamping on mixed media backgrounds—I want those images to stay crisp even when I add more layers. But if you want a softer, blended look, regular dye inks can work beautifully too. There's no single "right" way—it's about understanding your supplies and choosing what works for the effect you want.
The same thinking applies to when you add texture paste, sprays, and inking. Some techniques need to go first (like paste through stencils—it's hard to stamp over bumpy texture!), while others work better as final layers (like shimmer sprays). Once you understand the "why" behind the order, you can experiment with confidence and even break the rules intentionally.
Building the Background: Seven Layers
For this card, I built the background using seven different techniques. You don't have to use all seven—you could pick just one or two and still create something beautiful. But I wanted to show you how layering multiple techniques creates depth and interest. Here's what I did:
Step 1: Monoprinting with Stencil
I started by applying dye ink directly to my stencil, spritzing it with water, and then pressing it onto watercolor cardstock to transfer the design. This creates a soft, watercolor-like background layer.

Step 2: Ink Smooshing
Next, I added subtle color by smooshing ink onto my craft mat, spritzing it with water, and tapping sections of my background into it. I dried this layer before moving on so the colors would build rather than blend.

Step 3: Partial Stamping for Texture
Using waterproof ink and background stamps (script and grid), I added random bits of stamped texture—not full crisp images, just hints here and there to create visual interest.

Step 4: Paste Through Stencil
I used a palette knife to spread metallic paste through my stencil, adding both texture and shimmer. This is one of those techniques you want to do after stamping, since it's tricky to stamp over bumpy paste.

Step 5: Shimmer Spray
A light misting of shimmer spray adds a subtle sparkle that catches the light beautifully in person (even if it doesn't always show up on camera!).
Step 6: Splatters with Shimmer Spray
I added a few deliberate splatters using spray ink to create organic texture and visual interest across the background.
Step 7: Ink Edges and Water Spray
Finally, I inked around the edges with a blending brush, then added water splatters with a spray bottle. As the water dried, it pulled the ink and created that beautiful vintage, weathered effect.

Again, you can mix and match any of these techniques or use just one or two. The key is going in an order that makes sense for the mediums you're working with. If you want to try all seven, just follow this sequence and you'll avoid those muddy-mess moments!
Watch the Full Tutorial
Ready to see all the details, tips, and why I made each decision along the way? The video walks you through my entire thought process, shows you each technique in action, and gives you all the little tips I've learned over the years. Plus, you'll see how each layer builds on the last to create that final textured background.
Mixed Media Cardmaking | Part 2
This is Part 1 of a two-part series. In Part 2, I'll take you step-by-step through creating the embellishments, plus I'll share my best tips for assembling the layers and adding dimension to complete the card. So be sure to watch for that next video!

What's Your Approach to Mixed Media?
I'd love to hear from you! Do you plan out your mixed media layers, or do you prefer to wing it and see what happens? Which of these seven techniques are you most excited to try? Drop a comment on the video or send me a message on Instagram—I always love hearing about your creative process!
Related Posts You Might Enjoy:
- Mixed Media Cardmaking with Tim Holtz
- Tim Holtz Distress Foundry Wax Tips & Techniques
- Avoid the Ink Blending Rut: 3 Mixed Media Stencil Techniques
Happy crafting!
~ Juliana
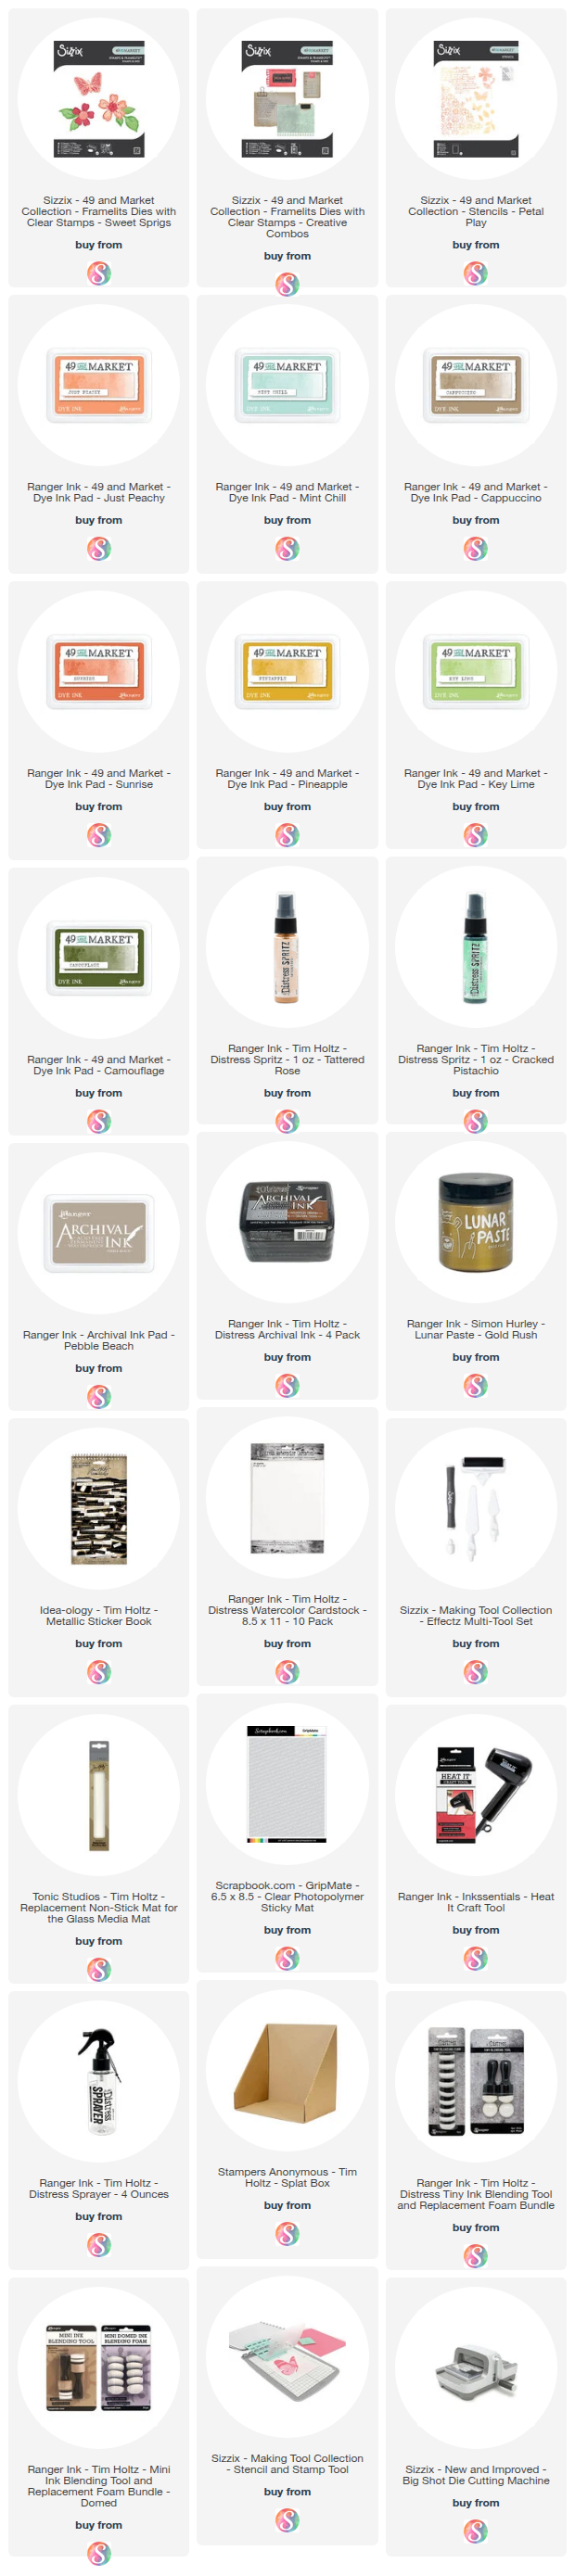
Supplies
Below you'll find the supplies I used to create this card. When you shop through these links—whether you purchase that exact item or something else entirely—you're supporting me at no extra cost to you. The commission I receive helps me cover the costs of my blog and other expenses, and allows me to continue providing you with FREE inspiration and tutorials. If you want to learn more, you can see my full affiliate and product disclosure statement here. Thank you so much for your love and support!


No comments
Every time you smile at someone, it is an action of love, a gift to that person, a beautiful thing. ~Mother Teresa
HUGS!
JULIANA