Gel plates, Distress Oxides & stencils? Why yes please! Hey crafty friends, I'm back today sharing a couple of new slimline cards and how to create backgrounds with gel plates, Distress Oxide Inks and stencils. This technique has recently become a favorite of mine for many reasons. I love the mixed media look of it, how easy it is to clean up during and after the process, how it lets me use a bunch of my crafty supplies in new ways, and the unique one of a kind backgrounds I can create. The other great thing about this technique is it can be used for more than just cards. This technique could be used to create fodder, in your junk journal and more.
If you're interested in watching my process, I invite you to head over to my Instagram and check out my very first IGTV video.
How To Create Backgrounds with Gel Plates, Distress Oxide Inks and Stencils
Featuring:
- Scrapbook.com Flower Garden Slimline Stencil
- Scrapbook.com Mod Circles Stencil
- Scrapbook.com Little Boxes Stencil
- Scrapbook.com Memories Stamp Set
- Tim Holtz Sizzix Media Marks Thinlits
- Tim Holtz Stampers Anonymous Grunged Stamp Set
- Pinkfresh Studio Glacier Jewels
Each of these cards features the Flower Garden Slimline Stencil, Mod Circle Stencil and Little Boxes Stencil from
Scrapbook.com and Distress White Heavystock cut to 3.25 x 7 inches. Let me walk you through how I created each layer for the gel plate background.
First layer: I began by applying Raspberry Distress Oxide Ink to my Gel Plate with a brayer and then laid the Flower Garden Slimline Stencil on top of the ink. Next, I placed a piece of Distress White Heavystock on top and I rubbed over the paper to push it into the stencil. I then peeled off the paper to reveal the lifted ink design. To use up the remaining ink, I took a second piece of paper and created what I call the second lifted designs and is the piece I used on the second card I'm sharing below.
Second layer: I repeated the above process this time using the Mod Circles Stencil with Hickory Smoke Distress Oxide. I did the first lift on the first piece of paper and the second lift on the second piece of paper which was used as the background on the second card I'm sharing.
Third layer: Once again, I repeated the same process. This time I used the Little Boxes Stencil with Fossilized Amber Distress Oxide. However, because I just wanted a touch of yellow, I used the first lift technique on both cards. That means I applied the ink the the gel plate, placed the stencil on top, then the paper and repeated this process again for the second piece of paper. I then pulled up the remaining ink with a piece of "scratch" paper that I actually ended up using on another card I'll be sharing soon.

With the gel plate printing completed, I decided to add some stamping for a bit more color and interest. On this first card, I inked up the alphabet stamp from the Tim Holtz Grunged Stamp Set with Peacock Feather Distress Oxide Ink. I then added the squiggly line image using Archival Ink in Black Soot. Next, I added a die cut from the Media Marks Thinlits. The sentiment is from the Scrapbook.com Memories Stamp Stamp and I finished off the card with a few Pinkfresh Studio Glacier Jewels.
Here is the second card using the second background I created.
As you can see, I added some stamping to this card as well. Here I used the Distress Oxide Peacock Feathers with the dotted stamp from the Grunged Stamp Set. I then stamped the small circle with Black Soot Archival Ink.
You might notice that some of the circles seem light in color. That is because I stamped the image twice before reinking it.
I once again added a die cut from the Media Marks Thinlits Set and a sentiment from the Memories Stamp Set by Scrapbook.com. I used the Stacked Circles Thinlits to die cut the word and create the layered look.
To finish off this second card, I added some more of the beautiful Pinkfresh Studio Glacier Jewels.
Thanks so much for stopping by today. I hope you enjoyed learning how to create backgrounds with gel plates, Distress Oxide Inks and stencils! I also hope you take a few minutes to check out my IGTV video. I'd love to hear what you think about it!
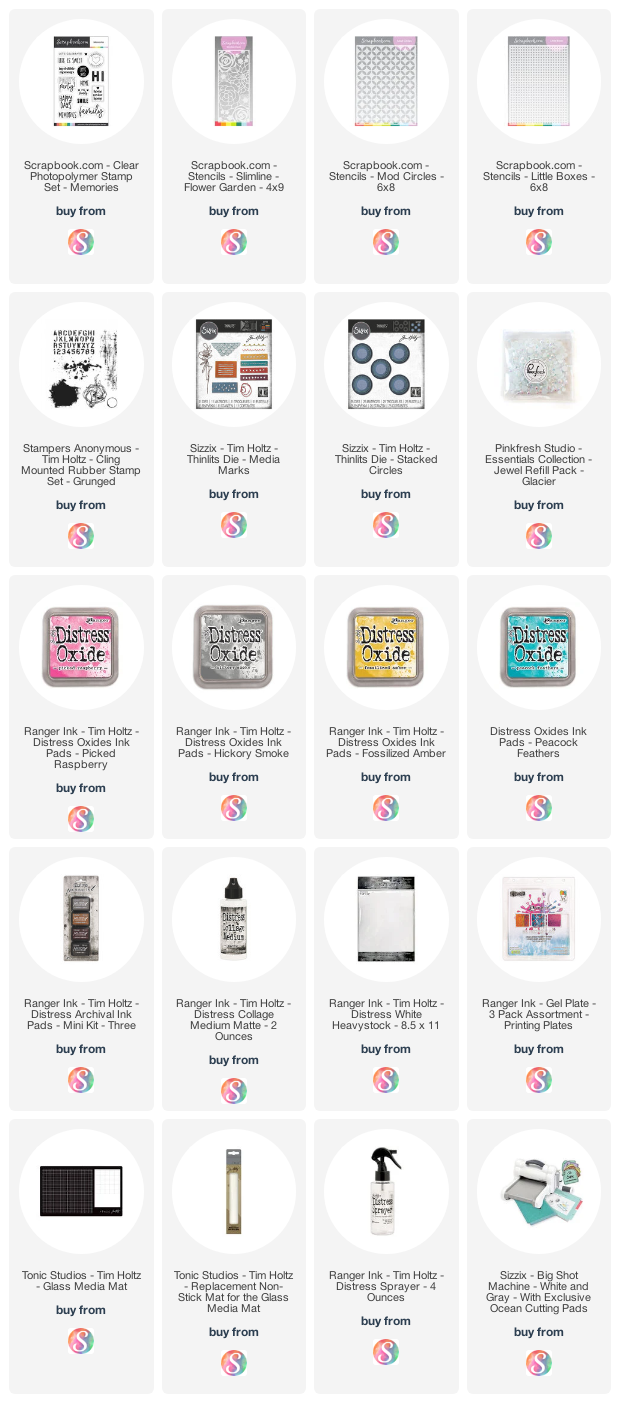
Supplies
As always, you can find the products I used to create this project along with compensated affiliate links to
Scrapbook.com. These links are at absolutely no extra cost to you. If you want to learn more about what an affiliate link is, you can see my full affiliate and product disclosure statement
here.


No comments
Every time you smile at someone, it is an action of love, a gift to that person, a beautiful thing. ~Mother Teresa
HUGS!
JULIANA