
I don't know about you, but when it comes to creating, I always try to take some time to just play around with products and techniques and see what happens. Maybe it's a technique you've done a million times with a particular product. Then you get a new product and wonder what will happen if you try that technique with it. Maybe you try a new technique that someone else had shared but decide to add a twist to it to see what happens. Sometimes it works, and sometimes it doesn't. The main thing to remember is to have fun and play.
On the cards I'm sharing today I used a technique I've done a million times, this time with new products, and I was inspired by a technique Zoe Hillman shared on her Instagram using Pitch Black Alcohol Ink and an embossing folder. When I started, I had no idea what the end result would be, but the play time led me to some fun discoveries that I can't wait to share with you today! Both of these cards were created for the Tim Holtz 2021 Stampers Anonymous Halloween YouTube Live. If you happened to have missed it, you can catch the replay over on Tim's blog or YouTube channel.

To begin you will need Yupo paper, 91% Rubbing Alcohol, Pitch Black Alcohol Ink, Black Staz On Ink, Paper towels (I actually prefer the ones with texture), and a stamp with a large bold design to it. Here I'm using the skull from the new Tim Holtz Stampers Anonymous Rest In Peace Stamp Set.
This first part was inspired by the technique Zoe had shared. I began by trimming a piece of Yupo paper to size and instead of embossing it with the embossing folder, I just coated the paper with 91% Rubbing Alcohol. While the rubbing alcohol was still wet, I applied Pitch Black Alcohol Ink to the paper making sure to apply enough ink that I covered the entire piece of paper with ink. Once it was dry, I held the paper upright and poured rubbing alcohol over the paper allowing it to flow down the paper. I suggest placing a paper towel underneath to absorb the run off. As you will see, this will remove the ink but not entirely, as the paper has been stained. You are left with a piece of dark blue colored paper. Once the paper was dry, I then stamp the skull using Staz On, allowed the ink to dry and then poured the rubbing alcohol over the paper again. You will see that the sections with the Staz On ink will turn purple, so if you want to leave some of the image black, don't pour alcohol over that section. The final step before the paper is completely dry, but not still totally soaked with the rubbing alcohol, is to use a dry paper towel to "stamp" off even more of the ink.
SIDE NOTE: From my understanding the blue color I achieved here has occured because I used an older bottle of alcohol ink. Per Tim and Zoe, the formulations change through the years based on raw material availability like colorants, etc. The newer formulation has warmer tones instead of blue. Tim said the final colour of Alcohol Ink is what the chemists achieve and undertones in Alcohol Inks will obviously vary as colorants change. So, if you attempt this technique you may or may not achieve this exact look depending on how old or new your bottle of Alcohol Ink is. A good reminder to either use your stuff when it's new or hoard it until it's vintage!
Now I have to admit, these last two parts with the Staz On and the paper towel were total happy accidents. I had no idea what would happen when I tried either of these, but once I saw what happened I had to try it again to make sure it wasn't a fluke. There are a couple of tips I do want to share with you. The first is that a larger and more bold stamp design will allow you to see more purple when you pour the rubbing alcohol over the Staz On. Second, the paper towel part is a bit tricky. If the paper is too wet with rubbing alcohol or if it's too dry, nothing much happens. There is this sweet spot between the wet and dry when the ink will lift. I recommend just giving it a go and let yourself have fun no matter what!

To create the background, I used the ink smooshing technique with the Empty Tomb Mica Stain. I simply sprayed some ink onto my craft mat, added a spritz of water with my Distress Sprayer and then smooshed my paper into the ink. Once the ink was dry, I added a light spritz of Empty Tomb Mica Stain to get some tiny splatters of shimmer and then dried the paper with my heat tool. I then selected images from the Rest In Peace Stamp Set and stamped them onto the paper using Hickory Smoke Archival Ink.
For the sentiment I used a new favorite technique shared by Stacy Hutchison recently. I stamped a sentiment from the Tiny Text Halloween Stamp Set with embossing ink onto white cardstock. I then heat embossed it with clear embossing powder. Once the powder was set, I used a paint brush to apply Black Soot Distress Paint over the embossed area. While the ink was still wet, I rubbed a paper towel over the paper to remove the ink from the embossed words. I absolutely love how this creates a grunged label effect!

Once I had done the technique several times with the Pitch Black Alcohol Ink, I began to wonder what might happen with other inks. That is where this second card comes into play. On this card, I used Sepia Alcohol Ink and repeated the same process as the first card.

You don't get the dramatic change from black to blue as in the first card, but I still love the effect achieved by removing the alcohol ink with the rubbing alcohol. I also loved the peek of purple that still showed up after stamping the image with Staz On.

The background on this card uses the same process that I used above however this time I used Broomstick Mica Stain with the ink smooshing part. I then stamped images from Rest In Peace using Vintage Photo Archival Ink. The sentiment was also done the same as above as well.

As always, I appreciate your visit! I hope you enjoyed learning how I created these Alcohol Ink and Stamped Backgrounds using the Rest In Peace Stamp Set by Tim Holtz.
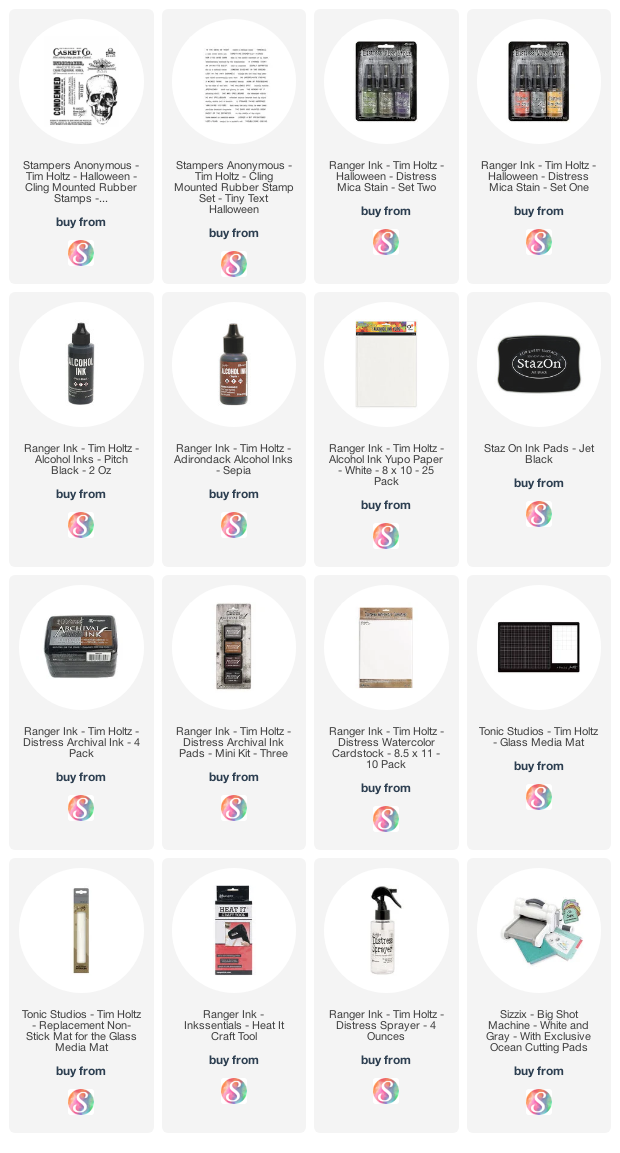
Supplies
As always, you can find the products I used to create this project along with compensated affiliate links to Scrapbook.com. These links are at absolutely no extra cost to you. If you want to learn more about what an affiliate link is, you can see my full affiliate and product disclosure statement here.


WOW! Thank you for explaining how you made this amazing card! I don't have all the supplies available to make it but you inspired me to get that yupo paper out and finally use it!!! Who knows what I might come up with? So happy to find your site.
ReplyDeleteSo Cool!! The aging and colors are so Awesome! You have convinced me that I need to explore more with alcohol inks and yupo. Thank you for sharing this! You are inspiring and so creative. Your details are much appreciated to this newbie! Thank you!
ReplyDeleteI think my Alcohol Inks fall into the Vintage Supplies category...LOL. Yes, I need to use them more...must try this technique...thanks for the explainer....
ReplyDeleteI love seeing the undertones in the alcohol ink. Great results from a "what if" moment. And thanks so much for showing us how you did it.
ReplyDelete