
Hello friends and welcome to the Scrapbook.com Handmade Holiday Parade! Today I'm part of a group of 16 crafters sharing a parade of holiday inspiration using the Scrapbook.com Nested Tree Dies. Not one project will be the same! I'm talking everything from cards to scrapbook pages to home decor and so much more. To see the rest of the inspiration, head over to my Instagram and in my post you will find links to the other crafters. You can also check out the hashtags #handmadeholidayparade or #scrapbookcom on IG as well. And while you are there, make sure to visit Scrapbook.com's IG to enter for a chance to win a $25 gift certificate!
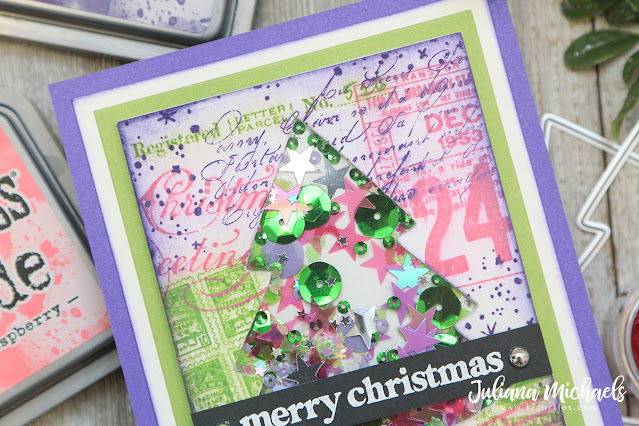
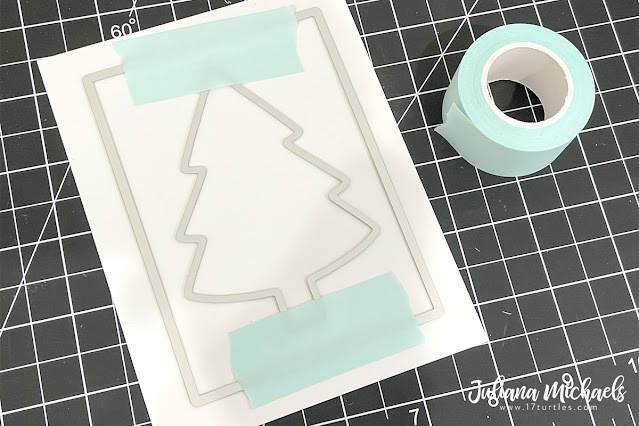
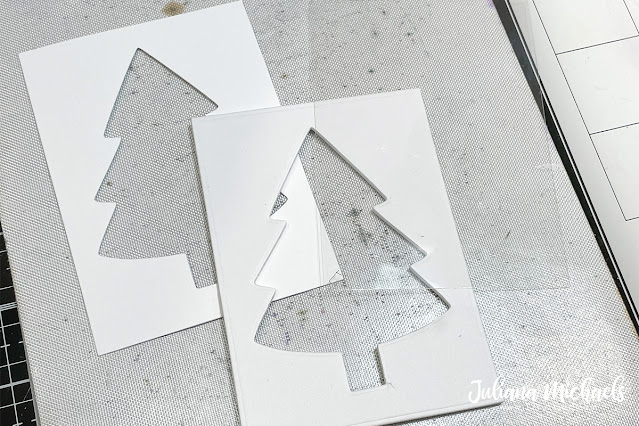
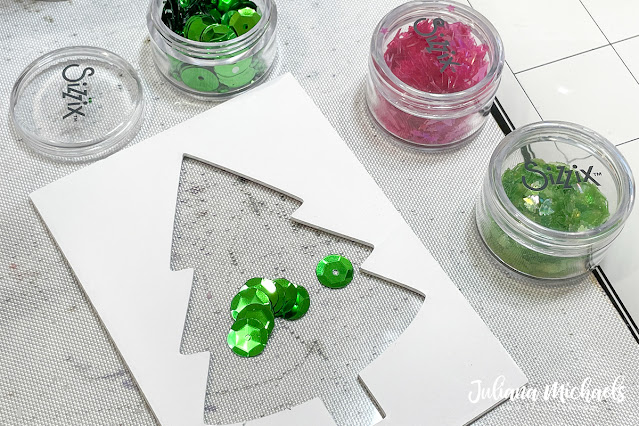
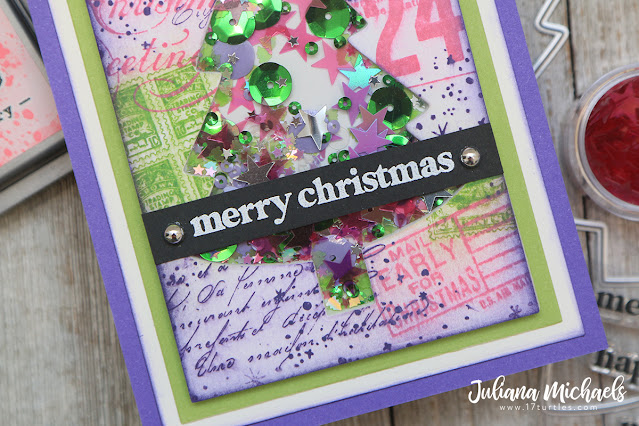
The project I've created to share with you is this Merry Christmas Tree Shaker Card. I used the Scrapbook.com Nested Tree Dies to cut out the tree shape and create a window area for my shaker card.

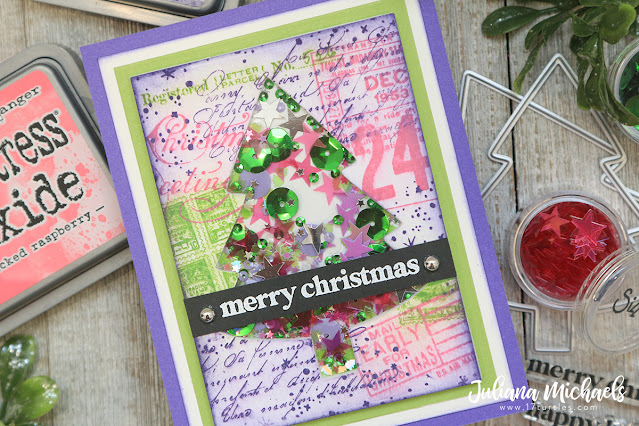
For the sentiment I stamped Merry Christmas from the Merry Sentiments Stamp Set onto black cardstock using Embossing Ink. I sprinkled it with white embossing powder and heat embossed it. I trimmed the paper into a strip and adhered it to the front of my card. I then finished it off with a couple of Pinkfresh Studio Silver Pearls attached using Zots.

Thanks so much for stopping by today to check out my Handmade Holiday Parade Merry Christmas Shaker Card featuring the Scrapbook.com Nested Tree Dies. Don't forget to check out #handmadeholidayparade or #scrapbookcom on IG for even more inspiration!

And just to give you one more reason to shop, (not like you needed one!) make sure you check out the current freebie at Scrapbook.com. Right now it's this adorable Holly Jolly Stamp!

Supplies
You can find the products I used to create this project along with compensated affiliate links to Scrapbook.com. These links are at absolutely no extra cost to you. If you want to learn more about what an affiliate link is, you can see my full affiliate and product disclosure statement here.


No comments
Every time you smile at someone, it is an action of love, a gift to that person, a beautiful thing. ~Mother Teresa
HUGS!
JULIANA