Showing posts with label Art Journal. Show all posts

An Art Journal Page with Metamorphosis Digital Papercrafting Collection

I'm back with some more inspiration using my brand new Metamorphosis digital papercrafting collection. In case you missed it, you can check out the release video and the card inspiration video using the links below. In this post, I've got an art journal page to share with you. This type of project is a bit more involved than my usual cards, so the video is a little longer than my usual as well. I recommend grabbing a coffee or your favorite beverage and giving yourself some time to sit back and enjoy watching the process.

Art Journal Page by Juliana Michaels featuring Metamorphosis Digital Papercrafting Collection by Juliana Michaels

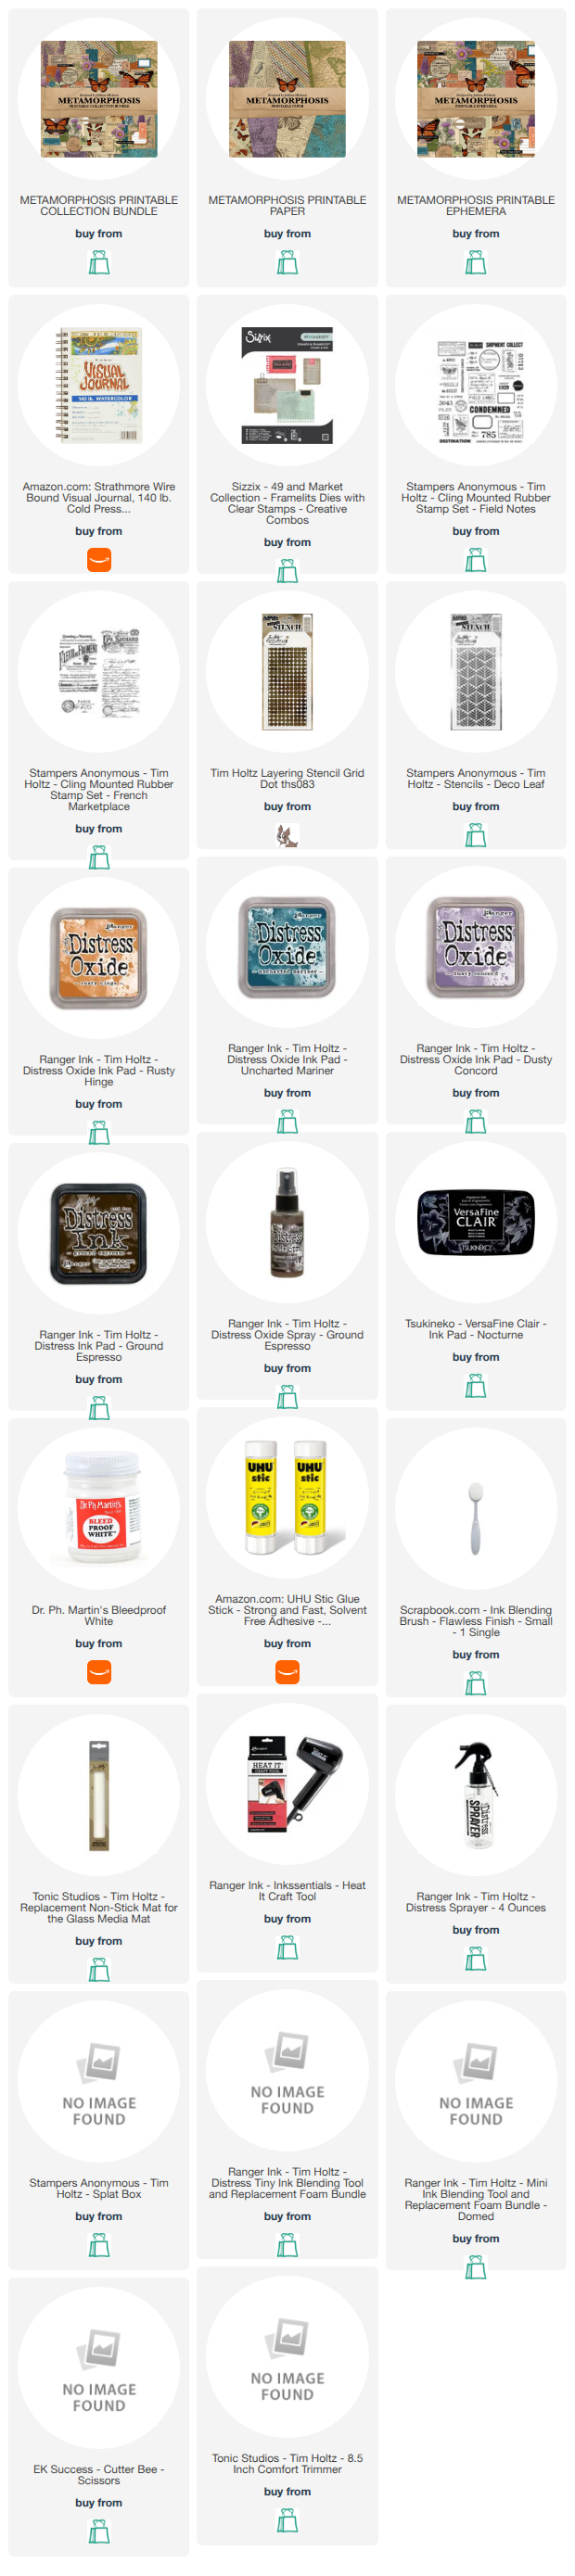
I started with a base layer using Distress Inks in Rusty Hinge, Dusty Concord, and Uncharted Mariner, blended on with a brayer. Next, I added one of my stencil techniques on top using the same inks.

For the second stencil layer, I used Ground Espresso Distress Oxide spray instead, along with one of my favorite stencil techniques. Make sure to head over to my YouTube channel to see all the details.

Once the background was completed, I began adding some of the papers and ephemera from my Metamorphosis collection. I walk you through how I select the various pieces in the video as well.

I finished the page with a mix of Tim Holtz and 49 and Market stamps, plus white splatters using Dr. Ph. Martin's Bleedproof White to tie everything together. The stencils I used throughout are both Tim Holtz — the Grid Dot and the Deco Leaf.

Watch the Full Process

I walk through every layer of this page from start to finish in the video below, including how I built up the background and how I chose the ephemera pieces as I went.


Mixed Media Art Journaling Page by Juliana Michaels featuring Metamorphosis Digital Papercrafting Collection by Juliana Michaels

Shop the Collection

If you haven't grabbed Metamorphosis yet, you can find the papers, ephemera, and full bundle in my Podia shop. 


More Inspiration

You can also check out my Metamorphosis release video and cardmaking tutorial if you missed those. Click on the links or the images below.


Up next, I've got a junk journal project using this same collection, so keep an eye out for that one. Thanks so much for following along with this page — I hope it gives you some ideas for your own art journaling with Metamorphosis.

Until next time, stay crafty my friend!
Juliana

Supplies

Below you will find links to the supplies I used to create these cards. When you shop through these links—whether you purchase that exact item or something else entirely—you're supporting me at no extra cost to you. The commission I receive helps me cover the costs of my blog and other expenses, and allows me to continue providing you with FREE inspiration and tutorials. If you want to learn more, you can see my full affiliate and product disclosure statement here: https://www.17turtles.com/p/affiliate-and-product-disclosure.html. Thank you so much for your love and support!
Tim Holtz Distress Paints Are Back | Gel Plate Art Journal Background

If you've been in the Tim Holtz world for any length of time, you probably remember when Ranger retired a bunch of the Distress Paint colors — and if you're anything like me, you were a little bummed about it. Well, the good news is they're back! And to celebrate, I decided to do something a little outside my comfort zone and create an art journal page using the re-released Distress Paints with a gel plate. Art journaling and paint aren't really my go-to — yet anyway — but that's kind of the point. Sometimes you just have to give yourself permission to play, and in my latest video that's exactly what I did.

Giving Yourself Permission to Play

I've been wanting to explore art journaling and paint more for a while now, and taking a class recently with Seth Apter really reignited that desire. When I heard the Distress Paints were coming back, it felt like the perfect push to just go for it. I'm not an expert in art journaling or paint, but I'm sharing this anyway because I think it's important to create outside your comfort zone — and honestly, I had so much fun with it. If you've been on the fence about trying something new, I hope this gives you that little nudge.

Believe In Yourself Art Journal Page by Juliana Michaels featuring Tim Holtz Distress Paint, Idea-ology and Sizzix Vault Picture Show Die Set

The Believe in Yourself Art Journal Pages

In the video I'm sharing the background techniques — how I used Distress Paints, stencils, a gel plate, and a brayer to build up those warm, golden, layered backgrounds you see across both pages of the spread. After filming, I went ahead and finished the pages too, and I'm sharing all of those details here.

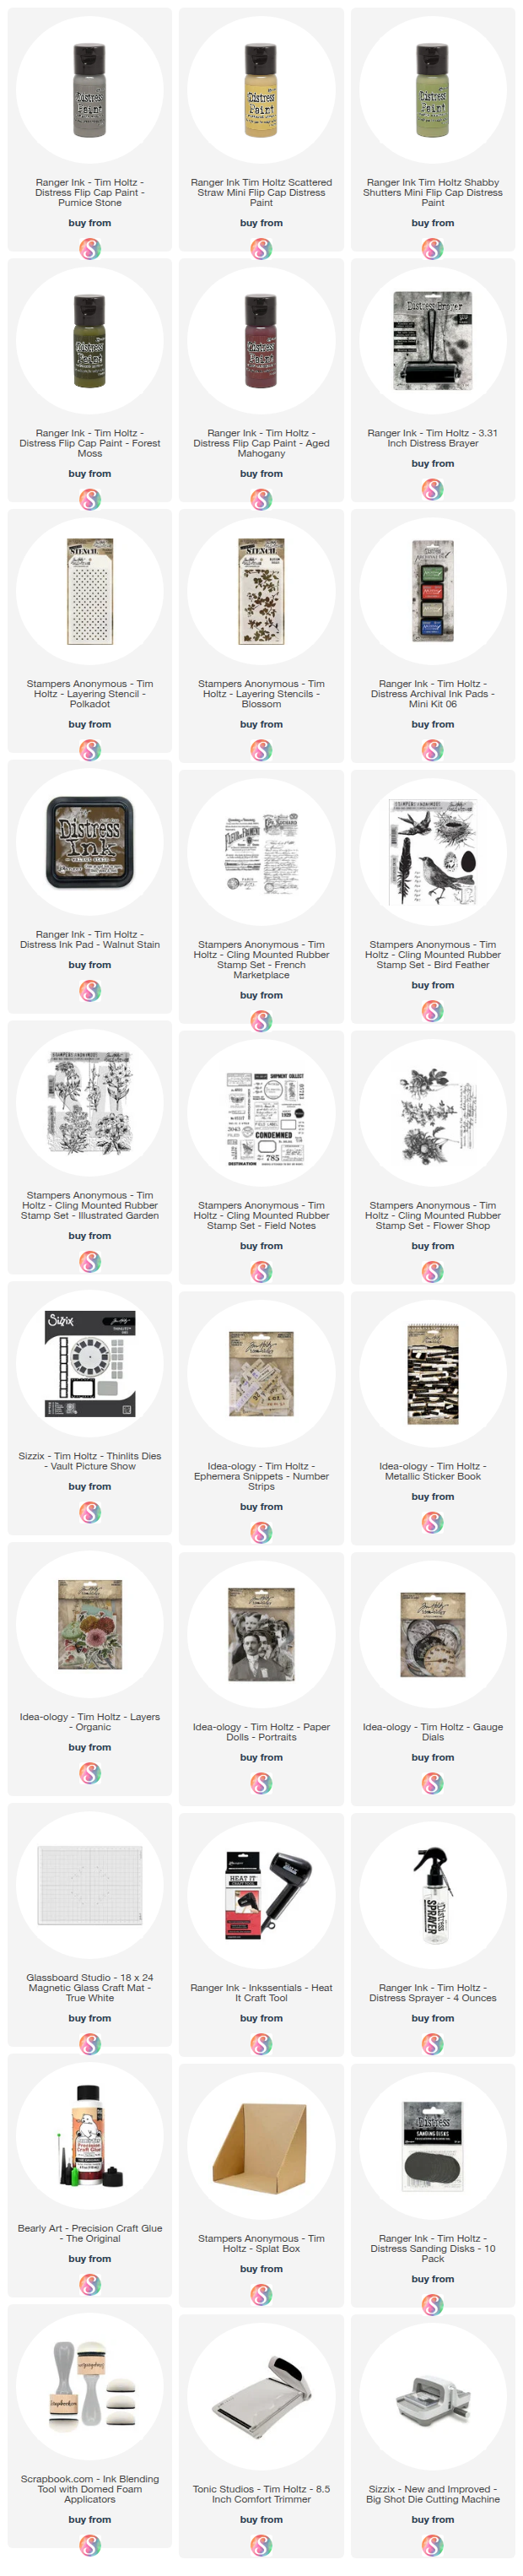
To create the background for my art journal pages I used Distress Paint in Pumice Stone, Scattered Straw, Forest Moss, Shabby Shutters and Aged Mahogany. Head over to my YouTube channel to check out all the details on how I created the background using the paints, stencils, a gel plate and a brayer.

To add more interest to the background I added some stamping using Archival Ink in Frayed Burlap and a mix of Tim Holtz stamps including French Marketplace, Field Notes, Illustrated Garden, Flowershop and Bird Feather. I recommend using a permanent ink such as Archival Ink when stamping over paint as it will dry quickly and will be permanent.

Once the stamping was completed I went about sorting through my Tim Holtz paper scraps and ephemera pieces to create a layered cluster for each page. I also added an old book page. I used some similar pieces such as the same patterned paper, old book page and colors to keep things cohesive. I also inked the edges of the pieces with Walnut Stain Distress Ink.

I also die cut a viewfinder from Black Kraftstock using the Tim Holtz Vault Picture Show Die Set, sanded the edges with a sanding disc. I cut it in half and tucked one piece into the layers of each side of the spread.

I then finished off the pages with some white ink splatters and added some Stabilo pencil work around the outer edge of the patterned paper pieces. I then went about adhering the various layers together and then finally to the page itself.

Watch the Full Background Tutorial

Ready to see all the details on the gel plate background techniques? You can watch the complete tutorial in the video below, or head over to my YouTube channel to check it out.

I'd love to know — are you a Distress Paints fan? Are you excited they're back? Let me know in the comments, and if you give this a try I'd love to see what you create!

Happy crafting!
~ Juliana

Supplies

Below you will find links to the supplies I used to create these pages. When you shop through these links—whether you purchase that exact item or something else entirely—you're supporting me at no extra cost to you. The commission I receive helps me cover the costs of my blog and other expenses, and allows me to continue providing you with FREE inspiration and tutorials. If you want to learn more, you can see my full affiliate and product disclosure statement here: https://www.17turtles.com/p/affiliate-and-product-disclosure.html. Thank you so much for your love and support!


Finding Joy Through Art Journaling | An Art Journal Page with Stamps and Stencils

Art journaling isn't something I do very often—that said, I have three art journals with random pages I've created over the years. Recently, I've felt a pull to do more of it. I'm not sure if it's just a creative phase I'm going through or something deeper, but the process is rewarding, and creative play is always good for the soul. We all know we need a little more joy in our lives these days.

Art journal spread featuring collage stamping technique with vintage imagery including light bulb, flowers, birds, and French text. Layers of yellow and blue distress oxide sprays over texture paste create dimension, with ephemera elements like tickets and die cuts adding visual interest throughout the page.

THE SUPPLIES I USED

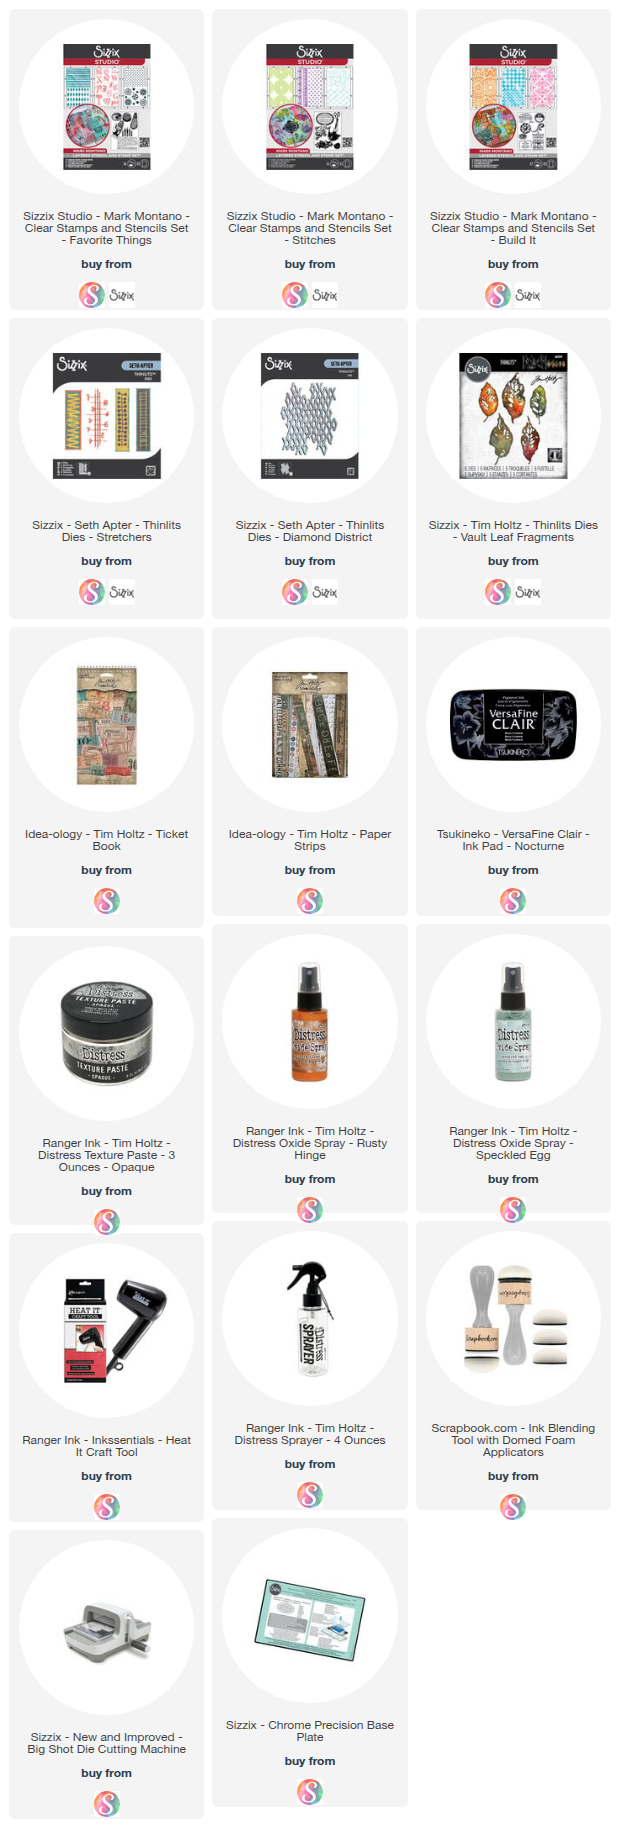
I used some of the new Sizzix Studio stamp and stencil sets designed by Mark Montano, but you could really use any stamps and stencils you already have on hand. There are four sets, and each includes a collection of detailed clear stamps and three coordinating A5 stencils with a variety of designs and patterns perfect for adding beautiful layers and texture. What I love about these sets is how versatile they are—you can mix and match elements across all four collections to create endless combinations.

COLLAGE STAMPING  

I began with one of my favorite techniques—collage stamping—using a variety of stamps from three of the sets: Stitches, My Favorite Things, and Build It. I stamped the various images using Versafine Clair Ink in Nocturne. I love working with this ink because it's richly pigmented and dries quickly, which is perfect for layering. I didn't worry about placement being perfect; I actually prefer the organic, slightly chaotic look that comes from randomly stamping images across the page.


ADDING TEXTURE & COLOR  

Next, I added some texture by applying Distress Texture Paste through a damask-styled stencil from the Build It Set. The raised texture adds such beautiful dimension to the page. I then applied Distress Oxide Sprays in Rusty Hinge and Speckled Egg over the wet paste and dried them with my heat tool. The sprays react with the paste in the most gorgeous way, creating interesting color variations and depth.


ADDING LAYERS & EPHEMERA

From there, I layered in a variety of bits and pieces from my stash, including some Tim Holtz Tickets and Paper Strips. These ephemera-style pieces are perfect for art journaling because they add that vintage, collected feel without much effort. I also grabbed some die cuts from my scrap bin—that's just a bin where I toss extra die cuts that I make but don't end up using on projects. It's one of my favorite resources because I'm always surprised by what treasures I find in there. Some of the dies I used to create them include the Tim Holtz Leaf Fragments, Seth Apter Stretchers, and Seth Apter Diamond District. I also stamped a few images onto cardstock and fussy cut them to add into the mix, giving me even more layering options.


THE FINISHING TOUCH

Finally, I finished it off with a phrase from the Tim Holtz Clippings Sticker Book. I love how the right sentiment can tie everything together and give the page a sense of meaning or purpose. Sometimes the best creative moments come when we stop overthinking and just let our hands play. If you've been feeling that same pull toward your art journal, I hope this inspires you to dust it off and see where the layers take you.

Art journal spread featuring collage stamping technique with vintage imagery including light bulb, flowers, birds, and French text. Layers of yellow and blue distress oxide sprays over texture paste create dimension, with ephemera elements like tickets and die cuts adding visual interest throughout the page.

SUPPLIES

Below you can find the supplies I used to create this card. When you shop through those links and whether you purchase that exact item or something else entirely, you’re supporting me at no extra cost to you. The commission I receive helps me cover the costs of my blog and other expenses, and allows me to continue to provide you with FREE inspiration and tutorials. If you want to learn more about what an affiliate link is, you can see my full affiliate and product disclosure statement here. Thank you so much for your love and support!

Color Wheel Art Journal with Eileen Hull’s New Sizzix Color Wheel Collection

I'm so excited to share my latest project featuring the brand new Color Wheel Collection by Eileen Hull for Sizzix — now available! The color wheel theme, along with a gorgeous collaboration with Lindy’s Gang, totally inspired me to dive into creating an art journal. I had so much fun getting inky and experimenting with color while making both the cover and the inside pages.

CREATING THE COVER

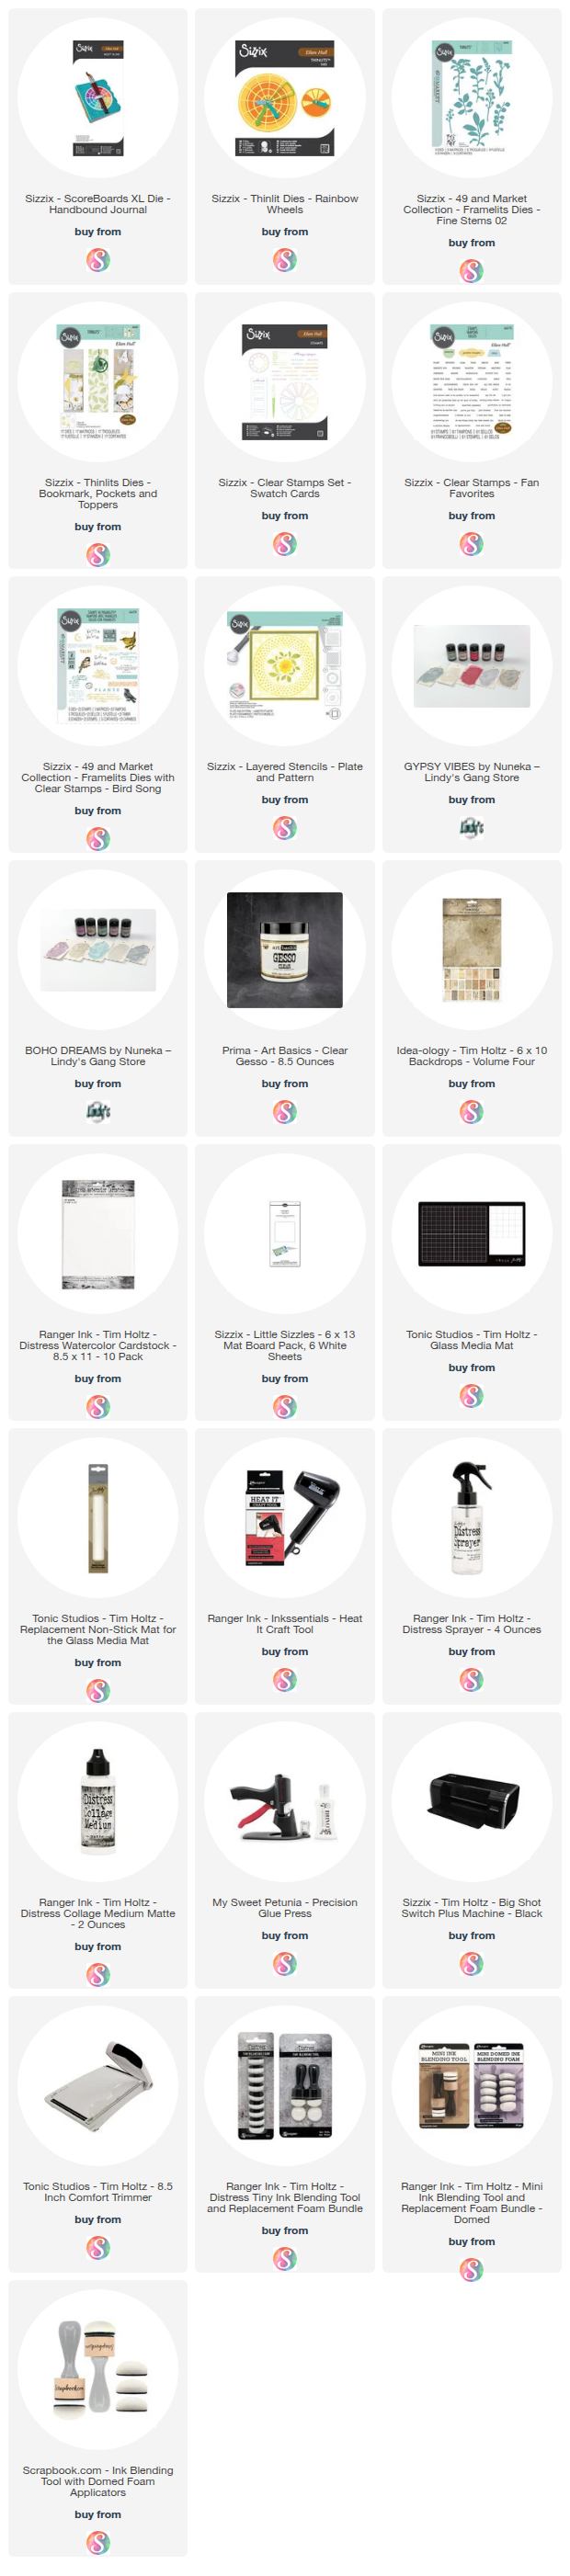
I used the Handbound Journal Bigz Die to create the journal cover. I first adhered a piece of patterned paper to a sheet of Sizzix Mat Board with a double-sided adhesive sheet. Then I die-cut it using the Handbound Journal Bigz Die, repeating the process for both the front cover and spine. I trimmed the spine to fit and assembled everything using Super Tape for a sturdy hold.

Color Wheel Art Journal by Juliana Michaels featuring Sizzix Eileen Hull Color Wheel Collection

INSIDE PAGES

Interestingly, I started by making the inside pages first! (Maybe not the traditional way, but it worked out beautifully. You just need to measure a little before you decide on what size to make the pages and you can always trim them down to size if needed. Which is what I ended up doing!) I scored and cut patterned papers and vellum sheets to fit the journal, then added layers of art using stamps, stencils, and dies.


COLOR AND DIE CUTTING DETAIL

For the vibrant colors, I played with the Lindy’s Gang Magicals on Distress Watercolor Paper. These are pigment powders that you add water to and can then used to create a colored medium for painting, adding splatters and more. I am by no means an expert as this is my first time using them, but they sure are  I used the Boho Dreams and Gypsy Vibes collections and painted one color per panel. After they dried, I die-cut the panels with the large color wheel from the Rainbow Wheels Die Set.
  • To keep the interior pieces in place while die cutting, I used Mint Tape.
  • I also die cut color wheels from black cardstock, and used the colorful inside pieces to fill in the black wheels for a stunning contrast throughout the journal.

EXTRA EMBELLISHMENTS

I also die-cut butterflies from the painted panels using the Bookmark, Pockets, and Toppers Die Set. For the stems I used patterned paper with the Fine Stems 01 Die Set.


STAMPING AND STENCILING PAGES

For the background designs on the stamped and stenciled pages I used:
  • Swatch Card Stamp Set
  • Fan Favorites Stamp Set
  • Bird Song Stamp Set
  • Plate and Pattern Stencil
I did some collage stamping directly onto the patterned papers with Black Soot Archival Ink, followed by a coat of clear gesso. This not only protected the paper but also allowed the Lindy's Gang Magicals to beautifully tint the stamped images, creating even more color and texture.


THE REST OF THE JOURNAL

Keep scrolling to take a look at the rest of the pages in the journal. As you will see, I used the same techniques throughout, to make it cohesive while sharing and swatching the various colors of the Lindy's Gang Magicals.


I loved every second of creating this art journal — it’s such a celebration of color, creativity, and Eileen’s new collection!

If you love vibrant colors and mixed media, you’ll definitely want to check out the Color Wheel Collection — available now!

SUPPLIES

Below you can find the supplies I used to create this art journal. When you shop through those links, and whether you purchase that exact item or something else entirely, you’re supporting me at no extra cost to you. The commission I receive helps me cover the costs of my blog and other expenses, and allows me to continue to provide you with FREE inspiration and tutorials. If you want to learn more about what an affiliate link is, you can see my full affiliate and product disclosure statement here. Thank you so much for your love and support!
Subscribe