Hello friends! I'm back with my final project to share from the Tim Holtz Sizzix Chapter 3 Youtube Live. Today I'm sharing a slimline card I created that features the Potted 2 Bigz Die and the Mini Botanical 3D Texture Fade.

USE YOUR WINGS SLIMLINE CARD – Tim Holtz Sizzix Potted 2 Bigz Die and Mini Botanical 3D Texture Fade
Featuring:
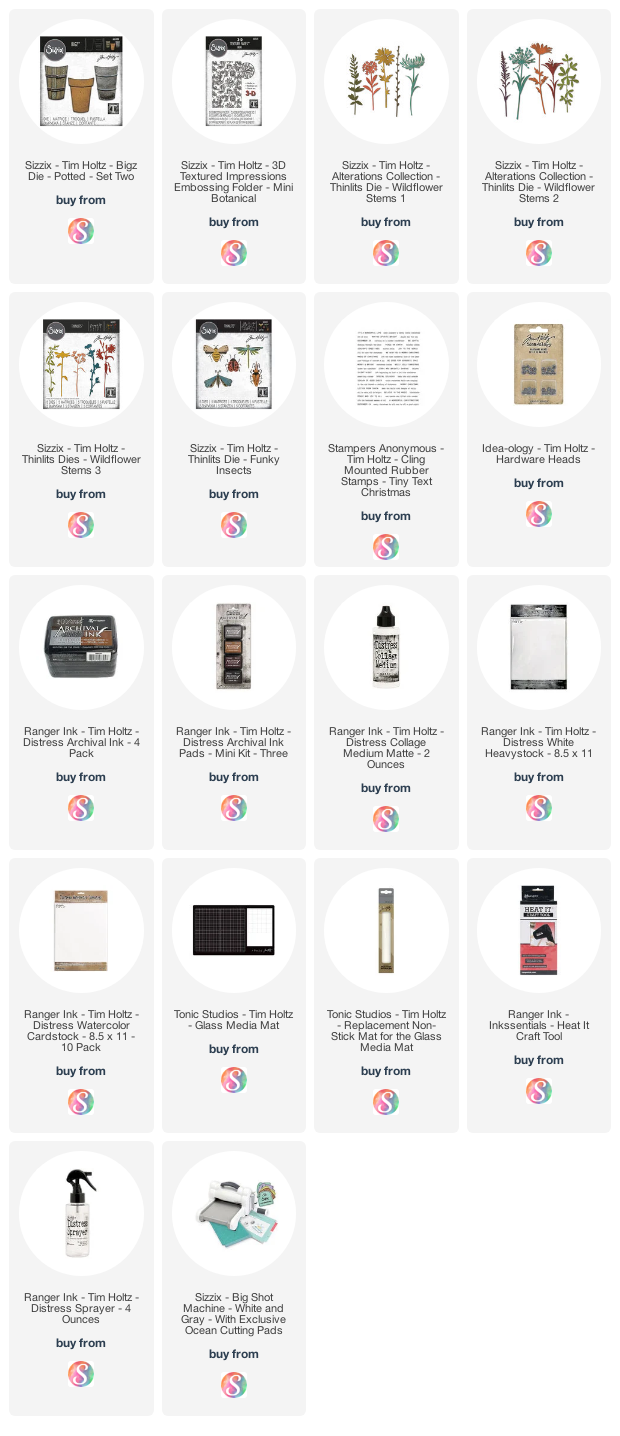
- Potted 2 Bigz Die
- Mini Botanical 3D Texture Fade
- Wildflower Stems 1, 2 and 3 Thinlits Dies
- Funky Insects Thinlits Dies
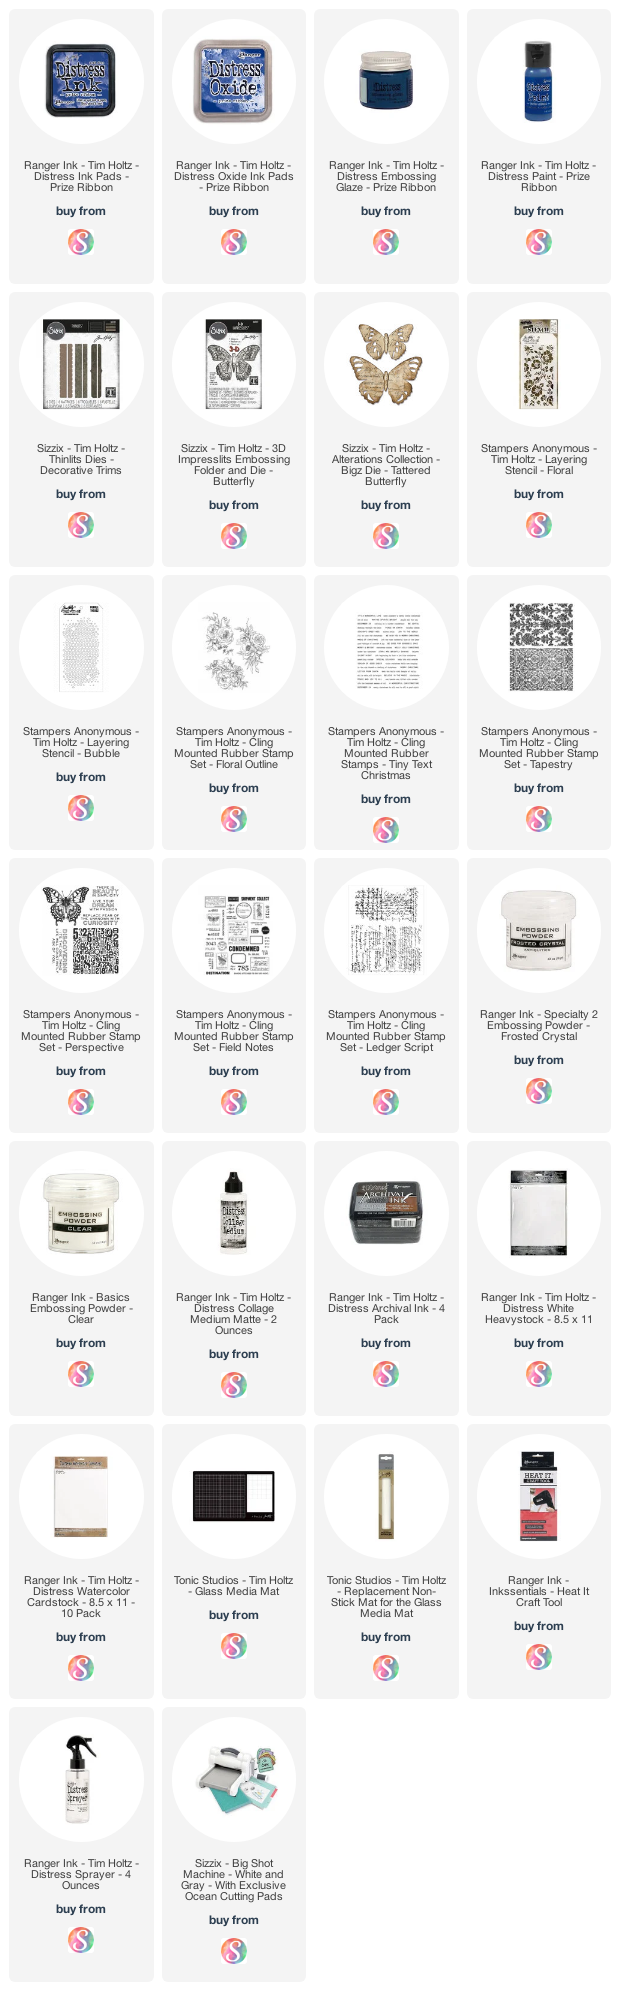
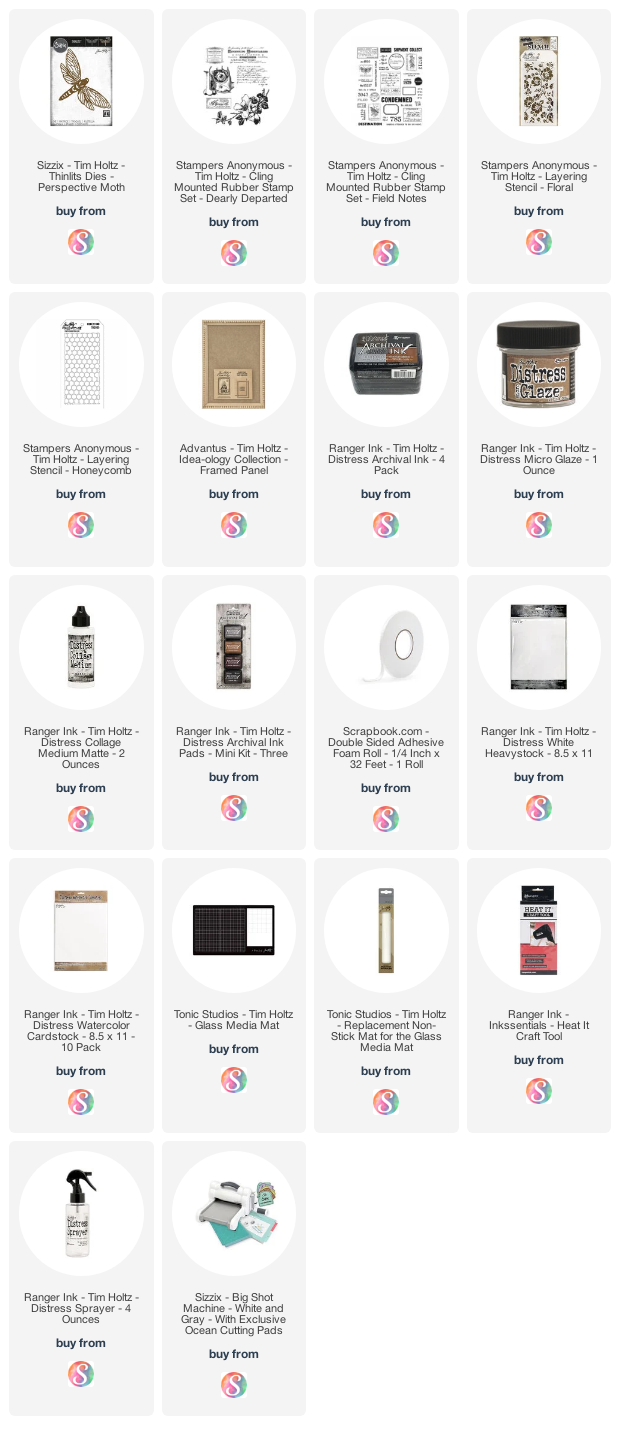
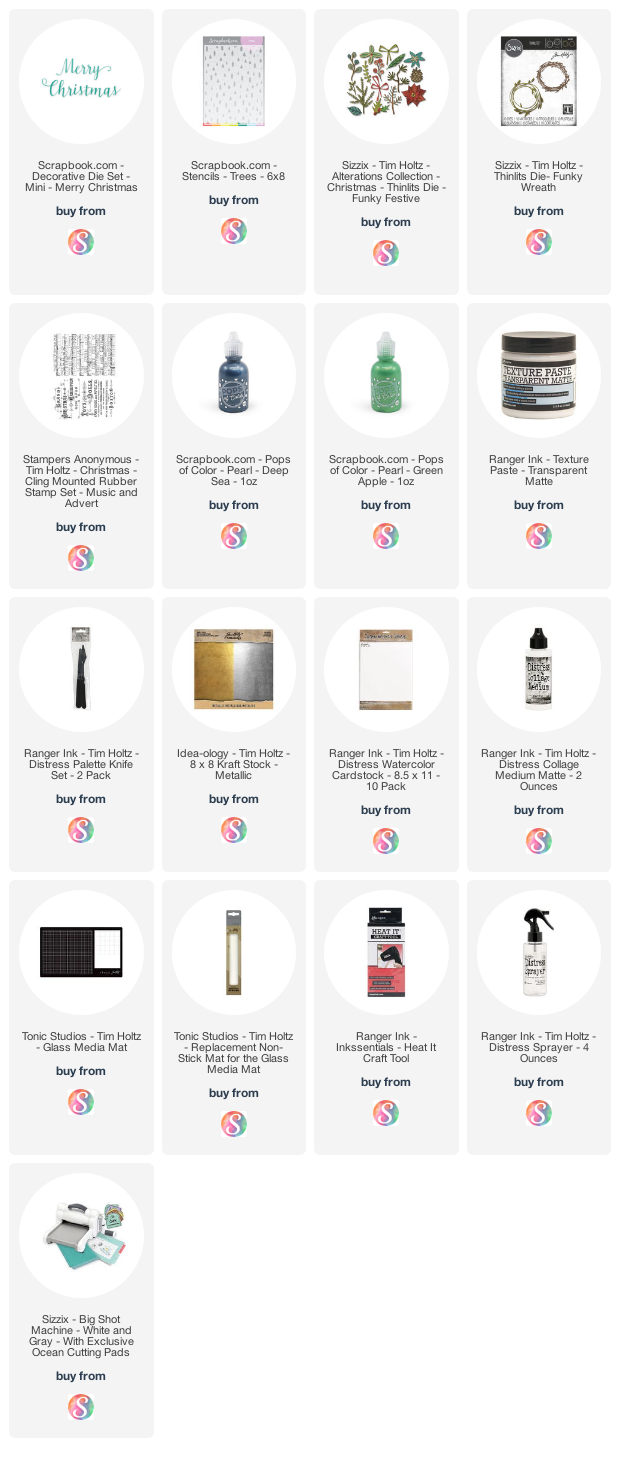
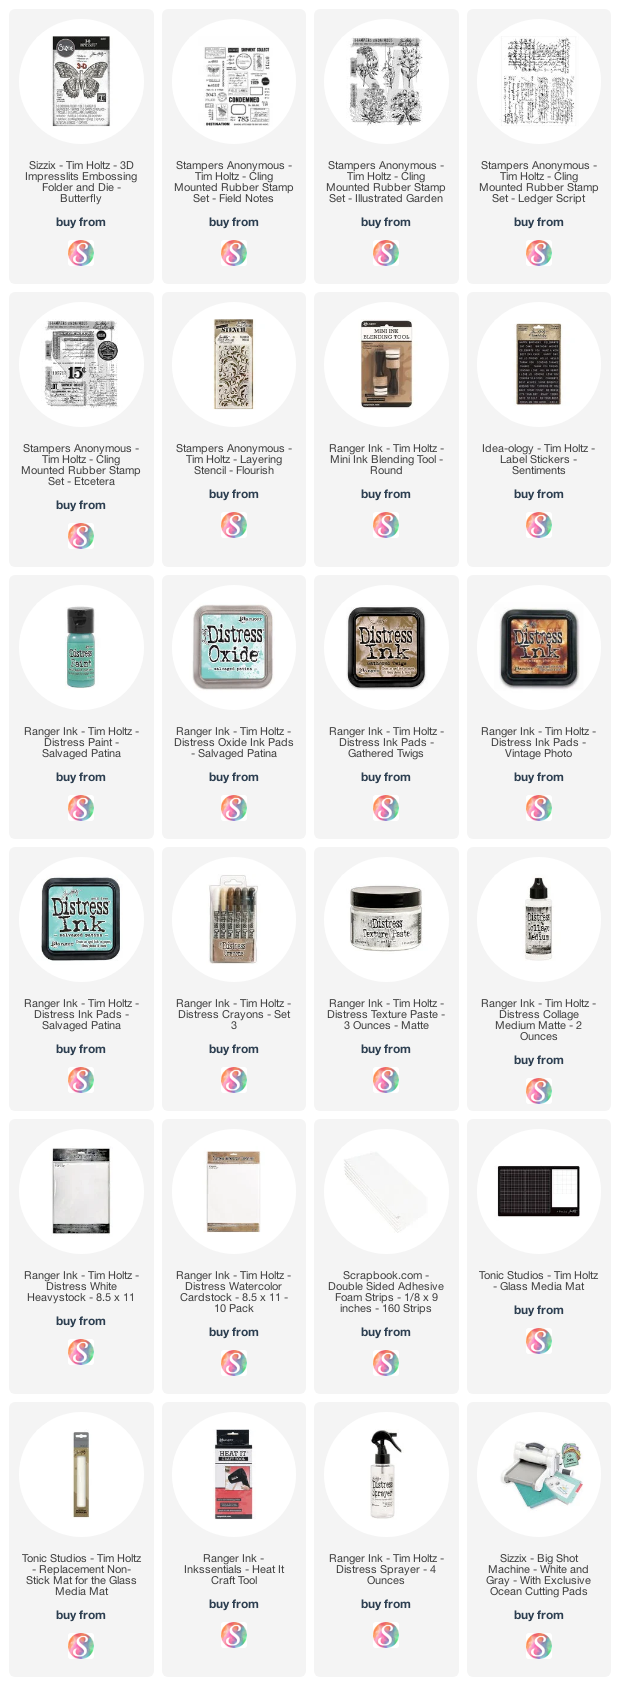
- Additional supplies linked in the thumbnails at the end of this post.


To make the piece look like 3 separate pieces of paper sewn together, I then added some machine stitching using a zig zag stitch between the sections and then all the way around the outside edge of the background panel.

With the background completed, I moved onto watercoloring a mix of Wildflower Stems using Distress Inks and a waterbrush. The colors I used include: Fossilized Amber, Mustard Seed, Pumice Stone, Walnut Stain, Kitsch Flamingo, Milled Lavender, Wilted Violet, Seedless Preserves, Peeled Paint and Forest Moss.

Next, I went about creating the flower pot using the Potted 2 Bigz Die. I first die cut a piece of silver metallic kraftstock using the die and then I cut all of the pieces from a piece of thin chipboard to make the pot a little substantial and solid.
To create the look of a galvanized metal flower pot, I lightly sanded each piece of the metallic paper and wiped away any dust from the sanding. Next, I painted each piece with Black Soot Distress Paint and wiped away the excess paint with a damp paper towel. I then rubbed Black Soot Distress Crayon onto each piece until I achieved the look I was going for.
To create the look of a galvanized metal flower pot, I lightly sanded each piece of the metallic paper and wiped away any dust from the sanding. Next, I painted each piece with Black Soot Distress Paint and wiped away the excess paint with a damp paper towel. I then rubbed Black Soot Distress Crayon onto each piece until I achieved the look I was going for.

Once the paper was distressed to my liking, I glued the layers together and assembled the flower pot. I finished it off with a couple of distressed Hardware Heads. My method for distressing any of the metal pieces is to first apply a coat of Distress Collage Medium. Once this is dry, I apply Mushroom Alcohol Ink and watch them change from plain silver to grungy goodness.

After I assembled the flower pot and filled it with the wildflower stems, I felt like the card still needed something more. That's when I had the idea to add the bee from the Funky Insects Thinlits. I die cut the bee from Distress Watercolor paper and colored it with Distress Ink and a waterbrush. I used Fossilized Amber, Pumice Stone and Black Soot Distress Ink.
The final touch was the addition of the sentiment which is stamped using the Tiny Text Stamp Set.

Thanks so much for stopping by today to check out my Use Your Wings Slimline Card featuring the Tim Holtz Sizzix Potted 2 Bigz Die and Mini Botanical 3D Texture Fade.
Supplies
As always, you can find the products I used to create this project along with compensated affiliate links to Scrapbook.com. These links are at absolutely no extra cost to you. If you want to learn more about what an affiliate link is, you can see my full affiliate and product disclosure statement here.