Merry Christmas friends! In my latest video I'm sharing a flip through of my 2024 Christmas Junk Journal created using my stash of Tim Holtz Christmas Idea-ology. As I flip through the pages, I also share some details on the construction of the junk journal and the various pages. Just to be clear, this is not a detailed tutorial or process video.
I know some of you might enjoy that, but the filming and editing would take me hours and hours and quite honestly when I'm creating my junk journals I really like to just be in the moment, enjoy the making process and not have to worry about filming the process. There is so much planning and prep that goes into creating the cardmaking videos that I share. I often create the card and then recreate it for the video. That is just not something I could do for a junk journal and again the number of hours and days it takes for me to create a junk journal just isn't something I want to spend the time to film and edit at this time. I appreciate your understanding and hope you enjoy this flip through.
Now let's get on to the making! Below you will find photos of the cover and all of the pages of my junk journal. If you have any questions please feel free to reach out to me. And as always, I encourage you to use your stash if you wish to create something similar. If you are interested in any of the products I’m sharing in this video, you can find links to them in the supply list below. When you shop through those links, you’re supporting me at no extra cost to you and I really appreciate that so very much!
Now let's get on to the making! Below you will find photos of the cover and all of the pages of my junk journal. If you have any questions please feel free to reach out to me. And as always, I encourage you to use your stash if you wish to create something similar. If you are interested in any of the products I’m sharing in this video, you can find links to them in the supply list below. When you shop through those links, you’re supporting me at no extra cost to you and I really appreciate that so very much!

You can either watch the video below or head over to my YouTube Channel HERE to check it out.
Please feel free to use products from your stash to recreate something similar. However, if you are interested in any of the products I’m using, you can find the supply list with links at the bottom of this post. When you shop through those links you are supporting me at no extra cost to you and I truly appreciate that support so very much!
Please feel free to use products from your stash to recreate something similar. However, if you are interested in any of the products I’m using, you can find the supply list with links at the bottom of this post. When you shop through those links you are supporting me at no extra cost to you and I truly appreciate that support so very much!
2024 CHRISTMAS JUNK JOURNAL | COVER
The cover is made from 2x chipboard cut to 5 x 7 inches. I then covered the chipboard with patterned paper and decorated the front cover with a mix of Tim Holtz Christmas Idea-ology pieces to create the scene.
Throughout the junk journal I have distressed the ephemera pieces by rubbing the backside of my craft knife along the edges of the piece and by lightly rubbing a sanding disc along the edges. I also crinkled the papers on the corners and then inked the edges of all of the pieces with Ground Espresso Distress Ink.


2024 CHRISTMAS JUNK JOURNAL | INTERIOR PAGES
The spine of the junk journal is made from a piece of Tim Holtz Mixed Media Heavystock cut to 5 x 7 inches. I created this AFTER I had completed the interior pages. By doing this I could adjust it to the size I needed. I then scored it at 1 ⅜ inches and at 3 ⅝ inches to create a 2 ¼ inch spine. I cut a piece of 1x chipboard to 2 x 7 inches and adhered it to the inside of the spine. I then adhered bookbinding tape to the entire piece, wrapping it over the top and bottom edges. This helped to reinforce the folds and make it more sturdy. I then adhered a piece of patterned paper to the outside of the spine.
To assemble the journal, I adhered the spine to the inside of the front and back cover piece and covered the overlapping piece with patterned paper. I then added a cluster of ephemera and paper dolls to decorate it.

The inside pages are made from Tim Holtz Mixed Media Heavystock cut to 10 x 7 inches and scored at 4 ⅞ inches and 5 ⅛ inches to create a ¼ inch fold. I like to make my pages very dimensional and thick so this allows the pages to lay more flat and for the junk journal to actually close.
I made three of these signatures or inside pages. This gave me a total of 12 pages to decorate. I then adhered patterned paper to each page and decorated each one with a mix of Tim Holtz Christmas Idea-ology pieces. For more details on this please reference the video linked above.
After I had decorated all of the pages, I created the spine and adhered it to the cover pieces. I then used seam binding to wrap around the pages and adhere them to the spine. The seam binding is dyed with Tim Holtz Lumberjack Plaid Distress Spray Stain, Aged Mahogany Distress Spray Stain and Tart Cranberry Mica Stain.


I hope you enjoyed this up close look at my 2024 Christmas Junk Journal and are inspired to create something similar. For me it's a great way to use up some of my Tim Holtz Idea-ology stash instead of just hoarding it all!
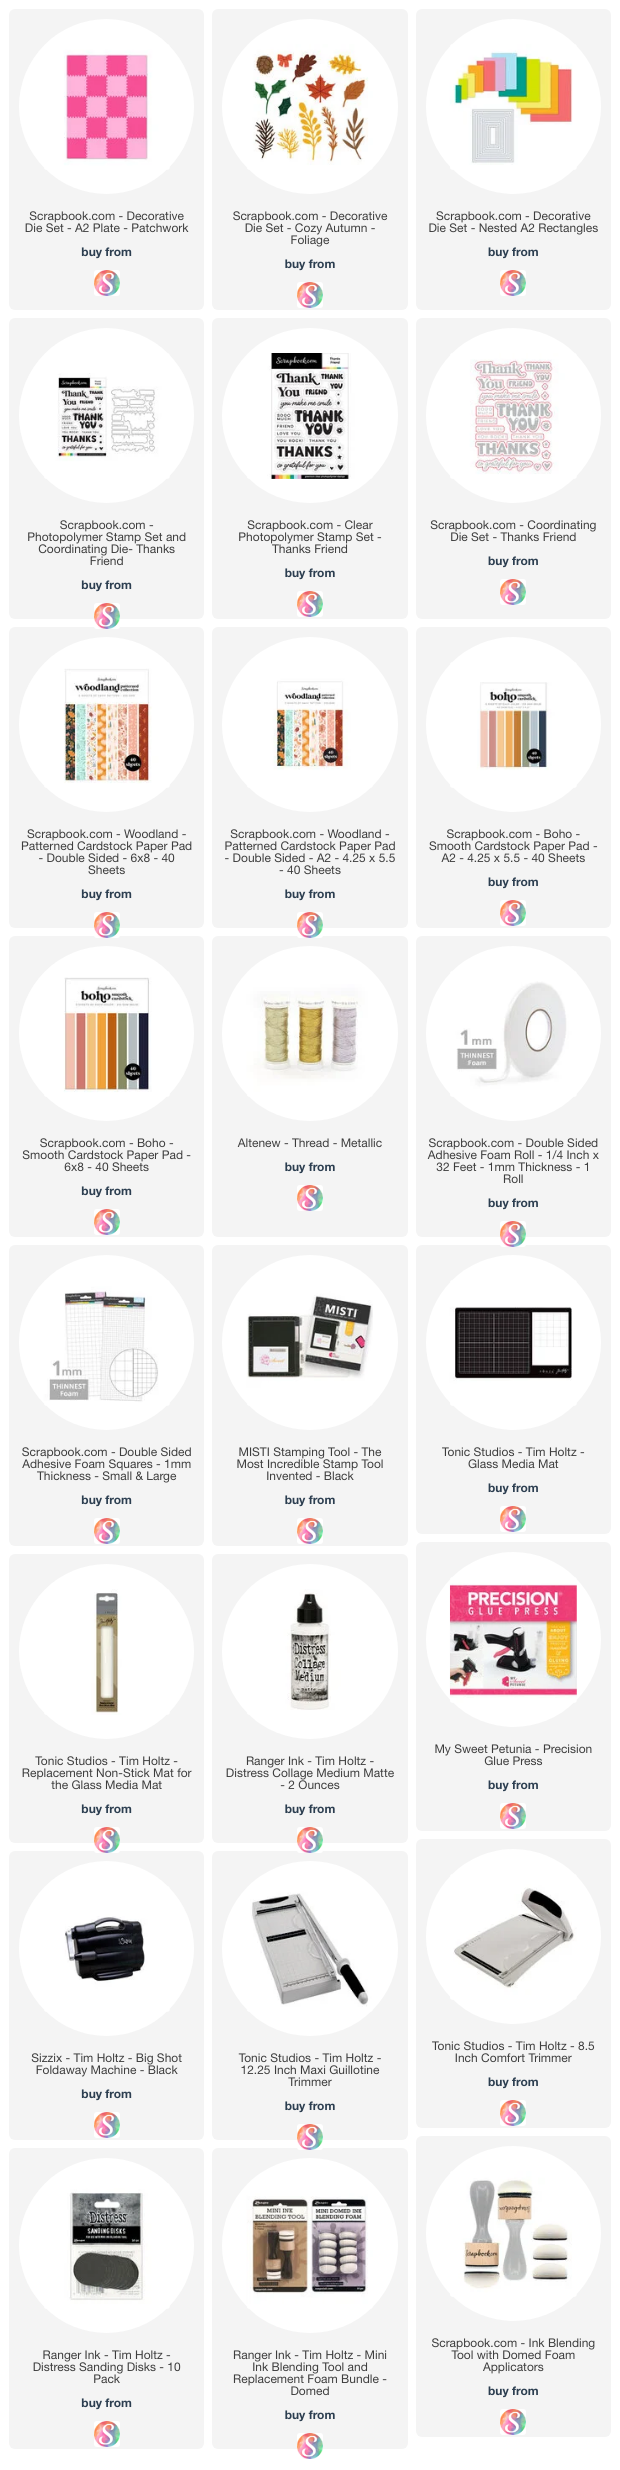
SUPPLIES
Below you can find the supplies I used to create this card and the swatches. When you shop through the links below, I receive a small commission from Scrapbook.com. These links are at no cost to you and the commission I receive helps me cover the costs of my blog and other expenses, and allows me to continue to provide you with FREE inspiration and tutorials. If you want to learn more about what an affiliate link is, you can see my full affiliate and product disclosure statement here. Thank you so much for your love and support!