Showing posts with label Ranger Ink. Show all posts

Tim Holtz Distress Paints Are Back | Gel Plate Art Journal Background

If you've been in the Tim Holtz world for any length of time, you probably remember when Ranger retired a bunch of the Distress Paint colors — and if you're anything like me, you were a little bummed about it. Well, the good news is they're back! And to celebrate, I decided to do something a little outside my comfort zone and create an art journal page using the re-released Distress Paints with a gel plate. Art journaling and paint aren't really my go-to — yet anyway — but that's kind of the point. Sometimes you just have to give yourself permission to play, and in my latest video that's exactly what I did.

Giving Yourself Permission to Play

I've been wanting to explore art journaling and paint more for a while now, and taking a class recently with Seth Apter really reignited that desire. When I heard the Distress Paints were coming back, it felt like the perfect push to just go for it. I'm not an expert in art journaling or paint, but I'm sharing this anyway because I think it's important to create outside your comfort zone — and honestly, I had so much fun with it. If you've been on the fence about trying something new, I hope this gives you that little nudge.

Believe In Yourself Art Journal Page by Juliana Michaels featuring Tim Holtz Distress Paint, Idea-ology and Sizzix Vault Picture Show Die Set

The Believe in Yourself Art Journal Pages

In the video I'm sharing the background techniques — how I used Distress Paints, stencils, a gel plate, and a brayer to build up those warm, golden, layered backgrounds you see across both pages of the spread. After filming, I went ahead and finished the pages too, and I'm sharing all of those details here.

To create the background for my art journal pages I used Distress Paint in Pumice Stone, Scattered Straw, Forest Moss, Shabby Shutters and Aged Mahogany. Head over to my YouTube channel to check out all the details on how I created the background using the paints, stencils, a gel plate and a brayer.

To add more interest to the background I added some stamping using Archival Ink in Frayed Burlap and a mix of Tim Holtz stamps including French Marketplace, Field Notes, Illustrated Garden, Flowershop and Bird Feather. I recommend using a permanent ink such as Archival Ink when stamping over paint as it will dry quickly and will be permanent.

Once the stamping was completed I went about sorting through my Tim Holtz paper scraps and ephemera pieces to create a layered cluster for each page. I also added an old book page. I used some similar pieces such as the same patterned paper, old book page and colors to keep things cohesive. I also inked the edges of the pieces with Walnut Stain Distress Ink.

I also die cut a viewfinder from Black Kraftstock using the Tim Holtz Vault Picture Show Die Set, sanded the edges with a sanding disc. I cut it in half and tucked one piece into the layers of each side of the spread.

I then finished off the pages with some white ink splatters and added some Stabilo pencil work around the outer edge of the patterned paper pieces. I then went about adhering the various layers together and then finally to the page itself.

Watch the Full Background Tutorial

Ready to see all the details on the gel plate background techniques? You can watch the complete tutorial in the video below, or head over to my YouTube channel to check it out.

I'd love to know — are you a Distress Paints fan? Are you excited they're back? Let me know in the comments, and if you give this a try I'd love to see what you create!

Happy crafting!
~ Juliana

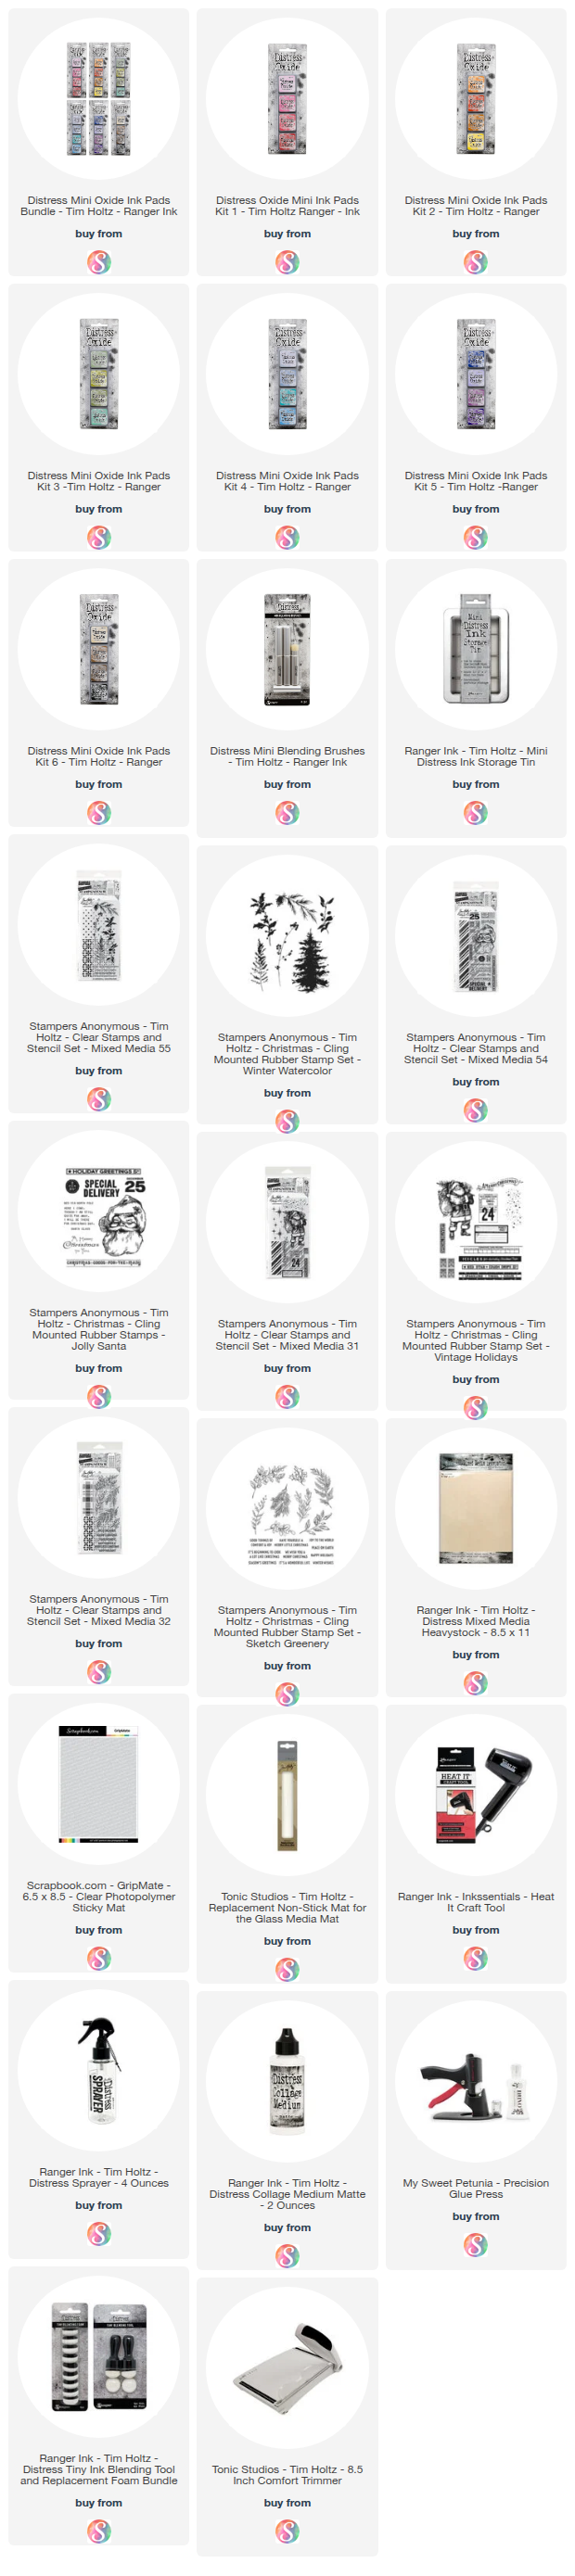
Supplies

Below you will find links to the supplies I used to create these pages. When you shop through these links—whether you purchase that exact item or something else entirely—you're supporting me at no extra cost to you. The commission I receive helps me cover the costs of my blog and other expenses, and allows me to continue providing you with FREE inspiration and tutorials. If you want to learn more, you can see my full affiliate and product disclosure statement here: https://www.17turtles.com/p/affiliate-and-product-disclosure.html. Thank you so much for your love and support!


How to Use Distress Embossing Glaze | 3 Mixed Media Techniques

I recently had the pleasure of creating a tutorial for the Ranger Ink YouTube channel featuring Tim Holtz Distress Embossing Glaze, and I am so excited to share these tags with you today! The glaze is translucent, which means you can use it like a traditional embossing powder but still see color and detail through it — and the vintage mixed media results are absolutely stunning.

How to use Tim Holtz Distress Embossing Glaze | 3 Mixed Media Techniques  by Juliana Michaels

What is Distress Embossing Glaze?

If you've ever picked up the Distress Embossing Glaze and wondered what to do with it or how it's different from a regular embossing powder, you're not alone! The key is that it's translucent — so instead of covering your image or texture with an opaque color, the glaze allows the color and detail underneath to show through while still adding that beautiful raised, dimensional finish. Once you see it in action, it all clicks!

The Background Techniques

In the Ranger Ink video, I walk through three different ways to use the Distress Embossing Glaze — with an embossing folder, with stamped images, and combined with Distress Translucent Crackle Paste through a stencil. Each technique produces a completely different look, and I use Distress Spray Stains and Distress Paint to add color and bring out all that beautiful texture and detail. Head over to the Ranger Ink YouTube channel to watch the full background tutorial!

 WATCH HERE 


The Embellishments

Once the backgrounds were complete, I had so much fun layering in the embellishments to give each tag that eclectic, vintage collector feel. Each tag features a vintage portrait photo as the focal point, framed with postage stamps and layered with Tim Holtz die cuts — butterflies, florals, leaves, and architectural elements — along with sentiment labels that really bring the whole story together. The combination of the glazed, textured backgrounds with all those layered details gives each tag a rich, curiosity cabinet quality that I just love.

Keep Looking Tag by Juliana Michaels featuring Tim Holtz Distress Embossing Glaze, Entangled Embossing Folder and Scribbly Butterflies Die Set

For the embellishments on this tag, I die cut a couple of butterflies from Distress Watercolor Cardstock using the Scribbly Butterflies die set. I sprayed them with Distress Spray Stain in Fossilized Amber and inked the edges with Distress Ink in Walnut Stain. I then layered in an antique portrait from the Tim Holtz Photomatic set, tucking a few stamps from the Tim Holtz Postmarked Sticker Book behind it. A sentiment from the Tim Holtz Quote Chips labels finished everything off perfectly.

Everything Is Possible Tag by Juliana Michaels featuring Tim Holtz Distress Embossing Glaze, Deconstructed Stamp Set, and Vault Funky Wreath Die Set

For this tag I followed a similar process, die cutting the Tim Holtz Vault Funky Floral Wreath die set and spraying it with Scorched Timber Distress Spray Stain. The flowers and leaves were inked individually with Distress Ink in Rusty Hinge, Peeled Paint, Forest Moss, Salvaged Patina, Fossilized Amber, and Walnut Stain. I then finished it off with an antique portrait, a few stamps from the Tim Holtz Postmarked Sticker Book, and a sentiment from the Tim Holtz Quote Chips labels, just as I did on the first tag.

The World Needs Tag by Juliana Michaels featuring Tim Holtz Distress Embossing Glaze, Industrial Stencil and World Travel Die Set

For the final tag, I die cut the globe images using the Tim Holtz Vault World Travel die set and heat embossed them with gold embossing powder. After adhering them to the tag I trimmed off the excess. I then finished everything off with an antique portrait from the Tim Holtz Photomatic set, a few stamps from the Tim Holtz Postmarked Sticker Book, and a sentiment from the Tim Holtz Quote Chips labels.

I hope these tags inspire you to pull out your Distress Embossing Glaze and give it a try! If you have any questions about the techniques or the embellishments, feel free to leave them in the comments below. I'd love to see what you create!

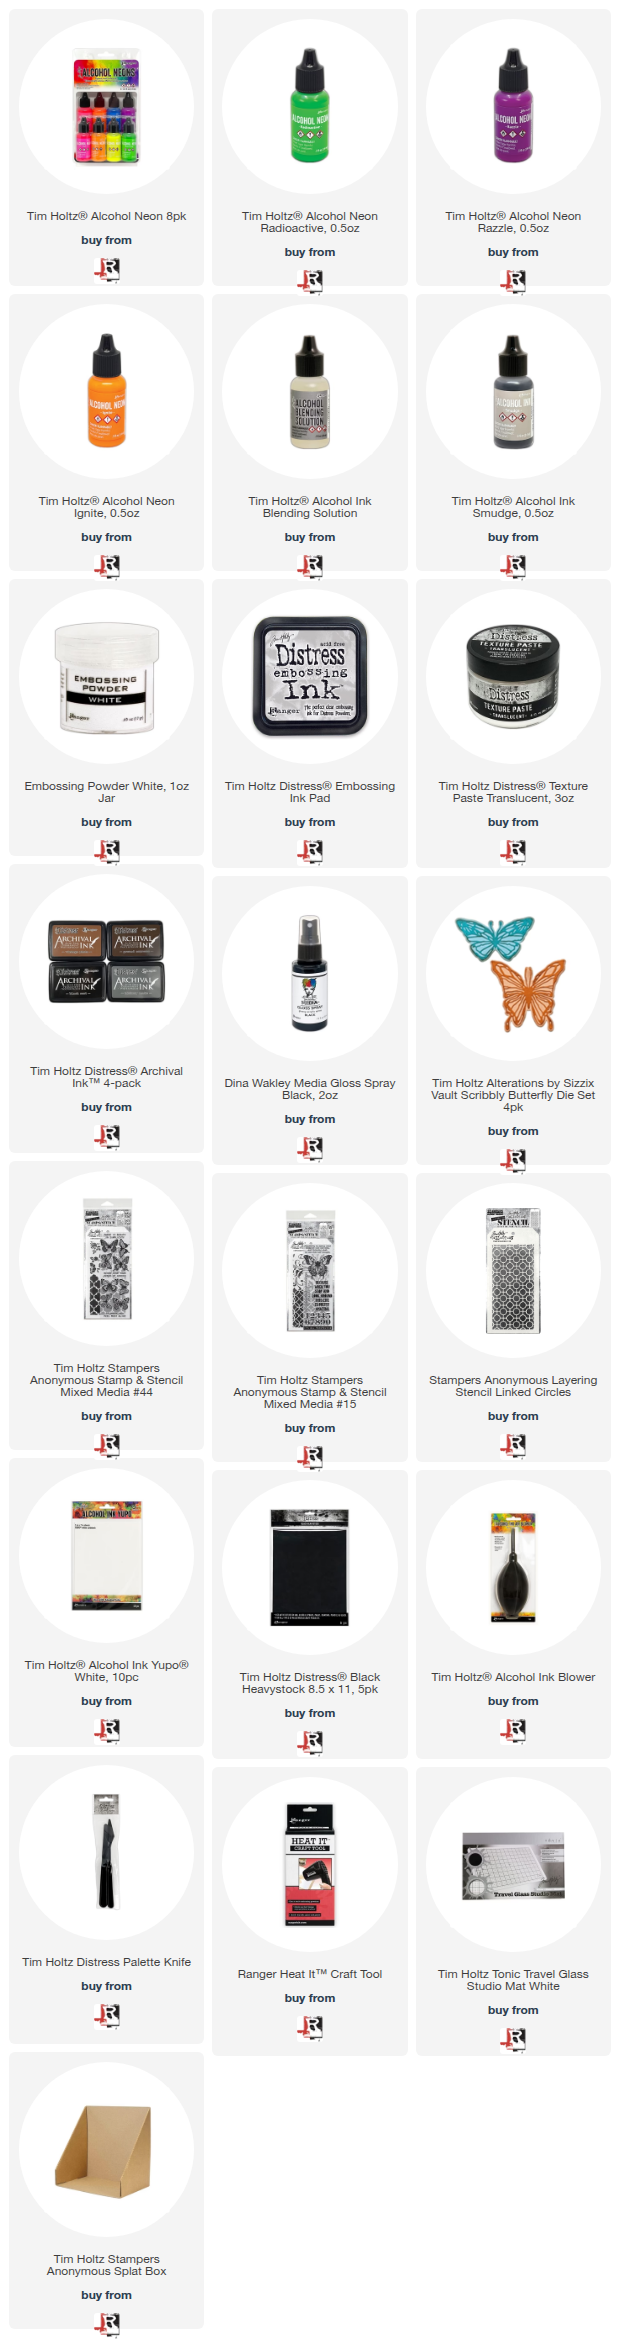
Supplies

Below you'll find the supplies I used to create this card. When you shop through these links—whether you purchase that exact item or something else entirely—you're supporting me at no extra cost to you. The commission I receive helps me cover the costs of my blog and other expenses, and allows me to continue providing you with FREE inspiration and tutorials. If you want to learn more, you can see my full affiliate and product disclosure statement here: https://www.17turtles.com/p/affiliate-and-product-disclosure.html. Thank you so much for your love and support!

null

Watercoloring with Tim Holtz Mini Distress Oxides | Vintage Christmas Card Tutorial

I don't know about you, but I'm super excited that the final 24 Mini Distress Oxides from Tim Holtz and Ranger Ink are here! This means the entire Distress palette is now available in mini oxide form—perfect news for those of us with "whole collection syndrome"!

Why I'm loving the minis:

  • They take up less space in your craft room and on your work surface
  • They enable techniques that are difficult (or impossible) with larger pads
  • When watercoloring, you're not wasting nearly as much ink
  • They create a beautiful creamy, dreamy watercolor effect

Watercoloring with Distress Oxides: Yes, You Can!

You might be wondering: can you actually watercolor with Distress Oxides? Yes! They're water reactive, just like regular Distress Inks. The only catch? You'll want to restamp your images after watercoloring to bring back the crisp details. The result is that gorgeous creamy, dreamy effect—dimensional watercolor with rich, opaque color and sharp definition. I'll show you exactly what I mean in this tutorial.

A Sweet Personal Touch

Before we dive into the technique, I have to share a special detail on this card. That vintage postage stamp? It's a real stamp from the Netherlands, sent to me by my sweet friend Saskia! Look closely and you'll see the stamp features my name—it's a Queen Juliana stamp (she was Queen of the Netherlands). Saskia generously sent me several of these treasures, and while I usually struggle with "ruining" anything vintage by actually using it, I forced myself to incorporate it here. It was the perfect finishing touch for my faux vintage postcard background, and I couldn't love it more!

Now let's get into the making of it!

Creating the Vintage Postcard Background

I started with Distress Watercolor Cardstock cut to 4 x 5.25 inches. I ink smooshed it into Old Paper Distress Ink spritzed with water, then dried it with my heat tool.

Next, I stamped various postcard images onto the paper using Black Soot Archival Ink and stamps from Tim Holtz, Elizabeth Craft Designs, and Gina K Designs. (I might or might not have a small collection of postcard and postage-themed stamps!) I hand-wrote a note, added a festive faux address, and stamped a postmark cancellation image in the bottom left corner to add another touch of red and create a visual triangle.

After inking the edges with Frayed Burlap and then Scorched Timber Distress Oxide, I added the vintage postage stamp and additional postmark cancellation images. I distressed the edges with the backside of my craft knife and added a few pieces of Tim Holtz Cellotape for vintage flair.

The finished background was adhered to kraft cardstock that I'd inked with Scorched Timber Distress Oxide and spritzed with water for a beautifully aged effect.

The Watercoloring Technique

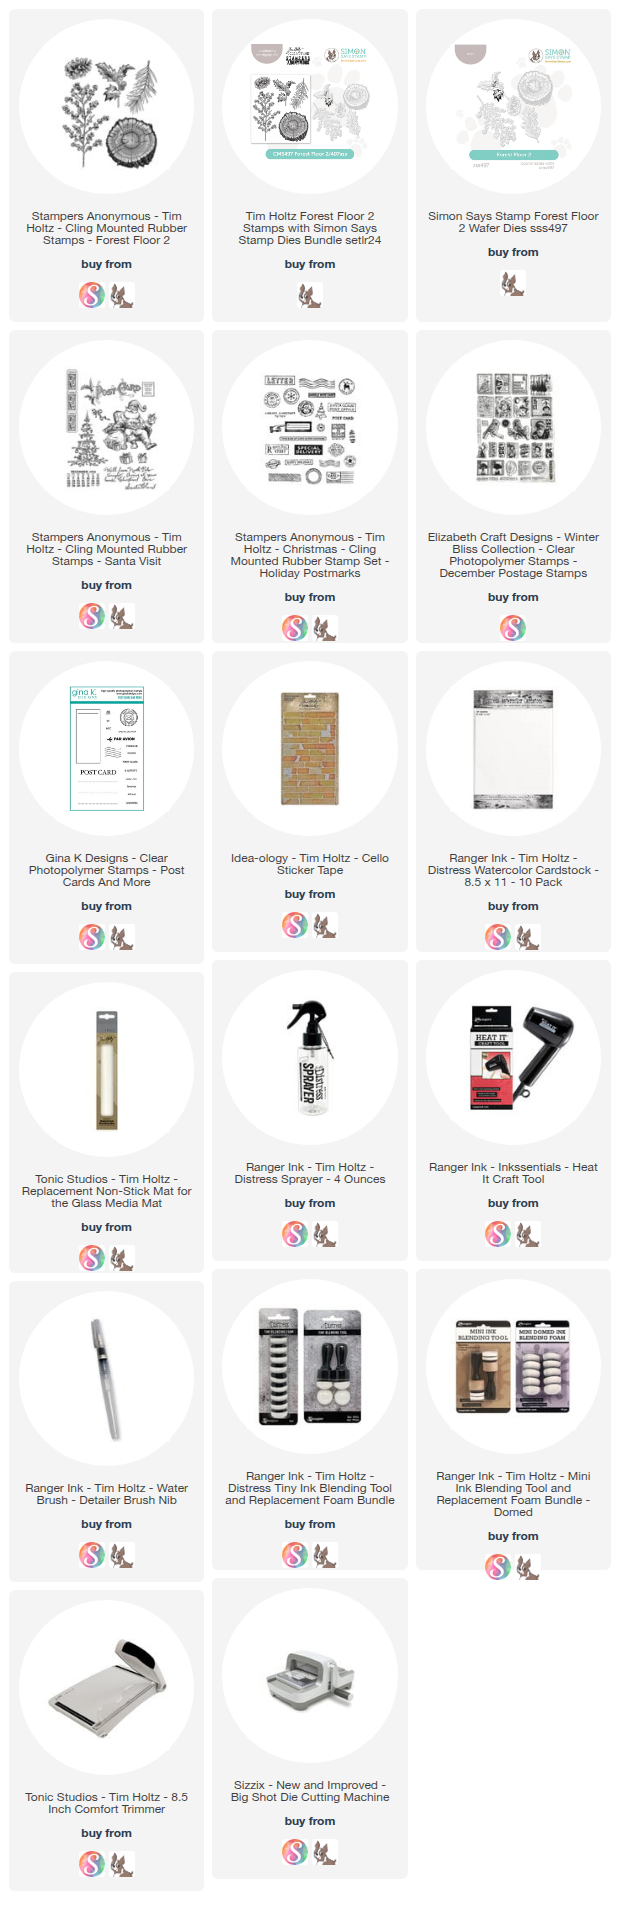
Here's where the magic happens! For the focal images, I used stamps from Tim Holtz's Forest Floor 2 collection, stamping them with Black Soot Archival Ink onto Distress Watercolor cardstock.

Pro tip: I highly recommend using a stamping platform for this technique. Here's the step-by-step process:

Step 1: Stamp Your Image

Stamp your image with Black Soot Archival Ink (or any permanent, waterproof ink) onto Distress Watercolor cardstock. Leave the paper in the exact same spot in your stamping platform—don't move it!

Step 2: Prepare Your Colors

Smoosh your chosen Distress Oxide color onto your craft mat. Use a waterbrush or paintbrush with water to pick up the ink.

Step 3: Apply Lighter Colors First

Apply your lighter colors to the open areas of the stamped image. Work from light to dark for the best results.

My color choices:

  • Berries: Barn Door (light) and Aged Mahogany (dark)
  • Leaves: Shabby Shutters (light) and Forest Moss (dark)
  • Stem and tree slice: Frayed Burlap (light) and Scorched Timber (dark)

Step 4: Add Darker Shades

Once the lighter colors are applied, add your darker shades to the shadow areas indicated in the stamped image. This creates beautiful dimension.

Step 5: Let It Dry

Allow your watercoloring to dry completely before the next step.

Step 6: Restamp for Crisp Details

Here's the game-changer! Once your watercoloring is dry, reink the stamp and restamp your image right over the watercolored area. Look how it brings the image back to life!

Why Restamping Makes All the Difference

Because Distress Oxides contain pigment ink (along with dye ink), they're more opaque than regular Distress Inks. This creates that beautiful, creamy, dreamy watercolor effect—but it can also cover up fine stamping details. Working in your stamping platform allows you to perfectly restamp the image and restore all those delicate lines and details.

The result? Gorgeous, dimensional watercolored images with crisp definition. It's the best of both worlds!

Adding the Sentiment

The final touch was the "Merry" sentiment, which I die cut multiple times to create dimension. I used the Simon Says Stamp Festive Sentiments die set (sadly no longer available) and cut the sentiment from both black cardstock and gold metallic cardstock. I offset the gold layer slightly to create a shadow effect that adds visual interest.

Since my watercolored focal images were adhered with 1mm foam adhesive, I needed to build up the sentiment to match that same height. I die cut the sentiment several additional times from black cardstock and stacked them together using liquid adhesive. As I added each layer, I trimmed off portions depending on where they hit the other layers to keep everything level and create a smooth, even build-up.

Once all the layers were stacked and dry, I adhered the dimensional sentiment to the card using liquid adhesive, positioning it over the watercolored images to complete the design.

Give It a Try!

I hope this technique inspires you to try watercoloring with your Distress Oxides! The creamy, dreamy effect they create is truly beautiful, and the mini pads make it so easy to work with multiple colors without taking over your entire craft space.

If you give this a try, I'd love to see what you create! Feel free to share your projects with me on Instagram or in the comments.

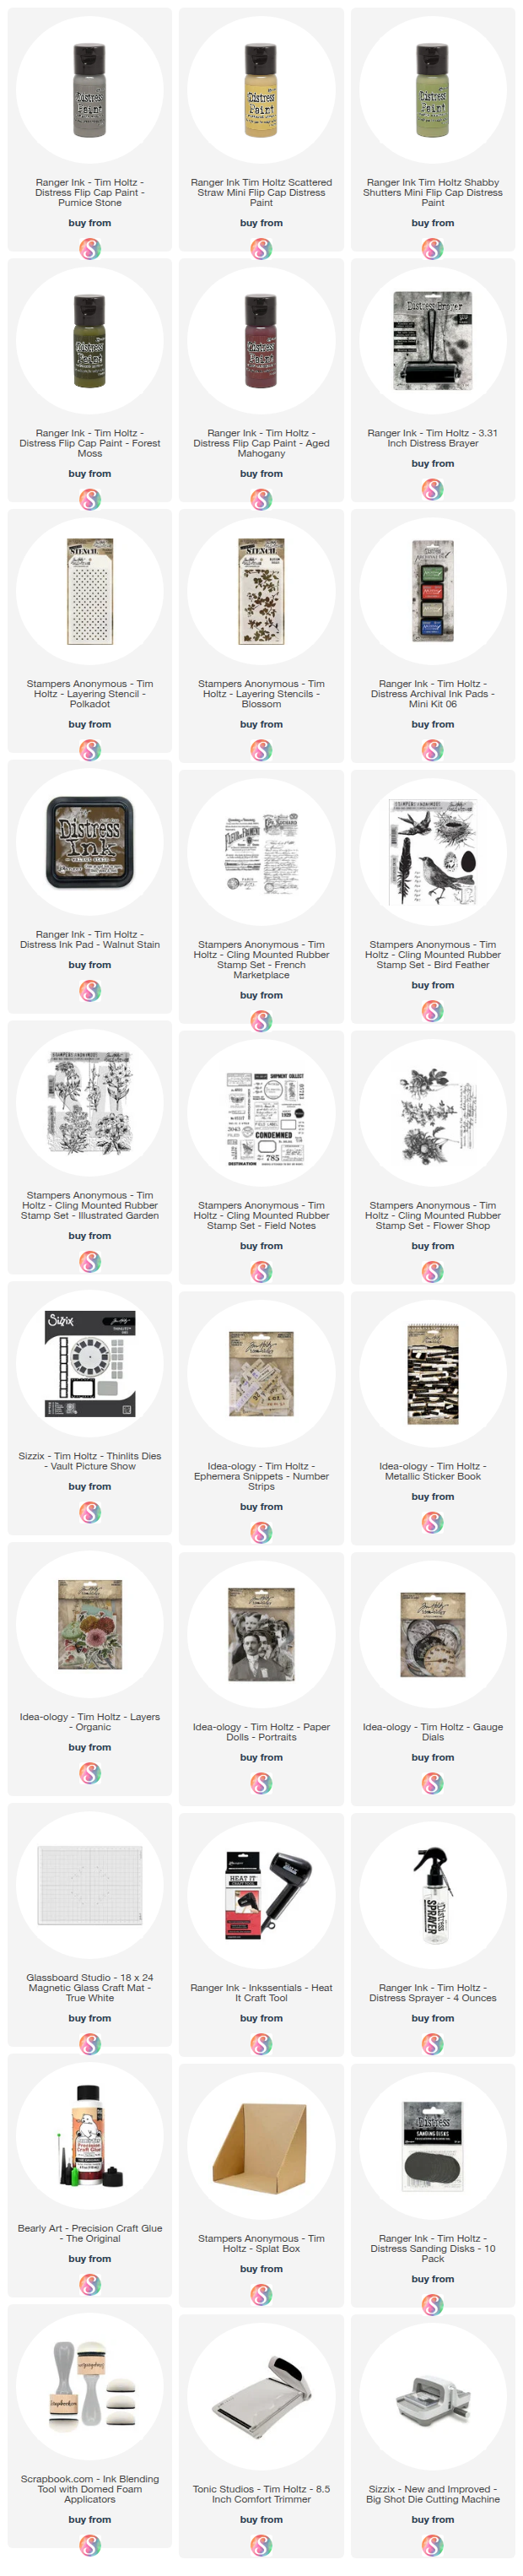
Supply List

Below you can find the supplies I used to create this card. When you shop through those links—whether you purchase that exact item or something else entirely—you're supporting me at no extra cost to you. The commission I receive helps me cover the costs of my blog and other expenses, and allows me to continue to provide you with FREE inspiration and tutorials. If you want to learn more about what an affiliate link is, you can see my full affiliate and product disclosure statement here. Thank you so much for your love and support!

Wicked Fun Halloween Card with Tim Holtz Mini Distress Oxide

Hello there! I’m thrilled to share that I'm up on the Ranger Ink YouTube channel again and this time I'm sharing some wicked fun cardmaking inspiration featuring the Tim Holtz Distress Oxides. If you aren't aware, Ranger Ink just released the Distress Oxides in mini size. And while they might be mini, they are mighty! They can be used in all the same great ways that you use the regular full size ink pads, but the smaller size has some benefits when it comes to certain techniques, storage and travel. In this video I'm sharing how to use them with stencils, how to stamp with them and how to watercolor with them and these are just some of them many ways you can use them.


You can either watch the video below or head over to the Ranger Ink YouTube Channel HERE to check it out.

🎞️ WATCH THE VIDEO HERE 🎞️

Please feel free to use products from your stash to recreate something similar. However, if you are interested in any of the products I’m using, you can find the supply list with links down below. Using these links does not cost you anything extra and it helps support my business. It also allows me to continue offering free content and keep my class costs low. I appreciate your support!


Thanks so much for stopping by and I hope you enjoy these wicked fun Distress Oxide techniques!

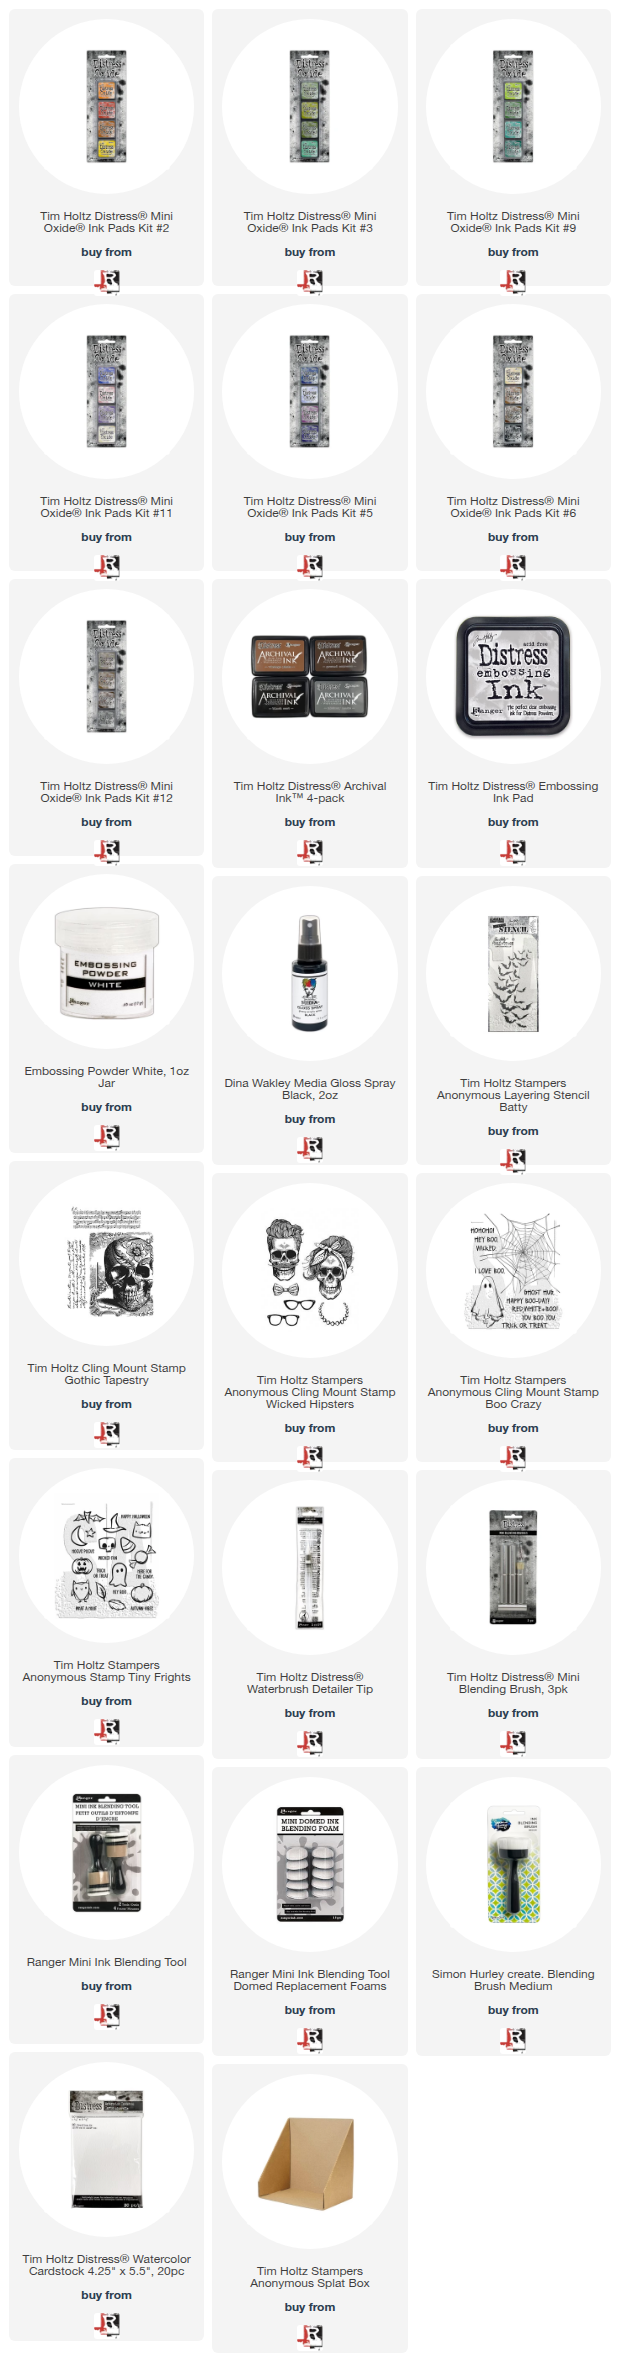
SUPPLIES

Below you can find the supplies I used to create this card. When you shop through those links and whether you purchase that exact item or something else entirely, you’re supporting me at no extra cost to you. The commission I receive helps me cover the costs of my blog and other expenses, and allows me to continue to provide you with FREE inspiration and tutorials. If you want to learn more about what an affiliate link is, you can see my full affiliate and product disclosure statement here. Thank you so much for your love and support!

Mini But Mighty | Halloween Tags & Cards with Tim Holtz Mini Distress Oxides

Hey crafty friends! Today I’m back with another Mini but Mighty project—this time with a spooky twist. I recently got my hands on the latest set of Mini Distress Oxide Ink Pads from Tim Holtz and Ranger Ink, and I couldn’t wait to try them out with some of the new colors. Tim Holtz and Ranger Ink just released 24 more colors from the Distress Palette, so there are now a total of 48 colors of the 72 colors available. Even though these ink pads are small, they pack a powerful punch and are perfect for so many techniques.

Halloween Tags & Cards by Juliana Michaels featuring Tim Holtz Stamps, Stencils and Mini Distress Oxides

For this project, I created three wickedly fun Halloween tags using the exact same techniques I shared in my Christmas Mini Distress Oxide video. The only difference? A new palette of colors and a Halloween theme! This just goes to show how versatile these inks are—by swapping out colors and imagery, you can carry your favorite ideas across seasons.

While I’m focusing on tags in the video, keep in mind you can always turn them into cards, add them to your junk journal, or use them as little handmade treats for friends and family.

Please feel free to use products from your stash to recreate something similar. However, if you are interested in any of the products I’m using, you can find the supply list with links down below. Using these links does not cost you anything extra and it helps support my business. It also allows me to continue offering free content and keep my class costs low. I appreciate your support!

Watch the full video below or click HERE to watch over on my YouTube channel.
 

Missed the Christmas version? Watch below or click HERE to watch over on my YouTube channel.


HALLOWEEN TAGS & CARD INSPIRATION

Below you can take a look at the tags I created in the video, along with a bonus option. 

Hocus Pocus Halloween Tag by Juliana Michaels featuring Tim Holtz Stamps, Stencils and Mini Distress Oxides

Happy Halloween Skull Halloween Tag by Juliana Michaels featuring Tim Holtz Stamps, Stencils and Mini Distress Oxides

Wicked Hipster Guy Halloween Tag by Juliana Michaels featuring Tim Holtz Stamps, Stencils and Mini Distress Oxides

BONUS TAG IDEA

Here is a bonus idea using the same techniques, just slightly different colors and of course the Hipster Girl instead of the Guy.

Wicked Hipster Girl Halloween Tag by Juliana Michaels featuring Tim Holtz Stamps, Stencils and Mini Distress Oxides

I hope this inspires you to give your Mini Distress Oxide Ink Pads a workout and start experimenting with seasonal twists of your own. Mini really is mighty—no matter the holiday!

SUPPLIES 

Below you can find the supplies I used to create these tags. When you shop through those links and whether you purchase that exact item or something else entirely, you’re supporting me at no extra cost to you. The commission I receive helps me cover the costs of my blog and other expenses, and allows me to continue to provide you with FREE inspiration and tutorials. If you want to learn more about what an affiliate link is, you can see my full affiliate and product disclosure statement here. Thank you so much for your love and support!

Sparkle and Shine with Tim Holtz Distress Holiday Products: Twinkle Paste & Snowflakes

The holiday crafting season is here, and I’m excited to share a festive card project that sparkles and shines thanks to the brand-new Tim Holtz Distress Holiday release! This year, Tim Holtz and Ranger Ink have introduced two stunning products designed to bring texture and twinkle to your winter creations: Distress Texture Paste Twinkle and Distress Snowflakes.

Merry & Bright Deer Christmas Card by Juliana Michaels featuring Tim Holtz Ranger Ink Distress Twinkle Paste and Distress Snowflakes

DISTRESS TWINKLE & SNOWFLAKES

Distress Texture Paste Twinkle is a translucent gloss paste filled with tiny glitter flecks. It adds beautiful dimension and shimmer, perfect for creating textured backgrounds that catch the light just right.

Distress Snowflakes are a custom blend of twinkling glitter mixed with translucent mica flakes. They bring a nostalgic, wintry sparkle that’s ideal for embellishing holiday cards and crafts.


MERRY & BRIGHT CHRISTMAS CARD

In my latest video, I created a Christmas-themed card that highlights both these products. The background features a blend of Distress Inks layered with the Twinkle Paste to give it that festive shimmer and textured glow. To top it off, I used the Snowflakes to embellish the card and shared my tips on how to adhere these delicate flakes securely so they stay put.


STEP BY STEP TUTORIAL

If you want to see exactly how I made this sparkling card, the video walks you through each step—from blending the Distress Inks to applying the Twinkle Paste for texture, and finishing with the Snowflake embellishments. I also share practical tips for using these new products to get the best results on your own holiday projects.


GET READY TO SPARKLE

Whether you’re a seasoned card maker or just looking for a fun, festive project, these new Distress Holiday products add just the right amount of shimmer and magic to your crafting. You’ll love how easy it is to bring sparkle and texture together for a truly eye-catching card.


I hope this inspires your holiday crafting! If you give this card a try, I’d love to hear how it goes—drop a comment or share your photos with me on social media.

Stay crafty and sparkle on!

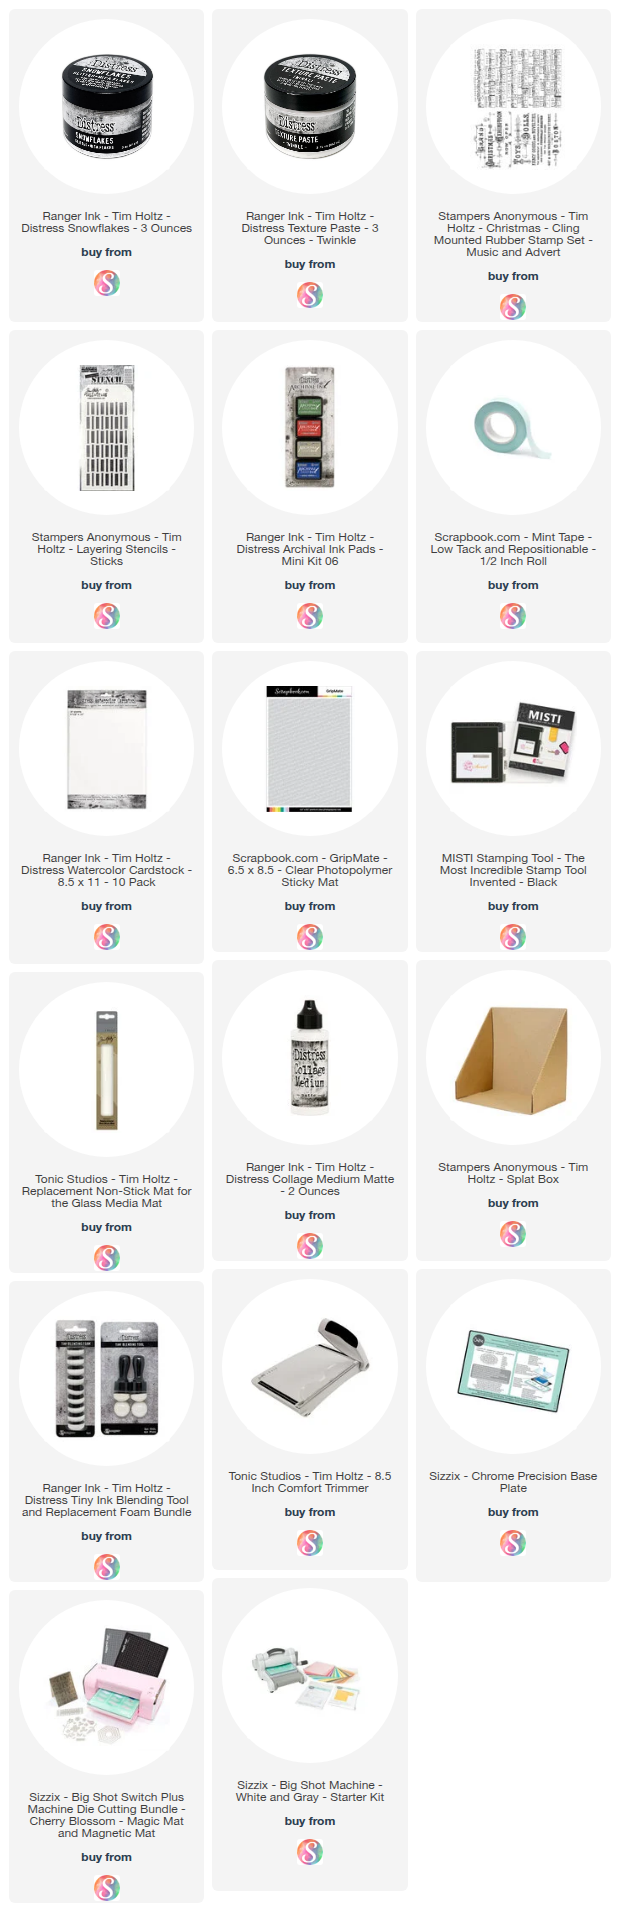
SUPPLIES

Below you can find the supplies I used to create this card. When you shop through those links and whether you purchase that exact item or something else entirely, you’re supporting me at no extra cost to you. The commission I receive helps me cover the costs of my blog and other expenses, and allows me to continue to provide you with FREE inspiration and tutorials. If you want to learn more about what an affiliate link is, you can see my full affiliate and product disclosure statement here. Thank you so much for your love and support!

LET'S STAY CONNECTED

✔️ Subscribe on YouTube for more cardmaking tutorials, tips, and seasonal inspiration
✔️ Follow me on Instagram for sneak peeks and behind-the-scenes
✔️ Sign up for my Newsletter to stay updated on new releases and crafty resources
✔️ Take one of my online Classes to learn fun techniques and build your cardmaking confidence at your own pace

Tim Holtz Mini Distress Oxide Ink Pads | Butterfly Dreams

I’m so excited to share another card I created using the brand-new Mini Distress Oxide Ink Pads from Tim Holtz and Ranger Ink!

These minis are the same size as the Distress Ink Mini Pads, but they’re filled with the same unique ink formula as the full-size Distress Oxide Ink Pads. I love that Tim and the Ranger chemists were able to make this happen—it wasn’t something they originally thought would be possible!

Now, the mini size might not be for everyone—especially if you already own the full-size pads—but if you’re new to Distress Oxides, this is a fantastic (and more affordable) way to start exploring the medium. Plus, they’re perfect for travel and storage, and as I’ll show in today’s project—and in my most recent video—there are certain techniques you just can’t do with the large pads.

That said, there are a couple things to keep in mind: because they’re smaller, you’ll likely need to re-ink them more often, so it’s worth investing in the coordinating re-inkers. Also, the lids are quite snug. This helps prevent them from drying out, but they can be tricky to remove if you have hand pain, arthritis, or grip issues.

Alright, now let’s get into the making!

Live Your Dream With Passions Butterfly Perspective Card by Juliana Michaels featuring Tim Holtz Ranger Ink Mini Distress Oxide Ink Pads

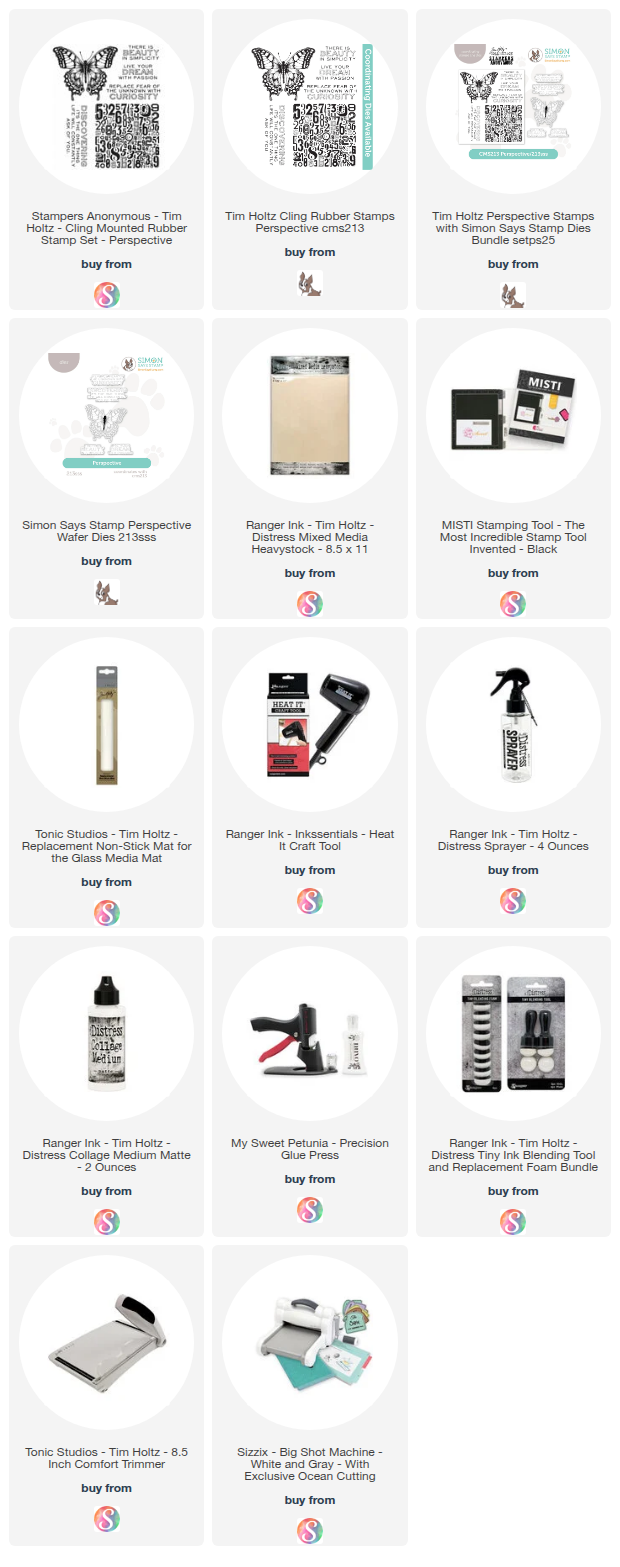
To create this card, I used the same stamping technique I shared in my most recent video—you can check that out HERE to see it in action! The stamp set I used is the Tim Holtz Perspective Stamp Set.


I applied Mini Distress Oxide Inks in Stormy Sky, Peeled Paint, Rusty Hinge, and Ground Espresso directly to the butterfly stamp. After lightly misting it with water, I stamped the image onto a piece of Distress Heavystock. Once it was dry, I used the coordinating die—available exclusively from Simon Says Stamp—to cut out the butterfly.


For the sentiment, I inked it up with Ground Espresso, then used the matching die from the same exclusive set to cut it out.

The background was created by pressing the Vintage Photo Distress Oxide Mini Ink Pad directly onto a piece of Distress Heavystock, creating imperfect squares of color. I repeated this to form a loose grid pattern. Next, I used the Halftone Stencil to apply Stormy Sky Distress Oxide, followed by Distress Texture Paste Opaque through the Blossom Stencil. I set the panel aside to dry.


One of my favorite details? How the Texture Paste absorbs the Vintage Photo Oxide Ink, adding unexpected texture and variation to the background. I finished the panel by inking the edges with Stormy Sky—wait, what?! No Vintage Photo or brown ink for the edges this time? I know! I can't believe it either… but honestly? I’m kind of loving it!

Whether you're new to Distress Oxides or already a fan, the minis are a fun and fresh way to shake things up in your crafting. I’m having so much fun exploring the possibilities. I hope you’ll give them a try too!

SUPPLIES

Below you can find the supplies I used to create this card and the swatches. When you shop through those links and whether you purchase that exact item or something else entirely, you’re supporting me at no extra cost to you. The commission I receive helps me cover the costs of my blog and other expenses, and allows me to continue to provide you with FREE inspiration and tutorials. If you want to learn more about what an affiliate link is, you can see my full affiliate and product disclosure statement here. Thank you so much for your love and support!

Tim Holtz Mini Distress Oxide Ink Pads: Christmas Tags + First Impressions

I was so excited when I heard that Tim Holtz and Ranger Ink finally released Mini Distress Oxide Ink Pads—and they did not disappoint!

Christmas Holiday Tags and Cards by Juliana Michaels featuring Tim Holtz Mini Distress Oxide Ink Pads

In my latest video, I used the new Mini Distress Oxide Ink Pads to create three Christmas-themed tags. Yep, it's July... but if you're a card maker, you know the holiday prep starts early! If you’re curious about the minis or just looking for holiday crafting inspiration, this one’s for you!

Have Yourself A Merry Little Christmas Tag by Juliana Michaels featuring Tim Holtz Mini Distress Oxide Ink Pads

WHAT'S IN THE VIDEO:

  • Helpful tips and tricks for getting the most out of the new ink pads
  • Pros and cons of the new mini size
  • Something to keep in mind if you have hand pain or arthritis
  • How to turn your finished tags into holiday cards with a few simple steps
As an added bonus, each tag in the video features a different Tim Holtz Christmas Stamp & Stencil Mixed Media Set, which includes two stencil designs in one and slightly smaller versions of his classic red rubber stamp imagery—perfect for tags and cardmaking.

The three tags I made all use similar techniques, but I kept them together in one video to show how you can get different looks with just a few supplies—and how easily they can be turned into cards for your stash. 

Happy Holidays Christmas Card by Juliana Michaels featuring Tim Holtz Mini Distress Oxide Ink Pads

You can either watch the video below or head over to my YouTube Channel HERE to check it out.


Please feel free to use products from your stash to recreate something similar. However, if you are interested in any of the products I’m using, you can find the supply list with links down below. Using these links does not cost you anything extra and it helps support my business. It also allows me to continue offering free content and keep my class costs low. I appreciate your support!

Season's Greetings Christmas Card by Juliana Michaels featuring Tim Holtz Mini Distress Oxide Ink Pads

Let me know in the comments which tag was your favorite or if you plan to add these minis to your stash.

SUPPLIES

Below you can find the supplies I used to create this card and the swatches. When you shop through those links and whether you purchase that exact item or something else entirely, you’re supporting me at no extra cost to you. The commission I receive helps me cover the costs of my blog and other expenses, and allows me to continue to provide you with FREE inspiration and tutorials. If you want to learn more about what an affiliate link is, you can see my full affiliate and product disclosure statement here. Thank you so much for your love and support!

Neon Tim Holtz Style | Tim Holtz Alcohol Neons

Hello there! I’m thrilled to be up on the Ranger Ink YouTube channel sharing some fresh cardmaking inspiration featuring the new Tim Holtz Alcohol Neons.

I know—Tim Holtz and neon might not seem like the most obvious pairing, but if you know Tim, you know he loves to push creative boundaries. Playful meets vintage (hello, 1980s!) in the best kind of unexpected way.

There is Beauty In Simplicity Card by Juliana Michaels featuring Tim Holtz Alcohol Neons

🎥 WATCH THE VIDEO HERE


Now, I don’t usually reach for super bright colors, but I loved the challenge of working with these bold hues. Stepping outside my comfort zone is one of my favorite ways to break a creative rut—you never know what kind of magic you might discover when you just play.


A quick tip: these pigment-based inks behave a bit differently than standard alcohol inks. To make them permanent and avoid smudging, you'll need to use Alcohol Blending Solution instead of rubbing alcohol.


And while I was experimenting, I came up with a fun twist to add a bit of grunge to all that glow! You can see exactly how I did it—plus how these neons come to life—in my latest video on the Ranger YouTube channel.

🎥 WATCH THE VIDEO HERE


Whether you’re a neon lover or a grunge-at-heart like me, there’s something here to spark your creativity. I hope it inspires you to try something new and see where it takes you!

SUPPLIES


Below you can find the supplies I used to create this card and the swatches. When you shop through those links and whether you purchase that exact item or something else entirely, you’re supporting me at no extra cost to you. The commission I receive helps me cover the costs of my blog and other expenses, and allows me to continue to provide you with FREE inspiration and tutorials. If you want to learn more about what an affiliate link is, you can see my full affiliate and product disclosure statement here. Thank you so much for your love and support!

Light It Up with Tim Holtz Alcohol Neons!

If you love bold color and artsy vibes, you’re going to want to check out the new Alcohol Neons from Tim Holtz and Ranger Ink! As soon as I saw them, I knew I had to play—and I’m sharing the results with you today in this bright, vibrant butterfly card.

Love With All Your Heart Card by Juliana Michaels featuring Tim Holtz Ranger Ink Neon Alcohol Inks

What Are Tim Holtz Alcohol Neons?

These aren't your average alcohol inks. The Alcohol Neons are permanent, fast-drying, acid-free pigment inks designed to work on non-porous surfaces like Yupo, Dura-Lar, Foil Cardstock, and more. They blend beautifully with Alcohol Blending Solution and pair perfectly with other Tim Holtz Alcohol Inks.

The colors in the Neon kit are: Atomic, Ignite, Electric, Fluorescent, Hyper, Radioactive, Razzle, and Caution. The color names are just as electric as the inks themselves!


For this card, I created a vibrant rainbow background using several of the new neon colors on Yupo Paper. I added each color one at a time and used Alcohol Blending Solution and an air blower to blend the inks and create that flowy look. I then added a couple of drops of Sterling Alloy for a touch of shimmer.

Once it was dry, I layered a bold black die cut butterfly over the top and finished it off with a stamped sentiment that says “Love With All Your Heart.”

This combination of neon and black really makes everything pop—it’s a striking contrast that keeps the background front and center.


Tips for Using Alcohol Neons

Here are a few quick tips if you're trying these inks for the first time:
• Use non-porous surfaces for the best results such as Yupo and Dura-Lar.
• Let the colors blend on the surface rather than overworking them—these inks love to do their own thing!
• Add Blending Solution to soften edges or push color around.
• For more controlled effects, try using a felt applicator or blowing the ink with an air blower.
• Be sure to work in a well-ventilated area—alcohol inks have strong fumes!


Watch Tim Holtz Demo Them Live!

Want to see these in action from the master himself? Tim Holtz is going LIVE on YouTube this Saturday, June 21 at 12 PM ET to demo the new Alcohol Neons! If you can’t make it live, no worries—the replay will be available on his channel.

I hope this project sparks some inspiration—and maybe a little neon obsession of your own! If you create something using these new inks, I’d love to see it. Tag me over on Instagram @julianamichaels so I can cheer you on!

Supplies Used

Below you can find the supplies I used to create this card and the swatches. When you shop through those links and whether you purchase that exact item or something else entirely, you’re supporting me at no extra cost to you. The commission I receive helps me cover the costs of my blog and other expenses, and allows me to continue to provide you with FREE inspiration and tutorials. If you want to learn more about what an affiliate link is, you can see my full affiliate and product disclosure statement here. Thank you so much for your love and support!
Subscribe