There is a rainbow of hope at the end of every storm! With the rainbow of hope theme in mind, I'm sharing a set of Rainbow cards I created using some fabulous products from Therm O Web. This includes their new DecoFoil Transfer Duo Gel, Glitz Glitter Gel and Metallix Gel. I want to specifically thank Therm O Web for so kindly sending me some of these products to play with.

The first card I'm sharing uses the DecoFoil Transfer Duo Gel. This is similar to the original Transfer Gel in that it's made to use with Deco Foil. However, now you can transfer foil without the use of a laminator. Yes, you read that correctly! No laminator is needed. You can now simply use the pressure from a die cutting machine to transfer the foil.

Here I've used the Transfer Duo with a stencil. I laid stencil onto a piece of white cardstock and used Purple Tape to hold it in the place. Then using a palette knife I adhered the gel over the stencil, gently lifted the stencil and washed it immediately. I then set the paper to the side to dry. The gel goes on white, but dries clear and remains slightly tacky. I then placed a piece of Deco Foil Rainbow over the gelled area and ran it through my die cutting machine to transfer the foil. It left me with this beautiful rainbow design.

Now as anyone knows who's ever done any foiling, there is always that wasted foil. It always makes me sad to let it go to waste. Instead of letting that happen I decided to experiment a little. I took another piece of white cardstock and used a wide paint brush to paint the surface with a thin layer of Transfer Duo Gel, making sure to apply as even a coat as possible. Once it was dry, I laid the "wasted foil" on top and ran it through my die cutting machine and look what happened!

The foil that was left over, transferred to the paper. Although it wasn't as perfect of a transfer as the original, I kind of like how it has a bit of a distressed look to it! And...no foil was wasted in the process!

For my third card, I went rainbow wild with the gorgeous Glitz Glitter Gels! These literally come in a rainbow of colors which is what inspired me to apply the different colors of gel in a diagonal pattern over a stencil. Once I had the entire stencil covered, I gently lifted it off of the paper and washed it immediately.

I had a couple of areas, as you can see, where I applied too much gel and it went under the stencil. I decided to embrace the imperfections and love all the sparkly goodness no matter what!

With the continuation of the rainbow theme, my fourth card uses Pearl Metallix Gel. I applied it through a stencil and let it dry. It has a beautiful pearly sheen to it, that unfortunately is impossible to photograph. All I can do is ask that you take my word for it!

Once the gel was dry, I created a rainbow over the paper using Distress Oxide Inks. I then spritzed the paper with water and sprinkled on a bit of Gold Embossing Powder and heat set it with my heat gun. This card definitely has a great mixed media feel to it!

One final note on my set of Rainbow cards is the sentiment strip. For each one, I stamped the sentiment and then heat embossing it with gold embossing powder. I then layered this onto a strip of gold foiled Deco Foil Foam Adhesive. These are another great product to use to transfer foil that does not require a laminator. Simply peel off the liner on one side, lay a piece of foil silver side down and gently rub your finger over the foil to transfer it. Then peel off the transfer sheet to reveal your foiled shape. If you want the foiled foam strip to have more stability, simply adhered the other side of the foam strip to another strip of cardstock cut to the same size.
I hope you enjoyed the rainbow cards I shared with you today using these fabulous products from Therm O Web. Below you can find a complete list of the supplies I used.

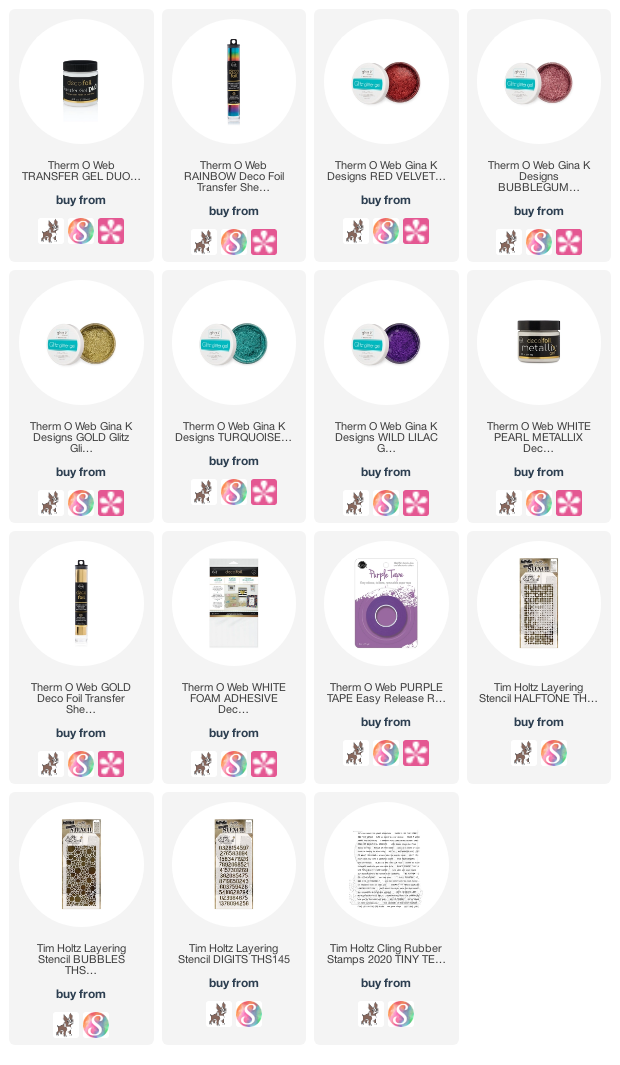
SUPPLIES
This post contains affiliate links to Scrapbook.com, Simon Says Stamp and Therm O Web. If you buy anything through my links, it adds no extra cost to you. I truly appreciate and thank you for your support! (If you're interested, you can see my full disclosure statement here.)