Make It Merry Candy Cane Background | Tim Holtz Stampers Anonymous Christmas 2023

DDIn this post I'm sharing photos of the Make It Merry Candy Cane Background Christmas Card I created for the Tim Holtz Stampers Anonymous Christmas 2023 Live. If you are looking for more inspiration from that release make sure to check out Tim's 2023 Stampers Anonymous Christmas 2023 blog post and 2023 Stampers Anonymous Christmas 2023 YouTube Live.

Make It Merry Candy Cane Background Christmas Card by Juliana Michaels featuring Tim Holtz Stampers Anonymous Christmas 2023 Jolly Holiday

I've created a short video that shows how I created this card using stamps from this 2023 Christmas Release which you can watch below or over on my YouTube Channel.


Here are a few up close images of the card. I used the Tim Holtz Jolly Holiday Stamp Set to create the candy cane background and Santa. I used the Christmas Cartoons Stamp Set for the sentiment and the Holiday Postmarks Stamp Set to add some detail to the postage die pice.

Make It Merry Candy Cane Background Christmas Card by Juliana Michaels featuring Tim Holtz Stampers Anonymous Christmas 2023 Jolly Holiday

The postage die was cut using the Tim Holtz Stacked Postage Die Set. This die is retired, but I've shared some other options that would work in the supply list below. This includes the Elizabeth Craft Designs  Postage Stamps Die Set and the Hero Arts Nesting Postage Stamps Die Set.

Make It Merry Candy Cane Background Christmas Card by Juliana Michaels featuring Tim Holtz Stampers Anonymous Christmas 2023 Jolly Holiday

The background behind the candy cane piece was created using Distress Mica Stains. I absolutely love the shimmer and shine they add to projects, especially holiday ones!

Make It Merry Candy Cane Background Christmas Card by Juliana Michaels featuring Tim Holtz Stampers Anonymous Christmas 2023 Jolly Holiday

Thanks for stopping by today and I hope you have a wonderful Christmas crafting season!

SUPPLIES

Below you can find the supplies I used to create these various Christmas Cards. When you shop through the links below, I receive a small commission from Scrapbook.com. These links are at no cost to you and the commission I receive helps me cover the costs of my blog and other expenses, and allows me to continue to provide you with FREE inspiration and tutorials. If you want to learn more about what an affiliate link is, you can see my full affiliate and product disclosure statement here. Thank you so much for your love and support!
 

Sweet Christmas Card & Gift Tag | Scrapbook.com Gingerbread Bundle

Are you looking for more Christmas card and gift tags ideas that are a snap to create? If so, then you don't want to miss out on the festive and fun Gingerbread Bundle from Scrapbook.com! With this coordinated set of festive holiday cookie dies and stamps you'll be checking off your Christmas making list with ease. And to make this deal even sweeter, Black Friday Savings have started at Scrapbook.com. They currently have a 10% off coupon code and three amazing freebies! Check out all the details on their Coupons & Deals page. Black Friday is being celebrated all week long with new deals and coupons throughout the week!

Sweet Christmas Card by Juliana Michaels featuring the Scrapbook.com Gingerbread Bundle - Gingerbread Paper Pad, Sweet Christmas Stamp and Die Set and Holiday Cookies Die Set

GINGERBREAD BUNDLE

The Gingerbread Bundle includes the 4x6 Sweet Christmas Stamp Set, the Gingerbread Holiday Cookies Die Set and a Gingerbread A2 Patterned Paper Pad. And if you're not a fan of fussy cutting, there is also a coordinating die set for the Sweet Christmas Stamp Set.
Scrapbook.com Gingerbread Bundle - Gingerbread Paper Pad, Sweet Christmas Stamp and Die Set and

SWEET CHRISTMAS CARD

I've used this bundle to create a coordinating card and gift tag which you can check out below. If you're looking for more inspiration check out the Scrapbook.com Gingerbread Live Stream and the projects that have been shared on the product page for the bundle!

Sweet Christmas Card by Juliana Michaels featuring the Scrapbook.com Gingerbread Bundle -Gingerbread Paper Pad, Sweet Christmas Stamp and Die Set and

As for this card, I started with a piece of kraft paper cut to 4.25 x 5.5 inches and inked the edges with Vintage Photo Distress Ink. Next, I took the Ho Ho Ho paper from the Gingerbread Patterned Paper Pad and embossed it with the Scrapbook.com A2 Wavy with Dotted Accents Coverplate Die. To do this, I placed the die on the backside of the patterned paper that I wanted to use. That way the design is embossed into the paper.

I created the following sandwich for my Sizzix Foldaway die cutting machine:
  • Standard Cutting Platform
  • Silicone Rubber Pad
  • Magic Mat
  • Patterned Paper
  • Die
  • Standard Cutting Pad
The silicone rubber pad prevents the die from cutting the paper and turns the die into an embossing folder! I then very lightly rubbed over the raised embossed design with a Ranger Sanding Disk (basically fine grit sandpaper). This removes the ink and reveals the white core of the paper and makes the embossed design stand out even more!

Sweet Christmas Card by Juliana Michaels featuring the Scrapbook.com Gingerbread Bundle - Gingerbread Paper Pad, Sweet Christmas Stamp and Die Set and Holiday Cookies Die Set

Next, I die cut nine gingerbread men from kraft cardstock using the Holiday Cookies Die Set. I inked the edges of these with Vintage Photo Distress Ink. I then die cut the pieces to embellish the gingerbread man from white cardstock and the bow ties from red cardstock and adhered them to the gingerbread base using Artis Glue. I then adhered them to the card front.

Next, I die cut the holly and pine branches from some of the green papers in the Gingerbread Paper Pad using the Cozy Autumn Foliage Die Set. I sanded these as well and I love that by revealing the white core they look like they have snow on them.

For the sentiment I used the Sweet Christmas Stamp Set and stamped it with embossing ink and heat embossed it using Lumberjack Plaid Embossing Glaze. I then die cut it with the coordinating die set, inked the edges with Vintage Photo Distress Ink and adhered it to the card with double sided foam adhesive.

To finish off the card I adhered some red pearls using Glossy Accents as my adhesive and a small red and white baker's twine bow!

Sweet Christmas Card by Juliana Michaels featuring the Scrapbook.com Gingerbread Bundle - Gingerbread Paper Pad, Sweet Christmas Stamp and Die Set and Holiday Cookies Die Set

SWEET CHRISTMAS GIFT TAG

With the card completed, I thought it would be fun to create a coordinating gift tag. I used one of the tag dies from the Scrapbook.com Nested Tags Die Set and cut it from the same red paper I used on the card. I also embossed it with the same Wavy with Dotted Accents Coverplate Die and sanded it.
I die cut and assembled another gingerbread man and some more holly and pine branches and adhered them to the card. The sentiment is from the Sweet Christmas Stamp Set and I heat embossed it just like I did on the card. I then finished it off with some red and white baker's twine.

Sweet Christmas Gift Tag by Juliana Michaels featuring the Scrapbook.com Gingerbread Bundle - Gingerbread Paper Pad, Sweet Christmas Stamp and Die Set and Holiday Cookies Die Set

Thanks so much for stopping by today! I hope you enjoyed this bit of sweet holiday inspiration I created using the Scrapbook.com Gingerbread Bundle!

SUPPLIES

Below you can find the supplies I used to create these various Christmas Cards. When you shop through the links below, I receive a small commission from Scrapbook.com. These links are at no cost to you and the commission I receive helps me cover the costs of my blog and other expenses, and allows me to continue to provide you with FREE inspiration and tutorials. If you want to learn more about what an affiliate link is, you can see my full affiliate and product disclosure statement here. Thank you so much for your love and support! 

Compartmental Christmas Card Ideas | Tips & Tricks for Mass Production

Hello and welcome! In this post I'm sharing my latest video - Compartmental Christmas Card Ideas | Tip and Tricks for Mass Production. While I always make some Christmas cards that take more time, and those go to special family members and such, I need something I can put together a little bit quicker for the rest of the cards.

Compartmental Christmas Card Ideas | Tips & Tricks for Mass Production by Juliana Michaels

Coming up with the ideas takes time and even as a maker, sometimes it's nice not to have to do all that thinking and planning. By using the method I'm sharing in my video, I'm able to remove some of that pressure, save time AND most importantly sit back and enjoy the making process! Last year, I used this same method and I really liked how it worked out for me, so I'm doing it again this year and I thought I'd share about it with you.

Before I ever started on my cards I did a bit of planning. This year when the Christmas making season began, I scrolled through Instagram and I went to Tim Holtz's blog and his posts for the holiday releases and started saving card ideas that really inspired me. The other reason in picking some of the designs was to use some of the products I had gotten during the season and hadn't had time to play with just yet. Then, when it came time for me to start my mass production I was able to refer to those card ideas and get started. I talk about this and the rest of the method I use to create my cards in the video.

You can watch the video below or head over to my YouTube channel and watch it there.


In the video I also walk you through how to create this card that was inspired by Alex - am_spatz_werk. I take you step by step through my process and how to break it down into easy to manage compartmental steps. 

Candleshop Christmas Card by Juliana Michaels

INSPIRED BY: ALEX - SPATZ_AM_WERK

As for the rest of the cards that you see in the photo above, in the video I talk you through the compartmental steps I used to create each one. Here I'm sharing images of the cards I created, the supplies I used (which you can find at the bottom of this post) and links to the makers and the cards that inspired me. I encourage you to check out each of these talented makers and give them a follow and a like!

Joy To The World Blue and Silver Christmas Card by Juliana Michaels

Gentlemen Joy To The World Christmas Card by Juliana Michaels


Embossed Merry Christmas Card by Juliana Michaels

Embossed Joy To The World Christmas Card by Juliana Michaels


I hope you enjoyed this video and the method I've shared to help get your Christmas cards completed with Compartmental Card Ideas | Tips and Tricks for Mass Production.

SUPPLIES

Below you can find the supplies I used to create these various Christmas Cards. When you shop through the links below, I receive a small commission from Scrapbook.com. These links are at no cost to you and the commission I receive helps me cover the costs of my blog and other expenses, and allows me to continue to provide you with FREE inspiration and tutorials. If you want to learn more about what an affiliate link is, you can see my full affiliate and product disclosure statement here. Thank you so much for your love and support!
 

Inspired By A Die Set | A Rustic Star Christmas Card

Has a product ever inspired you to use what you already have to recreate something similar? In this post I'm sharing how I created this rustic star Christmas card that was inspired by a die set I saw from Papertrey Ink. As soon as I saw it I wondered about creating something similar using dies I already had. With a little playing around I was able to do just that and I wanted to share the how to with you!


Here's a look at the die set that inspired me. It's called Rustic Wood Star by Papertrey Ink.


You can watch the video below or you can head over to my YouTube channel


If you're interested in the supplies I've used to create this card, you can find links to them in the supply list below. When you shop through those links it supports me and I really appreciate that so very much!

Below are some detail images of the card I create and share in the video. The finished card size is 4.25 x 5.5 inches.


Thanks so much for stopping by and I hope you have a great day! Until next time...stay crafty my friend!


SUPPLIES

Below you can find the supplies I used to create this Rustic Star Christmas card. When you shop through the links below, I receive a small commission from Scrapbook.com. These links are at absolutely no cost to you and the commission I receive helps me cover the costs of my blog and other expenses, which allows me to continue to provide you with FREE inspiration and tutorials. If you want to learn more about what an affiliate link is, you can see my full affiliate and product disclosure statement here. Thank you so much for your love and support!

2023 Holiday Gift Guide for Paper Crafters

Christmas and the Holidays will be here before you know it, so over on my YouTube channel I'm sharing a look at the products I've selected for my 2023 Holiday Gift Guide for Paper Crafters. Whether you're the crafter yourself or you're looking for a friend or family member, you're sure to find the perfect gift idea!

Juliana Michaels 2023 Holiday Gift Guide for Paper Crafters

In the video, I share 12 of my favorite paper crafting products, some of the features of each of the products and what I love about them. Each of these products is a favorite of mine and they get loads of love on a regular basis in my own craft room.


Along with the video I also created a PDF version of my 2023 Holiday Gift Guide for Paper Crafters that you can download for FREE.


2023 Holiday Gift Guide for Paper Crafters

Below you can find the products that are in my 2023 Holiday Gift Guide for Paper Crafters. When you shop through the links below, I receive a small commission from Scrapbook.com. These links are at absolutely no cost to you and the commission I receive helps me cover the costs of my blog and other expenses, which allows me to continue to provide you with FREE inspiration and tutorials. If you want to learn more about what an affiliate link is, you can see my full affiliate and product disclosure statement here. Thank you so much for your love and support!

Using Rub Ons to Create Custom Card Backgrounds

Hello there and welcome! In this post I'm sharing how to use rub ons to create custom card backgrounds. Rub ons were super popular many years ago and yes I might be dating myself...think Basic Grey. Anyone out there remember them?! ) Well they were here and then they just seemed to disappear. Lately however, I've noticed that they are back and more beautiful than ever!

Merry Christmas Card by Juliana Michaels featuring Scrapbook.com Winter Florals Rub Ons

I recently used Scrapbook.com Wild Blooms Rub Ons to create this Thankful For You Card and I wanted to share with you how I used the rub ons to create the background for this card. But instead of recreating this card, I decided to use the same technique to create this Merry Christmas Card. If you're interested in more details about this card you can find the link to my blog post HERE.

Thankful For You Card by Juliana Michaels featuring Scrapbook.com Wild Blooms Rub Ons

If you prefer a video format, you can watch below or head over to my YouTube channel to see the process in more detail.


If you're interested in the supplies I've used to create this card, you can find links to them in the supply list below. When you shop through those links it supports me and I really appreciate that so very much! And as always, there is a blog post available with more photos if you're interested in looking at the card in more detail.

Now let's get on with the making!

Merry Christmas Card by Juliana Michaels featuring Scrapbook.com Winter Florals Rub Ons

To get started I used the gorgeous Winter Floral Rub Ons from Scrapbook.com, the Christmas Block Words Die Set and the Cozy Autumn Foliage Die Set which are both from Scrapbook.com, the Mini Slimline and Tickets Die Set by Eileen Hull for Sizzix, the Noel Patterned Paper Pad from Scrapbook.com.

I began with a piece of Distress Watercolor paper that I die cut with the Mini Slimline and Tickets Die Set by Eileen Hull for Sizzix. I ink smooshed it into Old Paper Distress Ink pad onto my craft mat. I then dried that with my heat tool.

Merry Christmas Card by Juliana Michaels featuring Scrapbook.com Winter Florals Rub Ons

Next I added the rub ons. I used Mint Tape, washi tape would also work, to mask off each of the open areas and add the rub ons to those sections. I cut out the rub ons I wanted to use and then used the applicator that comes with the rub ons to adhere them. I place the rub on top of the paper, rubbed over it with applicator to to release the rub on from the liner and transfer it to the paper. I then slowly peeled off the liner. If some of it doesn't come off, you can reposition the rub on and rub over it again until it sticks to the paper.

Once the rub ons were adhered to that section and the liner removed, I took a craft knife and trimmed off the excess. If you don't trust yourself to cut straight, you can grab a ruler and run the craft knife along the edge of it. When using the craft knife, you don't have to push very hard to cut through the rub ons, because they are really quite thin. I then removed the Mint Tape from that section, placed it around the next section and repeated this process until all of the openings were filled in. Another tip is to slowly peel off the Mint Tape, just to make sure that you cut through everything and that you don't peel up the rub on and possibly tear it.


During the process of working with these rub ons, I realized how easily you can layer them. So I created several of my own floral arrangements to fill in some of the openings. I also trimmed one of the larger rub ons in half and used it in the two square openings.

I then took some scissors and trimmed around the outer edge of the die cut to make it look like a postage stamp edge. I saved the excess and used it to stamp my sentiment.

Once the background was completed, I die cut papers from the Noel Patterned Paper Pack to cut the Merry Die from the Christmas Block Words Die Set and the holly and evergreen branches from the Cozy Autumn Foliage Die Set. I cut the Merry out of two different papers, a lighter red and a darker red using the darker color as the outline or shadow layer.

Next because I just love to distress things, I very gently and carefully sanded the die cuts using a Ranger Sanding Disk to give them a distressed effect. Make sure to do the sanding on a piece of scrap paper so you don't ruin your craft mat or work surface. While you are sanding make sure to hold the paper and then gently rub the sandpaper away from where you are holding the paper. Another way that is a little easier, is to put the die cut back into the paper you cut it from. This just helps hold it a little better and makes you less likely to tear the paper while your sanding it.

I also sanded the edges of a piece of paper from the Noel Paper Pad that I cut to create the card base. This technique is one of my favorites for adding a little distress but it only works with papers that have a different colored core from the color of the surface. These papers have a white core, so when you sand them you remove the surface color and reveal the white core.


I then used Scrapbook.com Artis Glue to adhere the die cuts together and to the card front. As I've mentioned before, with this adhesive was the first time I had every used a precision tip to apply a liquid adhesive and I must admit, it has been a game changer when it comes to adhering small and delicate die cuts!

I used Scrapbook.com 1mm Double Sided Foam Adhesive to give the die cut sentiment a little dimension. This is a new favorite of mine! I love adding dimension and use foam tape quite often, but sometimes it's just a little too thick, especially if you have other layers underneath it. This 1mm thickness is just perfect for adding just a tiny bit of dimension without adding a lot more bulk and this is also super helpful for mailing your cards.

To finish off the card, I stamped Merry Christmas from the Scrapbook.com Wordfetti December Stamp set with some brown ink onto that strip I trimmed off of the die cut earlier. I then trimmed it size, inked the edges with a little Vintage Photo and adhered it over the Merry die cut.

Merry Christmas Card by Juliana Michaels featuring Scrapbook.com Winter Florals Rub Ons

There you have it! I hope you enjoyed learning how to use rub ons to create custom card backgrounds. Until next time...stay crafty my friend!

SUPPLIES

Below you can find the supplies I used to create this Merry Christmas card featuring Scrapbook.com Winter Florals Rub Ons. When you shop through the links below, I receive a small commission from Scrapbook.com. These links are at absolutely no cost to you and the commission I receive helps me cover the costs of my blog and other expenses, which allows me to continue to provide you with FREE inspiration and tutorials. If you want to learn more about what an affiliate link is, you can see my full affiliate and product disclosure statement here. Thank you so much for your love and support!

Pumpkin Spice & Everything Nice | Fall Treats Bundle

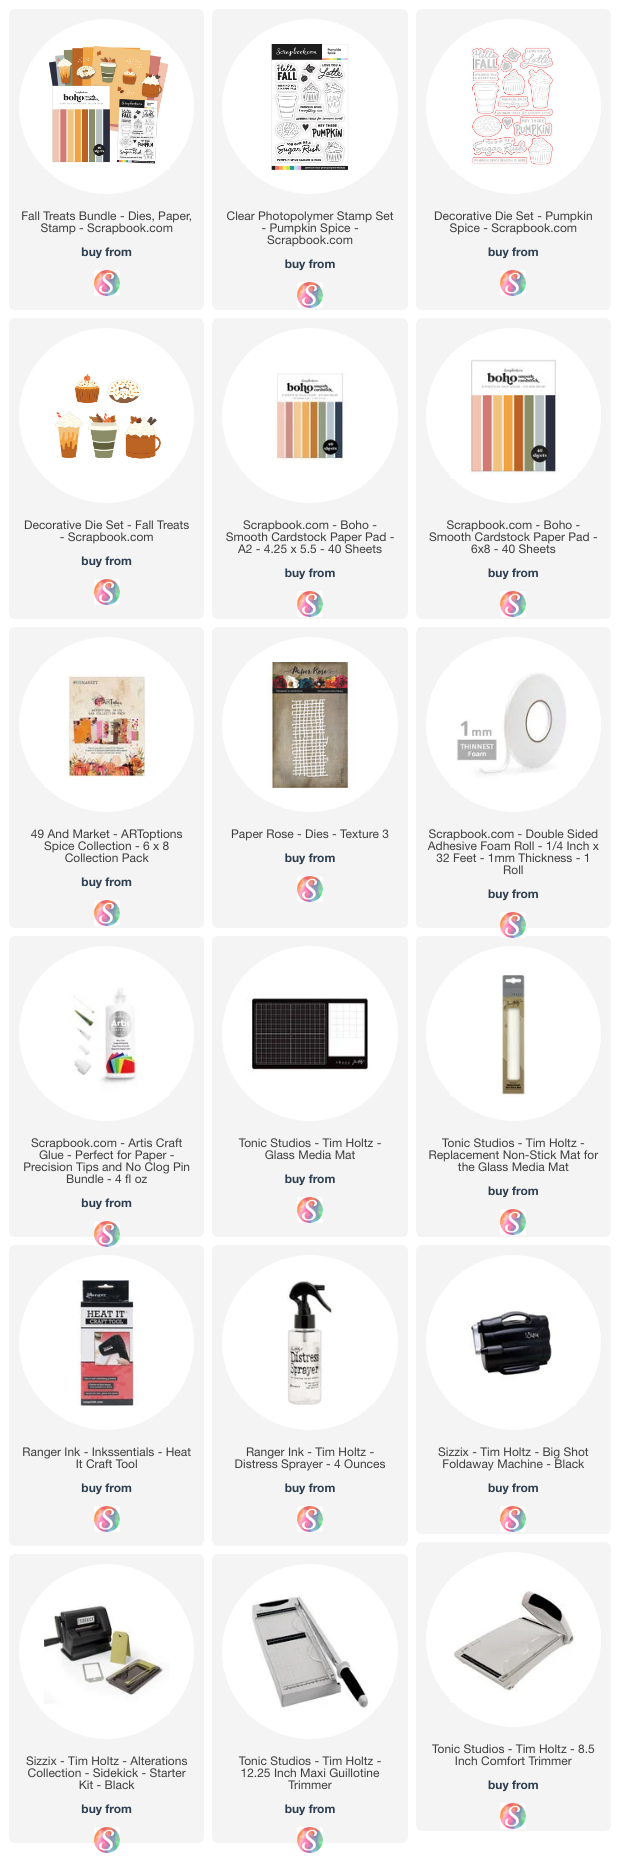
Are you team Pumpkin Spice or not so much? As for me, I'm team Pumpkin Spice all the way! I'm actually drinking some pumpkin spiced flavored coffee as I write this! I look forward to it's arrival this time of the year and indulge in it until Thanksgiving time. Then I switch it up to a more wintery flavor, but that's for another time. Today it's all about Pumpkin Spice and everything nice that's included in the brand new Scrapbook.com Fall Treats Bundle!

A card with the sentiment Pumpkin Spice and Everything Nice. Embellished with paper die cuts of a coffee mug and a coffee cup decorated with fall leaves and pumpkins.

This bundle is basically a little mini kit of cardstock, stamps and dies that coordinate perfectly for all those pumpkin spice lovers out there. And if you don't love pumpkin spice, you can skip that part and enjoy the cuteness of the coffee, cocoa, cupcakes and donuts that you can create with the adorable die set that's included! If you're looking for more inspiration using this kit, make sure to check out the Scrapbook.com Fall Treats Bundle Livestream that's now live and and you can watch the replay HERE.

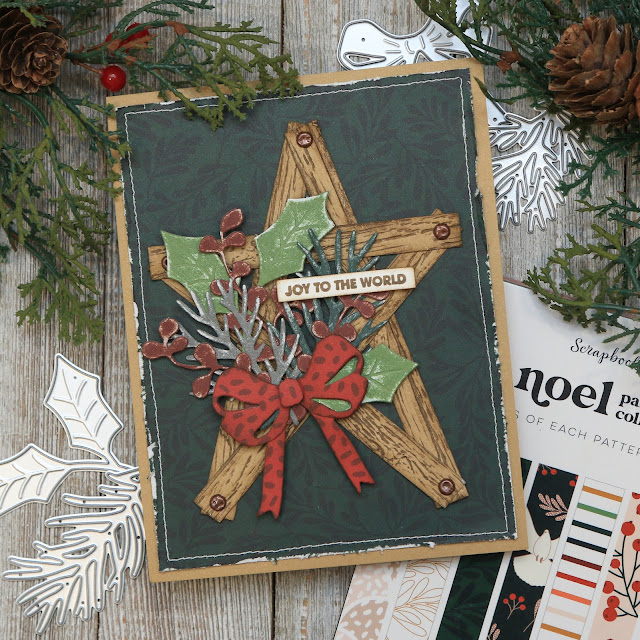
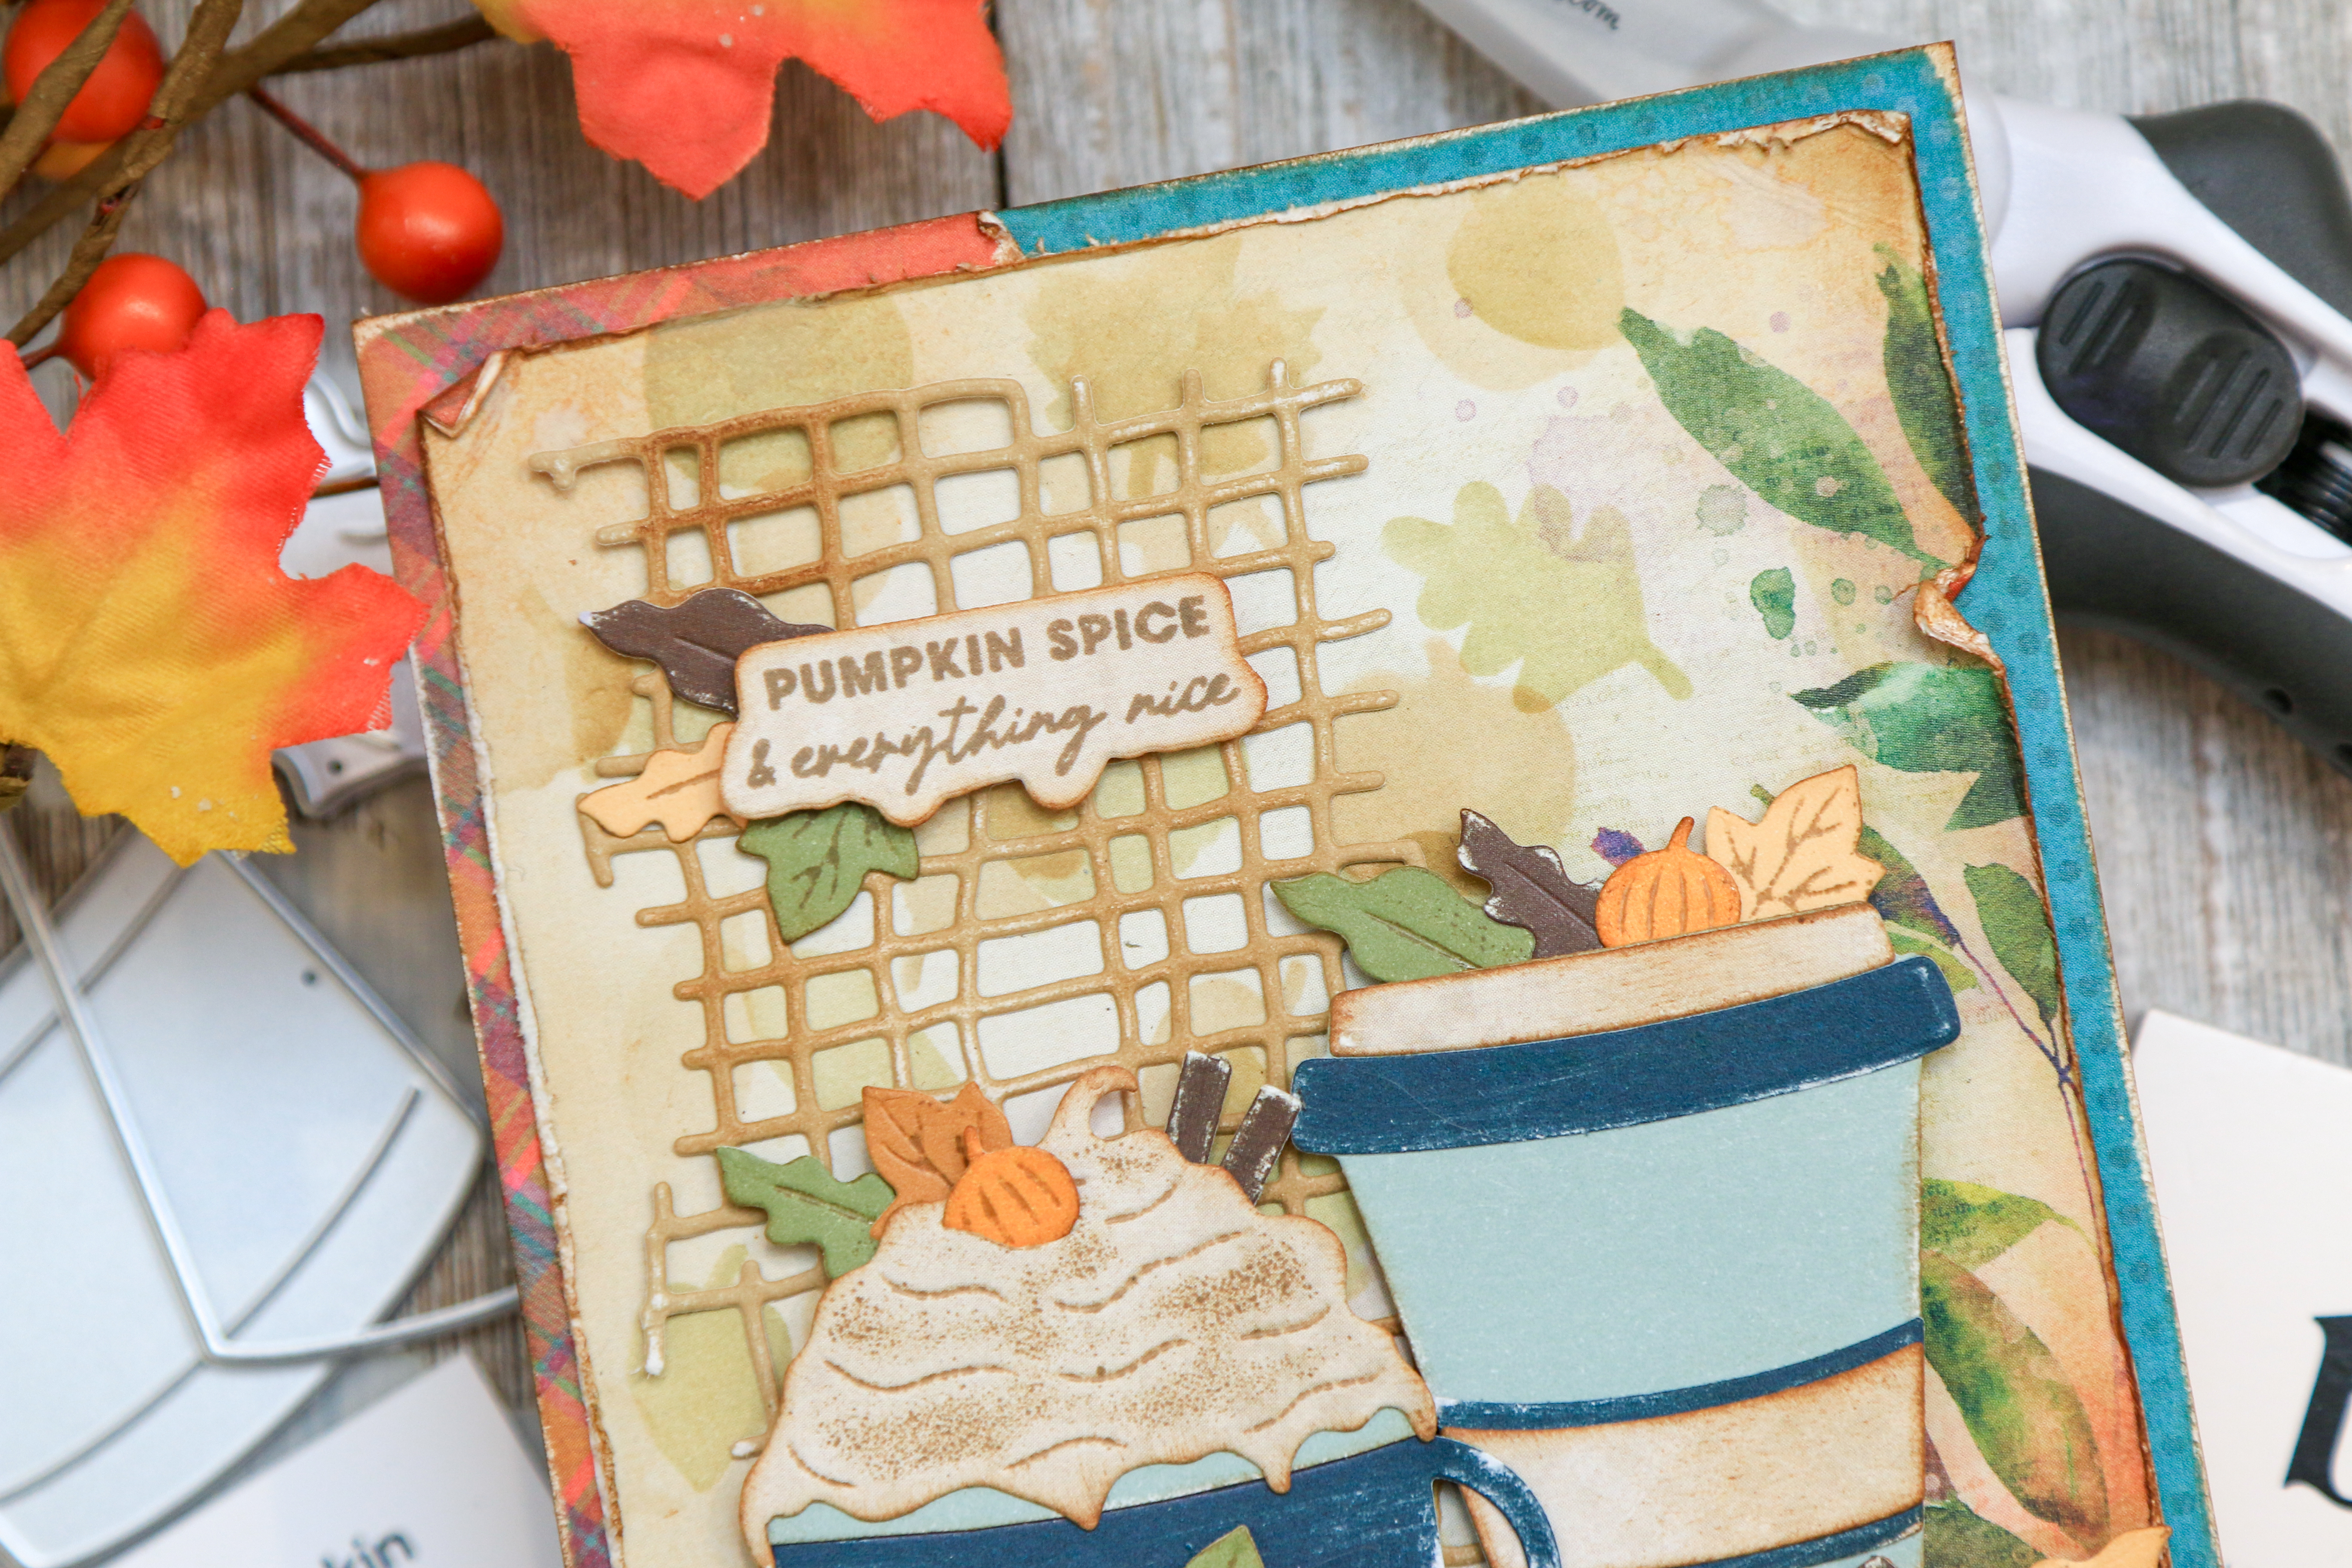
Now as for what I created, I pulled out some patterned papers from the 49 and Market Spice Collection which also coordinated perfectly with this bundle. I used it as the background and card base. I added a little light stenciling to the cream colored paper using the Scrapbook.com Autumn Breeze Stencil using Old Paper and Vintage Photo Distress Ink. I then distressed the edges a little and inked them with some Vintage Photo Distress Ink. I then layered this onto two different patterned papers from the 49 and Market Spice Collection 6x8 Paper Pack.

Next, I layered on a die cut from light tan cardstock using the Paper Rose Texture 3 Die Set. I inked it a little with a bit of Vintage Photo Distress Ink to help it coordinate with the background paper.

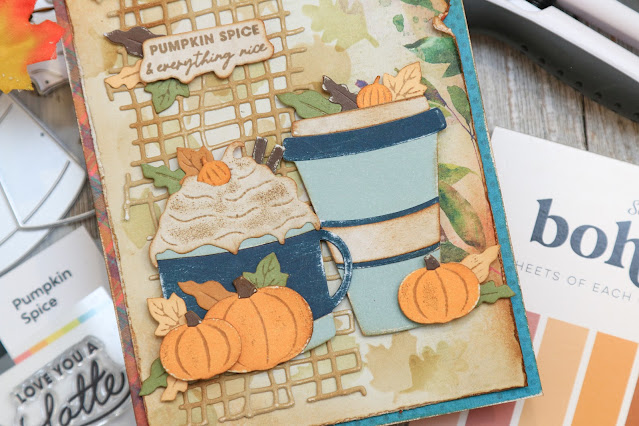
I then pulled out the Pumpkin Spice Die Set and the Boho Paper Pad and began cutting out the various pieces to create the mug and coffee cup. I also used a piece of cream patterned paper from the 49 and Market Spice Collection to die cut the cream colored sections. To add some interest to the dies that have areas that can be embossed, I applied Vintage Photo Archival Ink directly to the die, placed the paper onto the die and ran it through my die cutting machine. The ink is then transferred from the die onto the paper creating a letterpress type effect that I really love! And I used the Scrapbook.com Magic Mat to help make the embossing stand out even more.

The larger pumpkins at the bottom are from the Scrapbook.com Cozy Autumn Fox and Hedgehog Die Sets.

Once all the die cutting was completed, I inked the edges for the various pieces with Vintage Photo Distress Ink. I also lightly sanding some of them using a sanding disk as well. Both of these add a nice touch of distressing to them, but you could certainly skip the distress if that style is not your thing! I then used Scrapbook.com Artis Glue with the precision tip to assemble the die cuts. I then adhered them to my card front using the Scrapbook.com 1mm Double Sided Foam Adhesive. This is one of my new favorite adhesive. Most foam adhesive is a little too thick for my taste, but this one is thinner and just right for adding a little dimension without a lot of extra bulk.


I then finished off the card by stamping the sentiment with brown ink onto the same cream patterned paper and die cut it using the coordinating die. The die for the stamp set isn't included in the bundle, so if you want to skip the fussy cutting make sure you add the Pumpkin Spice die set to your cart before you check out!


SUPPLIES

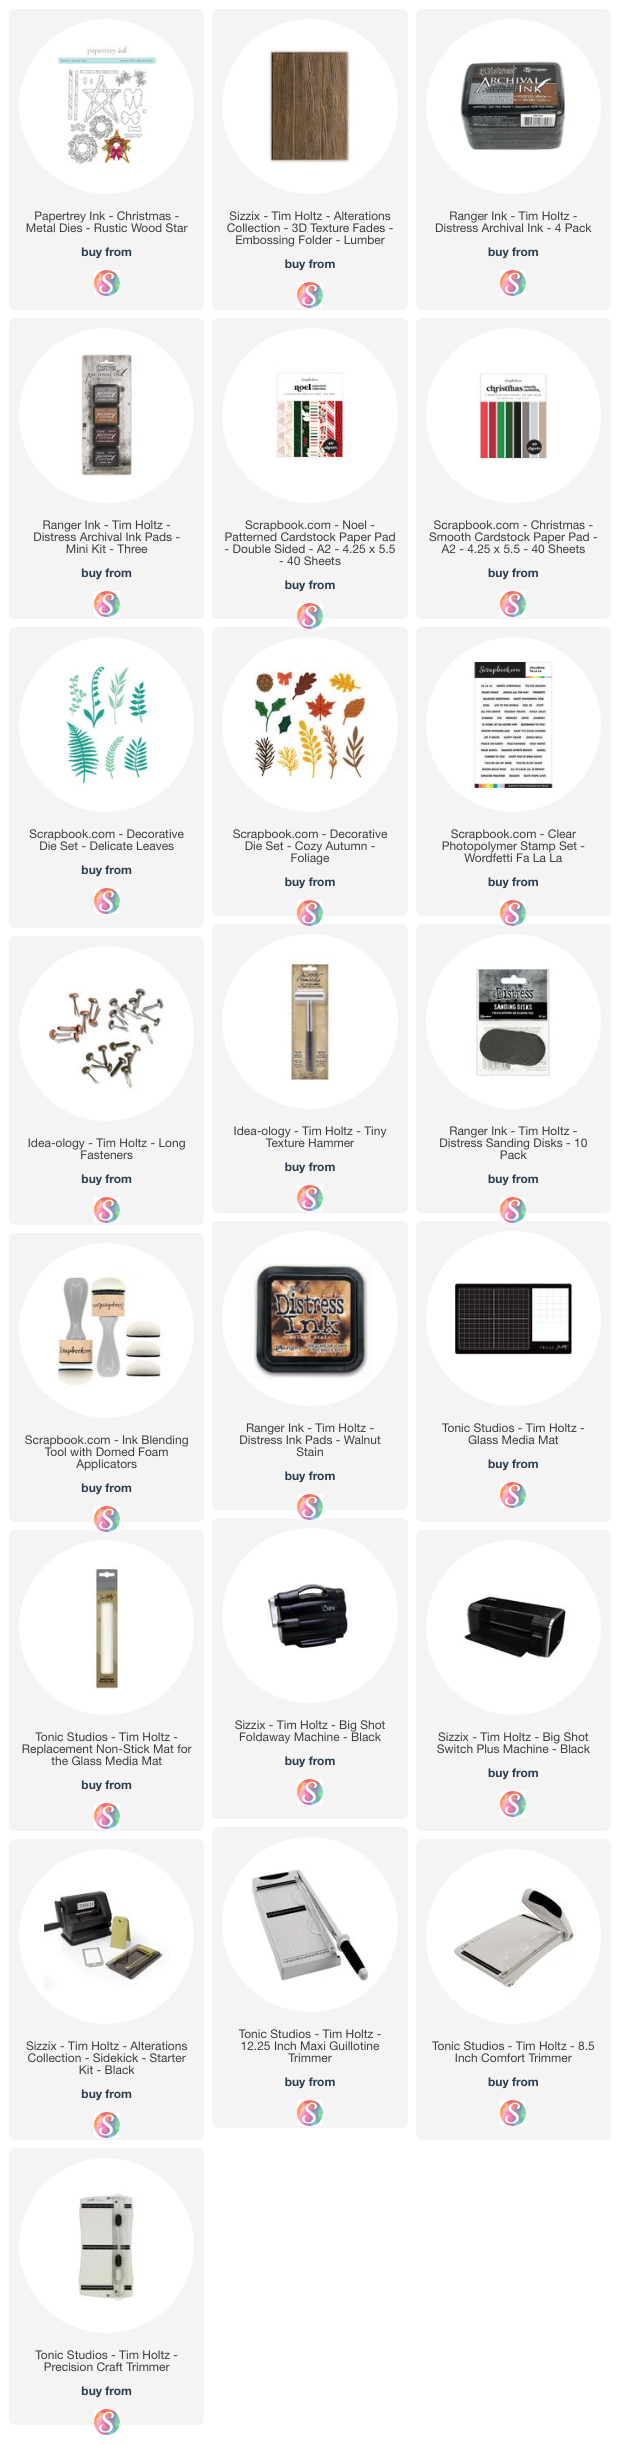
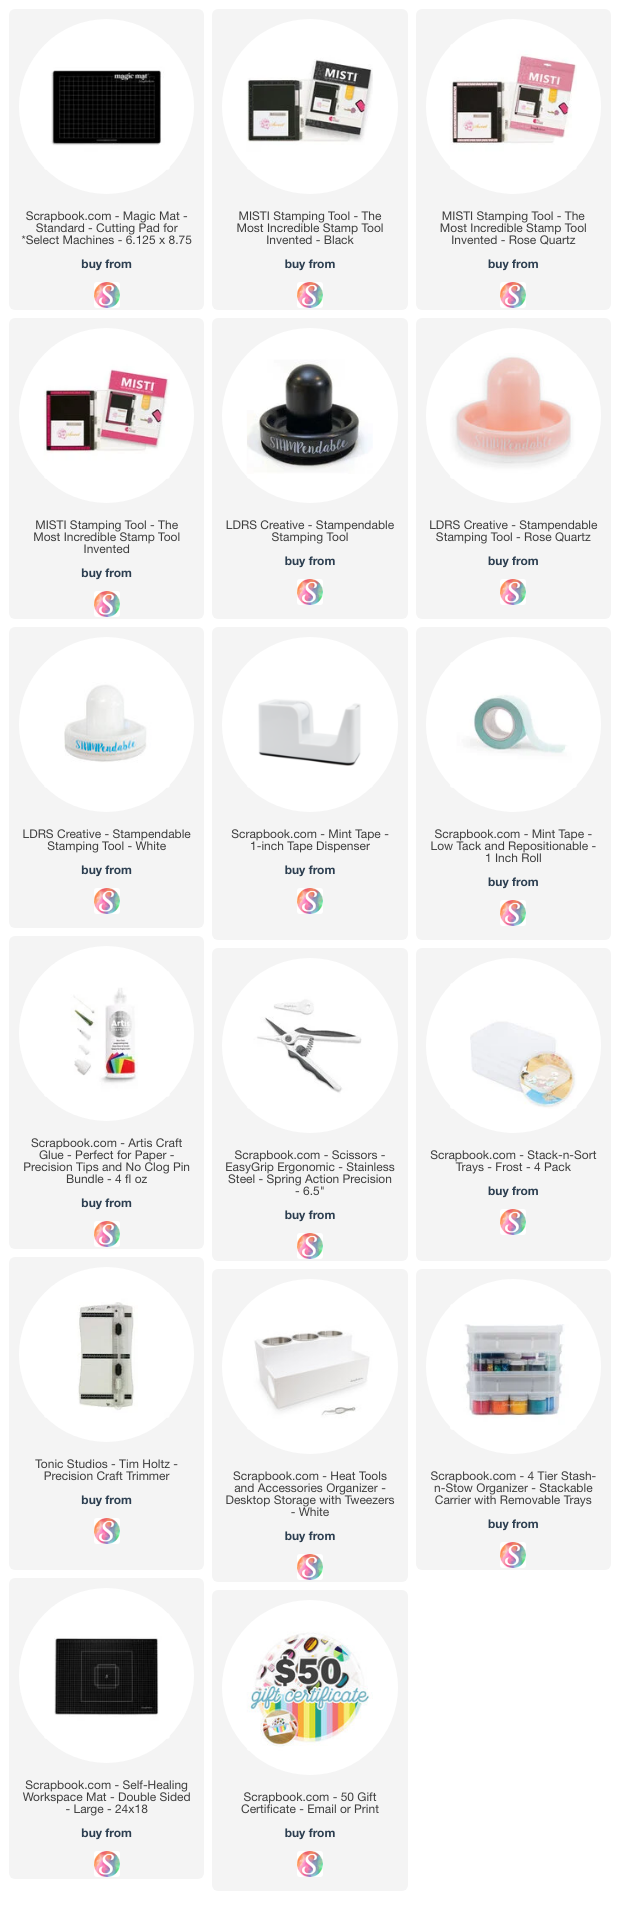
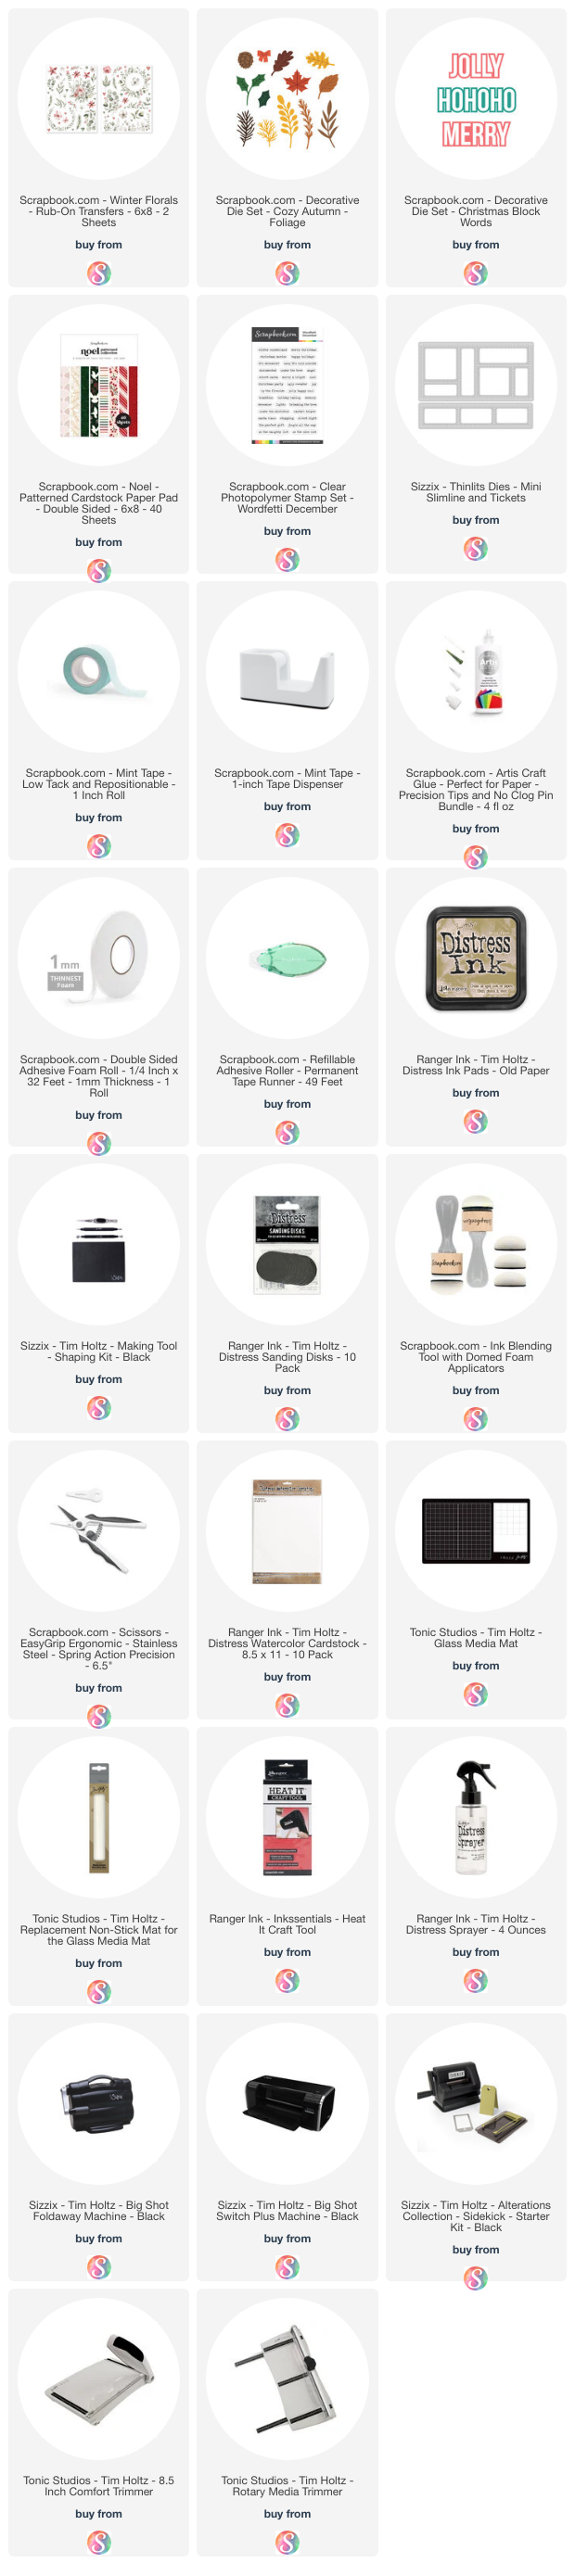
Below you can find the supplies I used to create this Pumpkin Spice and Everything Nice Card. When you shop through the links below, I receive a small commission from Scrapbook.com. These links are at absolutely no cost to you and the commission I receive helps me cover the costs of my blog and other expenses, which allows me to continue to provide you with FREE inspiration and tutorials. If you want to learn more about what an affiliate link is, you can see my full affiliate and product disclosure statement here. Thank you so much for your love and support!

Subscribe