Art journaling isn't something I do very often—that said, I have three art journals with random pages I've created over the years. Recently, I've felt a pull to do more of it. I'm not sure if it's just a creative phase I'm going through or something deeper, but the process is rewarding, and creative play is always good for the soul. We all know we need a little more joy in our lives these days.
THE SUPPLIES I USED
I used some of the new Sizzix Studio stamp and stencil sets designed by Mark Montano, but you could really use any stamps and stencils you already have on hand. There are four sets, and each includes a collection of detailed clear stamps and three coordinating A5 stencils with a variety of designs and patterns perfect for adding beautiful layers and texture. What I love about these sets is how versatile they are—you can mix and match elements across all four collections to create endless combinations.
COLLAGE STAMPING
I began with one of my favorite techniques—collage stamping—using a variety of stamps from three of the sets: Stitches, My Favorite Things, and Build It. I stamped the various images using Versafine Clair Ink in Nocturne. I love working with this ink because it's richly pigmented and dries quickly, which is perfect for layering. I didn't worry about placement being perfect; I actually prefer the organic, slightly chaotic look that comes from randomly stamping images across the page.
ADDING TEXTURE & COLOR
Next, I added some texture by applying Distress Texture Paste through a damask-styled stencil from the Build It Set. The raised texture adds such beautiful dimension to the page. I then applied Distress Oxide Sprays in Rusty Hinge and Speckled Egg over the wet paste and dried them with my heat tool. The sprays react with the paste in the most gorgeous way, creating interesting color variations and depth.

ADDING LAYERS & EPHEMERA
From there, I layered in a variety of bits and pieces from my stash, including some Tim Holtz Tickets and Paper Strips. These ephemera-style pieces are perfect for art journaling because they add that vintage, collected feel without much effort. I also grabbed some die cuts from my scrap bin—that's just a bin where I toss extra die cuts that I make but don't end up using on projects. It's one of my favorite resources because I'm always surprised by what treasures I find in there. Some of the dies I used to create them include the Tim Holtz Leaf Fragments, Seth Apter Stretchers, and Seth Apter Diamond District. I also stamped a few images onto cardstock and fussy cut them to add into the mix, giving me even more layering options.

THE FINISHING TOUCH
Finally, I finished it off with a phrase from the Tim Holtz Clippings Sticker Book. I love how the right sentiment can tie everything together and give the page a sense of meaning or purpose. Sometimes the best creative moments come when we stop overthinking and just let our hands play. If you've been feeling that same pull toward your art journal, I hope this inspires you to dust it off and see where the layers take you.
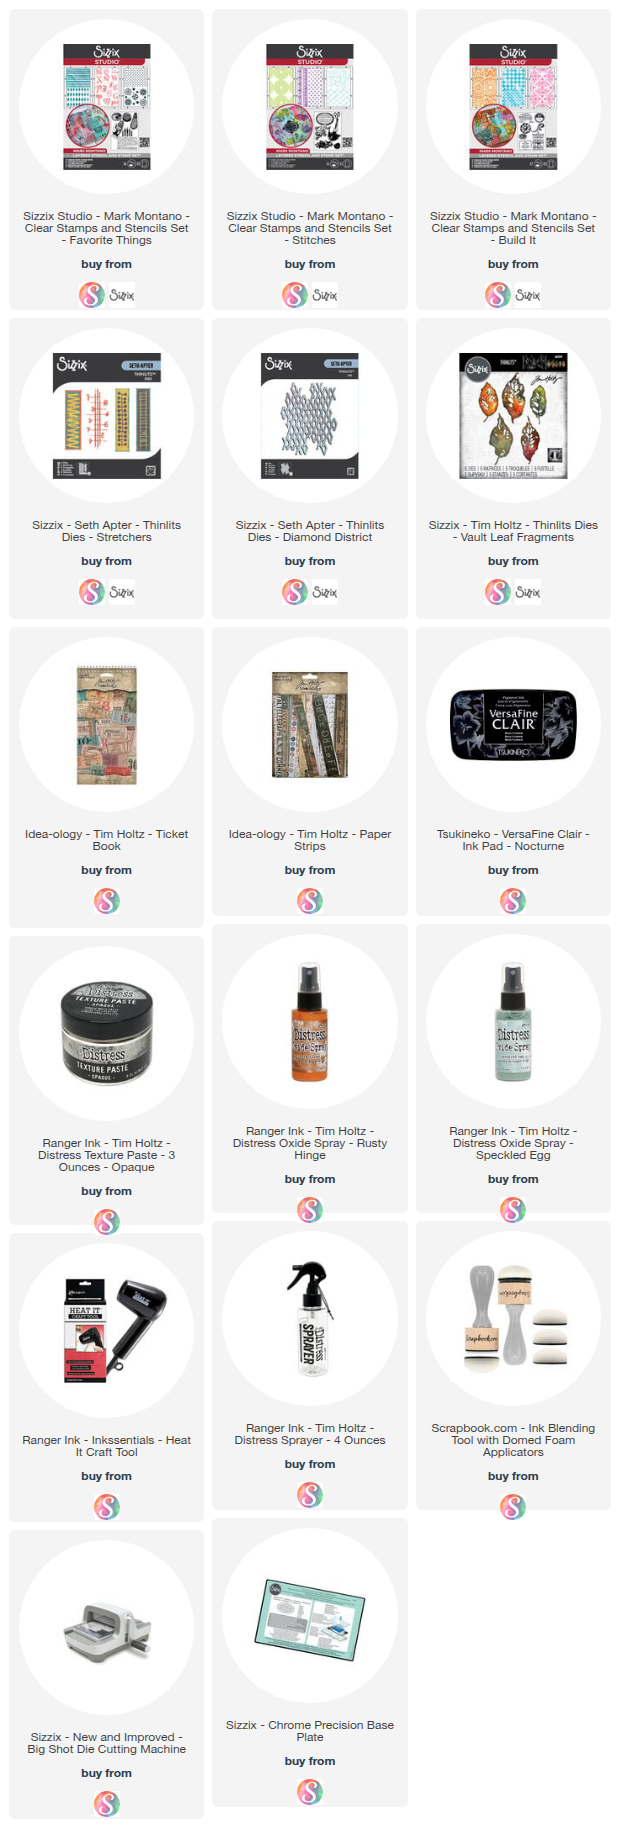
SUPPLIES
Below you can find the supplies I used to create this card. When you shop through those links and whether you purchase that exact item or something else entirely, you’re supporting me at no extra cost to you. The commission I receive helps me cover the costs of my blog and other expenses, and allows me to continue to provide you with FREE inspiration and tutorials. If you want to learn more about what an affiliate link is, you can see my full affiliate and product disclosure statement
here. Thank you so much for your love and support!


No comments
Every time you smile at someone, it is an action of love, a gift to that person, a beautiful thing. ~Mother Teresa
HUGS!
JULIANA