Showing posts with label Sizzix Chapter 3 2020. Show all posts

Season's Greetings Christmas Card | Tim Holtz Sizzix Christmas

Christmas will be here before you know it, so now is definitely the time to get started creating your Christmas cards. Today I'm sharing a Season's Greetings Christmas Card with you that I created using the beautiful Tim Holtz Sizzix Poinsettia 3D Texture Fades embossing folder.

Season's Greetings Christmas Card by Juliana Michaels featuring Tim Holtz Sizzix Poinsettia 3D Texture Fades embossing folder

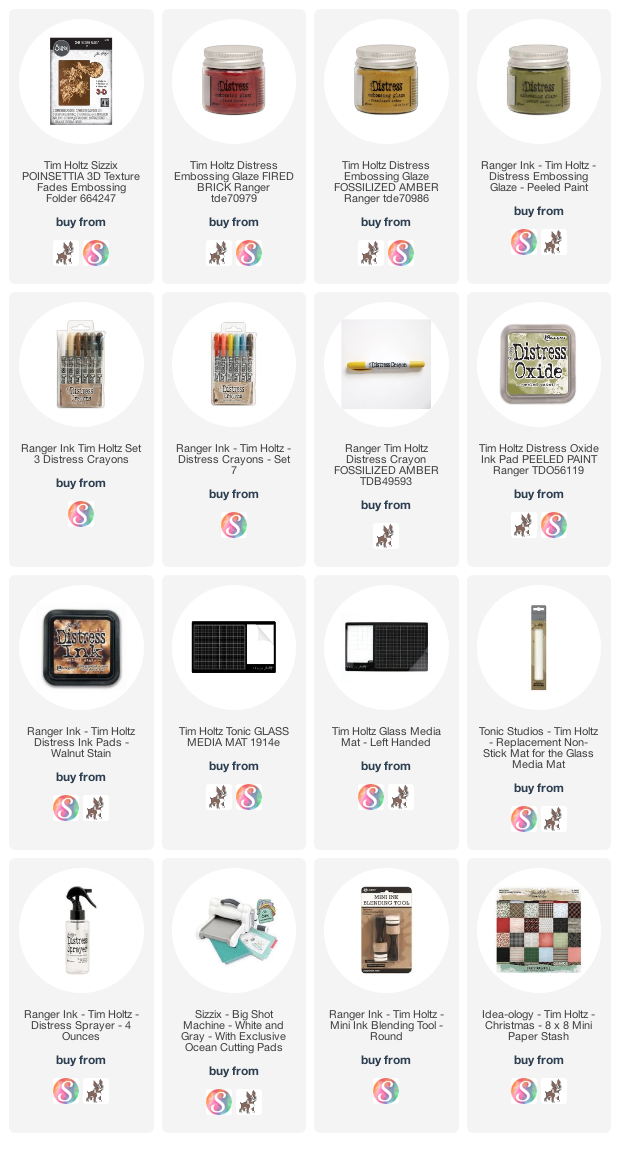
To get started, I lightly misted a piece of kraft cardstock with water using my Distress Sprayer. I then embossed it using the Poinsettia 3D Embossing Folder. Next, I applied Peeled Paint Distress Oxide to the flat side of the folder and embossed it again. This applies the ink to the "background" of the design.


Once the ink was completely dry I colored the raised surface design of the leaves with an embossing marker and sprinkled it with Peeled Paint Embossing Glaze and then embossed it using a heat gun. I repeated this process for the flowers using Fired Brick Embossing Glaze and for the centers using Fossilized Amber.


Once everything was heat embossed, I colored over the embossed areas with a Walnut Stain Distress Crayon. Working in small sections, I rubbed the crayon into the cracks and crevices of the embossed design.


I then used a damp paper towel to wipe away any excess and reveal the embossed color once again.


To further distress the image, I inked the edges of the paper with Walnut Stain Distress Ink.


I then spritzed the entire piece with water using my Distress Sprayer and dabbed the droplets dry.


To complete the card, I added a quote chip from a past Christmas Quote Chip set and layered the design onto a piece of inked cardstock and then onto a piece of patterned paper from a past Christmas paper stash.

Season's Greetings Christmas Card by Juliana Michaels featuring Tim Holtz Sizzix Poinsettia 3D Texture Fades embossing folder

Season's Greetings Christmas Card by Juliana Michaels featuring Tim Holtz Sizzix Poinsettia 3D Texture Fades embossing folder

Season's Greetings Christmas Card by Juliana Michaels featuring Tim Holtz Sizzix Poinsettia 3D Texture Fades embossing folder

I hope you all enjoyed learning how I created this Season's Greetings Christmas Card featuring the Poinsettia 3D Texture Fades embossing folder.

Supplies

You can find a supply list of the products I used to create this project below. This post contains compensated affiliate links to Scrapbook.com and Simon Says Stamp at no cost to you. If you want to learn more about what an affiliate link is, you can see my full affiliate and product disclosure statement here.

Santa Tag | Tim Holtz Sizzix Christmas

Santa Claus is coming to town! This time of year has me doing all the holiday crafting and today I'm sharing a Santa Tag I created for the Tim Holtz Sizzix Chapter 3 Release. This project features the brand new Santa's Wish Colorize Thinlits. I am a huge lover of all things Santa, so when I saw this die I knew I wanted to create something with it.

Santa Tag by Juliana Michaels featuring Tim Holtz Sizzix Santa's Wish Colorize Thinlits

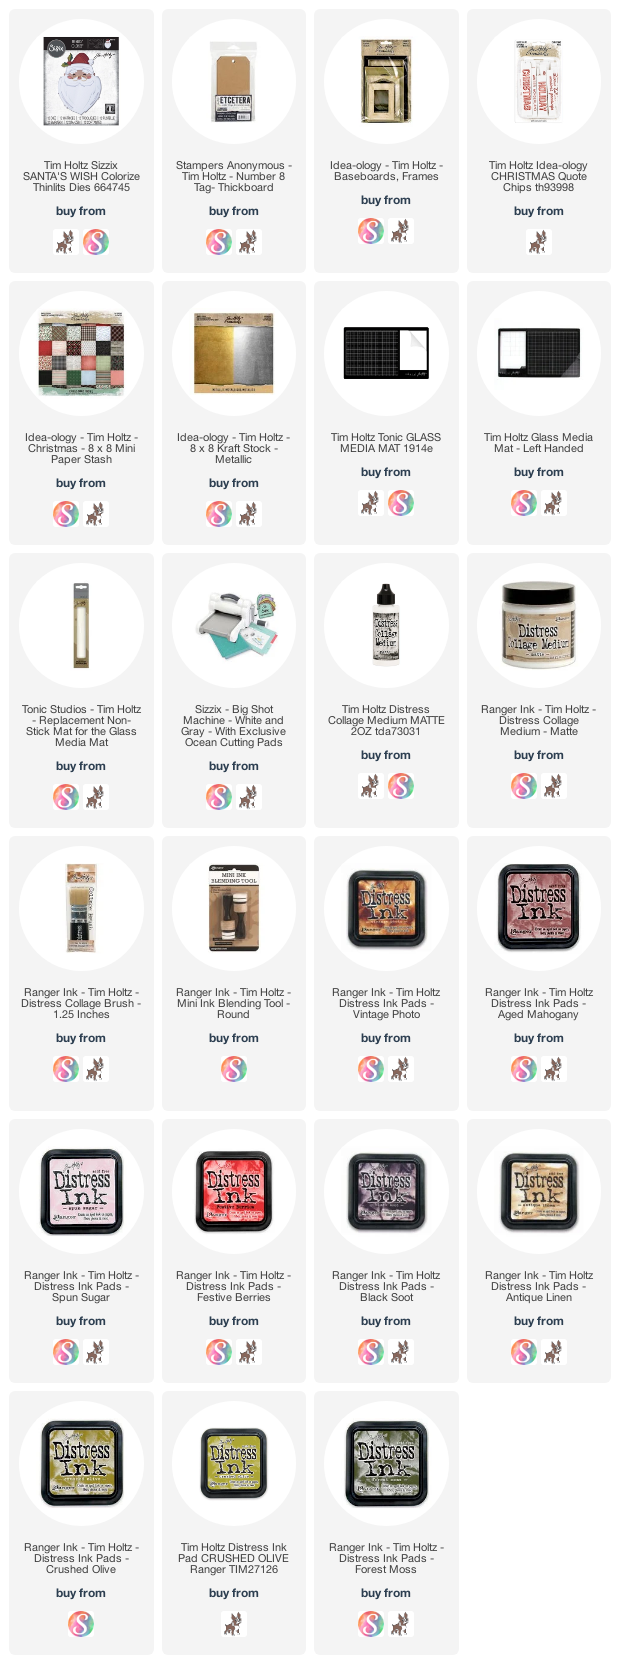
I began by die cutting the Santa from Bristol Smooth Cardstock. I then inked each piece with Distress Ink to make it the color I wanted. I used the darker of the two colors listed below to add shadows and usually applied this to the edges of the pieces or some of the layers.
Hat: Festive Berries and Aged Mahogany
Holly Leaves: Crushed Olive and Forest Moss
Holly Berries: Festive Berries and Aged Mahogany
Face: Antique Linen
Cheeks and Nose: Spun Sugar
Beard and Hat Trim: I only inked the edges very lightly with Vintage Photo
Eyes: Black Soot


On the back of each die it gives you a suggestion of what color to die cut each piece (based on the sample on the package) and I used this as a guide to help me decide what colors to use for my Santa. Once all of the coloring was finished, I began assembling the image. I used package image as a guide for putting it all together. However, if you would love a more detailed guide you can check out this step-by-step video by Sizzix on how to use this Colorize die.


During the assembly process, I decided Santa needed gold rimmed glasses, so I ended up die cutting that piece from gold Metallic Kraft Stock.

Santa Tag by Juliana Michaels featuring Tim Holtz Sizzix Santa's Wish Colorize Thinlits

To assemble the rest of the project, I took a Etcetera #8 Thickboard Tag and covered it with patterned paper from a previous Christmas Paper Stash. I used Collage Medium to adhere a piece of paper to both sides of the tag. I find that covering both sides helps to keep the tag from warping...especially if you plan to add lots of layers to one side.

Next, I layered on a Idea-ology Baseboard Frame and then added Santa to the middle of the frame. To give added stability behind the die cut, I layered some scrap chipboard and adhered it in place with Collage Medium.  I then added the "Merry & Bright" from an older pack of Christmas Quote Chips.

Santa Tag by Juliana Michaels featuring Tim Holtz Sizzix Santa's Wish Colorize Thinlits

The vintage looking crinkled ribbon is Hug Snug Seam Binding die with Distress Spray. I used this same ribbon on the Merry Embroidery Hoop I shared recently and you can check out more details on that post.

Santa Tag by Juliana Michaels featuring Tim Holtz Sizzix Santa's Wish Colorize Thinlits

Santa Tag by Juliana Michaels featuring Tim Holtz Sizzix Santa's Wish Colorize Thinlits

I hope you enjoyed learning how this Santa Tag came to life. I can't wait to see what you create and share using the Santa's Wish Colorize and all of the other new products from Tim Holtz's Sizzix Chapter 3 Release.

Supplies

You can find a supply list of the products I used to create this project below. This post contains compensated affiliate links to Scrapbook.com and Simon Says Stamp at no cost to you. If you want to learn more about what an affiliate link is, you can see my full affiliate and product disclosure statement here. The products I used to create this project are a mix of products I purchased myself and products I received as compensation for creating for the Tim Holtz Sizzix Chapter 3 Release.
Merry Embroidery Hoop | Tim Holtz Sizzix Christmas

Today I'm continuing the Christmas theme and sharing a home decor piece I made using an embroidery hoop. I created this Merry Embroidery Hoop for the recent Tim Holtz Sizzix Chapter 3 release. You may have seen this featured during Tim's Facebook live, but if you happened to miss it you can still check it out either on Facebook or Tim's Blog.

Merry Embroidery Hoop by Juliana Michaels featuring Tim Holtz Sizzix Merry and Bright Thinlits and Festivities Bigz Dies

This Merry Embroidery Hoop features the Festivities Bigz Die and Merry and Bright Thinlits Dies.


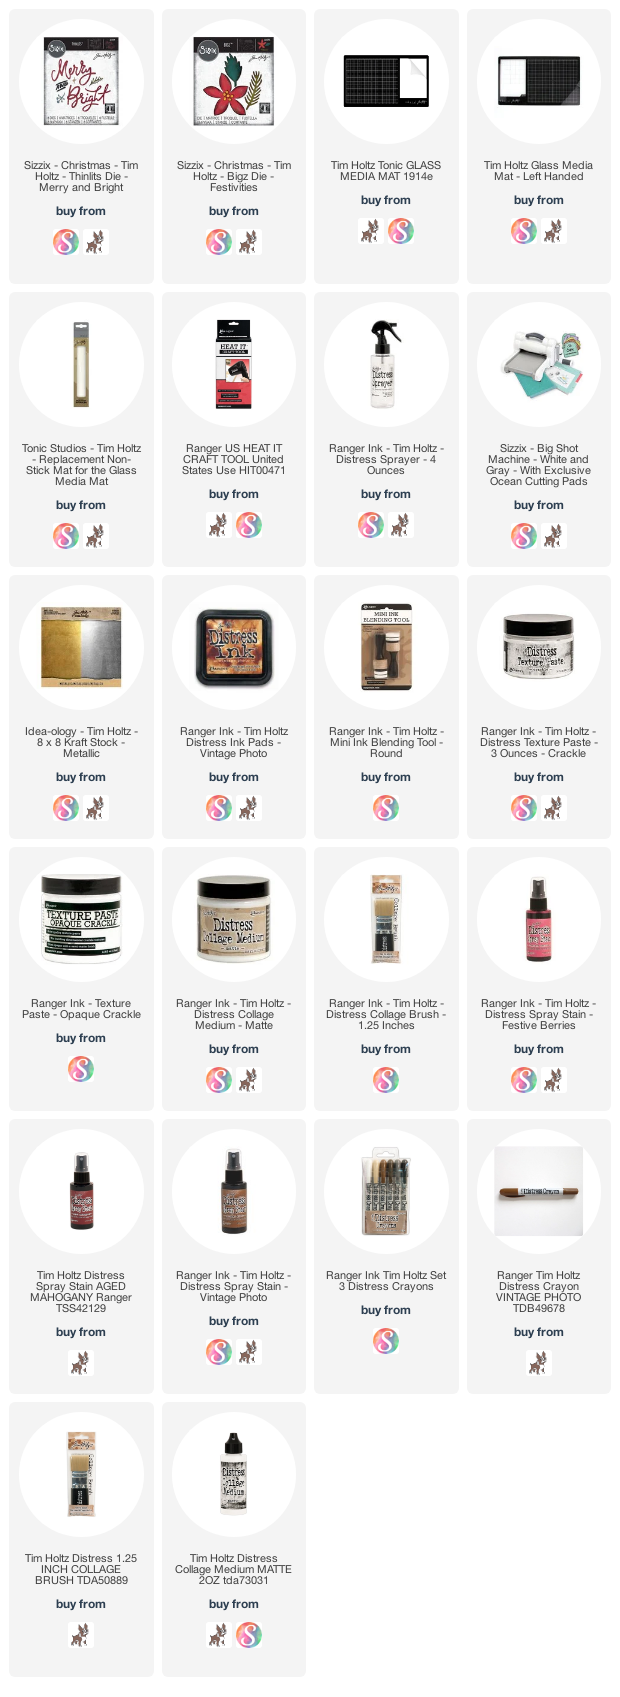
To begin, I took an 8 inch wood embroidery hoop and gave a good distressing! I used my finger to paint the wood parts of the embroidery hoop with Walnut Stain Distress Paint. Once the paint was dry, I again used my finger to paint on some Crackle Texture Paste. This I applied in random areas on the wood parts of the hoop but with the hoop pieces together. After all the crackly goodness was complete, I added some Vintage Photo Distress Crayon to bring them out. I recommend working in small sections before the crayon has time to dry and you can use either your finger or even a small stencil brush to work the crayon into the cracks.


You would normally have some sort of cloth inside of an embroidery hoop, but I decided to go with Christmas themed patterned paper instead. I used the outside of the hoop as a template to trace and then cut out a piece of chipboard. I then adhered a piece of paper from a past Christmas Paper Stash to the chipboard using Distress Collage Medium. I then trimmed off the excess and inked the edges with Vintage Photo Distress Ink. I then adhered this to the back side of the embroidery hoop using Collage Medium.


Merry Embroidery Hoop by Juliana Michaels featuring Tim Holtz Sizzix Merry and Bright Thinlits and Festivities Bigz Dies

Merry Embroidery Hoop by Juliana Michaels featuring Tim Holtz Sizzix Merry and Bright Thinlits and Festivities Bigz Dies

Now for the die cutting! To create the beautiful poinsettia, I used the new Festivities Bigz Die. I cut the flower two times from red felt and layered it together to give it more dimension. I then stitched three Idea-ology Tiny Bells to the center. The felt I used to create this was inexpensive felt from my local craft store. Most of this type of felt is rather thin and flimsy, so to make it more stiff, I adhered the felt to a sheet of double sided adhesive. I then peeled off the liner and adhered this to a piece of 110 pound cardstock and then die cut the various shapes. This is the wonderful thing about Bigz dies...they can cut through all different kinds of materials and thicker items. The leaves are also cut from two different colors of green felt using the same technique I used for the poinsettia. If you do happen to have real wool felt, you could probably skip this step as that sort of felt is usually thicker and holds its shape better.

Merry Embroidery Hoop by Juliana Michaels featuring Tim Holtz Sizzix Merry and Bright Thinlits and Festivities Bigz Dies

Merry is die cut from the gold paper in the Metallic Kraftstock using the Merry and Bright Thinlits Die. I cut it out several times and glued the layers together to give it more dimension.

Merry Embroidery Hoop by Juliana Michaels featuring Tim Holtz Sizzix Merry and Bright Thinlits and Festivities Bigz Dies

The final touch for this Merry Embroidery Hoop was the vintage crinkled bow. I took Hug Snug Seam Binding Ribbon and dyed it using Aged Mahogany, Vintage photo and Festive Berries Distress Stain. I sprayed the different colors of ink onto the ribbon, spritzed it with just a bit of water, wrinkled it up into a ball and then used my heat gun to dry it. Viola...beautiful vintage looking crinkled ribbon!


Merry Embroidery Hoop by Juliana Michaels featuring Tim Holtz Sizzix Merry and Bright Thinlits and Festivities Bigz Dies

Thank you for stopping by today. I hope you enjoyed learning how I created this Merry Embroidery Hoop to add to your upcoming Christmas home decor.

Supplies

You can find a supply list of the products I used to create this project below. This post contains compensated affiliate links to Scrapbook.com and Simon Says Stamp at no cost to you. If you want to learn more about what an affiliate link is, you can see my full affiliate and product disclosure statement here. The products I used to create this project are a mix of products I purchased myself and products I received as compensation for creating for the Tim Holtz Sizzix Chapter 3 Release.

Joy Shaker Card | Tim Holtz Sizzix Christmas

Joy to the world and Happy Monday my crafty friends! Today I'm sharing this Joy Shaker Card I created for the recent Tim Holtz Sizzix Chapter 3 release. You may have seen this featured during Tim's Facebook live, but if you happened to miss it you can still check it out either on Facebook or Tim's Blog.

Joy Shaker Card by Juliana Michaels featuring Tim Holtz Sizzix Stunning Snowflake Thinlits and Alphanumeric Shadow Upper Thinlits


Joy Shaker Card by Juliana Michaels featuring Tim Holtz Sizzix Stunning Snowflake Thinlits and Alphanumeric Shadow Upper Thinlits

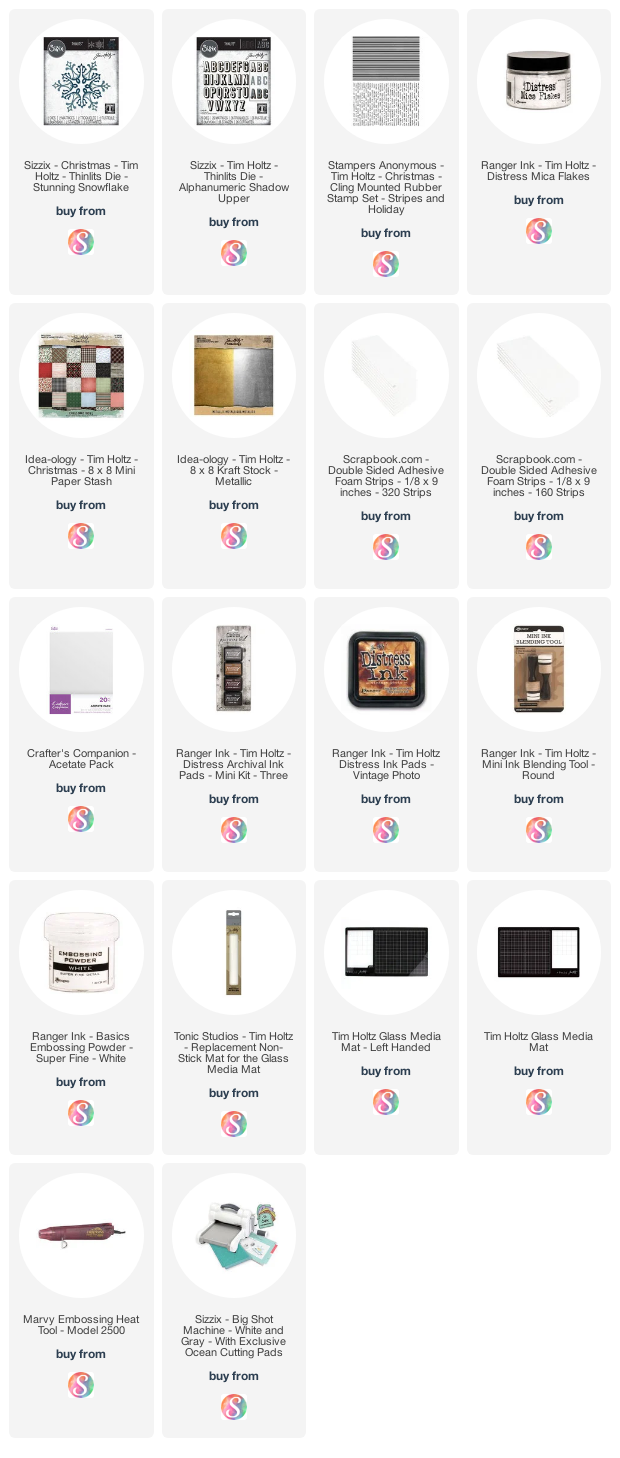
To get started, I cut a piece of cardstock to a square shape and die cut the center of it with the largest die from the Stunning Snowflake Thinlits. This left me with a large negative opening, perfect for a shaker card and I saved the actual die cut shapes for another project. I then added some machine stitching and inked the edges.


I then cut a piece of acetate just slightly smaller than the cardstock square and adhered it to the back side of the paper.


To create the shaker box I adhered strips of foam adhesive to the backside making sure there were no spaces or openings where the strips met. This ensures that the shaker filler won't be able to escape from the shaker box.


For the shaker filler, I used Distress Mica Flakes. These are perfect for adding a little shimmer and shine. Other options to use could be sequins, tiny jewels or seed beads.  To create the backside of the shaker, I stamped the word stamp from the Stripes and Holiday stamp set onto black cardstock with embossing ink and then heat embossed it with white embossing powder. I then adhered this to the shaker box filled with the mica flakes.


After completing the shaker box portion of the card, I layered it onto two pieces of patterned paper from the 2019 Christmas 8x8 Paper Stash.

Joy Shaker Card by Juliana Michaels featuring Tim Holtz Sizzix Stunning Snowflake Thinlits and Alphanumeric Shadow Upper Thinlits

To create the sentiment, I used the Alphanumeric Shadow Upper Thinlits and die cut each of the letters three times from the gold metallic paper in the Metallic Kraft Stock. I then adhered the letters using double sided foam adhesive to give it a little dimension. Using the Stripes and Holiday Stamp Set I stamped and fussy cut "joy to the world" and layered it onto of the die cut letters.

Joy Shaker Card by Juliana Michaels featuring Tim Holtz Sizzix Stunning Snowflake Thinlits and Alphanumeric Shadow Upper Thinlits

I hope you enjoyed learning how to create this Joy Shaker Card featuring the Tim Holtz Sizzix Alphanumeric Shadow Upper Thinlits and the Tim Holtz Sizzix Stunning Snowflake Thinlits. Thanks so much for stopping by today!

Joy Shaker Card by Juliana Michaels featuring Tim Holtz Sizzix Stunning Snowflake Thinlits and Alphanumeric Shadow Upper Thinlits

Supplies

You can find a supply list of the products I used to create this project below. This post contains compensated affiliate links to Scrapbook.com at no cost to you. If you want to learn more about what an affiliate link is, you can see my full affiliate and product disclosure statement here. The products I used to create this project are a mix of products I purchased myself and products I received as compensation for creating for the Tim Holtz Sizzix Chapter 3 Release.

Merry & Bright Card | Tim Holtz Sizzix Christmas

Hello friends and welcome! It's Christmas in July here at 17 Turtles! Today, I'm sharing one of the projects I made for the recent Tim Holtz Sizzix Chapter 3 release that includes all of his new Halloween and Christmas dies. You may have seen this during Tim's Facebook live, but if you happened to miss it you can still check it out either on Facebook or Tim's Blog.

Merry & Bright Card by Juliana Michaels featuring Tim Holtz Sizzix Merry Bright Thinlits and Holly Pieces Thinlits Dies

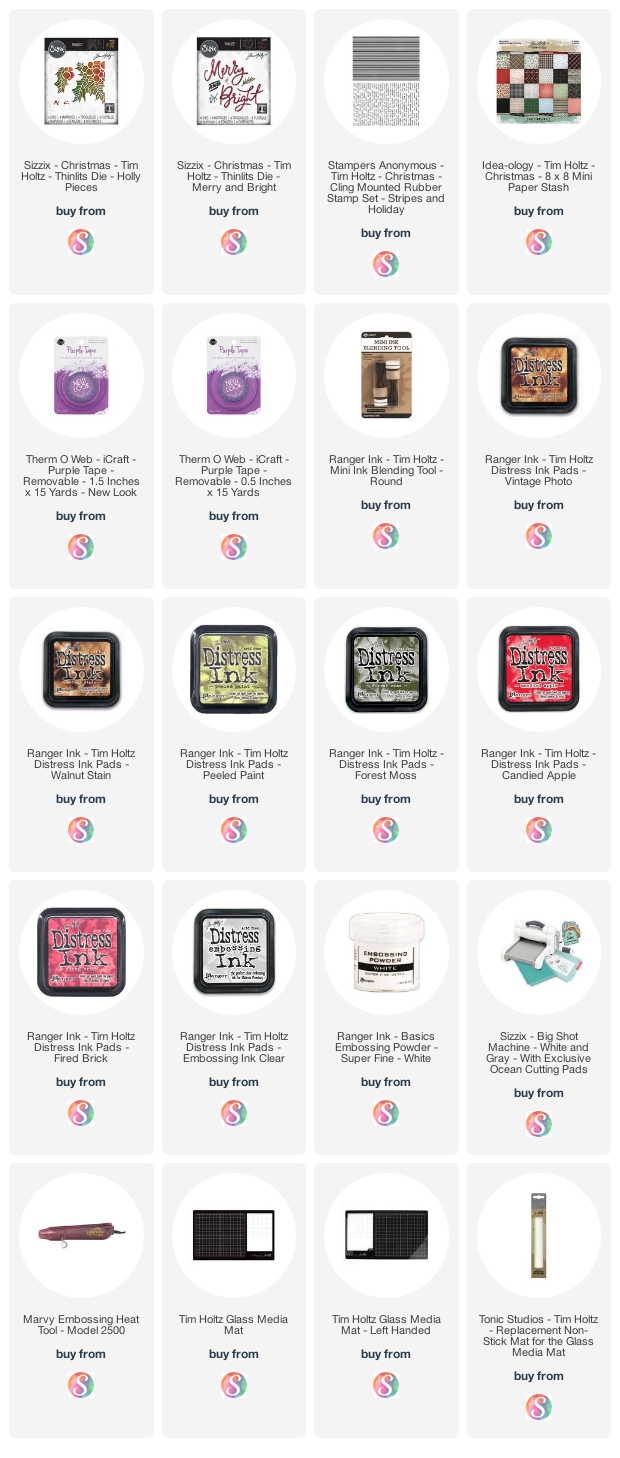
The dies I used to create this Merry & Bright inlaid die card include the Holly Pieces Thinlits Dies and Merry and Bright Thinlits Dies.


Now let me walk you through how this inlaid design came together.  When I was originally creating this card, I seriously took the long and difficult road. I don't want you to have to struggle like I did, so I'll be sharing what I think might be a slightly easier option as well as how I actually created it. Either way you choose will end up with this final result and you may actually prefer one method over the other if you attempt something like this.

Merry & Bright Card by Juliana Michaels featuring Tim Holtz Sizzix Merry Bright Thinlits and Holly Pieces Thinlits Dies

To get started, I cut a piece of Bristol Smooth Paper to 4.25 x 5.5 inches. I then placed the larger die from the Holly Pieces Thinlits into the right corner. I used Therm O Web Purple Tape to hold it in place and ran it through my die cutting machine. I then flipped the die around, placed it in the opposite corner, taped it in place and ran it through my die cutting machine a second time. As you can see, I placed it so there would be a small border around the outside edge of the cut areas. Feel free to die cut some sections using the tiny berries that are included as well.

Merry & Bright Card by Juliana Michaels featuring Tim Holtz Sizzix Merry Bright Thinlits and Holly Pieces Thinlits Dies

This next step is where I would now change things quite a bit.  Begin with a 4.25 x 5.5 inch piece of Bristol Paper and ink blend it with your choice of red Distress Ink. Repeat this process with your choice of green Distress Inks. For my card I used Candied Apple, Fried Brick, Peeled Paint and Forest Moss. I then took each of these papers and die cut each of them with the Holly Pieces Thinlits, making sure to keep all the little pieces. You will also need 2 of each image to fill in all of the openings.

Next, take the original panel you die cut with the holly pieces in each corner and back it with a sheet of double sided adhesive cut to size. Then start popping in the pieces from the ink blended paper to fill in the die cut design. Once all of the pieces are in place, ink the edges with a bit of Vintage Photo and Walnut Stain Distress Ink. And there you have your inlaid design!

Originally, I cut the initial panel and kept all the pieces intact and adhered a double sided adhesive sheet to the back side of the panel. I then die cut an extra Holly Pieces from a scrap of cardstock and used it as a mask to ink the red and green areas. Because the areas are so close together, I had to tape off the areas to prevent the red and green ink from covering up each other too much. 

Either option takes a bit of time to complete, but now that you know the different ways to achieve this look, you are certainly free to take your pick! You may prefer one over the other!

Merry & Bright Card by Juliana Michaels featuring Tim Holtz Sizzix Merry Bright Thinlits and Holly Pieces Thinlits Dies

To create the sentiment for the card, I die cut Merry from black cardstock several times using the Merry & Bright Thinlits Dies. I then adhered them together using a little Collage Medium. I then finished it off by stamping "merry & bright" from the Stripes & Holiday Stamp Set. This is a background stamp, so I stamped it onto black cardstock with embossing ink and heat set it with white embossing powder. I then trimmed off the words I wanted to use for this card and saved the others for future projects.

Merry & Bright Card by Juliana Michaels featuring Tim Holtz Sizzix Merry Bright Thinlits and Holly Pieces Thinlits Dies

I then finished off the card by mounting it onto a piece of patterned paper from the Christmas 2019 Paper Stash and then again onto another piece of cardstock inked with Vintage Photo and Walnut Stain Distress Ink.

Merry & Bright Card by Juliana Michaels featuring Tim Holtz Sizzix Merry Bright Thinlits and Holly Pieces Thinlits Dies

I hope you enjoyed learning how to create this Merry & Bright inlaid die cut card featuring the Tim Holtz Sizzix Holly Pieces and Merry & Bright Thinlits Dies.

Supplies

You can find a supply list of the products I used to create this project below. This post contains compensated affiliate links to Scrapbook.com at no cost to you. If you want to learn more about what an affiliate link is, you can see my full affiliate and product disclosure statement here. The products I used to create this project are a mix of products I purchased myself and products I received as compensation for creating for the Tim Holtz Sizzix Chapter 3 Release.

Boo Shaker Card | Tim Holtz Sizzix Halloween

Boo! Hey friends! It may be the 4th of July here in the US, but I'm in a Halloween crafting mood myself! I'm back today to share a Halloween Boo Shaker Card I created using some of the new Tim Holtz Sizzix Chapter 3 Dies. You may have seen this project featured during Tim's Facebook Live. If you missed it, you can view it over on Tim's blog. I invite you to it check it out to see this and loads of other Halloween crafting inspiration from all the amazing makers.

Halloween Boo Shaker Card by Juliana Michaels featuring Tim Holtz Sizzix Spider Web Thinlits

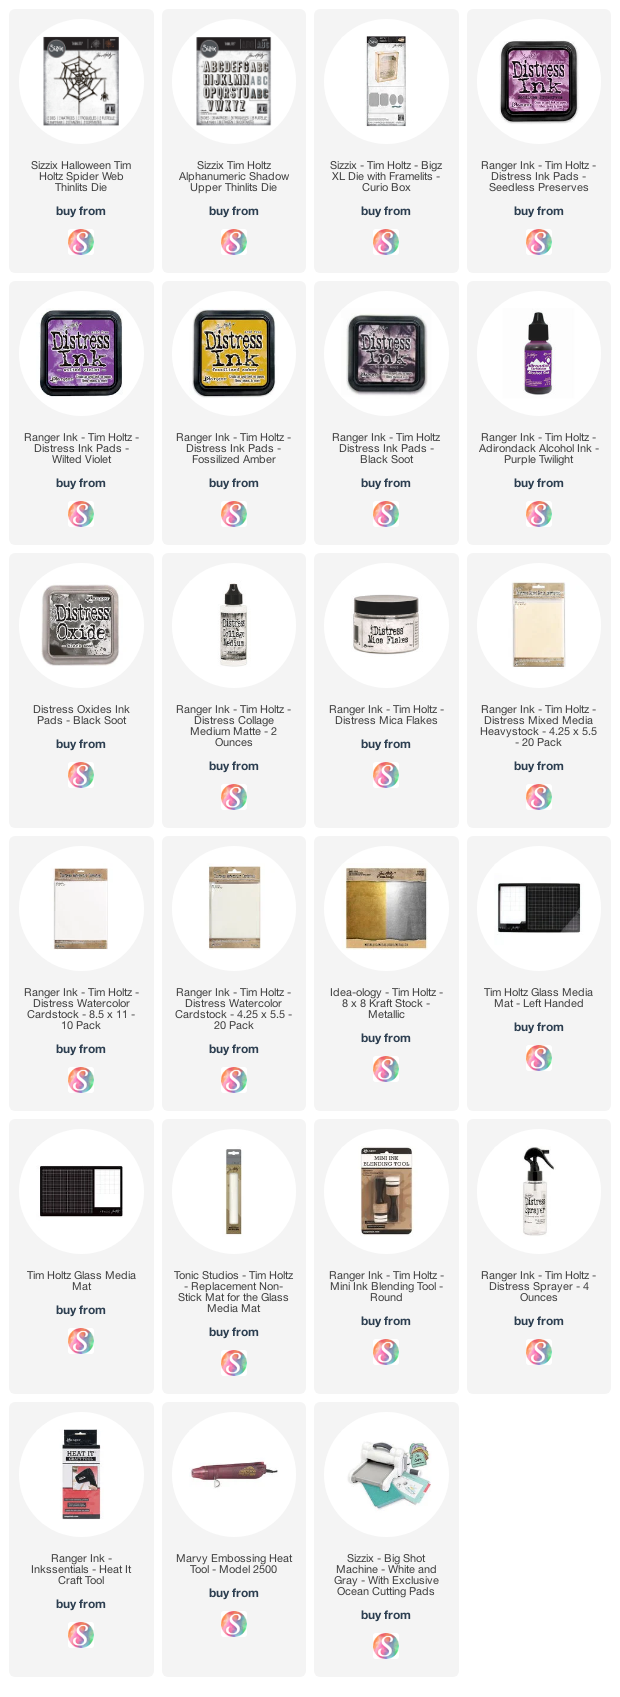
For this card I used the new Spider Web and Alphanumeric Upper Shadow Thinlits.

Halloween Boo Shaker Card by Juliana Michaels featuring Tim Holtz Sizzix Spider Web Thinlits

Now let's see how this shaker card came together! To get started, I took a piece of white Bristol paper (you can also use Mixed Media Heavystock) cut to 4 x 5.25" and die cut an opening in the center of it. I used one of the frames from the Curio Box Bigz Die, but any of the Stacked Thinlits would also work.


After creating the opening, I ink blended the paper using a combination of Wilted Violet and Seedless Preserves.


I then inked the edges with a bit of Black Soot Distress Oxide, gave the entire piece a spritzing of water with my Distress Sprayer and dabbed it dry.


After the inking was completed, I cut a piece of acetate and adhered it behind the opening. (I got the acetate from a Bigz Die packaging.) I then cut pieces of craft foam and adhered them around the opening. The adhesive of choice...Distress Collage Medium!


The background behind the shaker opening was created used the smoosh technique with a combination of Black Soot, Seedless Preserves and Fossilized Amber Distress Ink. I then adhered a spider web from the Spider Web Thinlits that I die cut from silver Metallic Kraftstock.

As for the shaker filler, I colored Distress Mica Flakes using Purple Twilight Alcohol Ink. I also die cut some spiders from the new Spider Web Thinlits, trimmed off the webbing, and added them to the mix as well. When creating shaker cards, I like to pour the filler onto the background to get a feel on whether I have enough filler or not. I then adhered the shaker box on top.


To decorate the front of the card, I die cut a couple of webs from black cardstock using the Spider Web Thinlits. 

Halloween Boo Shaker Card by Juliana Michaels featuring Tim Holtz Sizzix Spider Web Thinlits

Halloween Boo Shaker Card by Juliana Michaels featuring Tim Holtz Sizzix Spider Web Thinlits

I then added the sentiment by die cutting silver Metallic Craftstock using the Alphanumeric Shadow Upper Thinlits. As you can see, I didn't use the shadow part of the die. I love the versatility of this die set...you can use it with or without the shadow to achieve a variety of looks! I also lightly sanded the letters to give them a slightly distressed look. To finish off the card, I layered the entire shaker onto a piece of black cardstock.

Halloween Boo Shaker Card by Juliana Michaels featuring Tim Holtz Sizzix Spider Web Thinlits

Thanks so much for stopping by today to check out how I created this Halloween Boo Shaker Card!

SUPPLIES

You can find a supply list of the products I used to create this project below. This post contains compensated affiliate links to Scrapbook.com at no cost to you. If you want to learn more about what an affiliate link is, you can see my full affiliate and product disclosure statement here. The products I used to create this project are a mix of products I purchased myself and products I received as compensation for creating for the Tim Holtz Sizzix Chapter 3 Release.

Subscribe