The Tim Holtz Paper Village has grown! The new Paper Village Upkeep die set lets you renovate, personalize and add finishing details to your little houses. It's made for windows, doors and decorative elements, so you can refresh the Paper Village houses you've already made or build a whole new scene.

For my first project with it, I made a wintery vignette box with a snow-covered house that lights up, a few frosty trees and Santa flying across the moon. After the tutorial, I'm sharing a short history of the Tim Holtz Village dies, because this little village has been around a lot longer than you might think!
How I Made the Vignette Box
The Box
I started by covering the outside edges of the vignette box with patterned paper, adhered with Distress Collage Medium. Then I inked the edges with Gathered Twigs Distress Ink.
The Night Sky Background
For the inside of the box I used Distress Watercolor Cardstock. I stamped several pieces with the text stamp from the Stripes and Holiday stamp set, using embossing ink. I sprinkled clear embossing powder over the wet ink (white works too) and heat set it with a heat tool.

Next I ink smooshed the panels with Chipped Sapphire and Stormy Sky Distress Ink. To ink smoosh, press the ink pad onto a craft mat, spritz the ink with water, then press your paper into the ink. Dry it with a heat tool and repeat until you like the coverage. The embossing acts as a resist, so once the ink is dry, lightly wipe the panel with a baby wipe or damp paper towel to lift any ink sitting on top of the embossed text.
Finally, I trimmed the panels to fit the back, sides and top of the inside of the box.
The Moon and Santa's Sleigh
To create the wintery scene, I used three Tim Holtz Sizzix die sets: Vault Christmas Magic, Paper Village and the new Paper Village Upkeep.

I die cut the moon from white cardstock with the Vault Christmas Magic die set. I heat embossed the bottom layer with Antique Linen Embossing Glaze and the top layer with Pumice Stone Embossing Glaze. Then I gently sanded both pieces with a Distress Sanding Tool (fine grit sandpaper works too), layered them together and inked the edge with Gathered Twigs Distress Ink for a distressed look.
Santa and his reindeer are die cut from Black Kraftstock with the same die set. A light sanding with the Distress Sanding Tool gives them a worn, vintage feel.
The Snowy House
I die cut the house from Distress Watercolor Cardstock using Paper Village and Paper Village Upkeep. The roof is cut from Distress Kraftstock with the Paper Village Upkeep die set, then embossed with the Tim Holtz Mini Woodgrain Embossing Folder.

I heat embossed the house with Aged Mahogany Embossing Glaze and then sanded it. Then I lightly inked the edges and windows with Gathered Twigs Distress Ink, inked the embossed roof shingles with Gathered Twigs too, and assembled the house.
For snow that looks like it's sticking to the house, I dabbed small amounts of Distress Grit Paste Opaque here and there. While the paste was still wet, I added Rock Candy Distress Glitter with a Glitter Duster.
The Snowy Landscape
For the snow, I unrolled a cotton ball and fluffed it up. The trees are some of the smaller ones from the Tim Holtz Woodland Tree Lot, which I made last year. I colored them with Distress Spray Stain, though I honestly don't remember which green I used! Then I added Distress Grit Paste and glitter, just like the house. Grit Paste can make the ink bleed, so if you try this, seal the trees first with something like Distress Resist Spray.

Once the trees were in place, I brushed a little Distress Collage Medium over the snow and added more glitter. The final touch was Tim Holtz Silver Tinsel around the outside edge of the box.
Lighting Up the House
Of course the house had to light up! The tricky part was adding a light I could get to easily. I used a Mini Ball Light, but then I needed a way to reach it inside the house. The answer was a magnet! I attached a small magnet to the back of the house and another in the matching spot on the back of the box. Now the house pops right off, so I can turn the light on and off or replace the battery when it dies.


A Short History of the Tim Holtz Village Dies
The Village Bigz Dies (2015)
The village started in 2015 with three Bigz dies: the Village Dwelling, the Village Bell Tower and Village Winter. The Village Dwelling was the base house, and every die that followed was designed to build on it. The Bell Tower turned the house into a church, and Village Winter added a decorative winter overlay.
Starting in 2016, the series grew with more add-on dies. These are the largest of all the village dies, and they're all retired now. Here's the full list:
- Village Dwelling (Bigz XL, #660992)
- Village Bell Tower (#660987)
- Village Winter (#660988)
- Village Brownstone (Bigz XL, #661205)
- Village Bungalow (#661196)
- Village Rooftops (#661197)
- Village Manor (Bigz L, #661591)
- Village Gingerbread (#661608)
- Village Surf Shack (#661208)
- Village Landscape (#661813)
- Village Addition (#663120)
- Village Christmastime (#662424)
Paper Village (2020)
The Paper Village Thinlits set (#664741) arrived as part of the Sizzix Chapter 4 2020 release. With 16 dies, it makes three different sized dwellings plus separate windows and doors. These are the smallest houses in the village family.
Paper Village #2 and the Village Collection (2021)
Two new sets followed in fall 2021. Paper Village #2 (#665585) added 21 more dies in the same small scale as the original Paper Village, so the two sets work together.
The Village Collection (#665564) is a huge 87-piece Thinlits set that Tim says was "inspired by the original village die series from 2015." The houses are smaller than the original Bigz versions but bigger than the Paper Village houses. You can mix and match the pieces to build everything from basic dwellings and brownstones to grand churches and spooky manors.
Paper Village Upkeep (2026)
That brings us to today and the new Paper Village Upkeep, which works with both Paper Village and Paper Village #2. It's a fun way to give the houses you already have a little makeover.

Do you have any of the original Village dies tucked away in your stash? I'd love to hear which ones you have and what you've made with them. Dig them out this season and give them a little love!
Until next time, stay crafty my friend!
Happy crafting! ~ Juliana
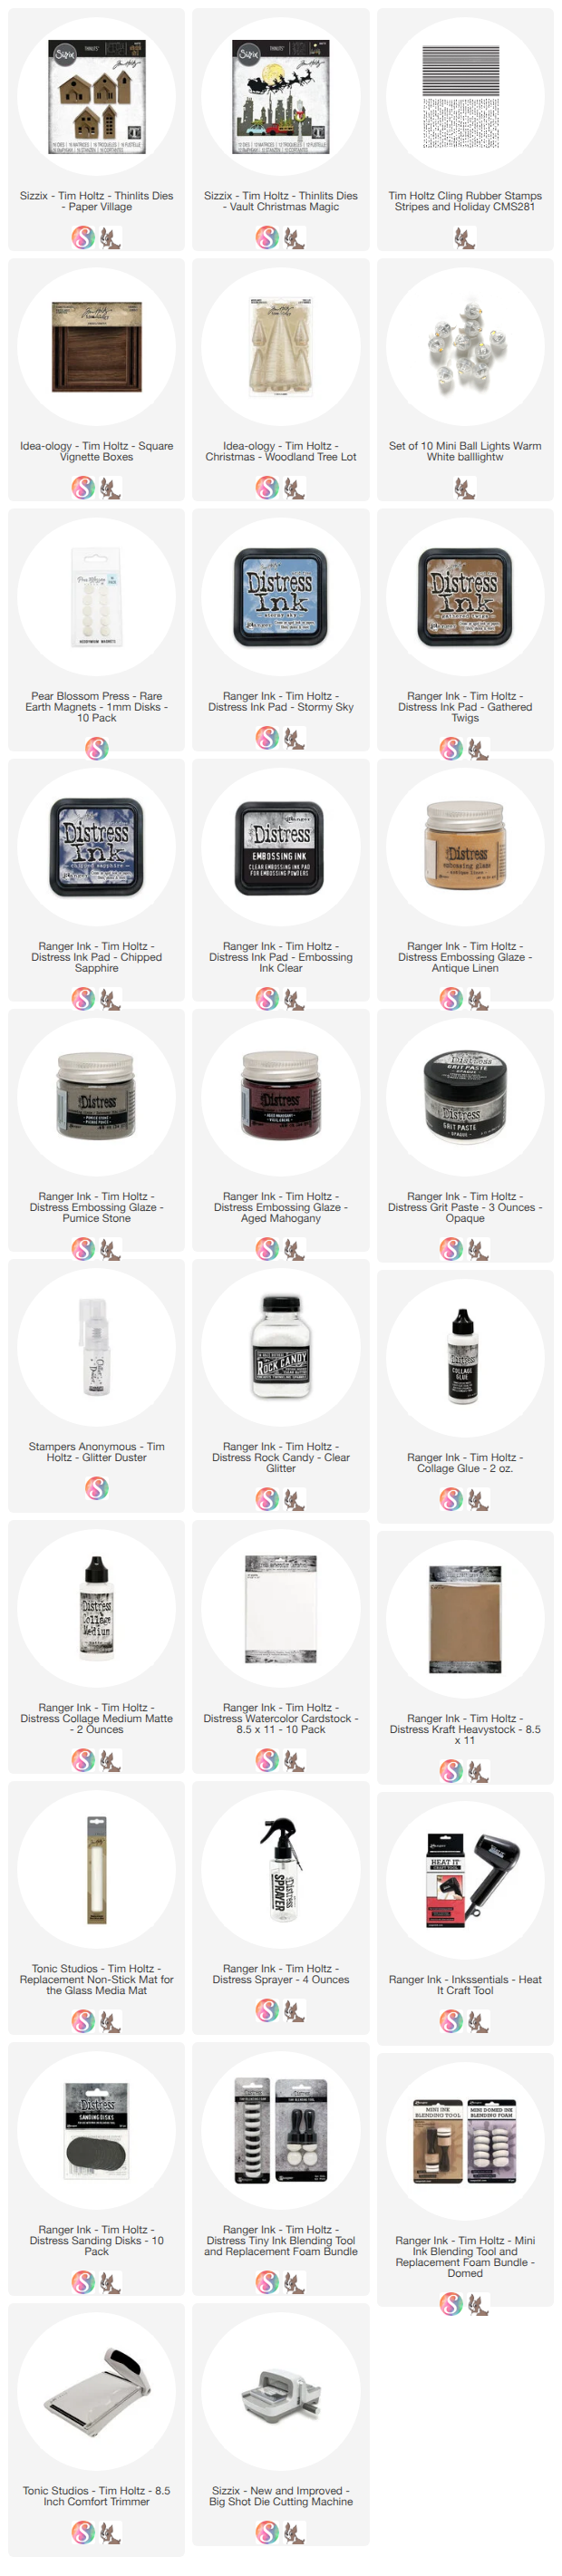
Supplies
Below you will find links to the supplies I used to create these cards. When you shop through these links—whether you purchase that exact item or something else entirely—you're supporting me at no extra cost to you. The commission I receive helps me cover the costs of my blog and other expenses, and allows me to continue providing you with FREE inspiration and tutorials. If you want to learn more, you can see my full affiliate and product disclosure statement here: https://www.17turtles.com/p/affiliate-and-product-disclosure.html. Thank you so much for your love and support!