

If you prefer a video format, you can watch below or head over to my YouTube channel to see the process in more detail.
If you're interested in the exact products I used to create this card, you can find links to them in the supplies list below. When you shop through those links, it supports me and I appreciate that so very much! Now let's get on with the making!
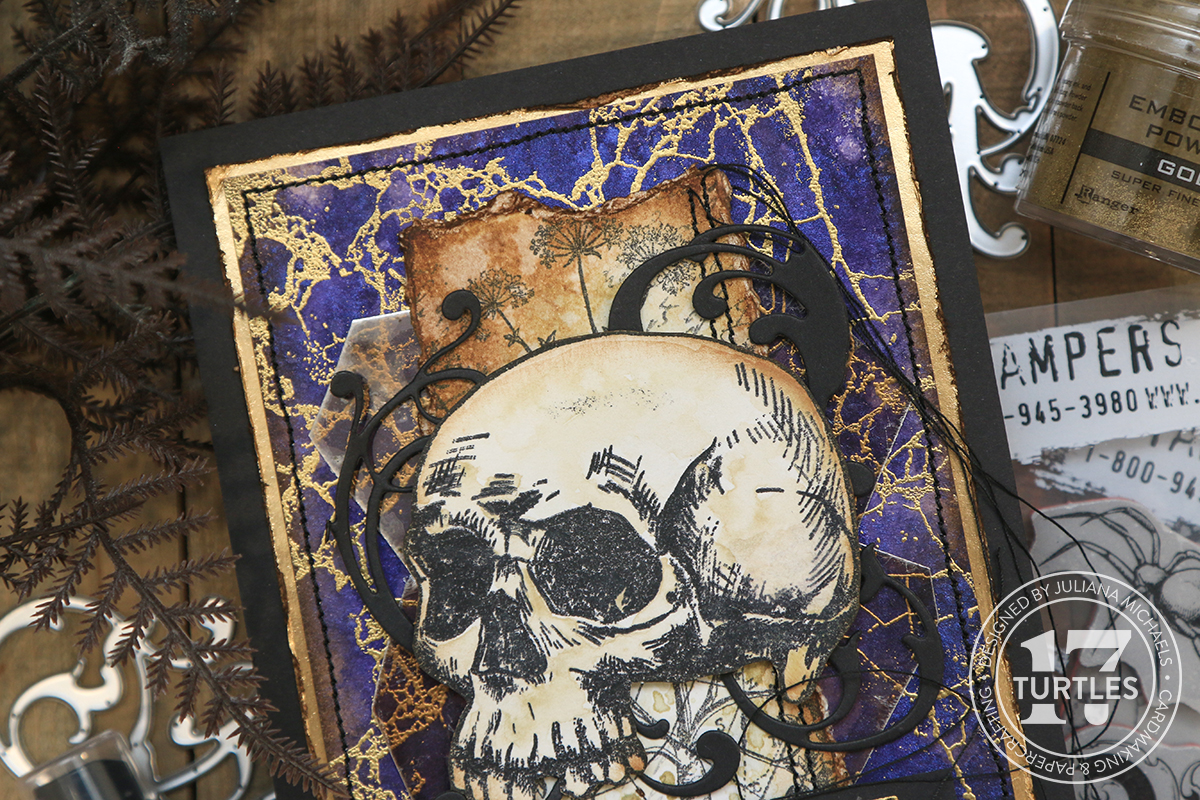
SHATTERED BACKGROUND
To add some interest, I added some larger water droplets by slowly pulling the trigger of the Distress Sprayer. I used my heat tool to start the drying process. I then placed a paper towel over the paper to dab dry and lift off some of the ink and then dried it again with my heat tool. I love the interest this step adds to the already gorgeous shimmery background.
I'm going to be heat embossing during the next step, so you want to make sure your paper is completely dry because embossing powder can stick to wet paper.
For the heat embossing on the background I used the Shattered Stamp Set. This stamp actually comes with it's own stamping block, but I prefer to use a stamping platform just in case I need to restamp the image for any reason.
I placed the paper into my stamping platform and applied repositionable adhesive to the backside of the paper to help hold it in place. This is particularly helpful when working with large background stamps such as the Shattered Stamp Set which is actually larger than my paper and will keep me from being able to really use the magnets to hold the paper in place.
As I mentioned, I'm going to be heat embossing the image, so next I applied embossing ink to the stamp. I used Versamark Watermark Ink, but feel free to use any embossing ink you like.
After I stamped the image, I removed the paper from my stamping platform and placed it over a piece of computer paper folded in half. I then poured Gold Embossing Powder over the paper. I continued to add embossing powder until the entire image was covered with the powder. I then tapped off any excess powder and returned it to the jar.
To make the embossing powder permanent, you must apply heat. So next, I use a pair of tweezers to hold the paper so that I don't accidentally burn my fingers. I then apply heat using a heat embossing tool. As the powder and paper heat up, the powder begins to melt and turn shiny! It's seriously the most magical thing and I absolutely love watching the transformation every single time I heat emboss!
FOREBODING EMBELLISHMENTS
Next up I'm going to create some stamped embellishments for the card using images from the Foreboding Stamp Set. I placed a piece of Distress Watercolor Paper into my stamping platform and stamped the images using Black Soot Archival Ink. I originally played around with using the scroll like images but after thinking about the placement of them on the card, I decided to just stamp the candle and skull. I stamped the image several times to get a nice dark stamped image.
Once the images were stamped, I colored them using Distress Watercolor Pencils. When I work these, I like to pull the pigment from the pencil using a waterbrush. You could also use a wet paintbrush to do the same thing. I applied the pigment that I picked up with the waterbrush onto the paper and colored in the image. Here I'm using Antique Linen to color on the skull. Remember to start off with less color on your brush as you can always add layers of color to build them up and make them darker.
When working with the Distress Watercolor Pencils over stamped images, you will notice that they will layer over the ink and cause it to become less bold. To remedy that, I like to place the image back into my stamping platform and restamp the image. If you're worried about getting things lined back up, you can always leave the paper in the stamping platform and color it in there. After I re-stamped the image, I used a pair of detail scissors to fussy cut the skull image from the paper.

THE OBSCURE BACKGROUND
Next up, I wanted to create a stamped piece to layer behind the skull. I took a piece of Distress Watercolor Paper and adhered it inside my stamping platform using re-positionable adhesive. I then began stamping the images from The Obscure Stamp Set onto the paper using Black Soot Archival Ink. I choose this permanent ink for my stamping because I knew I was going to add some ink smooshing during the next step. As I stamped the script image I decided to hold the stamp with my fingers as I didn't want to stamp the entire image each time, but just parts of here and there to fill in the design.
With the stamping completed I went on to use ink smooshing to add some color to the paper I just stamped. I took an Old Paper Distress Ink pad and smooshed the ink pad onto my craft mat. I then spritzed the ink with some water and then smooshed my paper into the ink. I used my fingers to push sections of the paper into the ink. I repeated this several times until I'm happy with how it looked and then I used my heat tool to dry the paper. Once it was dry, I decided to add a bit more ink by smooshing the paper back into the ink that was still on my craft mat and then dried the paper once more. To add a little more interest, I then added some larger water droplets by slowly pulling the trigger of the Distress Sprayer. I began to dry the paper with my heat tool and then used a paper towel to dab dry and lift off some of the still wet ink. I then finished drying the paper with my heat tool.
The stamped layer was a bit too large to fit on my background paper, so I tore the edge of the paper and used the distress head of the Sizzix Surfacez Multi-Tool Set along the edges of the torn paper to give it a more distressed look. I continued tearing the paper and distressing the edges of it until I was happy with the size. It ended up being about 2 x 5 inches once I was done with it.
Next, I inked the edges of this piece and the skull with Gathered Twigs Distress Ink. Then, once again, I add some larger water droplets by slowly pulling the trigger of the Distress Sprayer. I dabbed the ink dry, lifted off some of the ink with a paper towel and then dried it with my heat tool.

MICA TILES
Some of you may have seen Mica Tiles before, but they are new to me and this was my first time to add them to a project. If you aren't familiar with them, Mica Tiles are compressed layers of naturally mined mica. They are heat resistant, multi-layered, transparent, acid-free, and archival safe. Because it's a natural product each tile has unique variations and markings which makes it perfect for adding a wonderfully organic touch and texture to just about any project. Here I'm using them quite simply as another layer of interest on my card, but there are many ways they can be used to add texture and interest to your project.
FINISHING DETAILS
Earlier I had thought about using the flourishes from the Foreboding stamp set, but instead I choose to add some die cuts. Using the Tim Holtz Adorned Thinlits Die Set I cut black cardstock for an additional layer of texture and interest.
For the sentiment, I stamped the October 31 image from The Obscure Stamp Set with embossing ink onto black cardstock and heat embossed it with gold embossing powder, just like I did earlier for the background paper. I then trimmed this down leaving a small border around the date.
For the sentiment, I stamped the October 31 image from The Obscure Stamp Set with embossing ink onto black cardstock and heat embossed it with gold embossing powder, just like I did earlier for the background paper. I then trimmed this down leaving a small border around the date.
To create the layer behind the purple embossed layer, I cut a piece of Gold Metallic Kraft Stock to 4.25 x 6 inches and distressed the edges using the same distress tool as before. I then inked the edges with Black Soot Distress Ink to darken it up.
I adhered the skull and date piece using double sided foam adhesive to add a little more dimension. I then added some machine stitching around the outside edge before I adhered all of the layers together. And then to finish it off, I layered everything onto a piece of black cardstock cut to 4.5 x 6.25 inches.

I hope you enjoyed learning how this Halloween card came together using some of the new stamp sets from the Tim Holtz Stampers Anonymous 2023 Halloween release. Until next time...stay crafty my friend!
I hope you enjoyed learning how this Halloween card came together using some of the new stamp sets from the Tim Holtz Stampers Anonymous 2023 Halloween release. Until next time...stay crafty my friend!
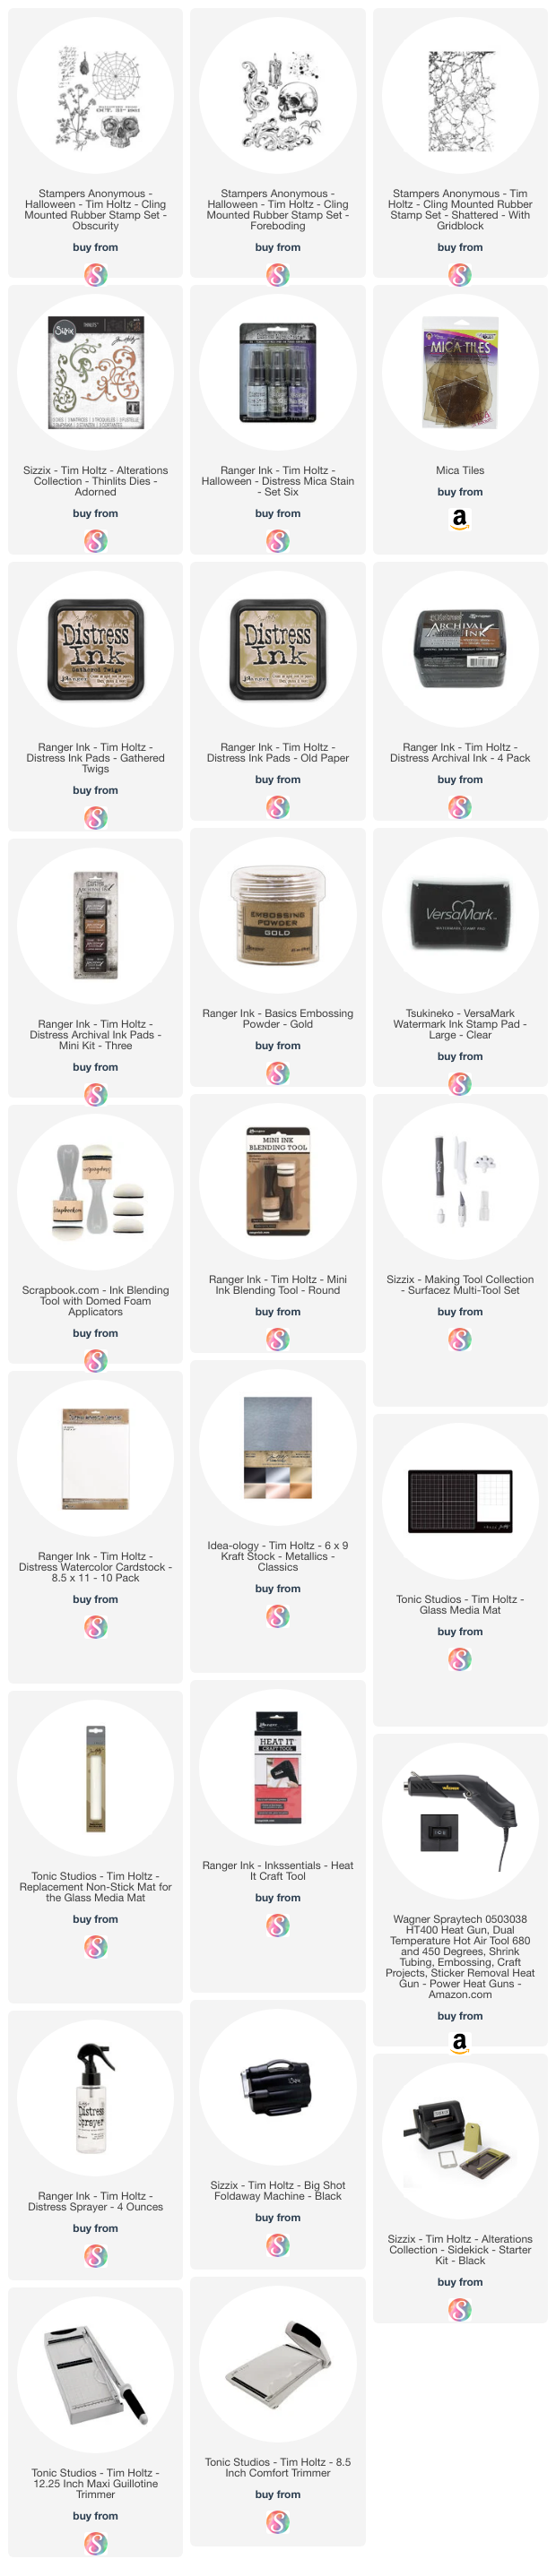
SUPPLIES
Below you can find the supplies I used to create this October 31 Halloween Card. When you shop through the links below, I receive a small commission from Scrapbook.com. These links are at absolutely no cost to you and the commission I receive helps me cover the costs of my blog and other expenses, which allows me to continue to provide you with FREE inspiration and tutorials. If you want to learn more about what an affiliate link is, you can see my full affiliate and product disclosure statement here. Thank you so much for your love and support!


Hi...I am wondering what set of watercolor pencils has Old Paper? or what would you suggest as an alternative color?
ReplyDeleteOh my goodness! I meant to say Antique Linen. That color is in Set No. 2. I'm so sorry for the confusion!
Delete