
As soon as I saw the new Scrapbook.com Exclusive Halloween themed products, I couldn't help but create some spooky cute Halloween inspiration to share with you including a set of Halloween Treat Boxes and a Halloween Card. You can find all the details below on how I created each one and at the bottom of this post is a complete supply list. Now let's get on with the making!
SPOOKY CUTE HALLOWEEN TREAT BOXES
First up is this set of Halloween Treat Boxes created with a pillow box die and then embellished with a sweet little ghost and adorable little witch.

I began by creating the pillow box. To do this, I used the Sizzix Pillow Box and Poinsettia Die Set (and bonus with this die set, you're all ready for Christmas!) and die cut it using patterned paper from the Scrapbook.com A2 Spooky Paper Pad.
The next layer is a strip of black cardstock trimmed to 1.5 inches wide. I wrapped it around the pillow box, trimmed it to size and secured it in place with Scrapbook.com Clear Double Sided Adhesive.
I also added the ribbon at this point. This is Tim Holtz Mummy Cloth! I love the texture this adds, but you could certainly use any color or type of ribbon you may have on hand.

On top of this, I adhered a pink oval die cut using Scrapbook.com Clear Double Sided Adhesive. I die cut a piece of pink paper from the Scrapbook.com Spooky Paper Pad using the second largest oval die Scrapbook.com Nested Ovals Die Set. Before adhering it to the pillow box with Scrapbook.com Clear Double Sided Adhesive, I inked the edges with Hickory Smoke Distress Ink.

Next, I began die cutting the various pieces to assemble the ghost and witch using the Scrapbook.com Build and Layer Ghost and Trick or Treat Die Sets. I used a combination of textured cardstock and some of the solid and patterned papers from the Spooky Paper Pad. I lightly inked the edges of the die cuts with Hickory Smoke Distress Ink. I was able to easily adhere the various layers using Scrapbook.com Artis Glue with it's fabulous precision tip.

Before I adhered the trick or treaters, I pulled some threads from the Mummy Cloth and adhered them to the center of the oval die cut using Scrapbook.com Clear Double Sided Adhesive. I then used Scrapbook.com Double Sided Foam Adhesive to adhere the trick or treaters.

The final touch was the tiny tag. I die cut this from cardstock using one of the small tag dies from the Tim Holtz Tag Collection Die Set. The sentiment is from the Scrapbook.com Spooky Stamp Set and is stamped using Versafine Pigment Ink in Onyx Black. I then attached the tag to the Mummy Cloth using a jump ring.

SPOOKY CUTE HAPPY HALLOWEEN CARD
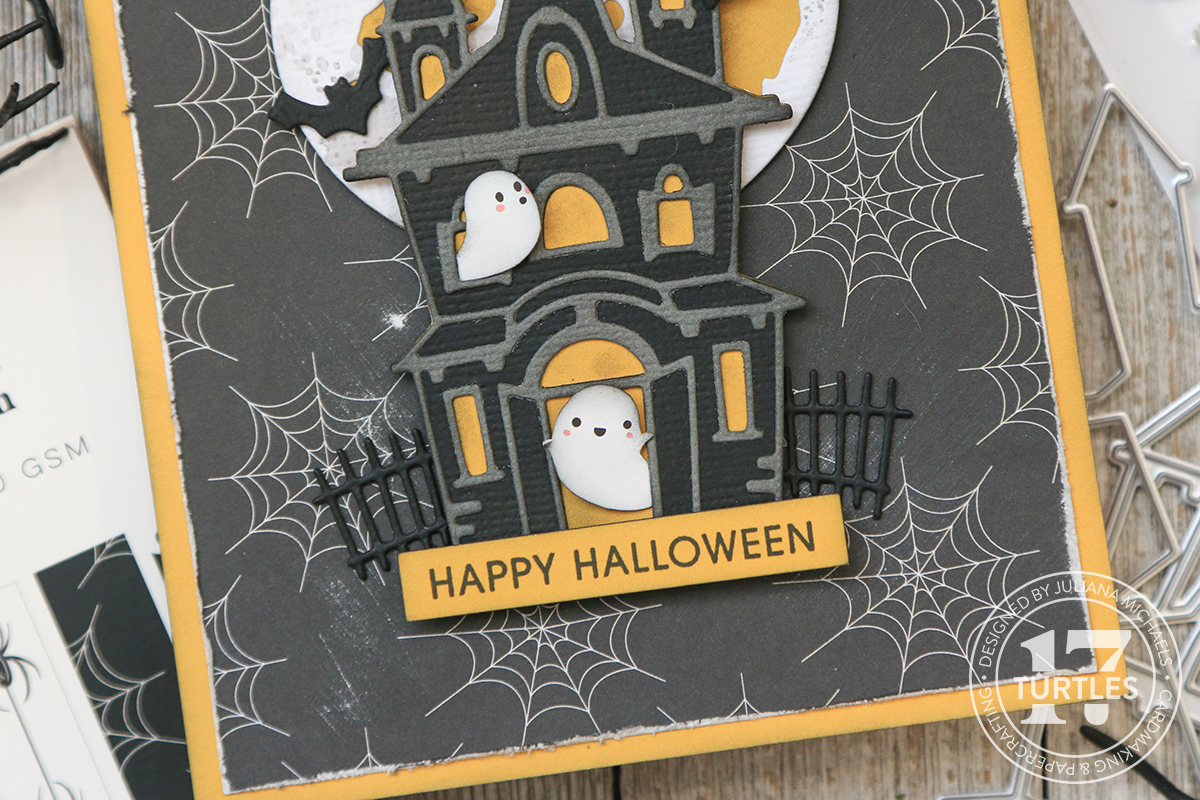
Now, onto this Happy Halloween card I created using the Scrapbook.com Build and Layer Haunted House Die Set and Spooky Paper Pad.

I began with a piece of yellow paper from the A2 Spooky Paper Pad as the base for my card. These papers are 4.25 x 5.5 inches in size, which makes them perfect size for a standard card base. I then inked the edges with Hickory Smoke Distress Ink. Next, I cut the black spider web paper to 4 x 5.25 inches and distressed the edges using the distressor head from the Sizzix Surfacez Multi Tool Set. To do this you simply rub the distressor head along the edge of the paper. I then adhered this layer to the card base using Scrapbook.com Permanent Tape Runner.
To create the moon, I used the smallest moon from the Tim Holtz Moonlight Die Set. I die cut the base layer from the same yellow paper as the base of the card and added applied Hickory Smoke Distress Ink with a small blending brush to distress it just slightly. I then cut the top layer from white textured cardstock. To distress this layer, I smooshed the Hickory Smoke Distress Ink onto my craft mat, spritzed it with a little water, tapped the paper into the ink and dried the paper with my heat tool. Once the paper was dry, I adhered the layers together using Scrapbook.com Artis Glue.

Next, I die cut all the pieces to create the Haunted House using the Scrapbook.com Build and Layer Haunted House Die Set. I die cut the two top layers from textured cardstock and the base layer from the same yellow paper that I used behind the moon and for the base of the card. And once again Scrapbook.com Artis Glue with its precision tip was perfect for adhering the various layers...especially the top detail layer and windows of the Haunted House.
I adhered the moon to the card front with Scrapbook.com Clear Double Sided Adhesive and then adhered the Haunted House with Scrapbook.com Clear Double Sided Foam Adhesive to create a little dimension.
To add a little more interest to the design, I added the bats and gates from the Haunted House Die Set. I cut them from textured black cardstock. For each bat, I cut out 3-4 bats and adhered them together with Scrapbook.com Artis Glue to give them a little dimension. Normally I would use foam tape, but these are so small that the foam tape tends to show, so this is another option if you want to create a little dimension. For the gates, I cut them out twice and adhered them together Scrapbook.com Artis Glue to create some dimension for them as well.

You might be wondering about those little ghosts! Well, those came from a piece of the patterned paper in the Spooky Paper Pad. I simply fussy cut the two ghosts, inked the edges with Hickory Smoke Distress Ink, tucked them into the window and door openings and added a small foam adhesive square behind them to give them some dimension. I love the bit of whimsy they add to the scene!
The final touch was the sentiment. This is a stamp from the Scrapbook.com Trick Or Treat Stamp Set. I stamped it onto a piece of yellow paper from the Spooky Paper Pad using Versafine Pigment Ink in Onyx Black, trimmed it to size, inked the edges with Hickory Smoke Distress Ink, and adhered it to the base of the Haunted House with Scrapbook.com Adhesive Tape Runner.
There you have it! A bit of spooky cute Halloween inspiration with a set of Halloween Treat Boxes and a Halloween Card. I hope you enjoyed learning how these came together and are inspired as you begin your Halloween crafting season!
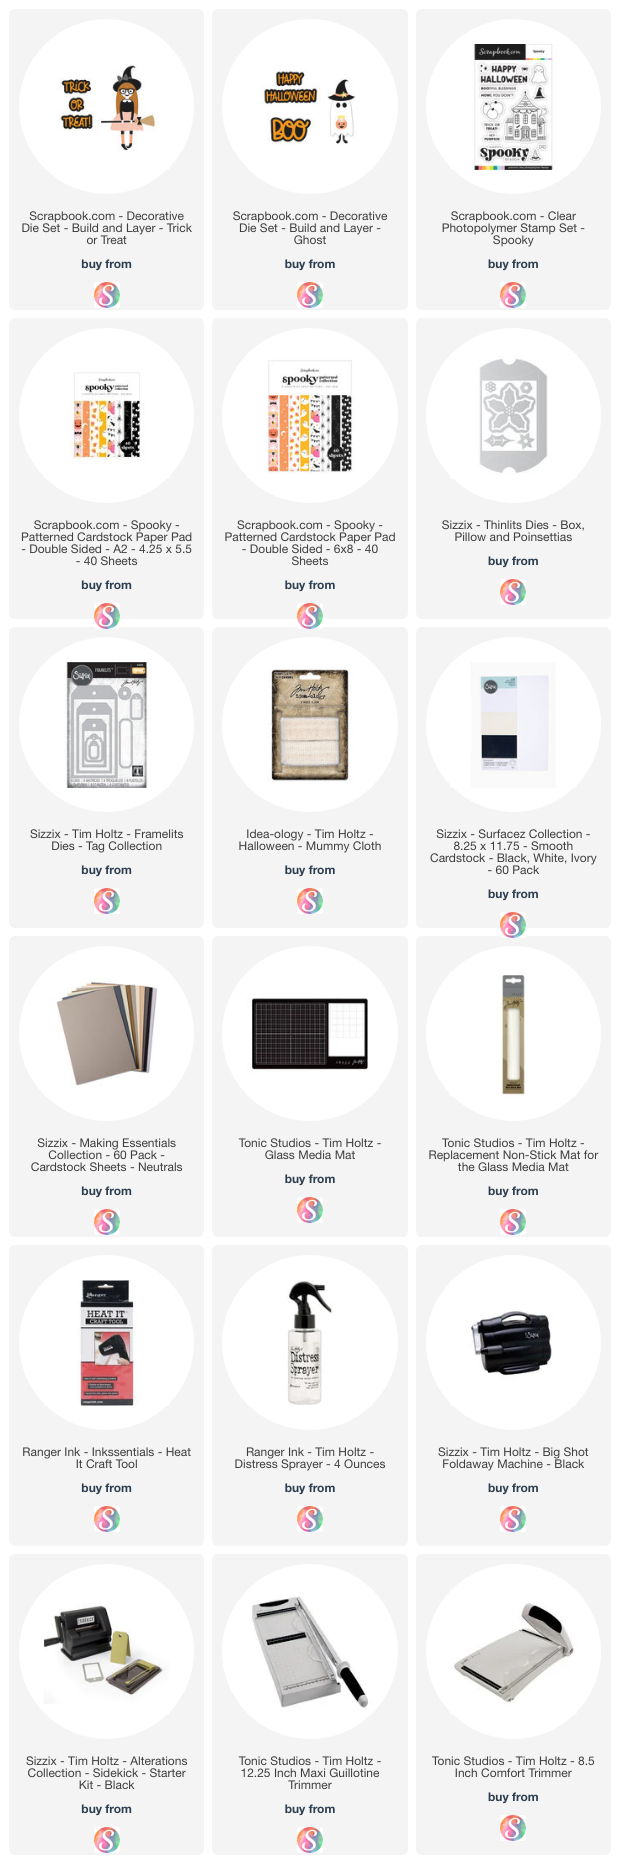
SUPPLIES
Below you can find the products I've used to create these Spooky Cute Halloween Treat Boxes and Card. When you shop through the links below, I receive a small commission from Scrapbook.com. These links are at absolutely no cost to you and the commission I receive helps me cover the costs of my blog and other expenses, which allows me to continue to provide you with FREE inspiration and tutorials. If you want to learn more about what an affiliate link is, you can see my full affiliate and product disclosure statement here. Thank you so much for your love and support!


No comments
Every time you smile at someone, it is an action of love, a gift to that person, a beautiful thing. ~Mother Teresa
HUGS!
JULIANA