
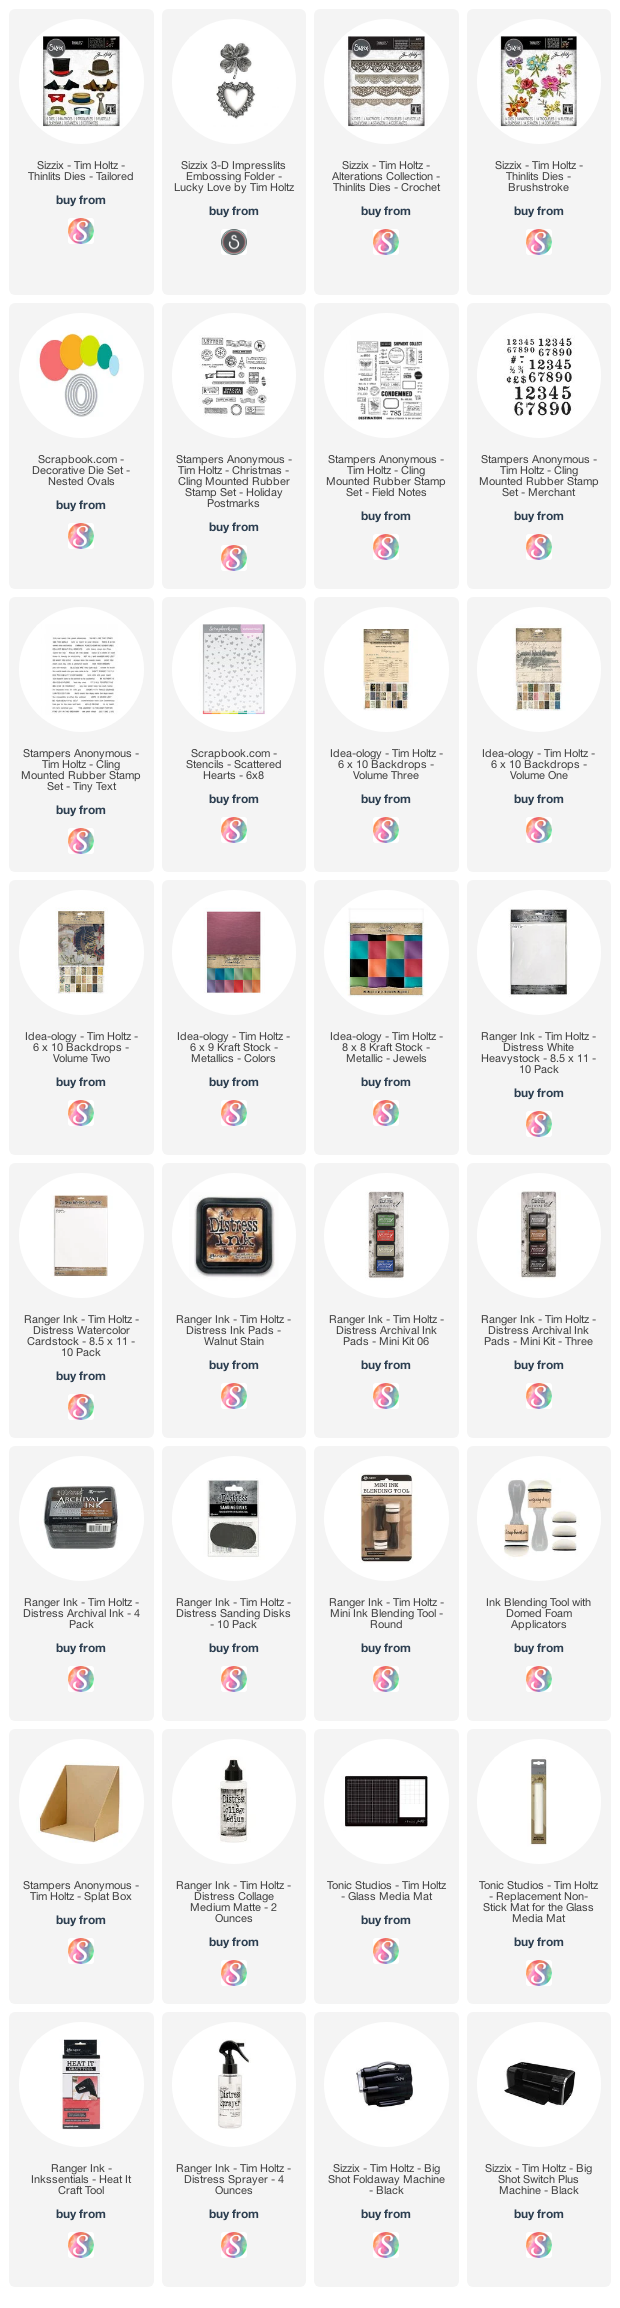
Happy Valentine's Day! Even if you don't celebrate this holiday, there's always a reason to let someone you know that you love them and what better way than with a mixed media vintage styled card. On this card I've incorporated a mix of Scrapbook.com and Tim Holtz products including stencils, stamps, and dies.

TIM HOLTZ TAILORED VINTAGE VALENTINE'S DAY CARD
So let's start off with the background. I began with the Scrapbook.com Scattered Hearts Stencil and used it to create a monoprint. Do this, I placed the stencil in my Splat Box and sprayed it with Tim Holtz Tart Cranberry Mica Stain (this is a seasonal product, but you can use any color of spray ink). Off to the side, I had a piece of Distress Watercolor Paper placed on top of a paper towel and an extra paper towel as well. I placed the inked stencil on top of the paper and used the extra paper towel to push down while at the same time dabbing up any ink that seeped under the stencil openings. To see this technique in action make sure to check out my How To Monoprint with Stencils video.
I lifted off the stencil and they dried the ink with my heat gun. Once the ink was dry, I added some stamping using Frayed Burlap Archival Ink and stamps from the Tim Holtz Field Notes, Merchant and Christmas Postmarks. I then inked in the edges with a little Walnut Stain Distress Ink and added some machine stitching around the border. I then adhered this to a piece of red metallic Kraft Stock that I had lightly sanded and then inked with Walnut Stain Distress Ink.

For the focal point, I used the Tim Holtz Tailored Thinlits Die Set and cut the various layers from colored and metallic cardstock and adhered them together using Distress Collage Medium. Before adhering the metallic papers, I lightly sanded them, and inked them with Walnut Distress Stain using a foam blending tool. The small flower is from the Mini Brushstroke Flowers Thinlits and was cut from Distress Watercolor Paper and then watercolored using a waterbrush and Distress Ink in Lumberjack Plaid and Fossilized Amber.
The embossed heart was created using the Tim Holtz Lucky Love 3D Impresslits Embossing Folder. Impresslits, actually cut and emboss all in one step! I used it with a piece of red metallic Kraft Stock and to give it the slightly grungy look I used a technique that Tim shared recently. After die cutting the shape, I painted it with Black Soot Distress Paint. Allowed it to start to dry and then used a paper towel to wipe off some of the excess paint. You have to let the paint slightly dry so it will start to stick to the paper but still wet enough that you can wipe some of the paint away and reveal the metallic paper. The end result is so good! If you want to see this technique in action check out Tim's Sizzix Everyday 2023 Release YouTube Live at around the 3:05 mark.

To frame the focal point, I used one of dies from the Scrapbook.com Nested Oval Dies and cut it from a piece of Tim Holtz Idea-ology paper and inked the edges with Walnut Stain Distress Ink. To give it a more vintage valentine feel, I added some paper lace around the edge using the Tim Holtz Crochet Thinlits. I cut it from printer paper, very lightly inked the edges with a little Walnut Distress Stain. I then wrapped it around the backside of the oval die cut letting it bend as needed and even trimmed it here and there to make it wrap around a little easier.
The final touch was the sentiment...love you to the moon and back. This is a stamp from the Tim Holtz Tiny Text Stamp Set which I stamped onto Distress White Heavystock with Black Soot Archival Ink, trimmed it into a strip and then inked the edged with Walnut Stain Distress Ink. I then adhered it to the card with a bit of foam tape on the two ends so that it was the supported as it went over the embossed heart.

Thanks as always for stopping by and taking a closer look at this Tim Holtz Tailored Valentine's Day Card!
SUPPLIES
Below you can find the products I used to create this card along with compensated affiliate links to Scrapbook.com. These links are at absolutely no cost to you. When you shop through the links below, I receive a small commission from Scrapbook.com. These links are at absolutely no cost to you and the commission I receive helps me cover the costs of my blog and other expenses, which allows me to continue to provide you with FREE inspiration and tutorials. If you want to learn more about what an affiliate link is, you can see my full affiliate and product disclosure statement here. Thank you so much for your love and support!


No comments
Every time you smile at someone, it is an action of love, a gift to that person, a beautiful thing. ~Mother Teresa
HUGS!
JULIANA