
Hello crafty friend! I'm back today with my second make from the Tim Holtz 2023 Sizzix Everyday YouTube Live. For this make, I created a card using several of the new dies including Tailored, Brushstroke and Alphanumeric Emporium. Below, I'm sharing all the little details that helped bring this card to life.
TAILORED HELLO CARD
Before I get started, I want to share a little back story on some of the inspiration for this card. In November 2022, Tim did several YouTube Lives that he called his Holiday Hoopla 2022 and in each one he shared some fantastic holiday crafting ideas. In Holiday Hoopla Part 2 he shared a simple, yet gorgeous idea that really spoke to me and when I started thinking about what I might create with his new Sizzix release, I knew that I wanted to incorporate his Two-tone Wood Grain Die Cutting idea in somewhere. As I said, it's a rather simple idea, but he does share some great tips for it in his video so feel free to take a few minutes to check it out. You can go straight to this technique here.

For this technique you'll need some of his Gray Two-tone Woodgrain Paper. Hopefully you snagged some while it was available. It was part of his seasonal Christmas release and it seems to be sold out now. I personally hoarded 5 packs of it because I knew I'd want to use it throughout the coming making season.
Using the Gray Two Tone Woodgrain Paper, I die cut the top hat, one of the folding shirts/coats and the bow tie from the Tailored Thinlits die set. I made sure to place the dies with the most surface area that would be visible once assembled in a vertical position on the paper. This really helps add to the woodgrain look. Before die cutting the pieces, I ran the paper through my Xyron Create-A-Sticker to apply adhesive to the backside of the paper and to make assembly faster, but you can certainly use your favorite adhesive to do this.
I used this same technique to cut out Hello using the Alphanumeric Emporium Thinlits. I cut the letters out twice and adhered the letter along with the negative inside pieces and just the letter to build them up and create a little dimension. I also inked the edges of the assembled die cuts with Vintage Photo Distress Ink before adhering them to the card.
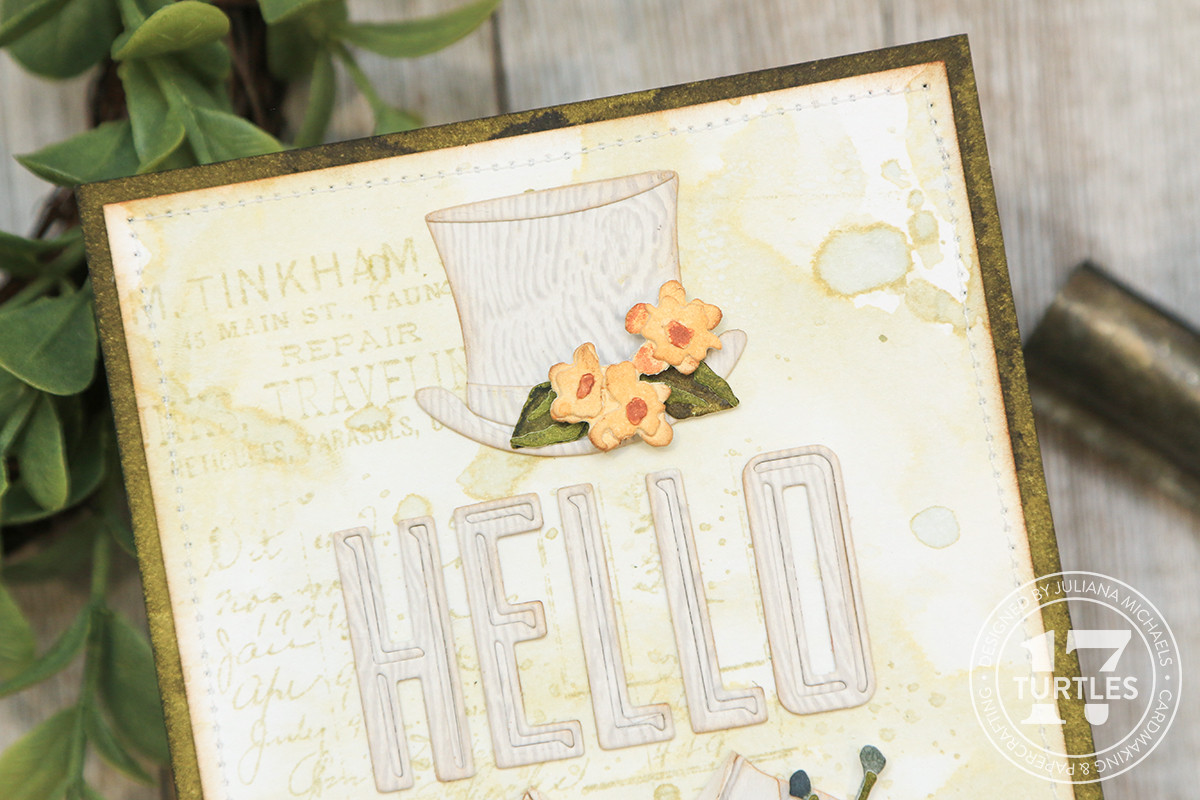
The sweet little flowers are from the Brushstroke Thinlits Die Set. I also used the Xyron Create-A-Sticker to apply adhesive to the paper before I die cut and assembled the flowers. These dies are super small and the Xyron Create-A-Sticker saved me loads of time when I started assembling the flowers.
Before any of this though, I took several pieces of Distress Watercolor Paper (you just need pieces that are large enough to die cut, so you could also use scraps) and sprayed each piece with a different color of Distress Spray Stain to create my own colored cardstock. I used Peeled Paint, Forest Moss, Tea Dye, Tattered Rose, Scattered Straw and Iced Spruce. I also created a panel that was 4.25 x 5.5 using the Peeled Paint Distress Spray Stain and I used this as my card base.
Once the die cutting was completed, I began assembling the flowers and creating the clusters that I adhered to the card.

Now let me discuss the background. I created this after I had done all of my die cutting, but if you are wanting to recreate this idea, you can certainly do this first so that it's ready to go once you're finished with all of the die cutting.
To create the background I took a piece of Distress Watercolor Paper trimmed to 4 x 5.25 inches and ink smooshed it into some Old Paper Distress Ink and water. I dried it with my heat tool and repeated the process until I was happy with the look. Next, I used the text stamp from the Distinguished Stamp Set and the ledger stamp from the Etcetera Stamp Set. I inked the stamps with Old Paper Distress Ink. I very lightly inked the edges with Vintage Photo Distress Ink and then added some machine stitching around the outside edge.

Thanks for stopping by and taking a look at how I created this Tailored Hello Card using some of the new dies from the Tim Holtz Sizzix 2023 Release.
SUPPLIES
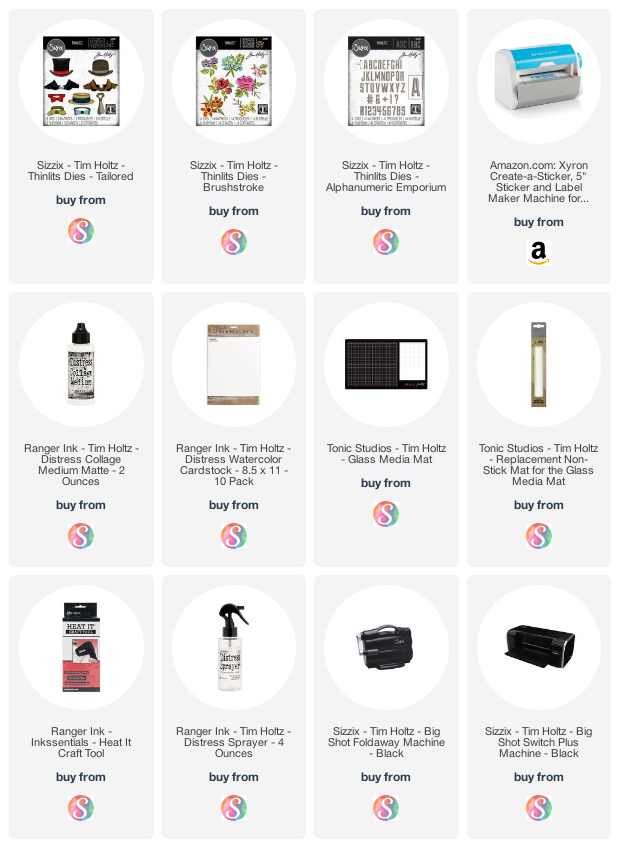
Below you can find the products I used to create this card along with compensated affiliate links to Scrapbook.com. These links are at absolutely no cost to you. When you shop through the links below, I receive a small commission from Scrapbook.com. These links are at absolutely no cost to you and the commission I receive helps me cover the costs of my blog and other expenses, which allows me to continue to provide you with FREE inspiration and tutorials. If you want to learn more about what an affiliate link is, you can see my full affiliate and product disclosure statement here. Thank you so much for your love and support!


No comments
Every time you smile at someone, it is an action of love, a gift to that person, a beautiful thing. ~Mother Teresa
HUGS!
JULIANA