
I have something to admit. This card almost didn't happen. It all began when I pulled out the Christmas Stitched Border Strips Emboss and Die Set and was underwhelmed with the results. How is that possible you ask? Well let me share my story of the magic of the Scrapbook.com Magic Mat and how it saved the day.

You see, this was my first time to use one of the emboss and cut dies from Scrapbook.com. I had grabbed a few of the strips, some paper and my regular Sizzix die cutting plates and did what I normally do to cut paper. When I went to lift off the cutting plate I could hardly see the design that shows so well on the dies and I was like what the heck? I was so bummed and was about to move on and figure out something else when my crafty friend, who happened to be in town for the weekend had an idea. She suggested that maybe I needed something softer under the dies to allow for the embossed images to show up and that made me think of my Scrapbook.com Magic Mat. I pulled it out and replaced my bottom cutting plate with it, repeated my die cutting process and viola, I had perfectly cut AND embossed strips!
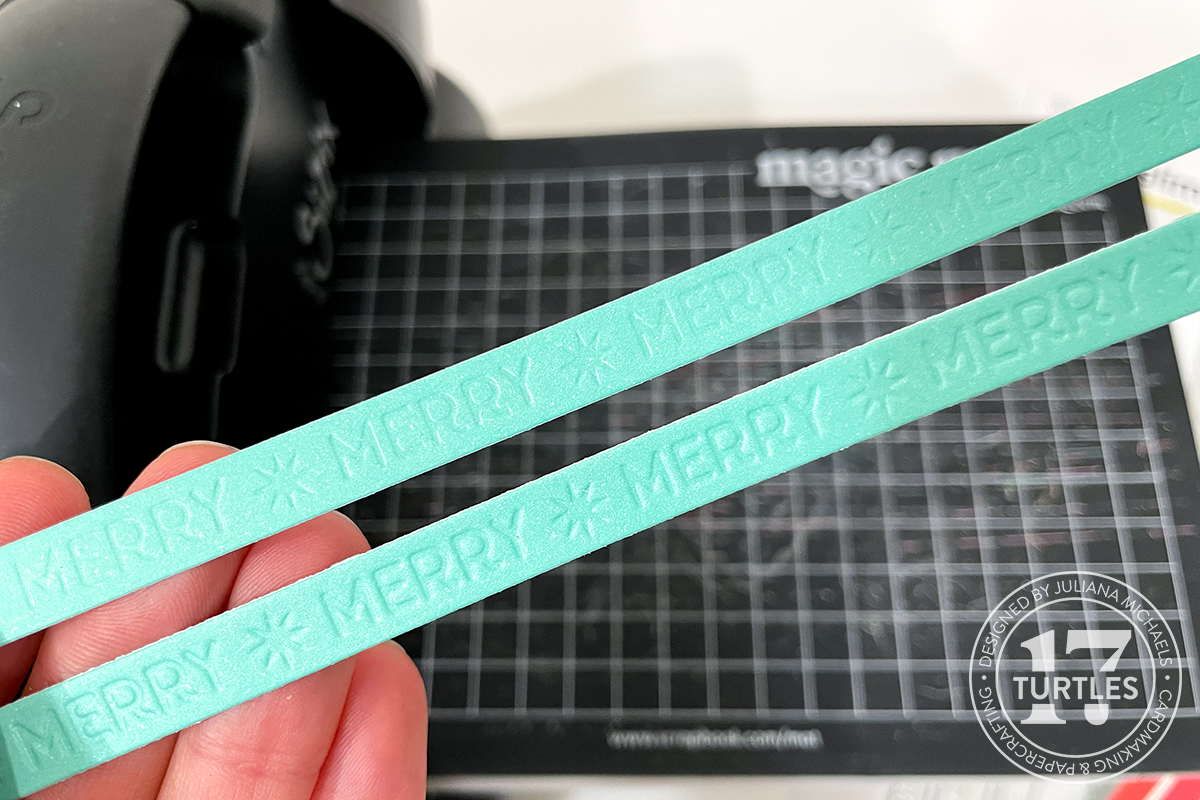
In this image the strip on the top was the first one I cut and embossed with my regular die cutting plates. The bottom strip is the one that was cut and embossed using the Scrapbook.com Magic mat. You can really see the difference...or should I say the magic that the Magic Mat added for the embossing.
Here are the same strips from the back side. You can see in even more detail just how well the paper was embossed when I used the Magic Mat.

Once I had discovered the magic of the Magic Mat, I went to town cutting and embossing using a mix of colored papers from the Slimline Peppermint Paper Pad. I inked the edges of each strip with Vintage Photo Distress Ink, but you can definitely skip this part. Next, I cut a piece of white cardstock to 4 x 5.25 inches and began adhering the strips at a diagonal onto the paper. I used scissors to trim off the overhanging strips and with that my background was finished. I then adhered this to a standard A2 Card base.

For the embellishment, I die cut two circles from vellum using the Scrapbook.com Nested Circles Dies. I added some machine stitching to the larger circle. I then applied some stars from the Peppermint Holiday Rub Ons to smaller circle. These rub ons go on like butter by the way! I then layered on a snowflake cut from Vellum using the Scrapbook.com Snowflakes Dies. To adhere the vellum layers together and to attach it to the card I used Scrapbook.com Refillable Permanent Tape Roller and was really impressed that you couldn't see it through the vellum.
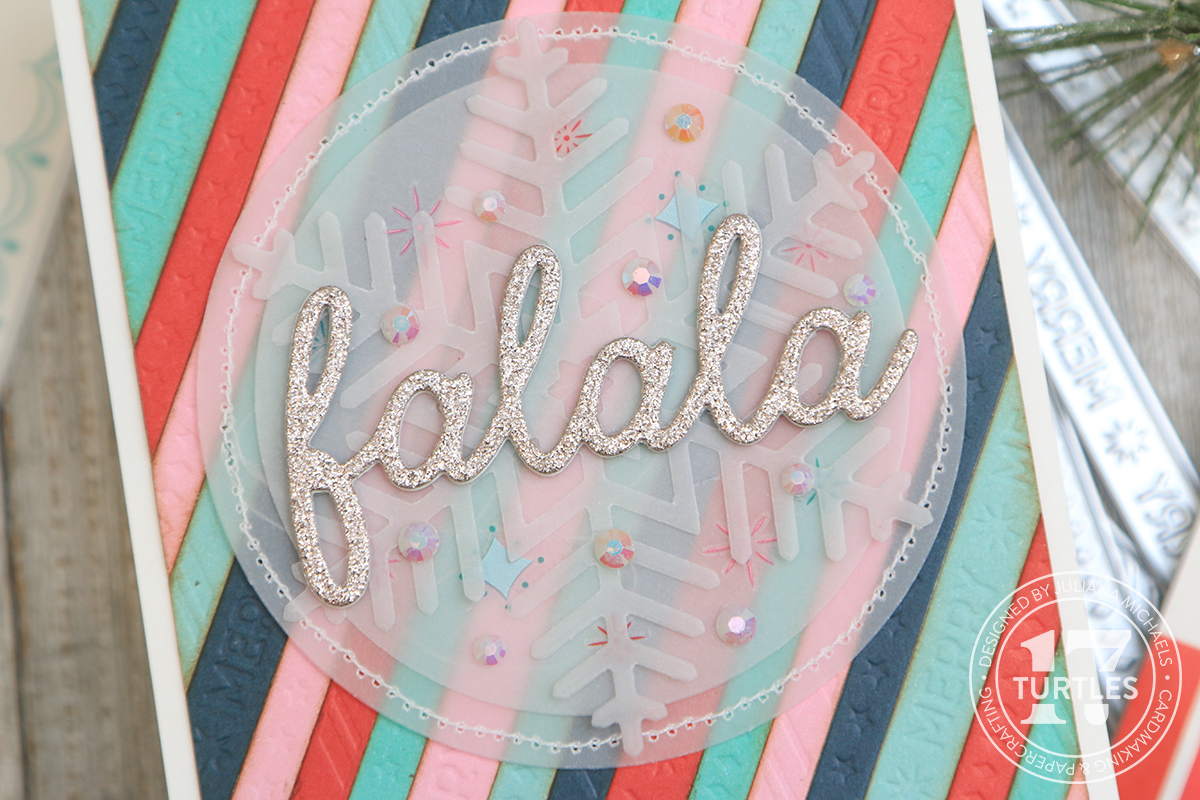
To create the sentiment, I die cut a piece of glitter cardstock using the Scrapbook.com Fa La La Die. I then cut it twice from white cardstock and glued the layers together to give the die cut a little dimension before adhering it to the card front. I finished off the card by adding some Pinkfresh Glacier Jewels.

Now that you know about the magic of the Scrapbook.com Magic Mat, will you be cutting and embossing all the things?! Thanks for your visit and if you have any questions, please don't hesitate to ask!
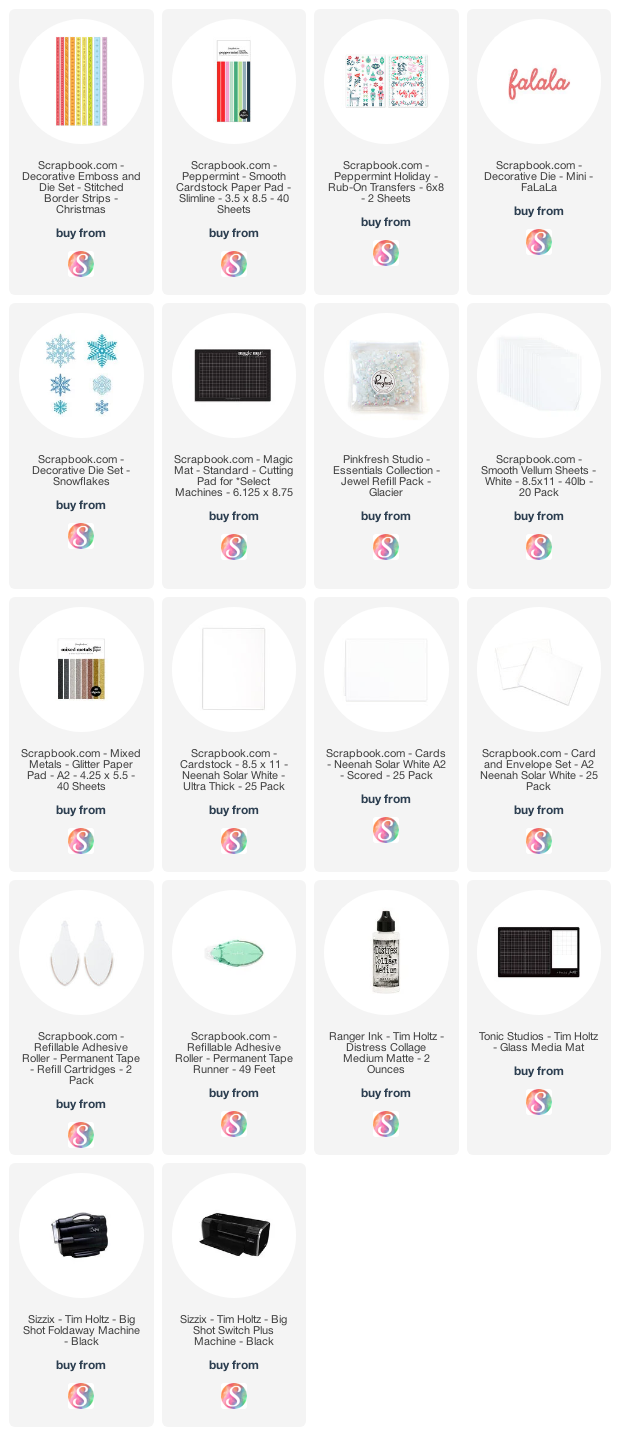
SUPPLIES
Below you can find the products I used to create these projects along with compensated affiliate links to Scrapbook.com. These links are at absolutely no cost to you. When you shop through the links below, I receive a small commission from Scrapbook.com. These links are at absolutely no cost to you and the commission I receive helps me cover the costs of my blog and other expenses, which allows me to continue to provide you with FREE inspiration and tutorials. If you want to learn more about what an affiliate link is, you can see my full affiliate and product disclosure statement here. Thank you so much for your love and support!


I bought the magic mats for myself and my crafty friends last year for Christmas, and I'm embarrassed to say, I have never used it. This is a great example of how it works. Thanks for the prod! Great card BTW!!
ReplyDelete