
I know it's still technically summer here in the northern hemisphere, but I'm already in the mood for fall! With that in mind, I have a couple of cards I created using Tim Holtz Distress Mica Stains combined with some stamps, stencils and dies from Scrapbook.com.

STENCIL RESIST WITH DISTRESS MICA STAINS
This first card uses a technique I learned from a fellow Tim Holtz Maker...Nathifa Sligh AKA Juicy Christians. She recently shared a tag she created using it, and I had to give it a try!

I began with a piece of Distress Black Halloween Woodgrain Cardstock. I applied a thin layer of Distress Micro Glaze and then buffed it. During my learning curve with this technique I found that it's VERY important to go light on the Distress Micro Glaze AND that you must buff it really well and then maybe buff it again for good measure. If you don't, the Texture Paste will just flake off. Believe me. It will!
So once you've buffed the Micro Glaze, I placed the Oak Leaves Stencil from Scrapbook.com over the paper and used Mint Tape to hold it and then used a palette knife to apply Distress Texture Paste Opaque. I remove the stencil, washed it immediately and allowed the paper to dry.

Once the paper was dry, I began adding color using Distress Mica Stains in Burning Ember, Harvest Moon, and Wicked Elixir. I applied small spritzes of one color at a time, here and there on the leaves. I used a baby wipe to wipe up most of the excess ink that got on the black cardstock and then used a heat tool to dry each color before I added the next color. The Distress Micro Glaze is the secret to achieving this look. It seals the paper and prevents the ink from soaking into it.
Once the background was completed, I trimmed it to size and adhered it to a piece of white cardstock.

For the sentiment, I stamped "Hi" from the Scrapbook.com Hi Fall Stamp Set using embossing ink, sprinkled it with Gold Embossing Powder and heat embossed using my heat embossing gun. I fussy cut around it and then adhered it using double sided foam adhesive to give it some dimension.
The wreath was created using one of the dies from the Scrapbook.com Sprigs Die Set. I cut 6 of them from Distress Watercolor paper and then sprayed them with the same colors of Distress Mica Stains I used on the background. Once they were dry, I adhered them to the card front using Distress Collage Medium (which is my favorite liquid adhesive).

PRINTING WITH STENCILS AND DISTRESS MICA STAINS
For this second card, I began with a piece of Distress Watercolor Paper. I took the Oak Leaves stencil, sprayed the Distress Mica Stains directly onto the stencil, spritzed it with water and then pressed the stencil onto my paper to create a print. I left the stencil in place to allow the ink to soak into the paper, gently pressing it down to help with the ink transfer and used a paper towel to dab up any ink that seeped out from underneath the stencil. I then gently lifted off the stencil to rinse it off and dried the background with my heat tool.

To embellish the card, I die cut more of the Sprigs from Distress Watercolor paper and sprayed them with the Distress Mica Stain and adhered them to the card front.

I also added a bit of gold thread behind them for a little bit of texture.

The sentiment for this card is from the Scrapbook.com Hi Fall Stamp Set and was stamped and heat embossed with gold embossing powder, trimmed into a strip and adhered to a piece of Gold Metallic Kraftstock. I then adhered it over the sprig die cuts using double sided foam adhesive for bit of dimension.

Thanks for stopping by today! I hope you enjoyed learning how these Fall cards came together using Distress Mica Stains and stencils.
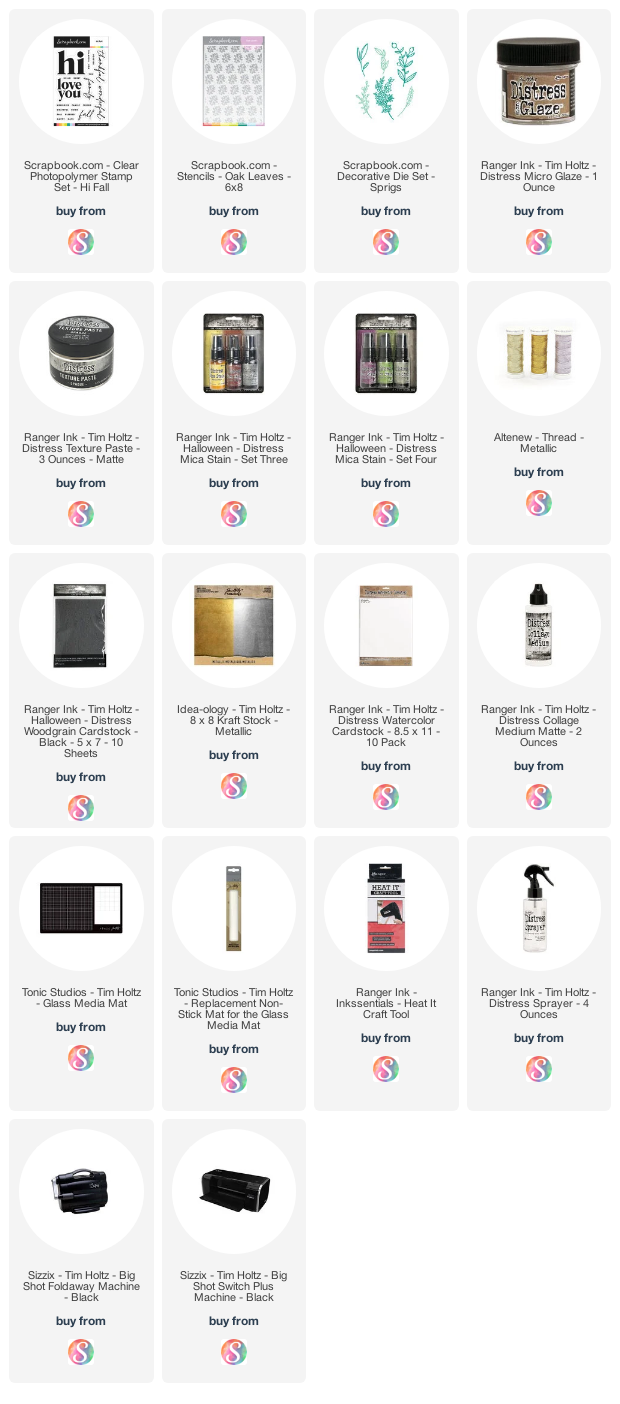
Supplies
Below you can find the products I used to create these cards. Each product is attached to an affiliate link with Scrapbook.com. When you shop through the links below, I receive a small commission from Scrapbook.com. These links are at absolutely no cost to you. The commission I receive helps me cover the costs of my blog and other expenses and it allows me to continue to provide you with FREE inspiration and tutorials. If you want to learn more about what an affiliate link is, you can see my full affiliate and product disclosure statement here. Thank you so much for your love and support!


No comments
Every time you smile at someone, it is an action of love, a gift to that person, a beautiful thing. ~Mother Teresa
HUGS!
JULIANA