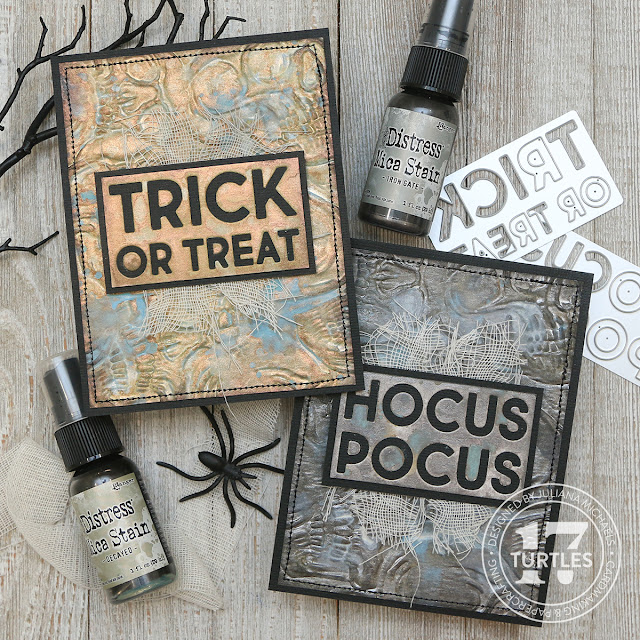
Today I'm sharing a couple of cards I created using the new Tim Holtz Distress Mica Stains! This past weekend I took some time to sit down and just play and the backgrounds I created on these cards is the result of that play time. I'm calling the technique Eroded Metal Effect and if you stay with me, I'll walk you through the process!
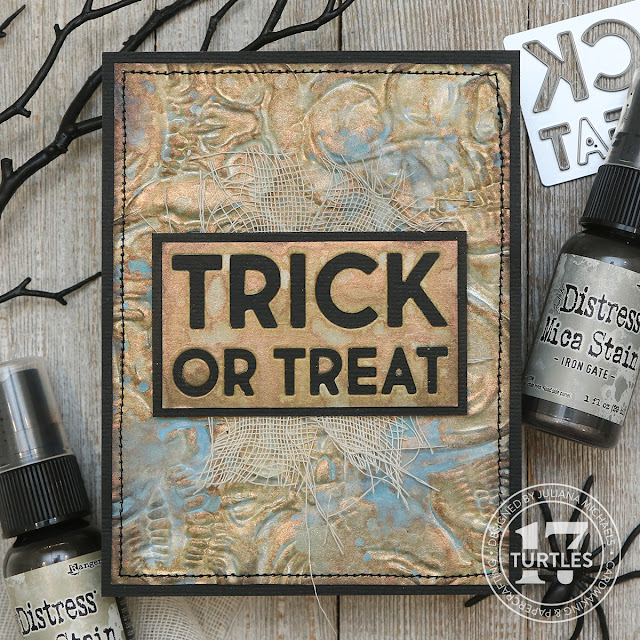
To get started, I began with a piece of Distress Watercolor Paper cut to 4 x 5.25 inches. I spritzed it with water using my Distress Sprayer, placed it inside the Skulls 3D Texture Fade Embossing Folder and ran it through my die cutting machine.
Next, I sprayed the paper with Decayed Distress Mica Stain. This is most definitely my favorite color from the new release and I wish we could just buy that one color in a larger bottle! A girl can dream, right?!
After spraying the paper with the Mica Stain, I dried it with my heat tool. Next, I spritzed the paper with water using my Distress Sprayer and pulled the trigger slowly to get larger droplets. I then dried the paper using my heat tool. I also spritzed some other spots and dabbed them dry and removed a little of the ink.
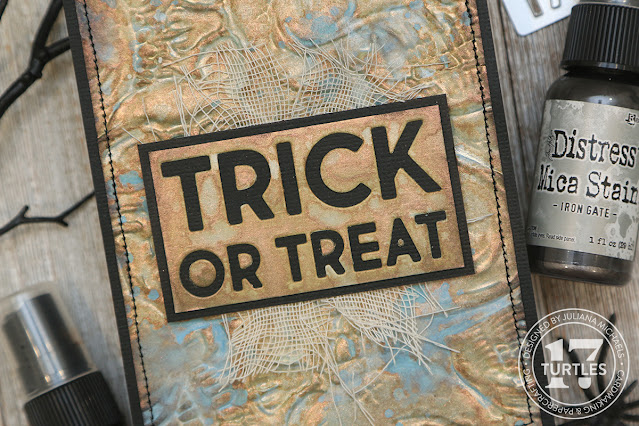
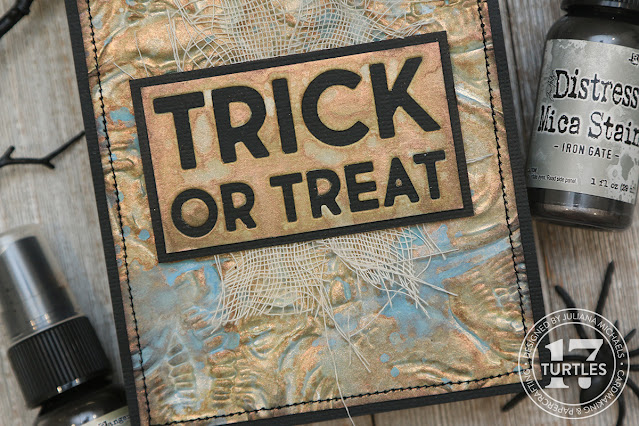
For some reason the Decayed Mica Stain, did some cool things when the water droplets dried. I'm guessing this color might have a combination of mica colors in it that cause them to separate and give it this look. Next, I added splatters of Frayed Burlap Oxide Spray, spritzed them with water and dried it with my heat tool. To my surprise, this cool bluish color appeared and added to the eroded metal effect.
This entire process was part of my play day. I made several backgrounds playing around with different papers and the Distress Mica Stains. In the end, the ones I'm sharing today were my favorites.
I do so wish though that you could see this in real life! The combination of shimmer and distress are so cool!
To finish off the panel, I inked the edges with Black Soot Distress Ink using an ink blending tool.
For the sentiment, I die cut a piece of Distress Watercolor paper using one of the dies from the Halloween Bold Text Thinlits, trimmed it down and then sprayed it with Distress Mica Stain in Decayed. I then repeated the process I used on the embossed paper to give it the same look.
I then backed the piece with black cardstock, adhered a bit of Mummy Cloth behind it and attached it to the card front using double sided foam tape.
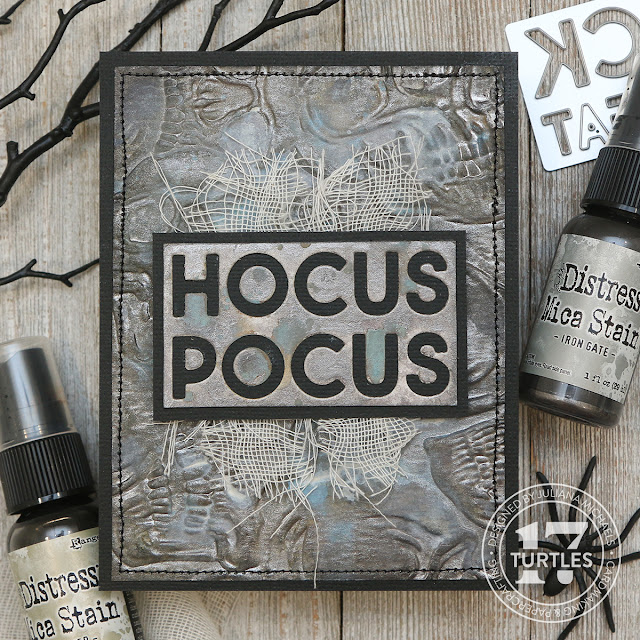
This second card uses the same technique but with different colors. Here I started with Iron Gate Distress Mica Stain. When I sprayed this one with water, it didn't react to the water the same way the Decayed did. But if you dab the water droplets dry, it removes some of the ink and gives it a cool effect.
On this one I added Frayed Burlap Oxide Spray which once again created this cool blue effect. I also added some Picket Fence Spray Stain splatters and spritzed them with the Distress Sprayer to blend them out a bit. Each time I added a color, I made sure to dry it with my heat tool.
As on the first card, I inked the edges with Black Soot Distress Ink.
The sentiment piece on this card was also created like I did the first, but I used Iron Gate Distress Mica Stain and Frayed Burlap Oxide Spray.
Thanks so much for stopping by today! I hope you enjoyed this Eroded Metal Effect I shared on these Halloween cards using the Tim Holtz Halloween Distress Mica Stains.
Supplies
Below you can find the products I used to create these cards. Each product is attached to an affiliate link with Scrapbook.com. When you shop through the links below, I receive a small commission from Scrapbook.com. These links are at absolutely no cost to you. The commission I receive helps me cover the costs of my blog and other expenses and it allows me to continue to provide you with FREE inspiration and tutorials. If you want to learn more about what an affiliate link is, you can see my full affiliate and product disclosure statement here. Thank you so much for your love and support!





The Skulls 3D is a must have EF for sure...great cards and thanks for the info about your play day...I think I have forgotten more about techniques than I remember....LOL...
ReplyDeleteVery cool looking cards.
ReplyDelete