Oh, the weather outside is frightful
But the fire is so delightful
And since we've no place to go
Let it snow, let it snow, let it snow!
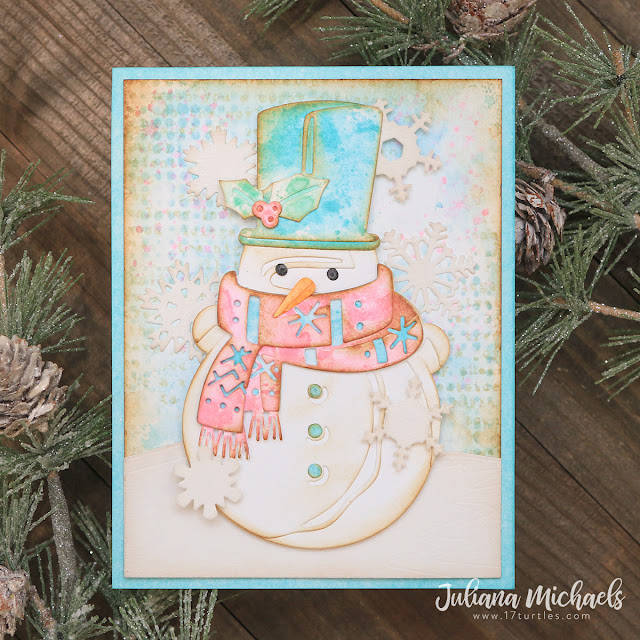
The weather might not be frightful, but I'm definitely in a Christmas crafting mood! I love this time of year when it's time to start crafting all the things for my two favorite holidays...Halloween and Christmas! Today I'm sharing the Winston Snowman Easel Christmas Card I created for the Tim Holtz Sizzix Christmas 2021 YouTube Live.
I've never created an easel card before, but I was inspired to give it a try after seeing Jennifer McGuire share some recently. If you aren't familiar with them, it's a folded card that stands up, kind of like an art easel and is a super fun way to display your card! The actual easel part of the card is quick and easy to make. I'm going to walk you through the process and before you know it you'll be creating your own easel cards!
To get started, you will begin with the card size of your choosing. I prefer to cut and score my own cards, but you can also use premade card bases as well. Here I'm using an A2 size, cut and scored so it opens vertically. This means you need to cut your paper to be 4.25 inches wide by 11 inches tall. Score the paper at 5.5 inches and then again at 2.75 inches. You will attach your card front or the image of your choice on the half of the card that you have scored in half. Just make sure you only adhere it on the bottom section so that the easel function will work. Someone I know may be have forgotten this the first time they went to attach the card front.
Once you have created the easel card base it's time to make something to help it stay open when on display. To achieve this all you have to do is place some sort of dimensional piece inside the card such as a strip, a panel or even an embellishment. You can use dimensional foam adhesive to adhere them or even a couple layers of cardstock will do the trick. For my card, I went with the layers of cardstock and placed my sentiment on the strip. Since this part of the card is visible when it's on display, feel free to get creative with this area.
Hat - Salvaged Patina
Scarf - Kitsch Flamingo and Salvaged Patina
Holly - Cracked Pistachio and Kitsch Flamingo
Nose - Carved Pumpkin
Body - Edges inked with Vintage Photo
Eyes - Black Soot
To give the project a bit of snowy sparkle, I die cut the snowflakes using the Mini Paper Snowflakes Thinlits and I used one of the layers from the Snowscape Colorize Thinlits to create the snowdrift. These were both die cut from white Pearl paper in the Sizzix Festive Colors Pearl and Glitter Cardstock Pack.
The back panel of the card front is a piece of Distress Watercolor ink blended just around the edges with Salvaged Patina Distress Ink to create a coordinating cardstock color. I used this same technique to color the paper used on the sentiment strip. Before coloring the paper, I stamped the sentiment from the Tiny Text Christmas Stamp Set using embossing ink and then heat embossed it with clear embossing powder. After I applied the Distress Ink to color the paper, I wiped over the stamped sentiment to remove the ink and reveal the words.
The background panel was created by ink smooshing a bit of Tumbled Glass on Distress Watercolor. Next, I added some stamping using the text image from the Stripes and Holiday Stamp Set using Old Paper Distress Ink and the tiny snowflakes from the Vintage Holidays Stamp Set using Kitsch Flamingo Distress Ink. The next step was the addition of some stencil work using the Dot Fade Layering Stencil and Tumbled Glass Distress Ink. I then inked the edges with Tumbled Glass and then Vintage Photo Distress Ink.
The back panel of the card front is a piece of Distress Watercolor ink blended just around the edges with Salvaged Patina Distress Ink to create a coordinating cardstock color. I used this same technique to color the paper used on the sentiment strip. Before coloring the paper, I stamped the sentiment from the Tiny Text Christmas Stamp Set using embossing ink and then heat embossed it with clear embossing powder. After I applied the Distress Ink to color the paper, I wiped over the stamped sentiment to remove the ink and reveal the words.
Thanks so much for stopping by today to check out my Snowman Easel Christmas Card featuring the Tim Holtz Winston Colorize Thinlits.
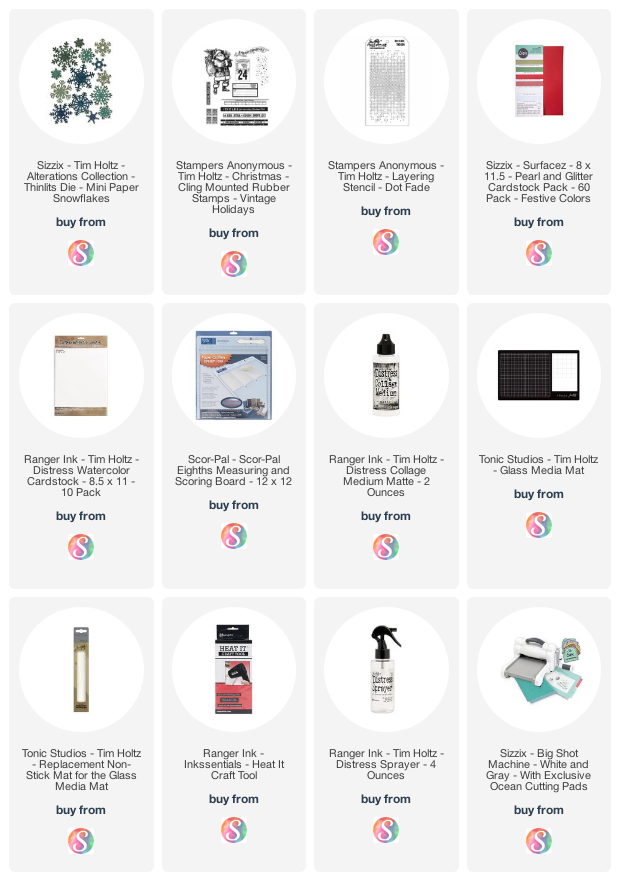
Supplies
You can find the products I used to create these projects along with compensated affiliate links to Scrapbook.com. These links are at absolutely no extra cost to you. If you want to learn more about what an affiliate link is, you can see my full affiliate and product disclosure statement here.


Winston just doesn't get any cuter than what you have created! I love the colors and the card is just so amazing.
ReplyDeleteYou mentioned using the smooshing method, what is it, and where can I learn to use it?
Hi Susan! Thanks so much! I shared about this technique in this blog post https://www.17turtles.com/2021/05/ if you are interested.
DeleteAlso, Tim demonstrates this technique in many of his videos such as this one that is all about Distress Inks https://youtu.be/f25GOFUevkg. If you’ve never watched any of his demos, I highly recommend them if you are wanting to learn more about working with his products. Hope this helps!
Adorable in the pastel colors!!!
ReplyDeletegotta love Winston, he's just so cute. thanks as always for sharing.
ReplyDeleteThis card is so adorable. I love Winston’s colors.
ReplyDelete