Hello friends! Today I'm sharing the second project I created for the Tim Holtz Sizzix Chapter 2 YouTube Live. This project is a framed panel that features the Countdown Thinlits as well as a personal favorite from the Chapter 1 Release - Perspective Butterfly. I combined them to create this With Brave Wings Framed Panel.
Before we get on with the details, I just wanted to apologize for the small delay in getting this project posted. I had planned to have it posted earlier this week, however this past weekend I sustained a mild concussion and because of that, I'm currently limited with my online and crafting activities while I recover. I have been able to work on the written part of this project over the last several days, in small increments, so I could share this project with you today. As I think about this project, the message it shares is rather fitting for me at the moment. It's important to remain brave in the midst of life's struggles and if you aren't feeling brave don't be afraid to reach out to those around you so they can provide you with the support you need to fly.

So first off, where did this idea come from? I'd love to share some great story about what inspired me, but the truth is I was just die cutting the Countdown Thinlits from some scrap paper and playing around with them when I came up with the idea of making a background that had texture created by layering die cuts. I'm not sure if I shared this or not, but when I get the new dies, the first thing I do is cut them out and play around with them. I do this to get a feel for the size and how they speak to me.
I began by cutting a piece of Distress Heavyweight to the size of the Idea-ology Framed Panel (approximately 6 3/8" x 8 7/8"). I then die cut the same paper using the Perspective Butterfly Thinlit and adhered it to the paper using Distress Collage Medium.
Next, I spritzed and sprayed the paper using a mix of Salty Ocean and Vintage Photo Distress Spray and Frayed Burlap and Mermaid Lagoon Distress Oxide Sprays. I dried them with my heat tool and then spritzed the paper with water using my Distress Sprayer and dried it again.
The next step was to start adding some layers. Using the Countdown Thinlits I die cut some random numbers from black cardstock and adhered them to the background using Distress Collage Medium.

For this next step, I unfortunately forgot to take photos so I'll do my best to explain what I did. During this step, I added some visual interest and texture by applying Translucent Grit Paste over the Digits Layering Stencil. Once this was dry, I placed the stencil back over the dried Grit Paste and dabbed embossing ink over the stencil. I then removed the stencil and sprinkled the design with Clear Embossing Glaze and heat embossed it using a heat gun. To add a bit more color and interest, I then rubbed Antique Bronze and Walnut Stain Distress Crayon here and there over the piece. When working with Distress Crayons, remember to work in small sections. Apply the crayon and then rub it in using your finger or a small rag. I find my finger to be the best blending tool though for this medium! The Distress Crayon seemed to really bring the textures and layers to life.

With this completed, I trimmed the paper to fit inside the frame, adhered the frame and then adhered the paper inside the frame. To add color to the frame, I simply dry brushed Black Soot Distress Paint over the frame. This technique allows some of the natural wood color to show through here and there and gives it a distressed look. Don't worry if you add too much paint though. You can use sandpaper to easily remove some of the paint.
With the background completed, I moved onto the phrase using the Alphanumeric Stretch Upper Thinlits. To give them dimension, I adhered black cardstock to double sided foam adhesive and then die cut the letters. This added just the right amount of dimension.
I then finished off the piece by adding the Quote Chip which I inked with some Vintage Photo Distress Ink and some Hardware Heads distressed with Mushroom Alcohol Ink.
Thanks so much for stopping by today and checking out the details on how this With Brave Wings Framed Panel came together.
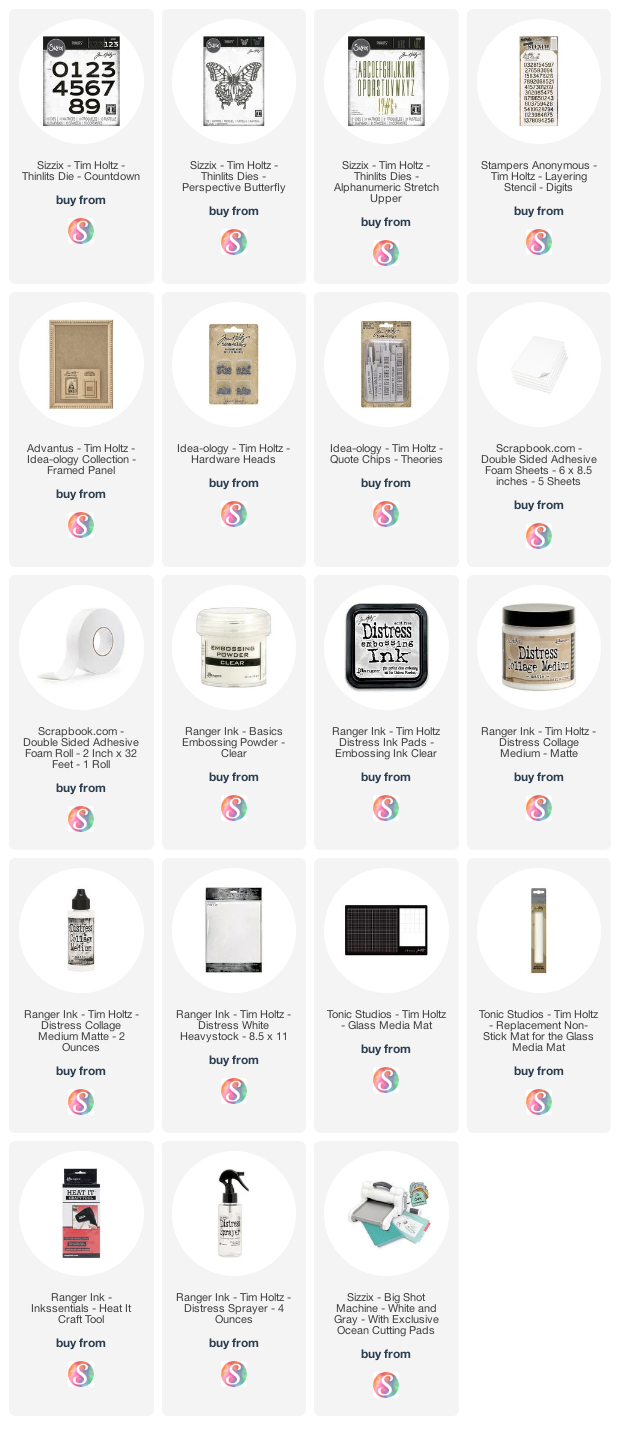
Supplies
Below you can find the products I used to create this project along with compensated affiliate links to
Scrapbook.com. These links are at absolutely no extra cost to you. If you want to learn more about what an affiliate link is, you can see my full affiliate and product disclosure statement
here.


beautiful project Juliana! Thank you for the spot-on tutorial of how you created it! Wonderful.
ReplyDeleteLove love love this! I am going to recreate it for my bedroom but in purples & gray. Thank you for sharing!
ReplyDelete