
Hello friends! I'm back today with the third and final project I created for the Tim Holtz Sizzix Chapter 2 Release. If you're looking for even more inspiration make sure you check out Tim's blog post where he has linked to all of the makers and the projects they've created. Many of them have created wonderful blog posts that share how they created their project.
This Bloom Where You Are Planted Card features the beautiful Brushstroke Flowers No. 3 Thinlits. There are now three gorgeous floral dies that have this same style and they are perfect for mixing and matching to create a custom bouquet.

For this card, I die cut the flowers from Distress Kraft Stock in a mix of colors. Because these dies are all one piece, I die cut each flower from two shades of the same color and then layered them to create the finished design. To give each flower another bit of interest, I added an additional layer of the bottom layer and offset them.

Once the flowers where die cut, I used the Tim Holtz Shaping Kit to give the layers even more dimension and interest. For some great tips and tricks on working with the Shaping Kit, I highly recommend checking out Tim's Shaping Kit Demo.
After I completed the shaping, I inked the edges with a bit of Vintage Photo Distress Ink and adhered the layers using double sided foam adhesive for even more dimension.

Once I was finished with the flowers, I added some die cut leaves and used the Shaping Tools on them as well.

For the background I embossed a piece of Distress White Heavystock using the 3D Texture Fades Typewriter Embossing Folder. I then ink smooshed the paper into some Old Paper Distress Ink that I had smooshed onto my craft mat and spritzed with water. I used a heat tool to dry the ink.

To finish off the background I added some machine stitching around the outside edge. I then adhered the Brushstroke Flowers using double sided foam adhesive. The final step was to add a sentiment which I typed out using my vintage typewriter. I trimmed it size, inked the edges and attached it double sided foam adhesive.

I absolutely love the dimension and shape the Shaping Kit adds to die cuts such as these Brushstroke Flowers No. 3. Have you tried out this new tool? What did you think? I'd love to hear how you used it!
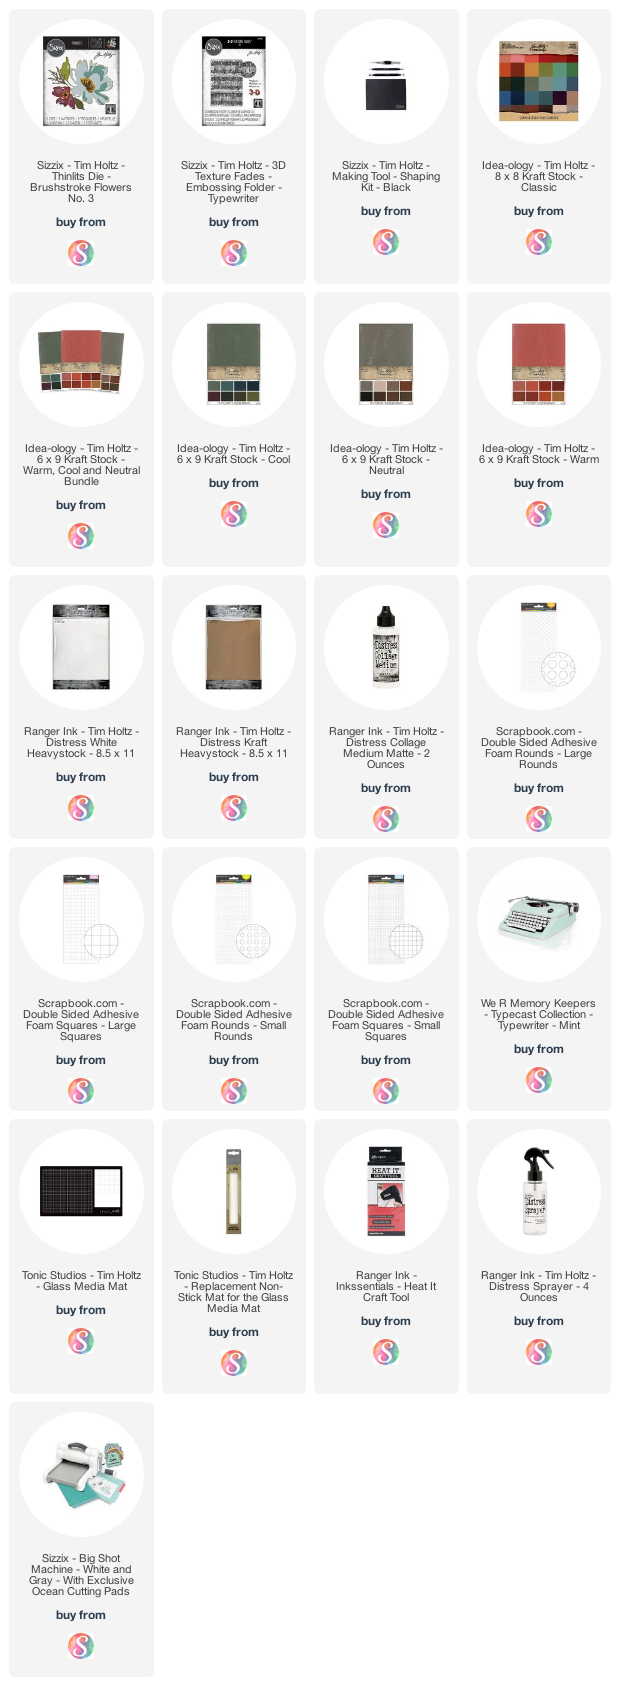
Supplies
Below you can find the products I used to create this project along with compensated affiliate links to Scrapbook.com. These links are at absolutely no extra cost to you. If you want to learn more about what an affiliate link is, you can see my full affiliate and product disclosure statement here.


No comments
Every time you smile at someone, it is an action of love, a gift to that person, a beautiful thing. ~Mother Teresa
HUGS!
JULIANA