
Hello friends! I'm so excited to share my first projects with you today featuring some of the Tim Holtz Sizzix Chapter 2 Dies. Tim shared all about them today on his YouTube Live and so I wanted to share with you how this set of cards came together using the Tim Holtz Funky Insects Thinlits.

I began by creating the insects. Anytime I play with a new die set, I almost always start by playing around and figuring out what papers and colors I want to work with for the final project. I ended up making these bugs about 3 times before finally settling on what ended up on these cards. Originally I had only planned on making one card, however when I finished the first card, I decided it would be fun to create a set of cards using all the bugs I had created!

[Bee You Card Details: Background - Peeled Paint Distress Embossing Glaze, Fossilized Amber Distress Ink, Funky Insect - Black Soot and Fossilized Amber Distress Ink]
I die cut each of the Funky Insects from Distress White Heavystock and colored the various parts by ink blending them with Distress Ink. I then cut out the wing sections from a plastic envelope. I adhered all the layers together and used double sided foam adhesive to attach them to the card.

Now that the bugs are completed, let's talk about the background. For each card, I used the Vines and Roses Stamp Set. I stamped the image onto a piece of Distress White Heavystock with embossing ink, sprinkled it with Embossing Glaze and then heat set it using an embossing heat gun.

[Fly Card Details: Background - Fossilized Amber Distress Embossing Glaze, Peeled Paint Distress Ink, Funky Insect - Crackling Campfire, Kitsch Flamingo, Peeled Paint and Black Soot Distress Ink]
I wanted to add some layers of interest, so next I took a piece of Distress White Heavystock and did a bit of ink smooshing with Old Paper Distress Ink. I then added some stamping using the Entomology Stamp Set and Distress Inks in Black Soot, Frayed Burlap, and Pumice Stone. After applying the ink, I lightly spritzed the stamp with my Distress Sprayer and then stamped the image onto the paper. I then took the Stacked Tiles Hexagons and cut out a bunch of hexagons in three different sizes.

Once the die cutting was completed, I began arranging the hexagons onto the card background until I was pleased with the arrangement.

[Bee You Card Details: Background - Weathered Distress Embossing Glaze, Fossilized Amber Distress Ink, Funky Insect - Peeled Paint and Salty Ocean Distress Ink]
I still felt like they needed a little more texture, so I die cut a piece of Distress White Heavystock using one of the following Thinlits: Wildflower Stems 1, Funky Wreaths and Wildflower Stems 3. I inked each of these with a bit of Vintage Photo Distress Ink before adhering them to the card.

To finish off each card, I used the Alphanumeric Bold Thinlits to die cut a word for each card. To give the letters dimension, I adhered a piece of black cardstock to a piece of double sided foam adhesive before die cutting each letter.

Thanks for stopping by today and I hope you enjoyed learning the process behind how I created these cards featuring the Tim Holtz Funky Insects Thinlits.
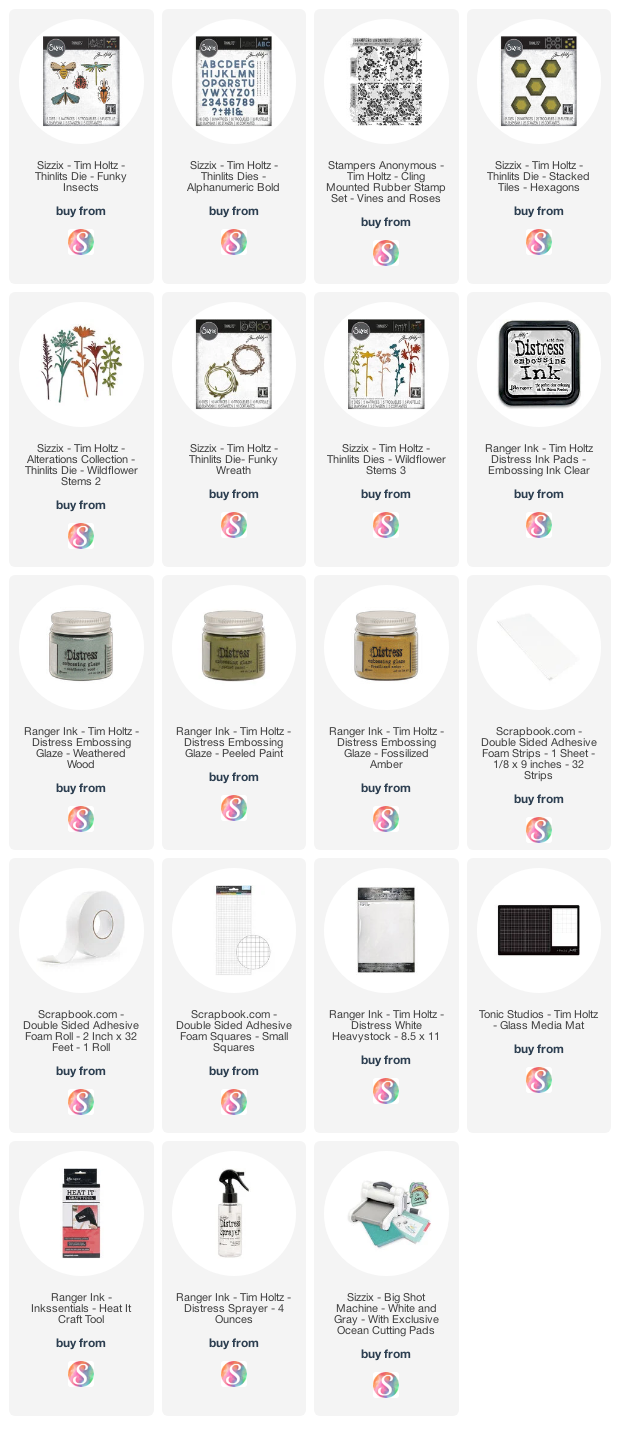
Supplies
Below you can find the products I used to create this project along with compensated affiliate links to Scrapbook.com. These links are at absolutely no extra cost to you. If you want to learn more about what an affiliate link is, you can see my full affiliate and product disclosure statement here.


Beautiful cards Juliana; I like the colors, the simplicity and the Funky Insects really 'pop' on each card. Nicely done indeed. Thank you for sharing and please stay safe.
ReplyDelete