
There are just some products that come onto the market for us crafters that are just so pretty you have to have them and play with them! Well Scrapbook.com Pops of Color is that new product for me! Pops of Color are a liquid embellishment that comes in a rainbow of colors and all but three of the colors have a pearlescent finish. They can be used to create dimensional accents or add a pop of color to just about any project. Using them to create dots of color on projects is one of their more common uses, so of course I wanted to go outside the box a bit and try using them with stencils. There was a bit of trial and error as I figured out the best way to get the BEST results, so today I'm going to share with you how to use Scrapbook.com Pops of Color with Stencils and get fabulous results every time.

When I first tried using the Pops of Color with a stencil, I assumed since this is a thick liquid-like medium that I would be able to apply it over a stencil and be done. That was not my result. The Pops of Color leaked under the stencil regardless of what stencil I used or how much medium I applied. Heavy handed or light handed, it was leaking under the stencil and "ruining" my design. So what's a crafter to do? Figure out a solution! As I mentioned, this involved a lot of trial and error and in the end I found the perfect solution!
During my testing phase, I determined the Pops of Color needed to be mixed with some other medium to thicken it just a tiny bit. The trick was finding something that wouldn't ruin the gorgeous pearlescent finish. I tried every product in my stash and finally discovered the solution...Therm O Web Decofoil Transfer Gel Duo. This gel is white when applied, but dries clear which makes it the perfect product to mix in and maintain the pearlescent finish. I tried tons of other mediums and this one gave me the best and most consistent results every time.

All you have to do is mix a bit of the Transfer Gel Duo with the color of your choice of the Pops of Color. If you want the color to be darker, just add a bit more Pops of Color while your mixing the two mediums together. When you're happy with the color, simply apply the gel over your stencil using a palette knife.
Designer Tip: Use the Scrapbook.com Silicone Craft Mat to hold your paper in place. You can then use a piece of Mint Tape to hold the stencil in place. This setup keeps your paper and stencil from sliding around as you apply the gel.

Once you have applied the gel, I recommend immediately washing your stencil with soap and water to prevent the gel from drying on your stencil. You will then need to allow the stenciled design to dry for quite awhile. I actually left mine to dry overnight, but I would think it could be dry within an hour unless you applied a super thick layer of the gel.

With the stenciled backgrounds dry, they are ready to be used for your next project. I used the Pops of Color Stenciled Backgrounds I made to create a set of Easter themed cards. Let me walk you through the rest of the steps to create each card.

I used the Pops of Color Stenciled Backgrounds I made to create a set of Easter themed cards. I added some splatters of ink to the backgrounds using a splatter stamp and Distress Ink, but you could also splatter them with ink or paint if so desired. I layered on a die cut wreath from the Funky Wreath Thinlits that I ink smooshed with Bundled Sage Distress Ink.
The next layer is one of the bunnies from the Bunny Hop Thinlits. I inked the edges of these with Spun Sugar Distress Ink and added a bit of interest with a script stamp inked up with Vintage Photo Distress Oxide that I smudged and smeared a tiny bit immediately after stamping. For a fun whimsical touch, I added a white pom-pom inked up with a little Vintage Photo Distress Ink and applied with a Zot. I then finished off each card by adding a sentiment from the Spring Shadows Stamp Set. I added some machine stitching around the edge of each panel and I then layered them onto a piece of cardstock inked with Spun Sugar Distress Ink.
Below you can take a closer look at each card I created. I'm also sharing which Pops of Color and which stencil I used for each card.
Hello Spring Card
Pops of Color: Ocean Waves
Stencil: Vintage Floral


Happy Easter Card
Pops of Color: Soft Lilac
Stencil: Teardrop Floral


Got Candy Card
Pops of Color: Bubblegum
Stencil: Botanical Sprigs


Hello Spring Card
Pops of Color: Seafoam
Stencil: Floral Confetti


Thanks for hopping by today! I hope you enjoyed learning How To Use Scrapbook.com Pops of Color with Stencils!
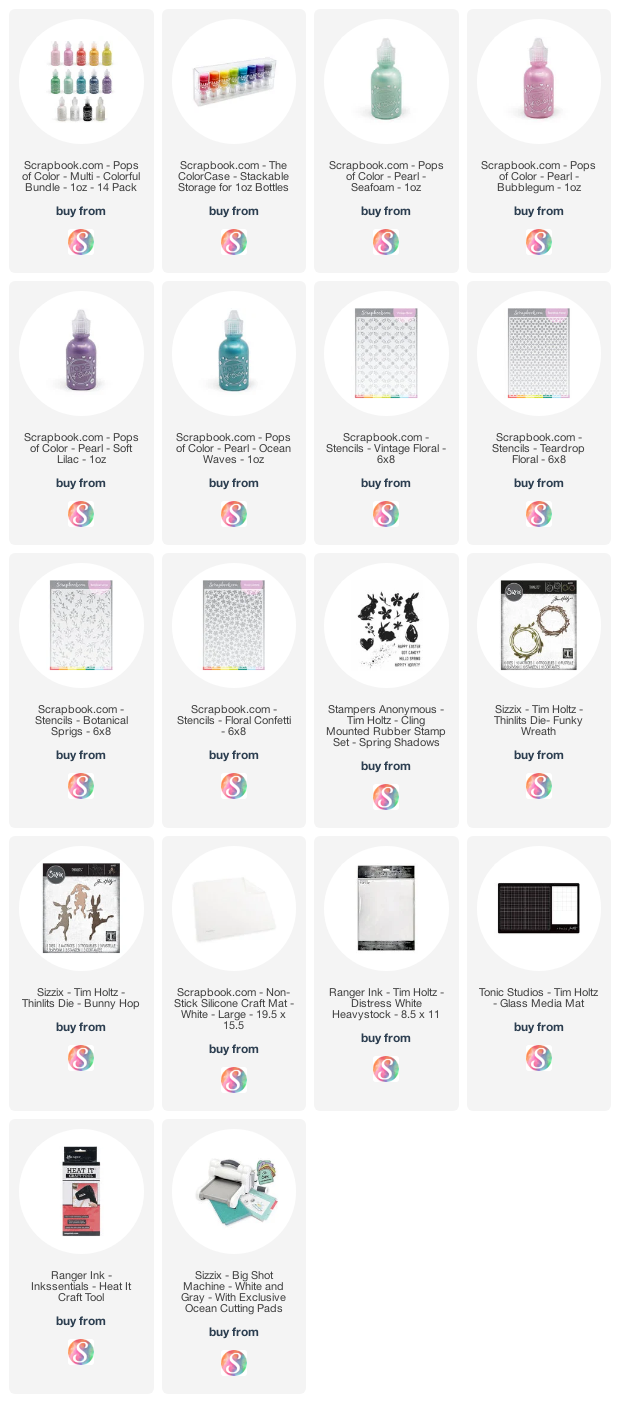
Supplies
Below you can find the products I used to create this project along with compensated affiliate links to Scrapbook.com. These links are at absolutely no extra cost to you. If you want to learn more about what an affiliate link is, you can see my full affiliate and product disclosure statement here.


Awesome cards, Juliana! Thank you for inspiring and helping us to get the most out of our supplies!
ReplyDeleteReally beautiful! I use Copic Markers to color and create my cards but have just purchased several Pops of Color to “branch out” in my abilities as a card maker. Your description and pictures were very helpful. Thanks for the post!!
ReplyDelete