Christmas is coming! As I write this post, it's only 271 days away, and of course it will be here before we know it. Last year, I failed miserably at sending out my annual Christmas cards. But, we can blame it all on COVID right?! This year, I don't think I'll have such an excuse or at least I sure hope not, so I thought it would be a good idea to begin what I'm calling my Christmas Card Head Start 2021. My plan is to start creating Christmas cards now so that I'll have a pile of them ready and waiting for me to send out at the beginning of December. Working ahead also gives me time to create one of kind cards for family and friends, play with new techniques and even better...use some stamp sets and other products that maybe haven't gotten the love they deserve.
Christmas Card Head Start 2021
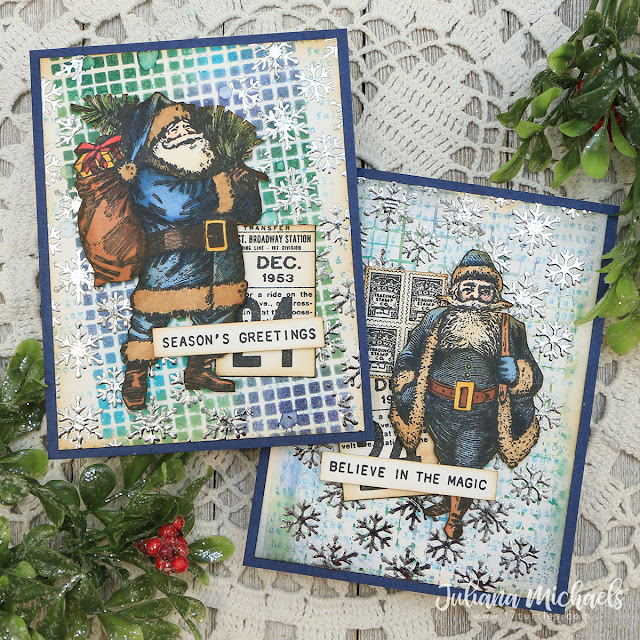
I'm beginning my Christmas Card Head Start 2021 today with these two cards. I created two Stenciled Backgrounds with Distress Ink and Foil and each one uses a slightly different technique. Let me walk you through the steps on how I created each card.
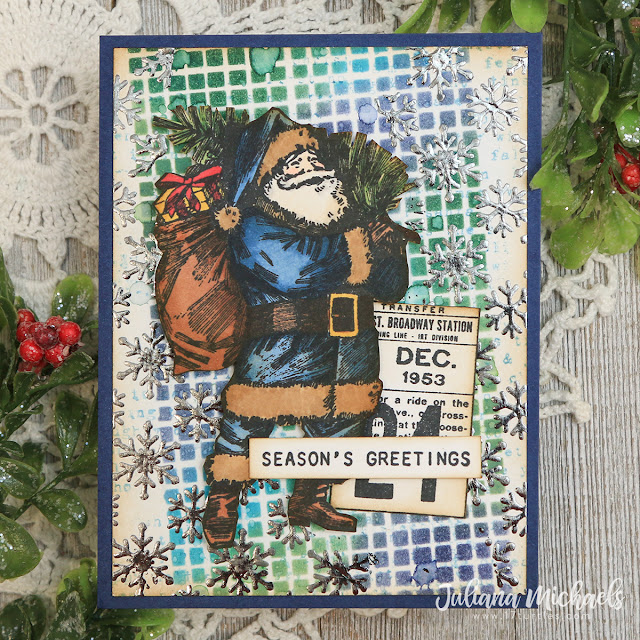
Season's Greeting Christmas Card
To create this first background I positioned the Linen Layering Stencil onto the smooth side of a piece of Distress Watercolor Paper held in place on my Scrapbook.com Nonstick Silicone Craft Mat with some Mint Tape.
Design Tip:
The Scrapbook.com Non-stick Silicone Craft Mat is really pretty awesome! I love that it can be used with inks, watercolor, acrylic paint, adhesives, heat embossing, hot glue, and more. It's perfect for protecting your crafting surface and is made of food grade silicone which makes it easy to clean, durable and heat resistant up to 475 degrees Fahrenheit. It doesn't slip around on smooth surfaces and will also lightly grip your paper which makes it wonderful for using with stencils and ink blending as I did on my projects. It 19.5" x 15.5" which was a bit too large for my taste, so I cut it in half. You can learn more about it
here.
With the paper securely in place, I inked over it with Distress Ink in Pine Needles and Chipped Sapphire and some Distress Oxide in Rustic Wilderness and Peacock Feathers.
I then spritzed it with my Distress Sprayer to create some droplets and set it to the side to dry. After creating this background, I actually created the background for my second card using the ink that was left over on the stencil. For now, I'm going to continue explaining how this first card came together but I will explain how I created the second card background below.

Next, I applied ThermOWeb Deco Foil Transfer Gel over the Flurries Layering Stencil. I immediately washed the stencil to prevent the gel from drying on the stencil. I then set the piece to the side to allow the gel time to dry. Once dry, I covered it with a piece of Pewter Deco Foil and ran it through my Minc to apply the foil to the gel. To decrease the shine of the foil and give it slightly aged effect, I lightly rubbed steel wool over the surface. If you don't have any of the products for foiling, you can also use embossing powder to achieve a similar effect! Simply apply embossing ink over the stencil, remove the stencil, tap off any excess powder and heat emboss it using a heat gun.
Continuing with the background, I wanted to add a little more interest so I stamped the text stamp from the Stripes and Holiday Stamp Set onto the background using Tumbled Glass Distress Ink. I then finished off the background by inking the edges with Vintage Photo Distress Ink.
To embellish the card, I stamped then Santa and ticket images from the Vintage Holidays Stamp Set. I colored the Santa with Copic Markers, fussy cut both images and then inked the edges of both pieces with Vintage Photo Distress Ink. I then finished it off with a sentiment from the Tiny Text Christmas Stamp Set. For the final step, I adhered the entire panel onto a piece of cardstock ink blended with Chipped Sapphire Distress Ink to coordinate with the rest of the card.
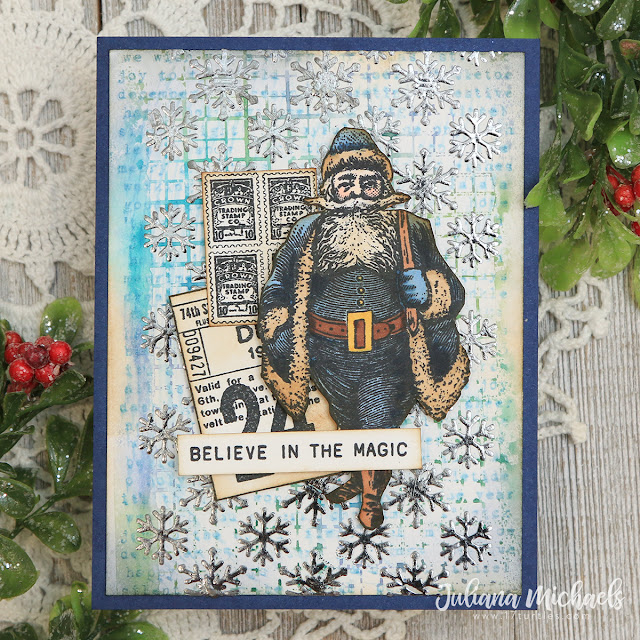
Believe In The Magic Christmas Card
Now let me share we you what I did with that inky stencil from my first card. As I mentioned earlier, the stencil had some ink on it, so I gave it a light spritz with my Distress Sprayer and then stamped it onto a piece of Distress White Heavystock. You could also do this on the smooth side of a piece of Distress Watercolor Paper. While the stencil was still on the paper, I dabbed it with a paper towel to dry up any ink that leaked under the stencil.
I was inspired to give this technique a try after watching the recent
Tim Holtz YouTube Live on Distress Sprays. Doing it with Distress Ink, gives you a less bold image as compared to using Distress Spray, but I actually ended up loving the effect.
As on the first card, I applied ThermOWeb Deco Foil Transfer Gel over the Flurries Layering Stencil. This time, I applied it over the center of the background and then followed the same steps as I did on the first card.
With the foiling completed, I then added a little more interest by once again stamping the text stamp from the Stripes and Holiday Stamp Set onto the background using Tumbled Glass Distress Ink. I then finished by inking the edges with Vintage Photo Distress Ink.
For the embellishment on this card, I stamped the Santa from the Yuletide Stamp Set and the stamps and ticket from the Vintage Holiday Stamp Set. Once again, I colored the Santa with Copic Markers, fussy cut all of the images and then inked the edges with Vintage Photo Distress Ink. The final addition was a sentiment from Tiny Text Christmas Stamp Set.
I hope you enjoyed this bit of Christmas card inspiration and that it gets you thinking about getting ready to begin your own Christmas Card Head Start 2021. Feel free to join me on social media using the hashtag: #christmscardheadstart2021. I'd love to see what you create!
Supplies
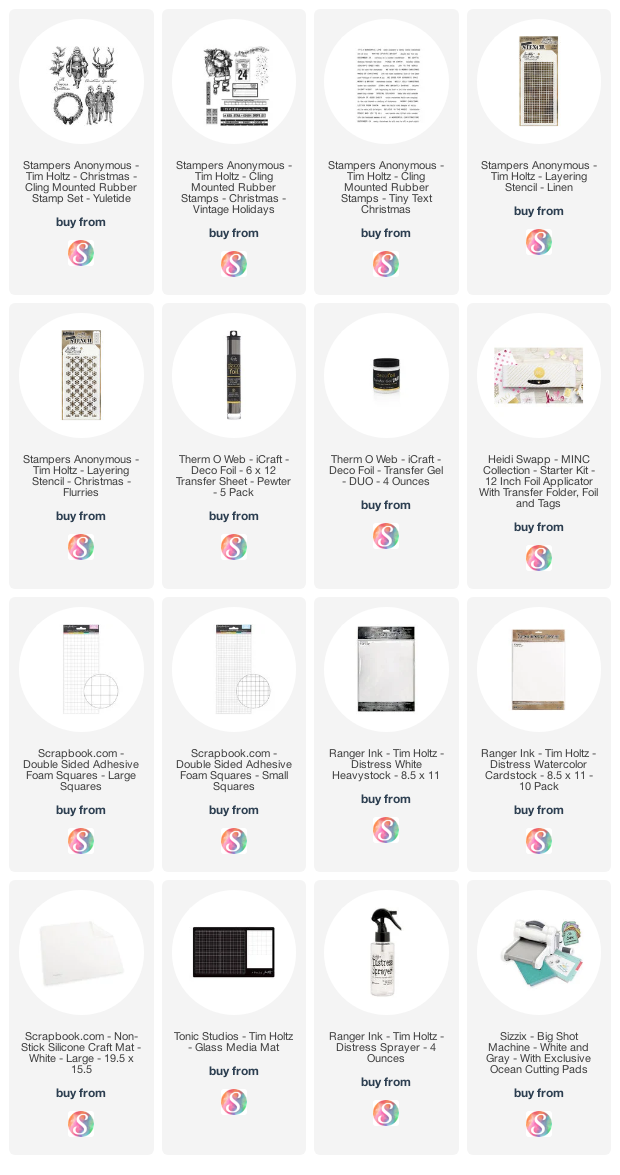
Below you can find the products I used to create this project along with compensated affiliate links to
Scrapbook.com. These links are at absolutely no extra cost to you. If you want to learn more about what an affiliate link is, you can see my full affiliate and product disclosure statement
here.


Merry EARLY Christmas my friend. These cards are fantastic. I LOVE those stamps. Photos look GREAT!!!
ReplyDeleteThese cards are wonderful! I really like your plan to have those Christmas cards ready to go by December. I think it is a really good idea because I will get to use the fun stuff I didn't use last year!
ReplyDeleteBeautiful cards Juliana! love all the techniques you shared - the foiling looks super!
ReplyDeleteThat's a fantastic idea! Start super early so you're not overwhelmed during the holiday season. I'm actually going to do this! Thank you, Juliana.
ReplyDeleteBoth cards are gorgeous!! Tfs.