Today I'm switching gears and will be starting to share some of the Christmas makes I created for the Tim Holtz Sizzix Chapter 4 Release. This Making Spirits Bright Christmas Tag is one of my recent favorite makes with it's nod to Winnie the Pooh. I couldn't resist dressing Gertrude up with a Santa hat so that she was ready to start handing out presents to all those who are on the nice list this year!
The base of this project is a Tim Holtz Etcetera Mini Tag Thickboard. I first took a piece of Bristol Smooth Paper and trimmed it to the size of the tag. I then stamped it with the word stamp from the Stripes and Holiday Stamp Set using embossing ink and heat embossed it with white embossing powder. If you look closely you will see that I only stamped parts of the stamp toward the corners of the paper. After the embossing was completed, I ink blended over the entire piece of paper using Tumbled Glass. This piece was then adhered to the tag using Distress Collage Medium. I then inked the edges with Vintage Photo Distress Ink. To distress the edges of the tag, I applied Distress Crackle Paste with my finger. By inking the edges before applying the Crackle Paste, the color will soak through the paste and add a grungy color to the paste. While I had the Crackle Paste out, I also applied it to a couple of the Etcetera Scallop Trims. These were also inked beforehand with Vintage Photo Distress Ink.
While the Crackle Paste was crackling and well actually over several days, I took my time assembling the Gertrude and Toyland Colorize Thinlits. With each die set, I cut all of the pieces from watercolor paper and used my trick for coloring each of the pieces. After die cutting, I adhere Purple Tape (any low tack tape will work) to the back side of the paper and place the die cuts back into place. I then ink blend each piece with the desired ink colors. For a list of the Distress Ink color I used for the die cuts see below.
Gertrude: Walnut Stain, Vintage Photo, Tea Dye, Wild Honey, Rusty Hinge, Gathered Twigs, Antique Linen, Black Soot, and Worn Lipstick. Once assembled the edges were inked with Vintage Photo.
Toyland: Walnut Stain, Vintage Photo, Gathered Twigs, Black Soot, Mustard Seed, Fossilized Amber, Peeled Paint, Forest Moss, Festive Berries, Aged Mahogany, and Barn Door. Once assembled the edges were inked with Vintage Photo.
Winter Wardrobe (Santa Hat and Holly): Peeled Paint, Forest Moss, Festive Berries, Aged Mahogany, and Barn Door. Once assembled the edges were inked with Vintage Photo.
Mini Holiday Greens: Forest Moss, Peeled Paint and Barn Door.
Of course, Gertrude had to be wearing a Santa hat since she was going to be giving out presents. I used the Winter Wardrobe Thinlits which Tim so cleverly sized to fit the animal characters. I did a little bit of surgery to make the hat fit properly by trimming off a bit on the ends.
As I progressed with creating this tag, I felt like it needed something more to balance the design. I came up with using various die cuts from the Mini Holiday Greens Thinlits to create a cluster in the upper right hand corner. I then added an Idea-ology Christmas Token and brad.
Distress Ink Colors Mini Holiday Greens: Forest Moss, Peeled Paint and Barn Door.
To finish off the project I added a Quote Chip to the bottom trim pieces. I sanded the edges and inked it with Vintage Photo Distress Ink before I adhered it using Distress Collage Medium.
Supplies
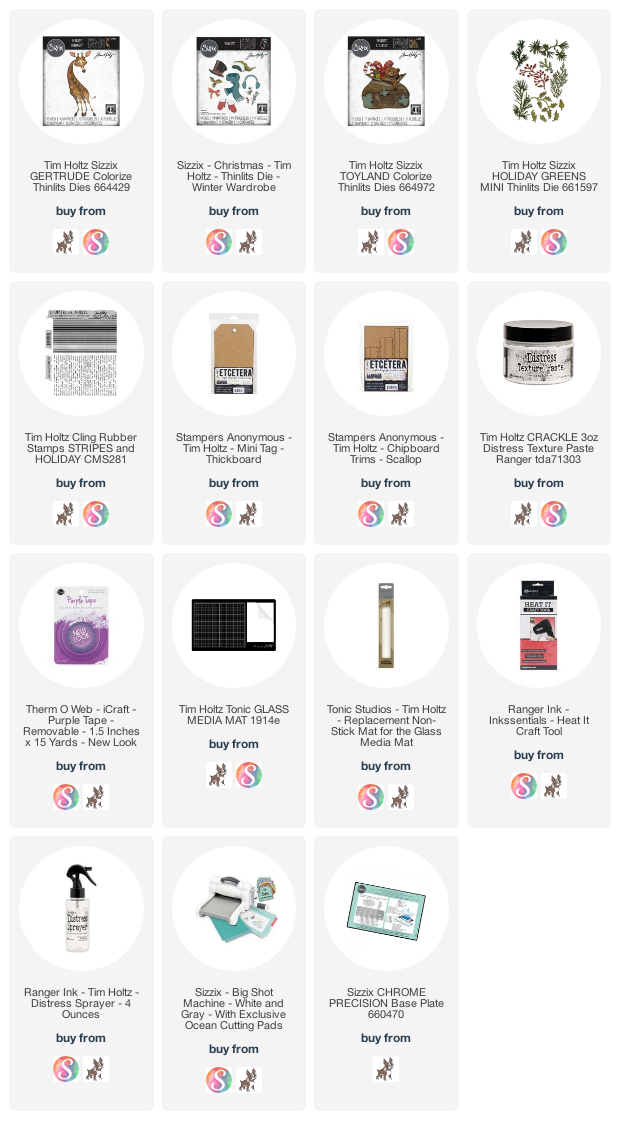
You can find a supply list of the products I used to create this project below. This post contains compensated affiliate links to Scrapbook.com or Simon Says Stamp at no cost to you. If you want to learn more about what an affiliate link is, you can see my full affiliate and product disclosure statement here.


this is just wonderful - I love the blue background with the embossing and then Gertrude is awesome with her Santa hat on! thank you for the inspiration!
ReplyDeleteThis is a favorite of mine, too...thanks for your thoughts on how you progressed through the steps on making this...especially like the patches on the Santa Bag and with the little xxx's. And Gertrude looks fabulous with her Santa Hat on....
ReplyDelete