
Hi friends! Today I'm sharing a new to me product...Scrapbook.com Exclusive Sticker Paper. I'll admit when I first learned about it, I wasn't sure how I was going to use it. All I knew was that you could print on it with your inkjet printer and make your own stickers. Well, you might find this hard to believe, but I don't own an inkjet printer. Not having the ability to print, got my mind to wondering how else I could use this sticker paper. My first thoughts was to try it with one of my favorite products...stamps and coordinating dies. To my surprise it worked wonderfully!


After I finished all the inking and distressing, I die cut the image using the coordinating die. I now had a ginormous sticker to adhere to the front of my card! I peeled off the adhesive liner, but instead of just sticking it down onto the background, I decided to make it a little less sticky. I'm sure you're wondering why I would want to make it less sticky. The reason is simple. I like having a little depth and dimension on my cards and to place the sticker flat onto the card just didn't fit my style. To reduce the stickiness, I rubbed over the back side of the sticker on the outer edge. By removing the stickiness the sticker no longer lays completely flat and I now have a little dimension without adding any bulk to my card.

Some final details on this card: The background was created using the Confetti Stencil. I inked through it using an Ink Blending Tool. The sentiment was created using the Scrapbook.com Thank You Sentiments Decorative Die Set.
I hope you enjoyed learning more about Scrapbook.com's Exclusive Sticker Paper. For more fabulous ideas check out the project ideas for Scrapbook.com Sticker Paper. You will find ideas from using it to create labels to organize your ink pads to using it in your planner.
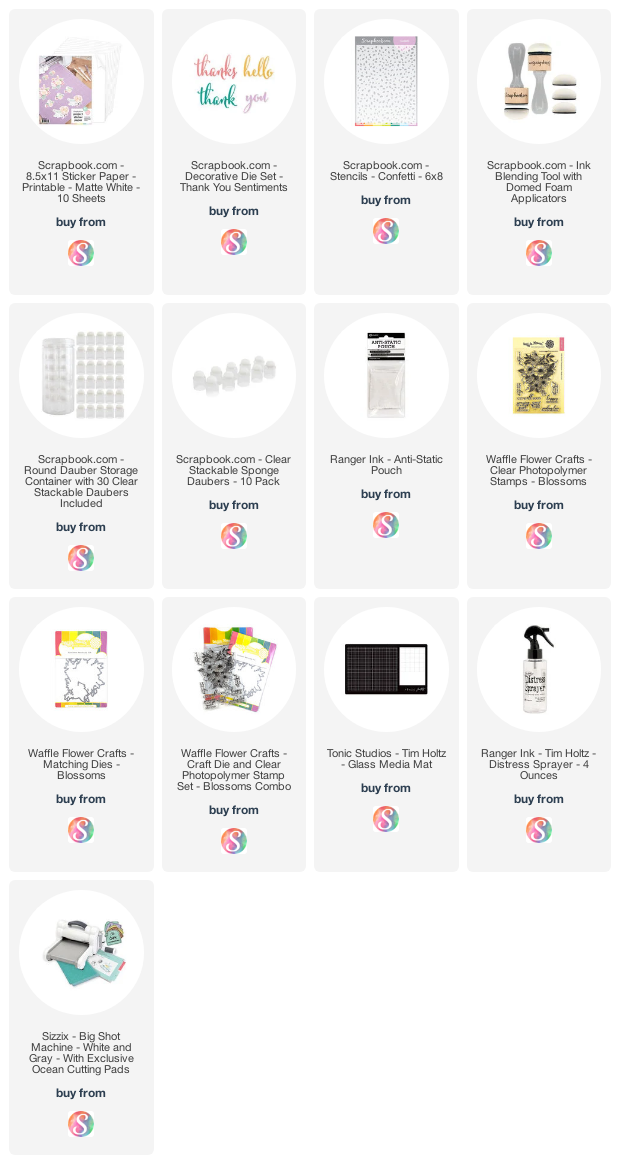
Supplies
You can find a supply list of the products I used to create this project below. This post contains compensated affiliate links to Scrapbook.com at no cost to you. If you want to learn more about what an affiliate link is, you can see my full affiliate and product disclosure statement here.


No comments
Every time you smile at someone, it is an action of love, a gift to that person, a beautiful thing. ~Mother Teresa
HUGS!
JULIANA