
It's not quite fall here yet, but between the slightly cooler temperatures we've been having, the return of Pumpkin Spice Lattes AND the release of the new Tim Holtz Distress Color Crackling Campfire, I'm definitely getting in the mood for fall. Thank you once again to Tim and Mario for kindly sending me the new products to play with.

Crackling Campfire Distress Just One Life Card
When I sat down and started creating with Crackling Campfire, I wasn't totally sure where the creative play was going to take me. I made a couple of backgrounds and extra elements that I didn't end up using on this card. Trust me though, they did not go to waste and I ended up using them to create a second card that I'll share some other time. For today, I'm going to share the first card I finished and it's definitely all about the Crackling Campfire!

To start, I began by spritzing a piece of watercolor paper with Crackling Campfire Distress Spray. I then smooshed the Crackling Campfire Distress Ink Pad onto my craft mat, spritzed it with water and them dabbed my paper into the ink. Between each dab, I dried the paper with my heat tool. I also did a little Distress Sprayer spritzing (with water) as well.

The next step was the addition of some heat embossing. I placed the Script Layering Stencil on top of the inked background and dabbed embossing ink over section of the stencil. I then sprinkled it with Crackling Campfire Embossing Glaze and heat embossed it. To bring out the design, I rubbed a bit of Walnut Stain Distress Crayon around the embossed areas and rubbed it in with my finger. I then used a paper towel to remove any excess and bring back the shine on the embossed areas. The final step for the background was to ink the edges with some Walnut Stain Distress Ink.
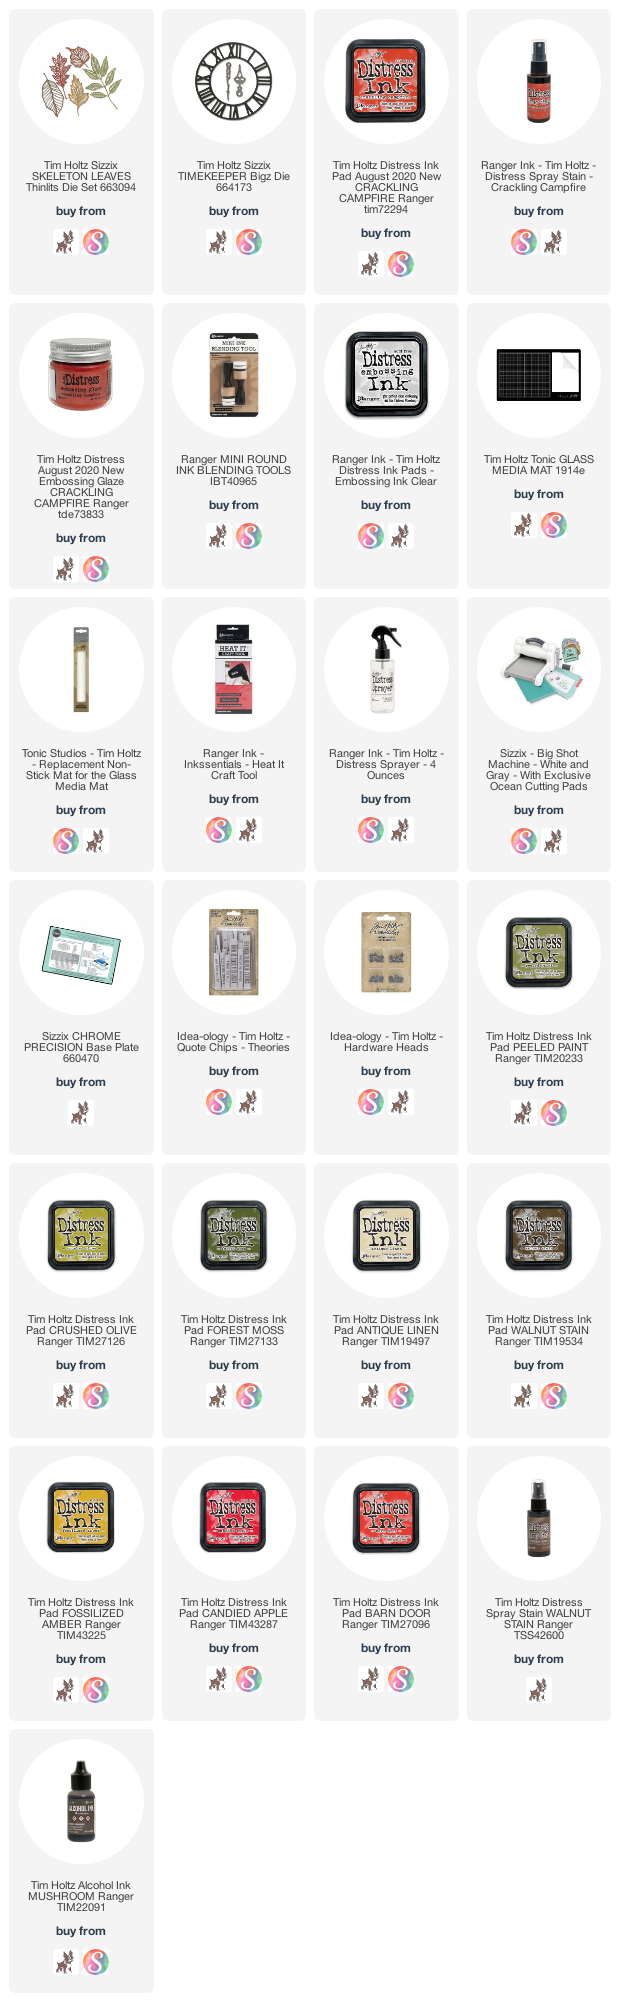
After I finished the background, I started making the leaves. I knew I wanted something with a fall theme and what says fall more than colorful leaves?! The leaves are cut from Bristol Smooth Paper using the Thinlits Skeleton Leaves Dies. I like to ink my paper after I die cut it, however inking these really delicate shapes is quite challenging. Here is a little trick I use to help make this super easy. After you die cut your shapes, place a piece of Therm O Web Purple Tape or masking tape on the back side. If the die cut falls out of the cut paper, just pop it back in place and add the tape. I then ink blended the die cuts with the selected colors using a foam blending tool. For the the leaves on this card I used the following Distress Ink color: Antique Linen, Fossilized Amber, Barn Door, Candied Apple, Forest Moss, Crushed Olive, Peeled Paint.

These images don't show the exact color I used on this card, but this is one of the extras I mentioned that made it onto another card.

To add a bit more distressing, I did some ink smooshing on my craft mat and then dried them with my heat tool. On a few of the leaves, I spritzed them entirely with water and dabbed off the excess ink with a paper towel to lighten the colors, as they were a bit too intense for my liking.

Once the leaves were colored, I felt like the design still needed a little something. That's when I had the idea to add the Bigz Timekeeper Die. I cut it from a piece of Bristol Smooth Paper and a thin piece of chipboard. I adhered these together to give it a little more dimension and then inked the paper with Antique Linen and a touch of Walnut Stain Distress Ink. I then trimmed off the edge so it would fit on to the card.
For the final touches, I added some hand stitching to "attach" the clock to the background. I used jute twine that I dyed with Walnut Stain Distress Ink. To make this less messy, I put the jute into a plastic zip bag and sprayed it with the ink. This kept the ink off of my fingers and I used the bag to move the jute around until it was completely covered in ink. I then removed it from the bag and dried it with my heat tool.
Last but not least, I added a Quote Chip with the saying "Just One Life". To dress it up, I inked the edges with Walnut Stain Distress Ink and added some alcohol inked Hardware Heads.

Supplies
You can find a supply list of the products I used to create this project below. This post contains compensated affiliate links to Scrapbook.com and Simon Says Stamp at no cost to you. If you want to learn more about what an affiliate link is, you can see my full affiliate and product disclosure statement here.


A really beautiful card, Juliana!!!!
ReplyDeleteLove this, and the clock face is a perfect symbol for the time of year and leaves.
ReplyDeleteThis is absolutely wonderful! I saw on THA and had to stop by to tell you. Looking forward to looking at your tutorial!
ReplyDeleteWow awesome work! Love your step by step tutorial!
ReplyDelete