
Hey crafty friends! I don't know about you, but this is my favorite crafty time of the year. All the fabulous new holiday and Christmas themed products are becoming available and that always gets me in the mood for holiday crafting. Today I'm sharing a Joy Snowflake Christmas Card featuring the exclusive Snowflake Winter Wishes Die from Scrapbook.com. Keep reading to learn how it all came together, as well as how I altered this die cut to create my own custom design.


To remove the banner, I simply flipped the die upside down and placed it on top of the die cut I had just cut. I used a piece of tape to hold the die and paper in place as I ran it half way through my die cutting machine. Yes, you read that correctly. I only ran it half way through so that only the banner part is cut off. If you run it all the way through it will cut off the bottom of the snowflake. This die worked perfectly for this little trick because it is the same on both the left and right side.

As you can see, I now have a snowflake with no banner. To give it a bit of shimmer, which you can't really see in the photo, I coated the paper with a layer of Smart Glue. I used my finger to smooth out the glue and cover the surface. While it was still wet, I poured Distress Rock Candy Glitter over it, gently patted it to make it stick and then tapped off the excess.

Once the glue was dry, I added the banner and sentiment. The Snowflake Wishes Die comes with a separate banner die that I used to cut a piece of plaid paper and create a banner for the center of the snowflake. To jazz up the banner even more, I added a the word Joy die cut from Gold Metallic Kraft Stock using the Tall Skinny Alphabet Dies. I then finished it off with a sticker sentiment from the Classic Christmas Sticker Book. To give the sticker and banner a more vintage feel, I inked the edges of both before adhering them with Vintage Photo Distress Ink.

To complete the card, I layered the snowflake onto a couple pieces of patterned paper. I added a bit of machine stitching to the edge of the top layer and inked the edges of both with a little Vintage Photo Distress Ink before adhering everything together.

I hope you enjoyed learning how this Joy Snowflake Christmas Card came together.
Now that you've learned this fun technique on how to alter a die, I thought you might like to know that Scrapbook.com is having a huge Die Cutting Sale!
Shop and SAVE on your Die Cutting needs from machines to dies and more. These super low prices only last through Monday, September 21st at midnight MST, so stock up today.
Shop and SAVE on your Die Cutting needs from machines to dies and more. These super low prices only last through Monday, September 21st at midnight MST, so stock up today.

*Re-Design, Rina K, Gina K, Lawn Fawn, My Sweet Petunia (MISTI), and Scrapbook.com 'Handmade Essentials' Stamp Set (SKU sbc-ds19-7) are excluded from all discounts and promotions.
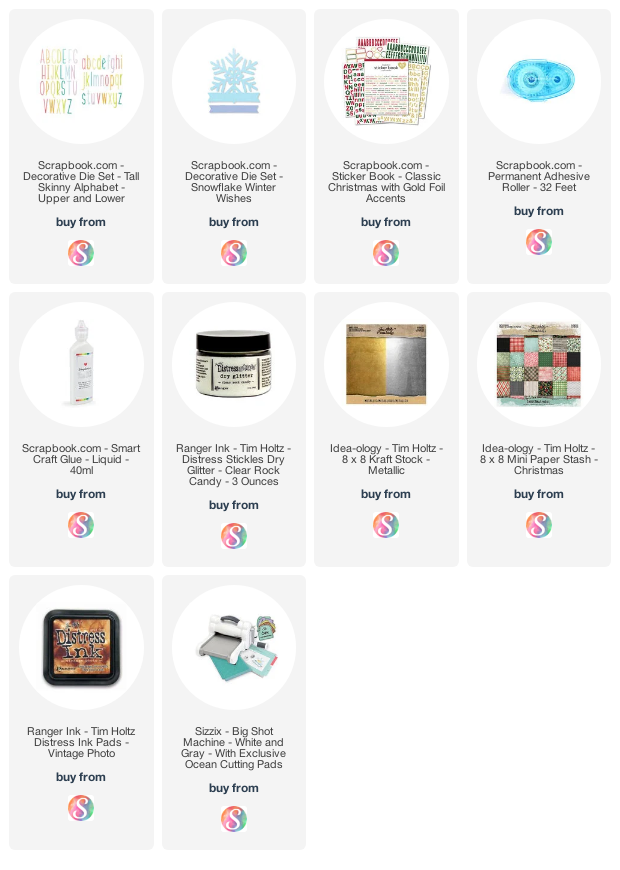
Supplies
You can find a supply list of the products I used to create this project below. This post contains compensated affiliate links to Scrapbook.com at no cost to you. If you want to learn more about what an affiliate link is, you can see my full affiliate and product disclosure statement here.


This is such a lovely design. Serene yet eye-catching, elegant and playful at the same time. It's also a modern classic and just the thing to send/give for a multitude of wintertime occasions.
ReplyDeleteAutumn Zenith 🎃 Witchcrafted Life