Merry Embroidery Hoop | Tim Holtz Sizzix Christmas

Today I'm continuing the Christmas theme and sharing a home decor piece I made using an embroidery hoop. I created this Merry Embroidery Hoop for the recent Tim Holtz Sizzix Chapter 3 release. You may have seen this featured during Tim's Facebook live, but if you happened to miss it you can still check it out either on Facebook or Tim's Blog.

Merry Embroidery Hoop by Juliana Michaels featuring Tim Holtz Sizzix Merry and Bright Thinlits and Festivities Bigz Dies

This Merry Embroidery Hoop features the Festivities Bigz Die and Merry and Bright Thinlits Dies.


To begin, I took an 8 inch wood embroidery hoop and gave a good distressing! I used my finger to paint the wood parts of the embroidery hoop with Walnut Stain Distress Paint. Once the paint was dry, I again used my finger to paint on some Crackle Texture Paste. This I applied in random areas on the wood parts of the hoop but with the hoop pieces together. After all the crackly goodness was complete, I added some Vintage Photo Distress Crayon to bring them out. I recommend working in small sections before the crayon has time to dry and you can use either your finger or even a small stencil brush to work the crayon into the cracks.


You would normally have some sort of cloth inside of an embroidery hoop, but I decided to go with Christmas themed patterned paper instead. I used the outside of the hoop as a template to trace and then cut out a piece of chipboard. I then adhered a piece of paper from a past Christmas Paper Stash to the chipboard using Distress Collage Medium. I then trimmed off the excess and inked the edges with Vintage Photo Distress Ink. I then adhered this to the back side of the embroidery hoop using Collage Medium.


Merry Embroidery Hoop by Juliana Michaels featuring Tim Holtz Sizzix Merry and Bright Thinlits and Festivities Bigz Dies

Merry Embroidery Hoop by Juliana Michaels featuring Tim Holtz Sizzix Merry and Bright Thinlits and Festivities Bigz Dies

Now for the die cutting! To create the beautiful poinsettia, I used the new Festivities Bigz Die. I cut the flower two times from red felt and layered it together to give it more dimension. I then stitched three Idea-ology Tiny Bells to the center. The felt I used to create this was inexpensive felt from my local craft store. Most of this type of felt is rather thin and flimsy, so to make it more stiff, I adhered the felt to a sheet of double sided adhesive. I then peeled off the liner and adhered this to a piece of 110 pound cardstock and then die cut the various shapes. This is the wonderful thing about Bigz dies...they can cut through all different kinds of materials and thicker items. The leaves are also cut from two different colors of green felt using the same technique I used for the poinsettia. If you do happen to have real wool felt, you could probably skip this step as that sort of felt is usually thicker and holds its shape better.

Merry Embroidery Hoop by Juliana Michaels featuring Tim Holtz Sizzix Merry and Bright Thinlits and Festivities Bigz Dies

Merry is die cut from the gold paper in the Metallic Kraftstock using the Merry and Bright Thinlits Die. I cut it out several times and glued the layers together to give it more dimension.

Merry Embroidery Hoop by Juliana Michaels featuring Tim Holtz Sizzix Merry and Bright Thinlits and Festivities Bigz Dies

The final touch for this Merry Embroidery Hoop was the vintage crinkled bow. I took Hug Snug Seam Binding Ribbon and dyed it using Aged Mahogany, Vintage photo and Festive Berries Distress Stain. I sprayed the different colors of ink onto the ribbon, spritzed it with just a bit of water, wrinkled it up into a ball and then used my heat gun to dry it. Viola...beautiful vintage looking crinkled ribbon!


Merry Embroidery Hoop by Juliana Michaels featuring Tim Holtz Sizzix Merry and Bright Thinlits and Festivities Bigz Dies

Thank you for stopping by today. I hope you enjoyed learning how I created this Merry Embroidery Hoop to add to your upcoming Christmas home decor.
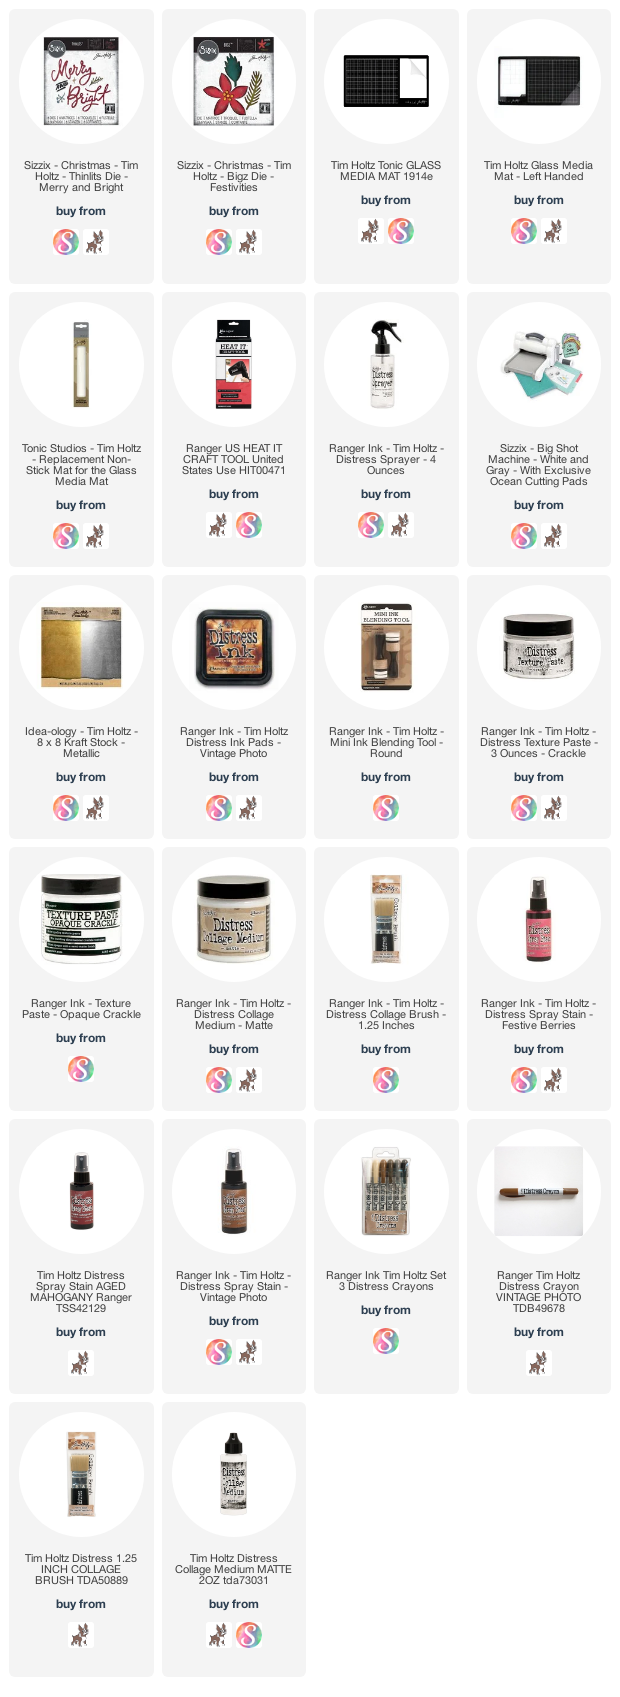
Supplies

You can find a supply list of the products I used to create this project below. This post contains compensated affiliate links to Scrapbook.com and Simon Says Stamp at no cost to you. If you want to learn more about what an affiliate link is, you can see my full affiliate and product disclosure statement here. The products I used to create this project are a mix of products I purchased myself and products I received as compensation for creating for the Tim Holtz Sizzix Chapter 3 Release.

1 comment

  1. I love this project Juliana. It's simple but beautiful and I love that you cut the felt with the big dies...makes it so easy to copy.

    ReplyDelete

Every time you smile at someone, it is an action of love, a gift to that person, a beautiful thing. ~Mother Teresa

HUGS!
JULIANA

Subscribe