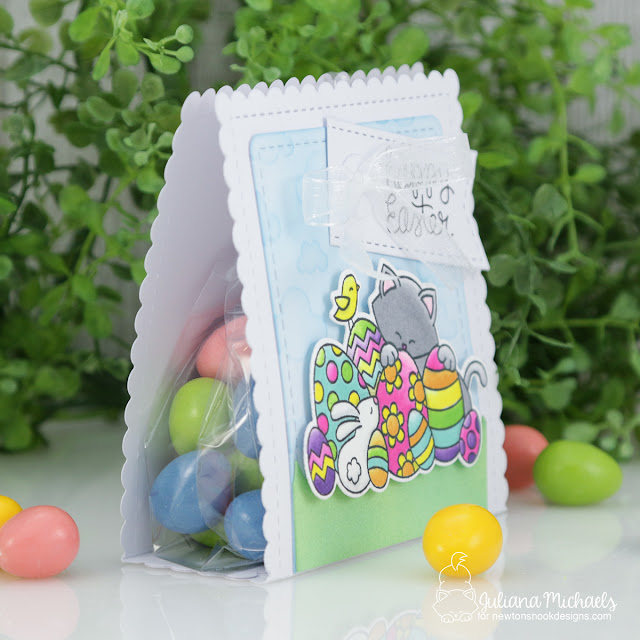
Hello Friends! Easter will be here soon and I for one am super excited that the Easter Candy is now available! My personal favorite are Reese's Easter Eggs and I've been known to hoard bags of them and eat on them for months after Easter has come and gone! Although Easter is about more than just the candy, it is fun to share these sweet treats with family and friends. While trying to think of a fun way to do this, I had a light bulb moment to create an Easter Treat Bag using Newton's Nook Designs Frames and Flags Die Set. And who doesn't love getting more out of their dies and using them in unexpected ways?! To learn how I created this Easter Treat Bag, keep reading for all the details!
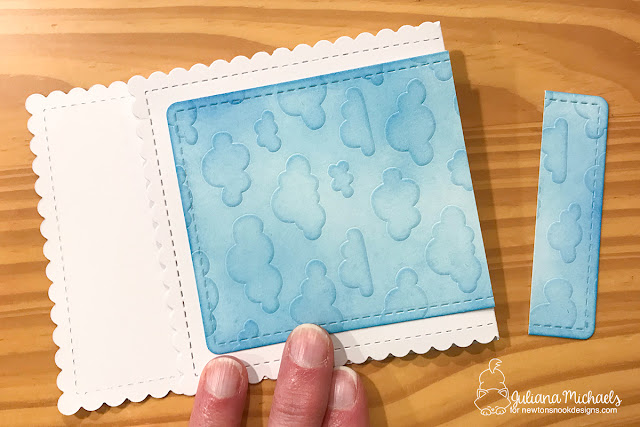
To get started, die cut 2 scalloped frames using the large die from the Frames and Flags Die Set. Score each piece at 4 inches and fold along the score lines.
Overlap them slightly, making sure to line up the scallops, and adhere them together.
Next, die cut a panel using the smaller frame from the Frames and Flags Die Set. Dry Emboss it using the Cloudy Sky Stencil and your manual die cutting machine. (I use a Spellbinders Platinum 6 and just follow the instructions the come with the machine on how to layer the pieces and what platforms to use.) Apply Distress Oxide Ink using a foam blending tool to bring out the embossed design. Adhere this piece to the front of the treat bag and trim off the excess.
Layer on a piece of die cut grass using the grass die from the Lawn Borders Die Set. Stamp, color and die cut your image and adhere using double sided foam adhesive. For my Easter Treat Bag, I used one of the images from the Newton's Easter Basket Stamp Set.
Punch a 5/16 inch hole in the center top of the front of the treat bag. Die cut the tag hole using the Fancy Edges Tag Die Set from white cardstock and adhere over the punched hole.
Use a 1/8 inch punch to create 2 holes in the back of the treat bag. Thread a piece of ribbon through the holes.
Place your favorite candy, in my case it's Reese's Easter Eggs, in a cellophane bag and tie the ribbon around the bag to close it. Trim off any extra from the top of the bag.
Close the treat bag and thread the ribbon through the hole in the front of the treat bag. Thread the ribbon through a small tag with the sentiment and then tie a bow.
Your treat bag is now ready to give to friends and family as you celebrate Easter!
I hope you enjoyed learning how to create this Easter Treat Bag and also how to think outside the box a bit, when it comes to using your dies for something different than their intended purpose!


No comments
Every time you smile at someone, it is an action of love, a gift to that person, a beautiful thing. ~Mother Teresa
HUGS!
JULIANA