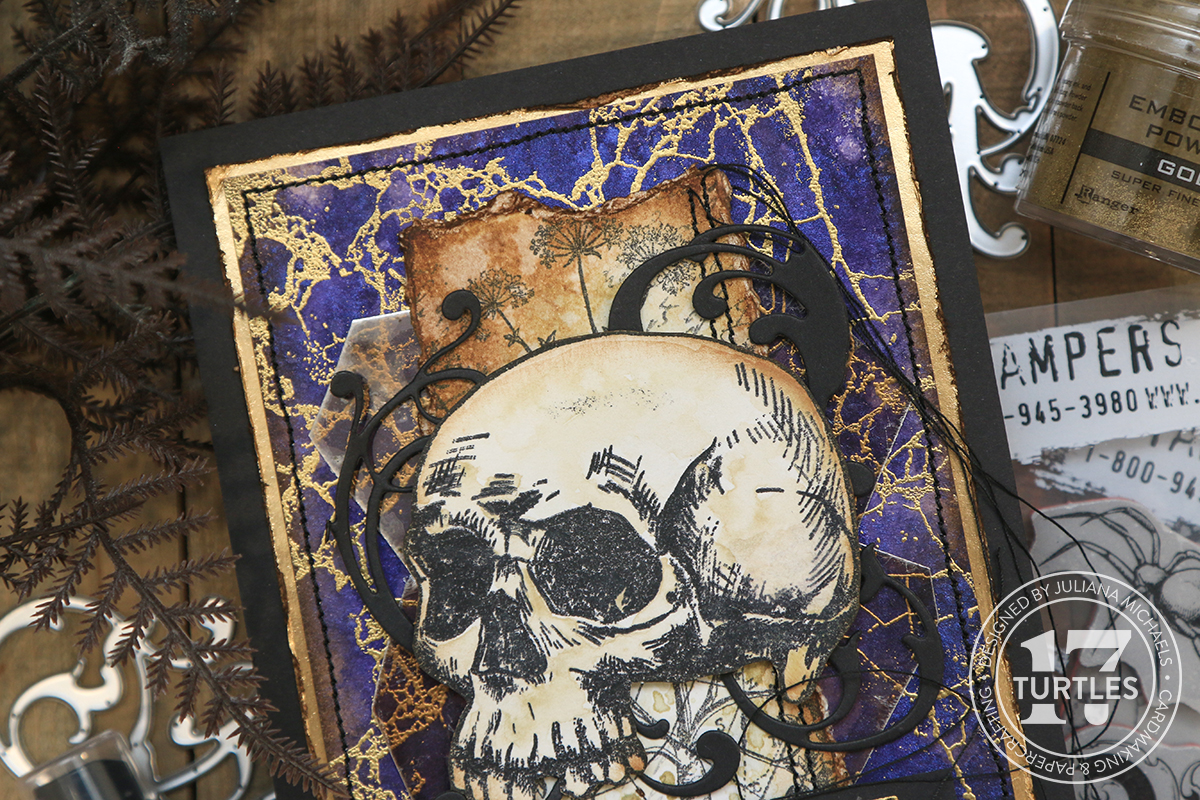
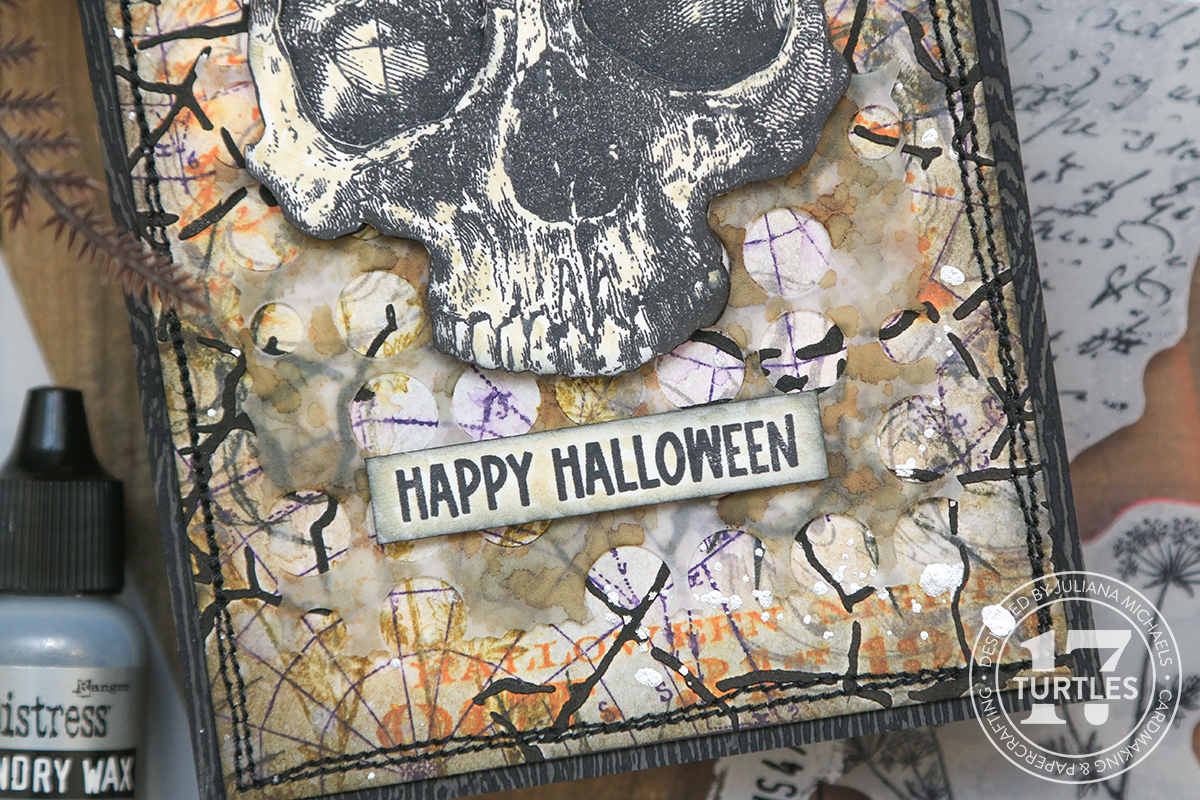
Hello Crafty Friend! Thanks for stopping by today. In this blog post I'm sharing how I created this Halloween Card for the Tim Holtz Stampers Anonymous Halloween 2023 Live. I'm going to take you step by step through all the wonderful layers that came together and the process I went through to create the final version of this card.

If you prefer a video format, you can watch the process below or over on my YouTube channel.
If you're interested in the supplies I've used, you can find links to them in the description box below. When you shop through those links it supports me and I really appreciate that so very much! There is also a blog post available with written details and more photos if you prefer a that.
Now let's get on with the making.
STAMP AND SMUDGE TECHNIQUE
I started by creating the background for this card using the Stamp and Smudge Technique. I used the Tim Holtz Stampers Anonymous The Obscure and Foreboding stamp sets. These are some of my favorites from this release! I also used Distress Oxide Inks in Forest Moss, Carved Pumpkin, Villainous Potion, Black Soot and Hickory Smoke.I began by placing a piece of Distress Watercolor cardstock cut to 4 x 5.25 inches into my stamping platform and began stamping that super cool spider web image from The Obscure Stamp Set. I inked the stamp with Villainous Potion Distress Oxide Ink, stamped the image and then while the ink was still wet, I used a paper towel to dab some of the ink dry and then used that same paper towel to smudge the ink by lightly rubbing over the stamped image. Next I used the same technique and stamped the weed image using Forest Moss Distress Oxide Ink. I then used Carved Pumpkin Distress Oxide Ink to stamp three more images and to help spread that color across the background. The next images I used were the two flourishes from the Foreboding stamp set with Hickory Smoke Distress Oxide Ink. The final stamp and color was the creepy spider stamped with Black Soot Distress Oxide Ink.

BLACK OPAQUE TEXTURE PASTE
The background was good at this point, but I felt like it needed more texture. I placed the Fractured Stencil toward the upper left hand corner and applied Black Opaque Distress Texture Paste through the stencil using a palette knife. I then carefully lifted off the stencil, flipped it around and applied some paste to the bottom right hand corner. I carefully removed the stencil, set the paper to the side to dry and immediately washed my stencil.THE OBSCURE EMBELLISHMENTS
While the paste was drying, I move on to the embellishment layers. I stamped the skull image onto Distress White Heavystock using Black Soot Archival Ink and used a pair of detail scissors to fussy cut the image. While I was cutting out the skull, I thought it might be cool to make this more dimensional somehow. So I stamped the image a second time. This time I used my craft knife and scissors to carefully cut out the eye sockets. Once I got the eye sockets cut out, I repeated the fussy cutting process for the skull.After I finished cutting out the second skull I colored both of them using Distress Watercolor Pencils in Old Paper. I like to pull the pigment from the pencil using a water brush and then paint it onto the paper. You could achieve the same result with water and a paint brush and if you don't have the watercolor pencils, you could also use a Distress Re-inker or even a Distress Ink Pad. Just smoosh the ink pad onto your craft mat and pick up the ink with your brush. I colored both images, but I probably could have gotten away with just coloring the top layer and the eye sockets of the bottom layer.
To make this dimensional, I added foam adhesive squares and adhered the skull with the cut out eye sockets on top of the full skull image. I then inked the edges of my skull embellishment with Black Soot Distress Ink.

BACK TO THE BACKGROUND
Once the paste was is dry, I went back to the background to add some more interest. I applied Walnut Stain Distress Ink to the edges of the paper. To add a bit more distress, I applied some water by slowly pulling the trigger on my Distress Sprayer to make larger droplets. The water rewets the ink and causes it to flow and move. I then used my heat tool to dry the ink. Next, I darkened the edges a bit more by inking the edges with Black Soot Distress Ink. I then added a few more water droplets, dabbed them with a paper towel to lift some of the ink and then dried the paper with my heat tool.THE SENTIMENT
For the sentiment, I used the Happy Halloween stamp from Tiny Frights Stamp Set. I stamped it onto a piece of white cardstock using Black Soot Archival Ink and then trimmed it into a strip leaving a small border around the the edge. I then inked the edge with Black Soot Distress Ink. To grunge it up a little, I applied some color using the Old Paper Watercolor Pencil and my water brush.
MORE TEXTURE WITH A DIE CUT
I still felt like it need more texture, so I took the Sizzix Layered Dots Die Set and cut a piece of vellum using the top layer die. This felt a little to neat and clean though, so I took my old school deckle edge scissors and trimmed off the edges. I used the placement of the skull and sentiment to help me figure out what size to cut it to and it ended up being about 3 x 4 inches in size. To grunge this up a bit more, I dabbed Sepia, Mushroom and Espresso Alcohol Inks onto the vellum using a felt alcohol ink applicator tool. This grunged it up just perfectly!
BLACK WOODGRAIN BASE
For the card base, I cut a piece of Distress Black Woodgrain Cardstock to 4.25 x 5.5 inches and adhered the background on this to complete the card.FINAL DETAILS
To finish off the card, I added machine stitching with black thread to the edge of the background piece before I adhered all of the layers together. I also added some Sterling Distress Foundry Wax splatters by mixing a little rubbing alcohol with a drop of the Foundry Wax. I used a paint brush to splatter the wax onto the paper and then I used my heat embossing tool to set the wax. I love the tiny bit of sparkle they add to the background.
Thanks for stopping by today to check out this Halloween Card featuring stamps and stencils from the Tim Holtz Stampers Anonymous 2023 Release. I hope you enjoyed learning how it came together and found some inspiration for your next make! Until next time...stay crafty my friend!
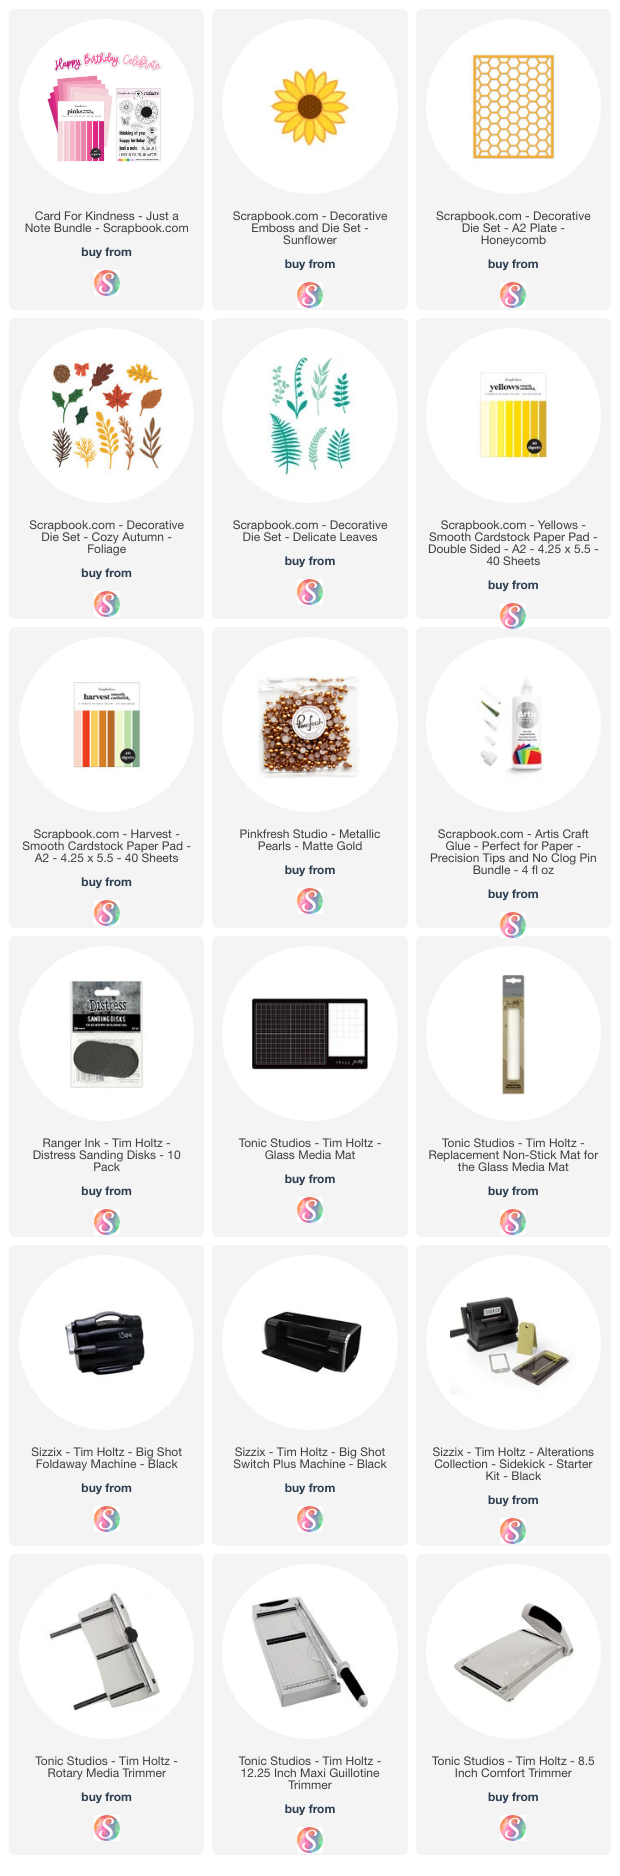
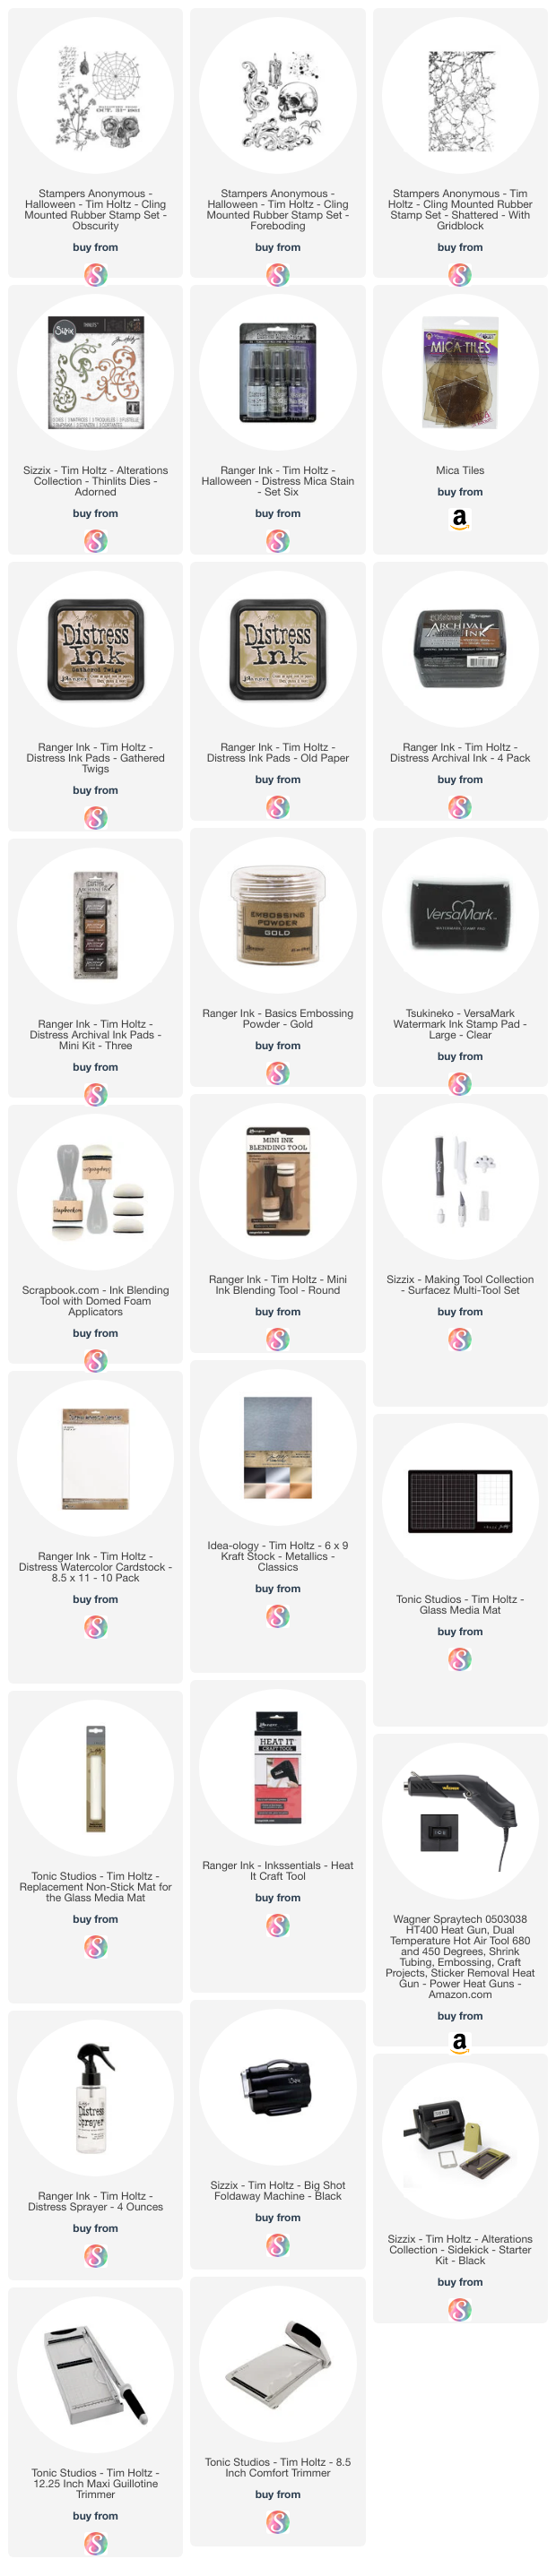
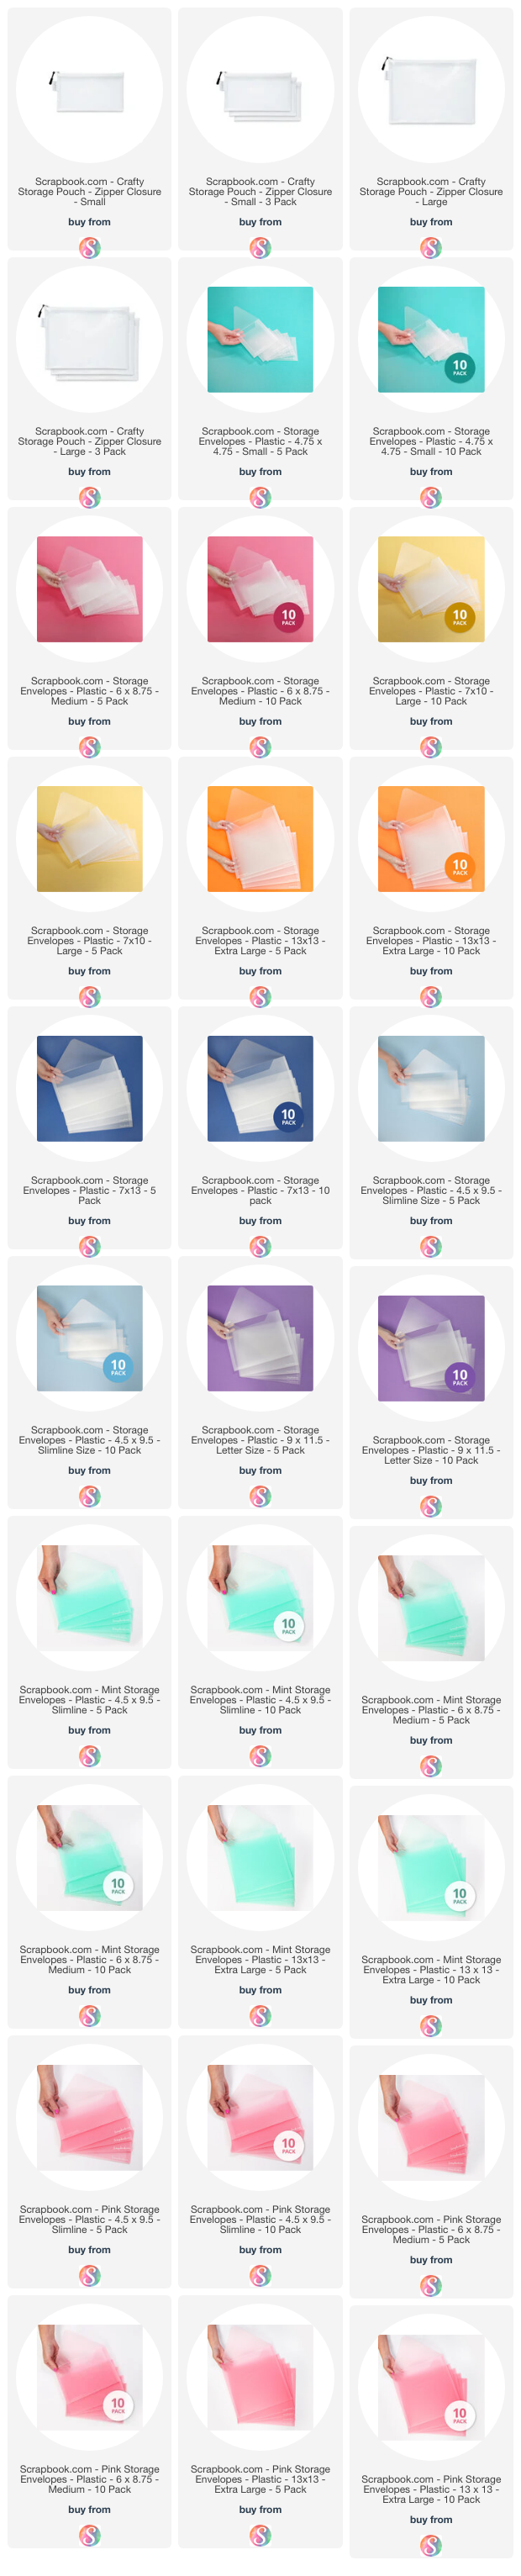
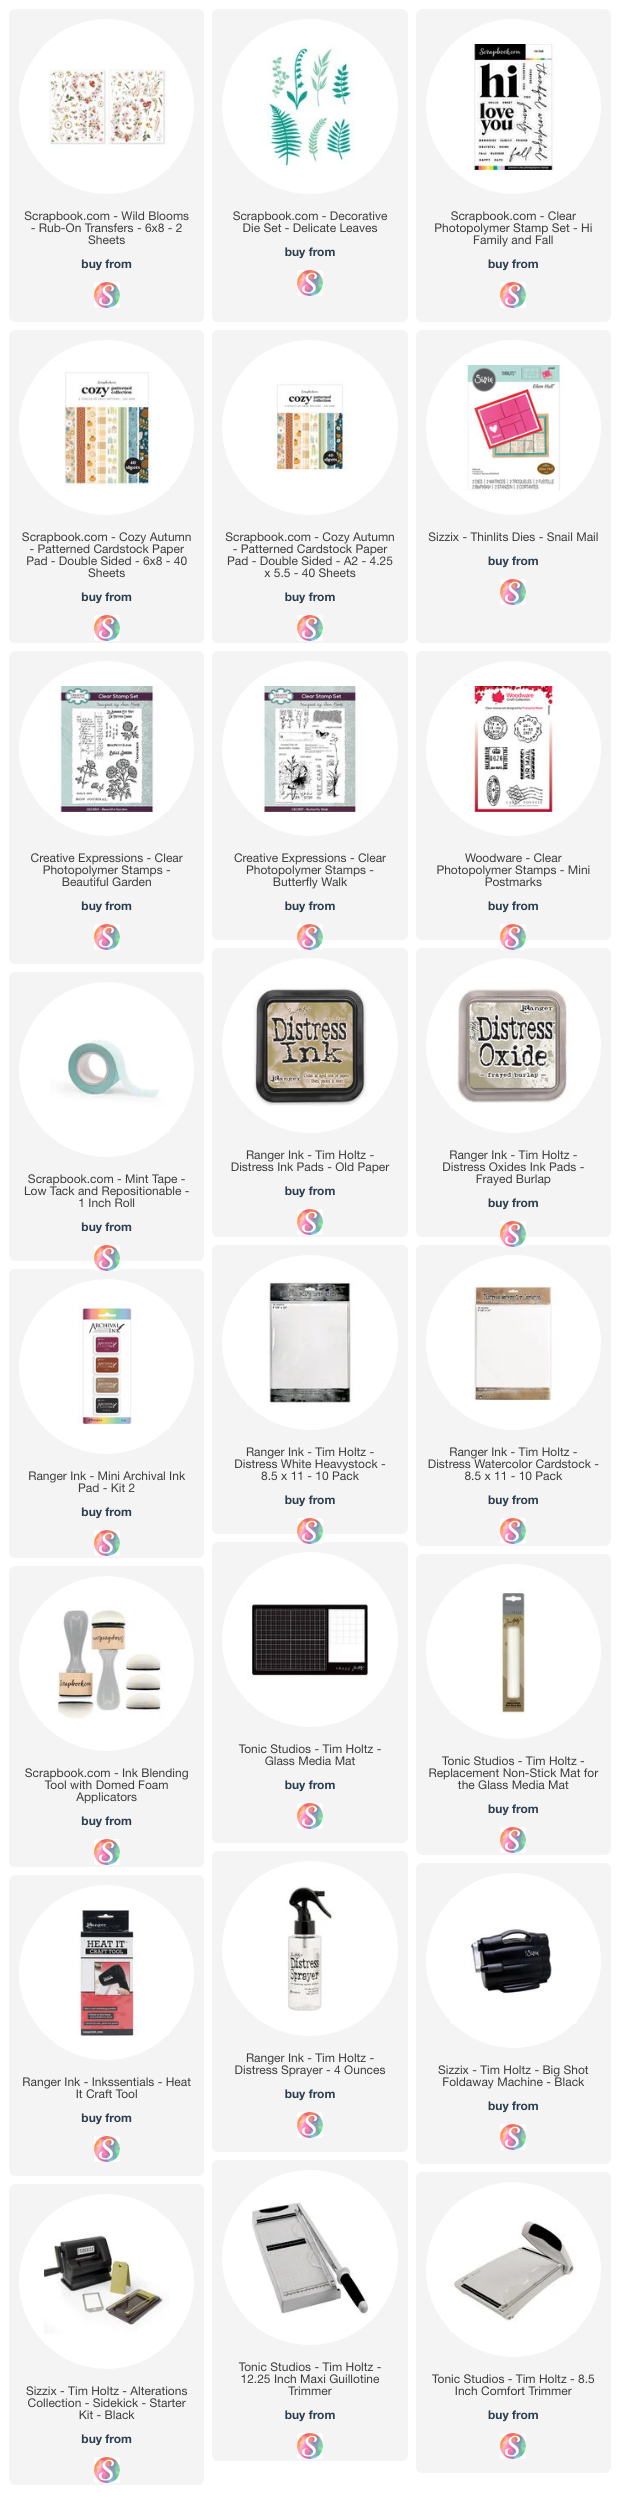
SUPPLIES
Below you can find the supplies I used to create this October 31 Halloween Card. When you shop through the links below, I receive a small commission from Scrapbook.com. These links are at absolutely no cost to you and the commission I receive helps me cover the costs of my blog and other expenses, which allows me to continue to provide you with FREE inspiration and tutorials. If you want to learn more about what an affiliate link is, you can see my full affiliate and product disclosure statement here. Thank you so much for your love and support!