Gina K Designs July Inspiration Blog Hop | Day 2 + Bonus Stencil Tutorial

Hello friends and welcome to Day 2 of the Gina K Designs Inspiration Blog Hop! Today we're featuring the two new stamp set - Wise Old Owl and Peony Wishes. We are also sharing some inspiration using the new Incentive Stamp Set - Grand Greetings. Just in case you missed it, yesterday during the Day 1 Blog Hop we featured projects using the new BoHo Flowers Mini Stamp Kit.

As always, the Cast and Crew of Gina K Designs will be sharing tons of amazing samples to inspire and delight you. You'll also have the chance to win a fabulous prize from Gina K Designs! You can check out all the details for the blog hop below.

You're A Hoot Card - Wise Old Owl Stamp Set


For this first card using the Wise Old Owl Stamp Set, I couldn't resist coloring up those adorable owls with some watercolor markers, die cutting them and then adding googlie eyes! I'm not normally a googlie eye type of gal, but these little guys just begged for them!
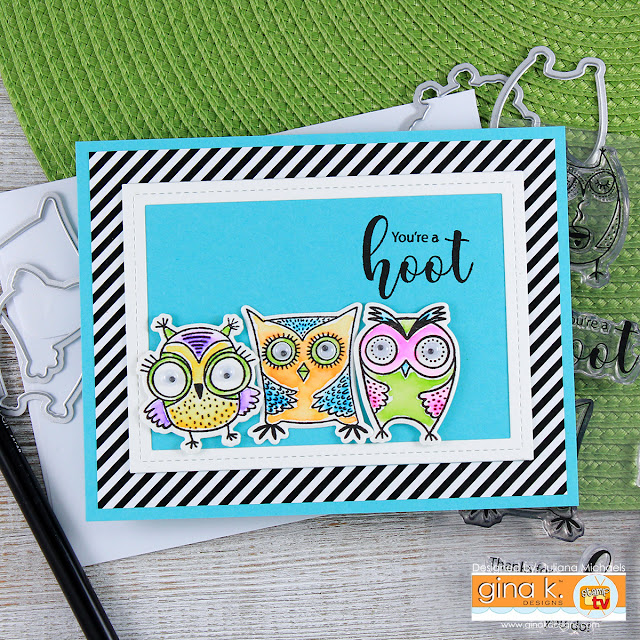
You're A Hoot card by Juliana Michaels featuring Wise Old Owl Stamp Set by Gina K Designs

Do you ever use googlie eyes on your projects? I think I may be doing this again in the future!

You're A Hoot card by Juliana Michaels featuring Wise Old Owl Stamp Set by Gina K Designs

With Sympathy Card -  Peony Wishes Stamp Set


Next up, I have a little change in direction with a sympathy card that I created using the Peony Wishes Stamp Set. I stamped and colored the gorgeous peony image with colored pencils. I then stamped the sentiment onto black cardstock and heat embossed it with white embossing powder.

With Sympathy card by Juliana Michaels featuring Peony Wishes Stamp Set by Gina K Designs

To give a touch of elegance, I used an embossing folder on the front panel. I really love the look that white embossed cardstock adds to a card when you're going for a more elegant design.

With Sympathy card by Juliana Michaels featuring Peony Wishes Stamp Set by Gina K Designs

Bonus Stencil Tutorial


These next two cards use the current Incentive Stamp Set called Grand Greetings. To dress up the sentiments, I grabbed two of the new Gina K Designs Stencils. Keep reading to check out a quick tutorial on each of the techniques I used with them.

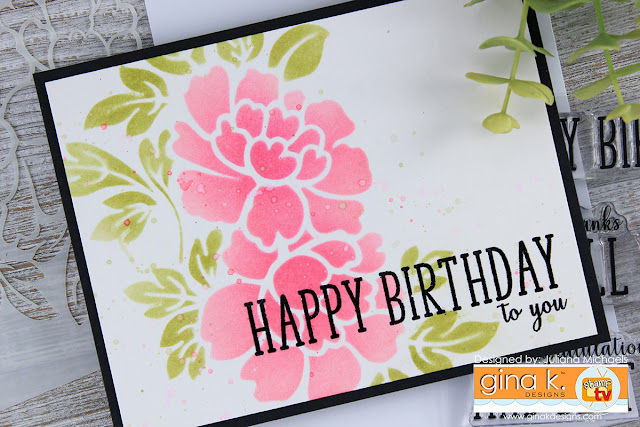
Happy Birthday card by Juliana Michaels featuring Grand Greeting Stamp Set by Gina K Designs and Two Color Stenciling Technique

1. Two Color Stenciling Technique


The Gina K Designs Floral Stencil just begged for two colors with its beautiful flowers and leaves. I thought it would be pretty to make the flowers pink and the leaves green.

To achieve this look, place your stencil on top of your paper. (I prefer to use watercolor paper when I'm working with Distress Ink.) Use low tack tape to cover the leaves. Make sure none of the flower sections are covered by the tape. Next, add ink to the flower sections using foam blending tools.
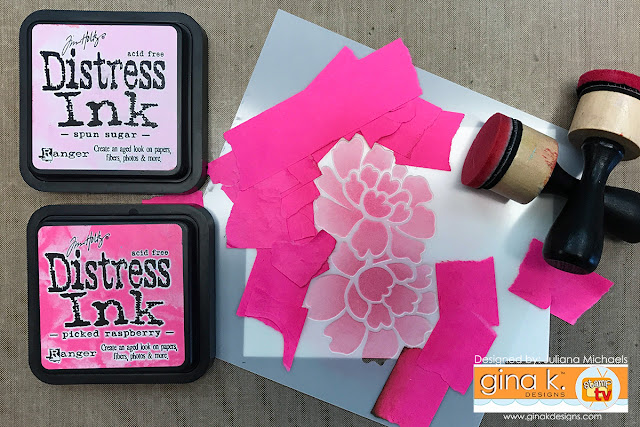
Two Color Stenciling Tutorial by Juliana Michaels using Gina K Designs Stencils and Ranger Distress Ink

Once you're finished adding color to the flowers, it's time to do the leaves. This time, cover the flower parts with the same tape and repeat the ink application process using green ink.

Two Color Stenciling Tutorial by Juliana Michaels using Gina K Designs Stencils and Ranger Distress Ink

Yes, it's a little tedious to cover up the unwanted areas, however the effort is worth the final result if you ask me!

Happy Birthday card by Juliana Michaels featuring Grand Greeting Stamp Set by Gina K Designs and Two Color Stenciling Technique

On this next card, I used the Gina K Designs Foliage Stencil with the Grand Greeting Stamp set. 

Many Thanks card by Juliana Michaels featuring Grand Greeting Stamp Set by Gina K Designs and Two Layer Inking with Stencils Background Technique

2. Two Layer Ink Blending with Stencils


For this second technique with stencils, I decided to try something a little different than your standard ink application with a stencil. I thought it would be interesting to see how it would look to do some ink blending first and to then use the stencil on top of this.  On this card, I used three different colors of blue ink to achieve a simple monochromatic effect, but you could also just use two ink pads.

Begin by inking the base of the card with two colors of lighter blue ink using foam blending tools. (Again, I used watercolor paper.) You want to apply the lighter colors to the base so that the second layer will show up against the lighter background. I applied Tumbled Glass first and then Salty Ocean to achieve a nice blend of colors.

Two Layer Ink Blending with Stencils Tutorial by Juliana Michaels using Gina K Designs Stencils and Ranger Distress Ink

Now it's time to use the stencil. Place the stencil on top of your paper. This time apply a darker blue ink to the stencil using a foam blending tool.


Go back over the stencil with the middle blue from the ink application that you used during the first round.


I really like the end result of the two layer ink blending and I'm pretty sure I'll be using it again in the future! I hope you enjoyed learning a couple new techniques to help you get even more out of your stencils.

Many Thanks card by Juliana Michaels featuring Grand Greeting Stamp Set by Gina K Designs and Two Layer Inking with Stencils Background Technique


Blog Hop + Giveaway


Would you like to win a $50 gift certificate to Gina K Designs? If your answer is yes, then all you have to do is visit each blog along the hop (listed below) and leave a comment. One lucky winner will receive a $50 Gina K Designs gift certificate.

Gina K
Beth Silaika
Cathy Tidwell
Chris Dayton
Claire Brennan
Donna Idlet
Juliana Michaels
Karen Hightower
Laurie Schmidlin
Melanie Muenchinger
Rema DeLeeuw
Sean Fetterman
Sheri Gilson
Silke Ledlow
Susie Moore
Theresa Momber


Supplies


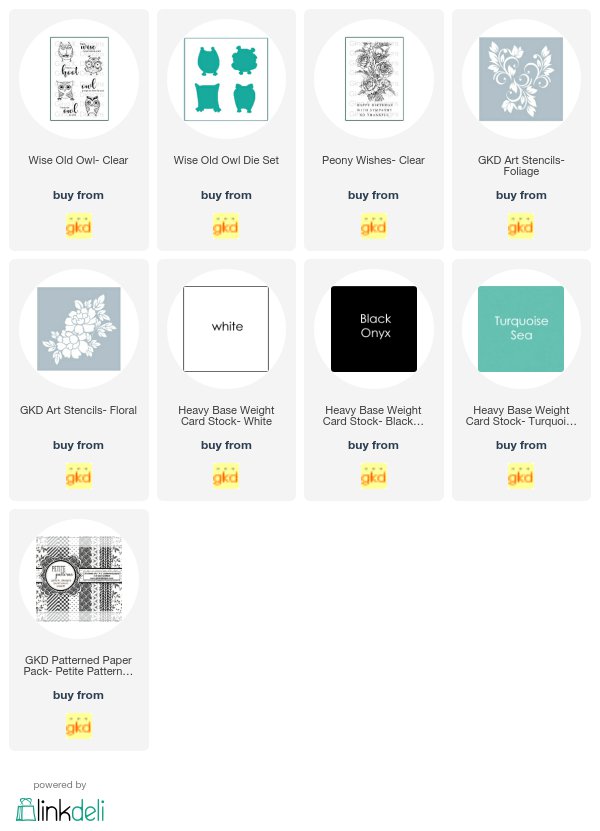
Are you interested in the Gina K Designs supplies I used to create these cards? To make them easy for you to find, I have listed them below. Affiliate links are used at no additional cost to you and I've linked to them because I use them and love them!
Gina K Designs July Inspiration Blog Hop | Day 1

Hello friends and welcome to Day 1 of the Gina K Designs Inspiration Blog Hop! I'm sharing how to use a circle die cut as a base to frame the beautiful flowers, leaves and butterfly images that are a part of the Boho Flowers Mini Kit

During today's hop, the Cast and Crew of Gina K Designs will be sharing tons of amazing samples to inspire and delight you using the Boho Flowers Mini Stamp Kit.  You'll also have the chance to win a fabulous prize from Gina K Designs. You can check out all the details for the blog hop below.

Circle Die Cut As A Base - Boho Flowers Stamp Set


When I first started playing with the Boho Flowers Stamp Set I just stamped, colored and die cut a bunch of the images. I wasn't quite sure what I was going to create, but I knew they would be fun to layer. After pushing them around a little, I had the idea to layer them onto a circle die cut which I cut out using the Gina K Designs Double Stitched Circle Wafer Thin Die. The circle then became the base to frame the sentiment and stamped images.

You Are So Kind Card by Juliana Michaels featuring Gina K Designs BoHo Flowers Stamp Set and You Die

For the sentiment, I stamped and heat embossed the sentiment with white embossing powder onto black cardstock. Then, I used the new You Die to die cut the rest of the sentiment. I cut the word out of black cardstock 4 times and glued them together to give it a bit of dimension.

You Are So Kind Card by Juliana Michaels featuring Gina K Designs BoHo Flowers Stamp Set and You Die

For my second card, I used another circle die cut as the focal point. This time I added the butterfly and swirl images from the Boho Flowers stamp set.

Thank You Card by Juliana Michaels featuring Gina K Designs BoHo Flowers Stamp Set and You Die

I love how the circle die cut helps the stamped and die cut images as well as the sentiment pop against the card base. Do you have a favorite shape that you like to use to frame your stamped images?

Thank You Card by Juliana Michaels featuring Gina K Designs BoHo Flowers Stamp Set and You Die

Blog Hop + Giveaway


Would you like to win a $50 gift certificate to Gina K Designs? If your answer is yes, then all you have to do is visit each blog along the hop (listed below) and leave a comment. One lucky winner will receive a $50 Gina K Designs gift certificate.

Gina K
Beth Silaika
Cathy Tidwell
Chris Dayton
Claire Brennan
Donna Idlet
Juliana Michaels
Karen Hightower
Laurie Schmidlin
Melanie Muenchinger
Rema DeLeeuw
Sean Fetterman
Sheri Gilson
Silke Ledlow
Susie Moore
Theresa Momber


Supplies


Are you interested in the Gina K Designs supplies I used to create these cards? To make them easy for you to find, I have listed them below. Affiliate links are used at no additional cost to you and I've linked to them because I use them and love them!

Stenciled Backgrounds 3 Ways

Hello friends! Today, I'm sharing 3 different ways to create stenciled backgrounds for added texture, depth and dimension. I'm using some of the new stencils from Newton's Nook Designs that were part of their recent release.

Stenciled Backgrounds 3 Way by Juliana Michaels. Includes foiling with stencils, embossing with stencils and inking with stencils.

Foiled Background - Foiling with Stencils


For my first card, I added a touch of foil to the background using Therm O Web Transfer Gel, Deco Foil and Newton's Nook Designs Starfield Stencil.

Foiled Background using Therm O Web Deco Foil Transfer Gel and Newton's Nook Designs Starfield Stencil. Card by Juliana Michaels

To created a foil stenciled background, position a piece white cardstock onto your craft mat. Lay the stencil over the paper and tack it down using removable tape. Allow the gel to dry for at least 30 minutes or until it becomes clear. Next, cover the stenciled cardstock with a piece of Deco Foil. Position it inside a folded piece of parchment paper and run it through a preheated laminator.

A little trick for working with foil: Take note of the direction the grain or lines are running on the backside (silver side) of the foil. Place the foil into the laminator so that the lines are running horizontal to the opening of the laminator. This will eliminate the wrinkling.

Foiled background tutorial using Therm O Web Deco Foil Transfer Gel and Newton's Nook Designs Starfield Stencil by Juliana Michaels

I just love the shimmer and shine that the foil adds to the background!

Foiled Background using Therm O Web Deco Foil Transfer Gel and Newton's Nook Designs Starfield Stencil. Card by Juliana Michaels

Embossed Background - Embossing with Stencils


This second card uses the Newton's Nook Designs Pawprints Stencil. For this technique you will need a silicone mat and a manual die cut machine.

Embossed Stencil background using Therm O Web Deco Foil Transfer Gel and Newton's Nook Designs Pawprints Stencil. Card by Juliana Michaels

I happened to have a Sizzix, but I have a Spellbinders silicone mat. I had to play around with which platforms to use for this combination. Make sure that you play around with what you have until you get the right combination or you could also just purchase the one that works with your machine. I just used what I had on hand to make this work.

The main things you need to do to emboss with a stencil are to first place the stencil on top of the cutting plate, then place the cardstock on top of the stencil.

Embossed Stencil background tutorial using Therm O Web Deco Foil Transfer Gel and Newton's Nook Designs Pawprints Stencil by Juliana Michaels

Next, place the silicone mat on top of the paper and then place the other cutting plate on top of the mat. From there you will need to figure out the rest of the layers so you have enough pressure to achieve the embossing. I actually removed Layer 1 and only used Layer 2 along with the cutting plates.

Embossed Stencil background tutorial using Therm O Web Deco Foil Transfer Gel and Newton's Nook Designs Pawprints Stencil by Juliana Michaels

To help the embossed design stand out even more, I lightly inked over it using some Distress Ink and and ink blending tool. Use a light hand when applying the ink and make sure to stamp off the excess ink before you begin applying the ink to your paper.

Embossed Stencil background using Therm O Web Deco Foil Transfer Gel and Newton's Nook Designs Pawprints Stencil. Card by Juliana Michaels

Inked Background - Rotating the Stencil


This third and final card uses a technique that many of you are familiar with...applying Distress Ink to your stencil using an ink blending tool. However, to step it up a bit, I added in rotating the stencil to achieve a more covered background design.

Rotated Stencil background using Distress Ink and Newton's Nook Designs Tropical Leaves Stencil. Card by Juliana Michaels

On this card, I used the Newton's Nook Designs Tropical Leaves Stencil. I applied a small bit of adhesive to the back side of a piece of watercolor paper and adhered it to my craft mat. This trick keeps the paper from moving around when you apply the ink. Next, tape down the stencil using removable tape.

Select 3 colors of Distress Ink from the same color family. Here I used Peeled Paint, Mowed Lawn and Shabby Shutters for a green background.

Rotated Stencil background tutorial using Distress Ink and Newton's Nook Designs Tropical Leaves Stencil by Juliana Michaels

Apply the lightest color first using an ink blending tool. Remember to tap off the excess onto your craft mat before you begin applying ink to the stencil.

Rotated Stencil background tutorial using Distress Ink and Newton's Nook Designs Tropical Leaves Stencil by Juliana Michaels

Next, lift up the stencil and rotate it 90 degrees and stick it back down.

Rotated Stencil background tutorial using Distress Ink and Newton's Nook Designs Tropical Leaves Stencil by Juliana Michaels

Ink the stencil using the next darkest color.

Rotated Stencil background tutorial using Distress Ink and Newton's Nook Designs Tropical Leaves Stencil by Juliana Michaels

Rotate the stencil another 90 degrees.

Rotated Stencil background tutorial using Distress Ink and Newton's Nook Designs Tropical Leaves Stencil by Juliana Michaels

Ink the stencil one last time with the darkest color of ink.

Rotated Stencil background tutorial using Distress Ink and Newton's Nook Designs Tropical Leaves Stencil by Juliana Michaels

After I had applied all of the ink layers, I didn't like how "white" the paper was behind the stenciled design. To fix this, I went back over the entire piece using the ink blender from the first color layer. I did not add more ink to it. I just added a light layer of color to blend all of the layers together. I love how it makes the background look like a jungle forest!

Rotated Stencil background using Distress Ink and Newton's Nook Designs Tropical Leaves Stencil. Card by Juliana Michaels

I hope you enjoyed learning some new ways to use your stencils. Any of these techniques will work with just about any stencil. The possibilities are only limited by your imagination!

Supplies


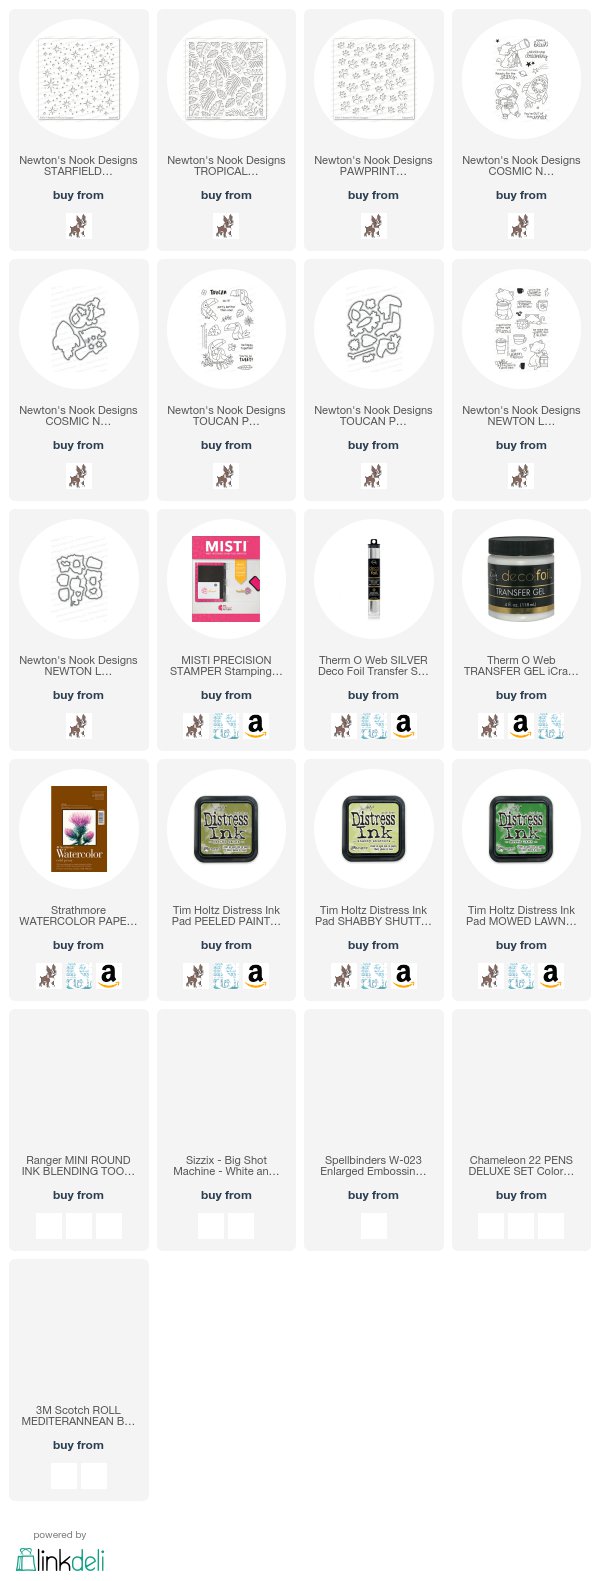
Are you interested in the supplies I used to create these cards? To make them easy for you to find, I've listed them below. Affiliate links are used at no additional cost to you and I've linked to them because I use them and love them! Click on the image below each picture to go to your favorite store.


Newton's Nook Designs 4 Year Celebration Blog Hop

Welcome to Newton's Nook Designs 4 Year Celebration Blog Hop! Newton's Nook has been celebrating all week long with the release of their new stamps, dies and stencils. However, today we're finishing off this fun filled week with an extra special blog hop featuring the Newton's Nook Design Team AND some very special guests! Check out all of the hop details and how you can get one of their new stencils for free below!


Happy Hour Shaker Card - Cocktail Mixers Stamp Set


To help celebrate this special 4 year milestone, I created a festive shaker card featuring the newly released Cocktail Mixers Stamp Set.

Happy Hour Shaker Card by Juliana Michaels featuring Cocktail Mixers Stamp Set by Newton's Nook Designs

I colored all of the fun cocktails with my Chameleon Pens and then die cut them with the coordinating Cocktail Mixers Die Set.

Happy Hour Shaker Card by Juliana Michaels featuring Cocktail Mixers Stamp Set by Newton's Nook Designs

To create the shaker frame, I taped two stitched rectangle dies together. I then cut it out 5 times from white cardstock and glued 4 of them together to create the frame. Next, I cut a piece of acetate and glued that to the top and then covered it all with another of the die cut frames. The shaker is filled with a mix of seed beads and the Summer Fusion Sequin Mix from Studio Katia. I then stamped the sentiment onto a piece of white cardstock cut to the size of the frame and glued that to the backside of the filled shaker.

You've got to love a festive shaker card! And don't the colorful and yummy looking drinks makes it even more fun?!

Happy Hour Shaker Card by Juliana Michaels featuring Cocktail Mixers Stamp Set by Newton's Nook Designs

Newton's Nook Designs July Release


Just a reminder...all of the July Release stamp sets, dies and stencils are now available in the Newton's Nook Designs Shop! And as part of the 4 Year Celebration, Newton's Nook is giving away a free Pawprints Stencil with every $75 order.


Blog Hop + Giveaway

To celebrate 4 years Newton's Nook Designs is giving away a $25 store credit to spend in their online shop to 4 lucky winners! If you'd love to win one, all you have to do is comment on each of the Newton's Nook Designs Design Team and Special Guest blogs. You have until Sunday, July 16th at 9pm CDT to comment. Winners will be announced on NND blog post on Monday, July 17th.

Special Guests:
Taheerah Atchia
Crafty Math-Chick
Danielle Paneline
Stephanie Muzulin
Nina-Marie Trapani
Kimberly Rendino

Newton's Nook Design Team:
Newton's Nook Designs
Amanda Bodine
Holly Endress
Ellen Haxelmans
Larissa Heskett
Samantha Mann
Juliana Michaels
Naki Rager
Jennifer Timko
Tatiana Trafimovich

Supplies


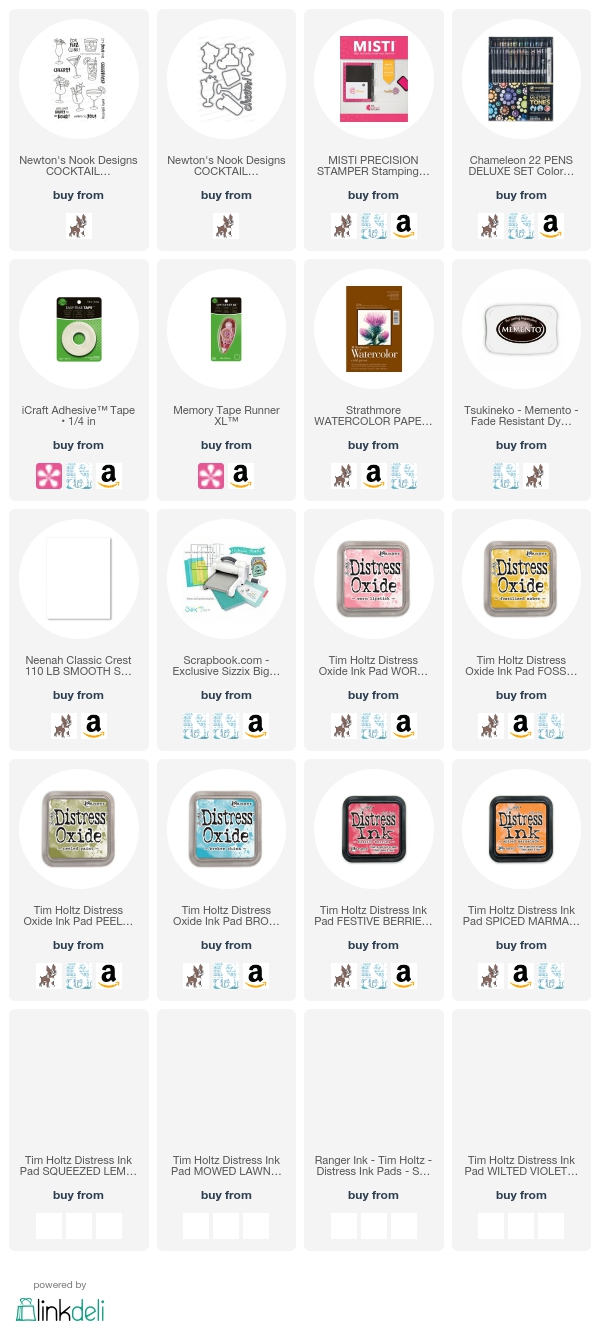
Are you interested in the supplies I used to create these cards? To make them easy for you to find, I've listed them below. Affiliate links are used at no additional cost to you and I've linked to them because I use them and love them! Click on the image below each picture to go to your favorite store.


Newton's Nook Designs 4 Year Celebration | Day 4

Hello Friends! It's Day 4 of the Newton's Nook Designs 4 Year Celebration! Today we're sharing the final stamp set from this release called Cosmic Newton. In this set, Newton explores outer space with a telescope, as an astronaut and in a space ship! Seriously, is there anything cuter than that?! 

As the releases come to a close, I want to remind you that all of the new stamps, dies and stencils will be available in the Newton's Nook Designs Shop tomorrow July 14. I also want to invite you to stop back by the blog tomorrow for another fun day as we have a special blog hop to further celebrate 4 Years of Newton's Nook Designs!

Reach For The Stars Card - Cosmic Newton


At first glance, this card looks pretty simple, however in real life it is far from simple. Newton in his space ship is on an Action Wobble so he wiggles when you move him! Action Wobbles are like little springs that add dimension and movement to your images. Also not easy to see in a photo is the background. Yes, it looks like a plan white background, but it's actually embossed using the new Starfield Stencil! Yes, you can emboss with stencils! Stay tuned for an upcoming post where I'll teach you several fun new ways to use stencils!

Reach For The Stars by Juliana Michaels featuring Cosmic Newton Stamp Set by Newton's Nook Designs

After creating the background, I added some clouds using the Cloud die from the Sky Borders Die Set and stamped the sentiment onto this piece. I then stamped and colored Newton in the space ship and a bunch of stars and created the little scened. I just love that it looks like he's blasting off into space and reaching for the stars!

Reach For The Stars by Juliana Michaels featuring Cosmic Newton Stamp Set by Newton's Nook Designs

It was so hard to photograph the embossed background. You can see it a bit better at this angle and of course it looks amazing in real life!

Reach For The Stars by Juliana Michaels featuring Cosmic Newton Stamp Set by Newton's Nook Designs

Blog Hop + Giveaway


Are you ready for the fun stuff? Here are all the blog hop and giveaway details. How would you like to win a $20 store credit to Newton’s Nook Designs? If so, all you have to do is leave a comment on the Newton's Nook Design Blog and each of the Design team Members blogs. The winner will be chosen at random from the collective reveal posts. You won't know which blog has been chosen so the more comments you leave, the better your chances are of winning! You have until Thursday July 14th at 9pm CST to comment and the winners will be announced on the Newton's Nook blog on Friday, July 15th.


Supplies

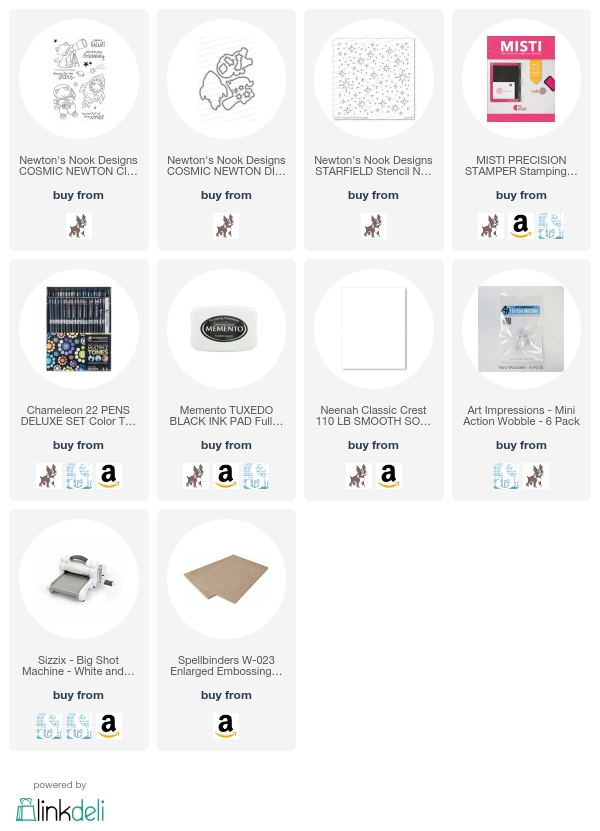
Are you interested in the supplies I used to create these cards? To make them easy for you to find, I've listed them below. Affiliate links are used at no additional cost to you and I've linked to them because I use them and love them! Click on the image below each picture to go to your favorite store.

Subscribe