I’m so excited to share something I’ve been working on behind the scenes—actually, two things! First, I just released a brand-new video tutorial showing you how I created a layered mixed media card using some of the new Tim Holtz June Curation stamps, plus a few of my favorite inky techniques.

MY NEXT LIVE CLASS IS COMING SOON!
And second… I’m officially opening registration for my newest live class: Pretty Grunge Part One: Mixed Media Backgrounds with Distress Inks & Sprays!If you love building beautiful, layered backgrounds and want to get more confident using your Distress products, then you’re going to love what’s inside this class.

NEW YOUTUBE VIDEO: PRETTY GRUNGE IN ACTION
In this week’s video, I’m walking you through the process of creating a card from start to finish, with a focus on:- Creating a distressed ink smooshed background
- Achieving a soft, layered stamping effect
- Building up a grungy, handmade embellishment
One of the background techniques I used in this video is something I teach step-by-step in Pretty Grunge Part One. You get a little sneak peek of it in the video and a real feel for what you’ll be learning in the class!
Please feel free to use products from your stash to recreate something similar. However, if you are interested in any of the products I’m using, you can find the supply list with links down below. Using these links does not cost you anything extra and it helps support my business. It also allows me to continue offering free content and keep my class costs low. I appreciate your support!

ABOUT THE CLASS: PRETTY GRUNGE PART ONE
This is a LIVE class taking place on Saturday, July 19th, 2025. There are two sessions of 2 hours each.
You’ll also get lifetime access to the replay, a 25-page handout, bonus color combo guide, a spray ink 101 guide, and access to my private class community!
- Session One: 10 AM – 12 PM ET (Distress Ink Techniques)
- Session Two: 1 PM – 3 PM ET (Distress Spray Techniques)
Whether you’re brand new to mixed media or just want to shake things up, this two-part class is all about layering, experimenting, and having fun with Distress Inks and Distress Spray Stains.
You’ll learn:
- My favorite ways to build dynamic inky backgrounds
- How different paper types affect your results
- Resist effects, splattering, smooshing, ink lifting & more
- How to layer color and texture for a soft grungy aesthetic
- How to build a background stash and reference library
👉 CLICK HERE TO SIGN UP FOR CLASS 👈
I hope the video gets you inspired—and if you want to go deeper, I’d love to create alongside you in class. Let’s get inky, explore new techniques, and build something beautifully grungy… together!
Let me know if you have any questions about the class or supplies. I’m always happy to help.
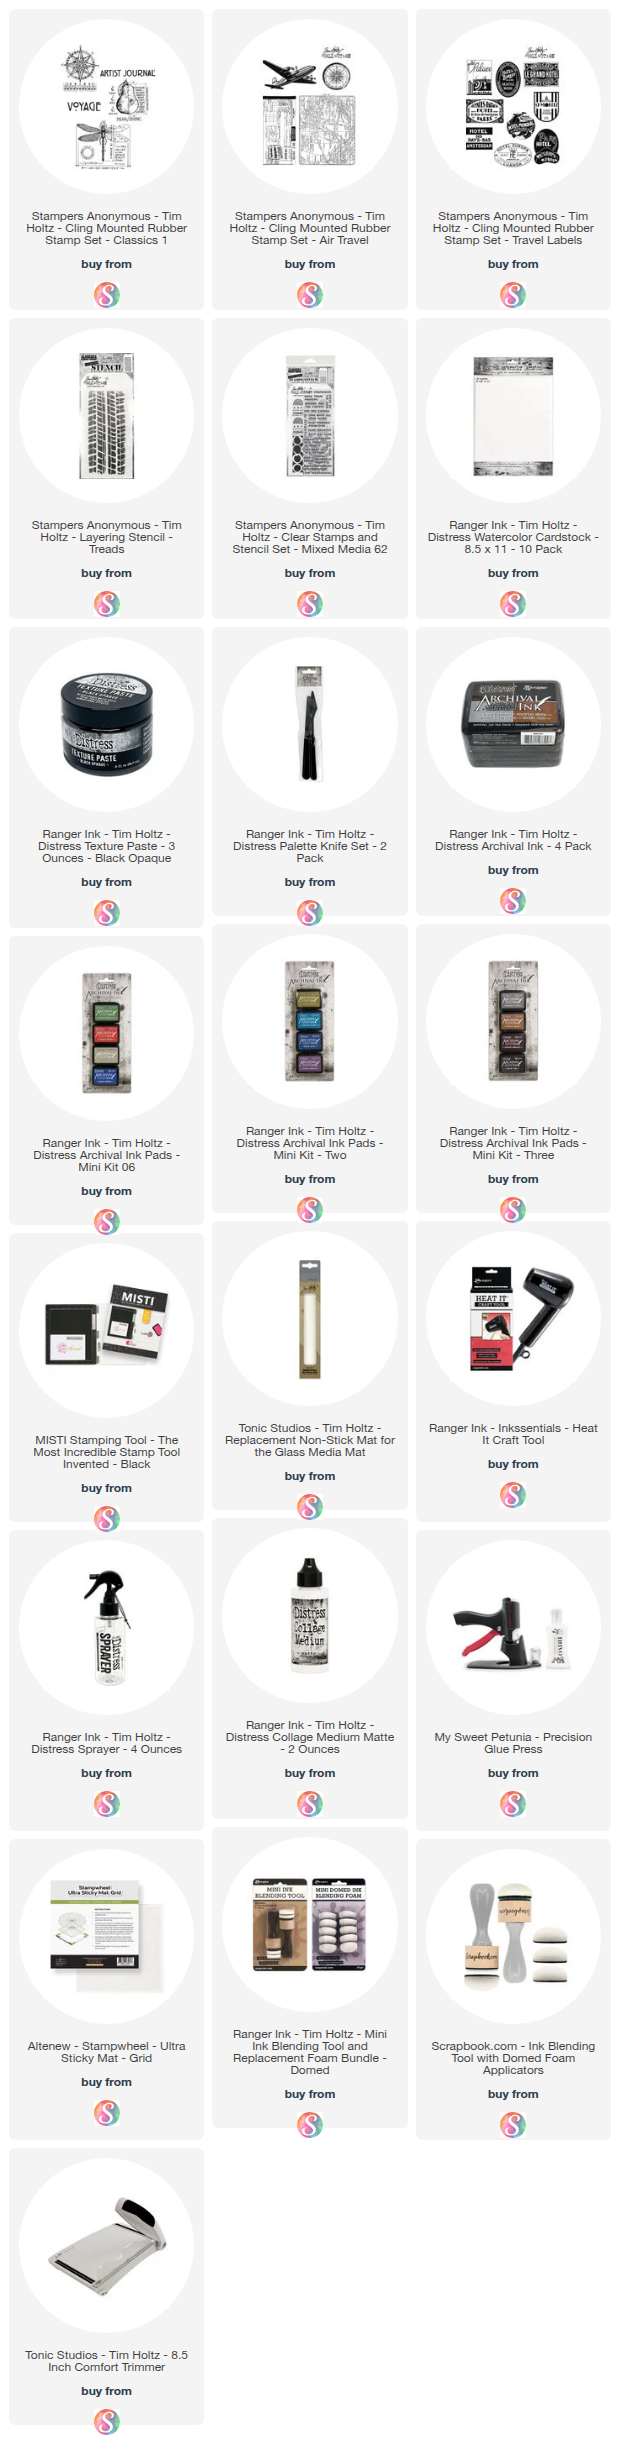
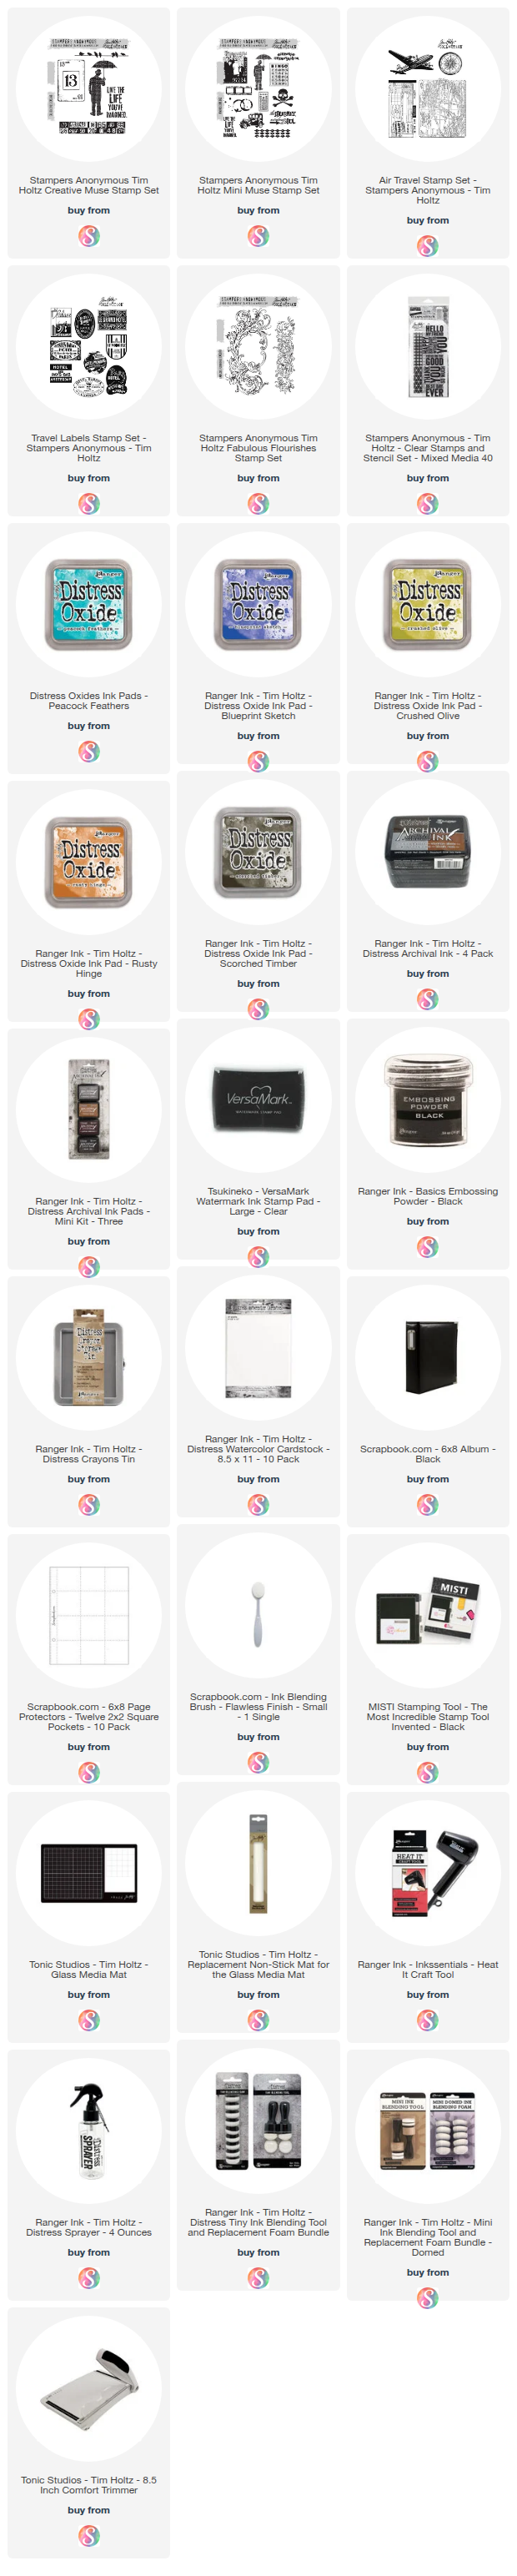
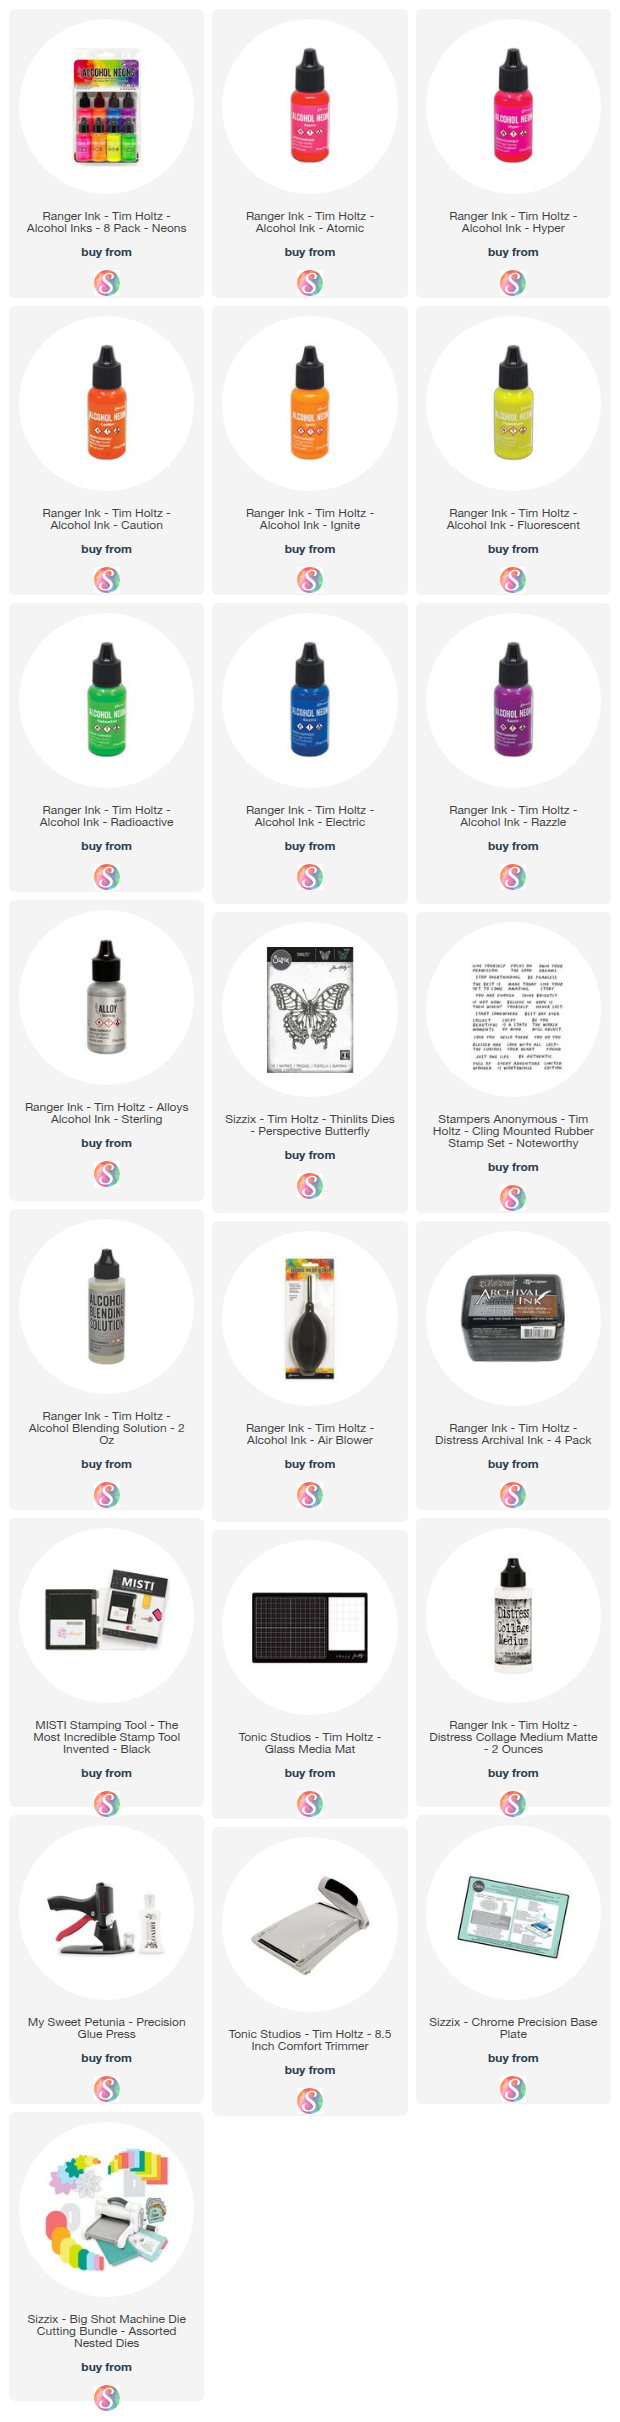
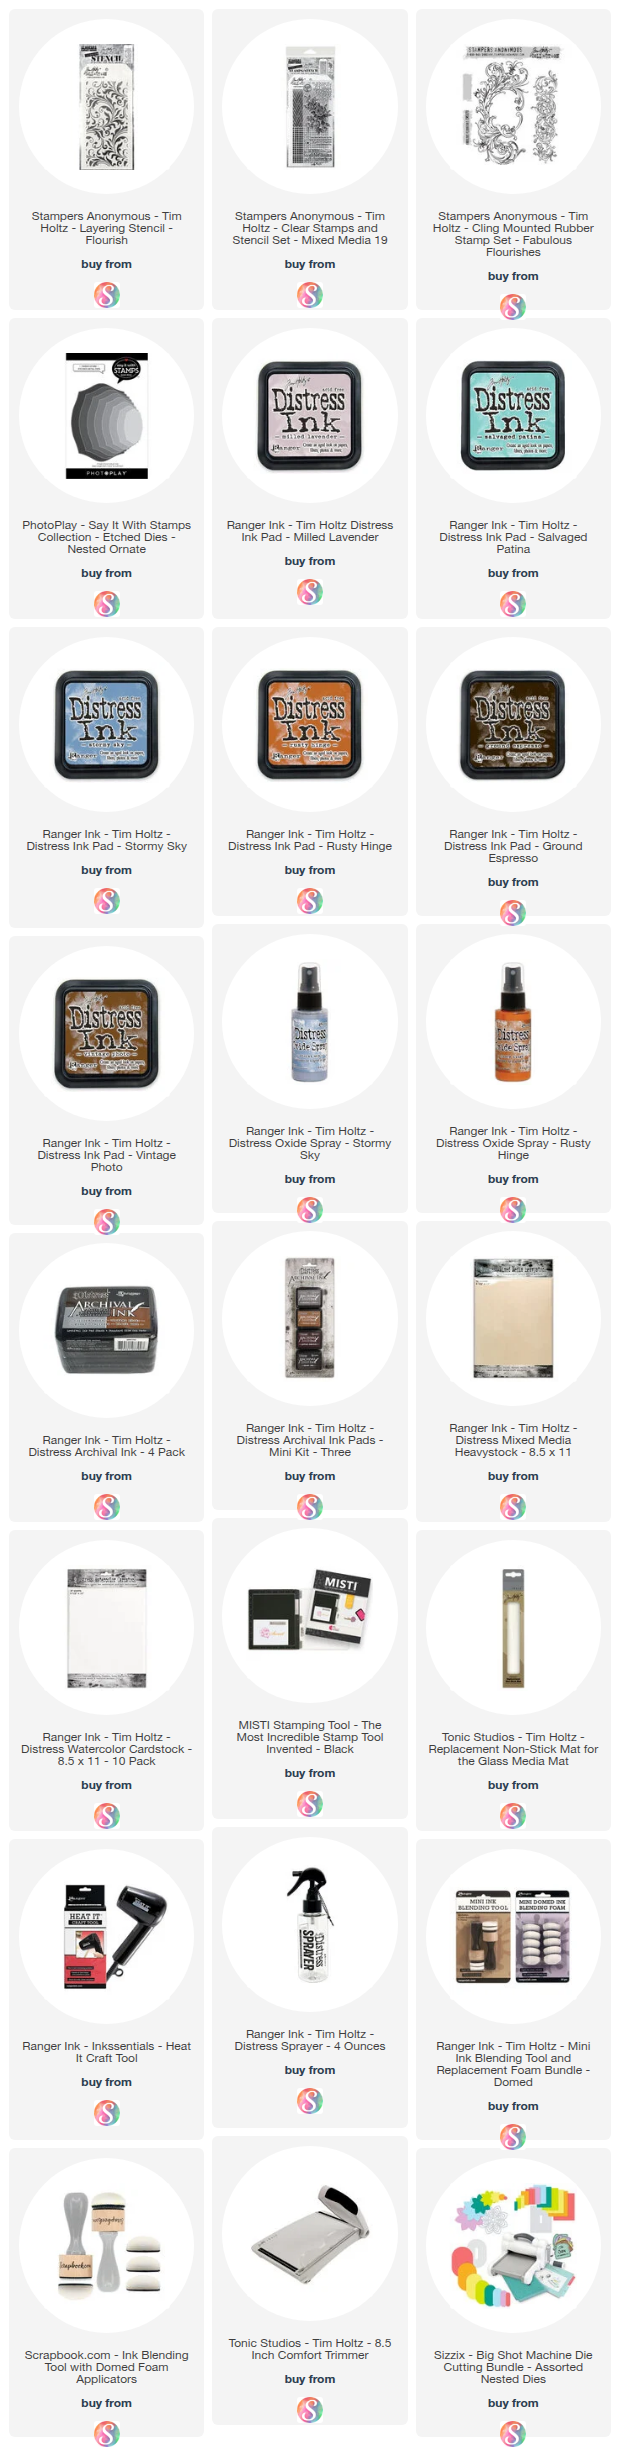
SUPPLIES
Below you can find the supplies I used to create this card. When you shop through those links and whether you purchase that exact item or something else entirely, you’re supporting me at no extra cost to you. The commission I receive helps me cover the costs of my blog and other expenses, and allows me to continue to provide you with FREE inspiration and tutorials. If you want to learn more about what an affiliate link is, you can see my full affiliate and product disclosure statement here. Thank you so much for your love and support!