Hello friends! Today, I'm sharing 3 different ways to create stenciled backgrounds for added texture, depth and dimension. I'm using some of the new stencils from Newton's Nook Designs that were part of their recent release.
Foiled Background - Foiling with Stencils
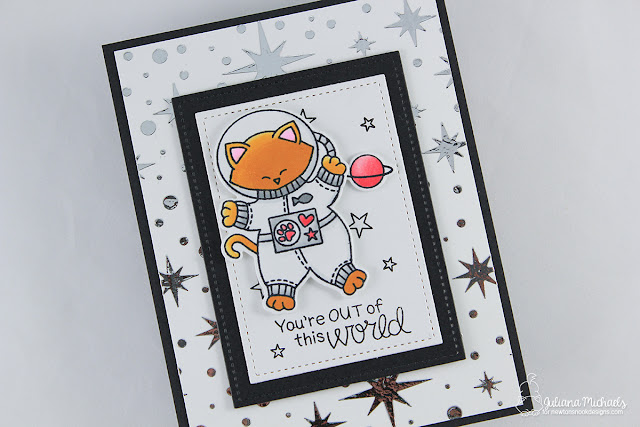
For my first card, I added a touch of foil to the background using Therm O Web Transfer Gel, Deco Foil and Newton's Nook Designs Starfield Stencil.
To created a foil stenciled background, position a piece white cardstock onto your craft mat. Lay the stencil over the paper and tack it down using removable tape. Allow the gel to dry for at least 30 minutes or until it becomes clear. Next, cover the stenciled cardstock with a piece of Deco Foil. Position it inside a folded piece of parchment paper and run it through a preheated laminator.
A little trick for working with foil: Take note of the direction the grain or lines are running on the backside (silver side) of the foil. Place the foil into the laminator so that the lines are running horizontal to the opening of the laminator. This will eliminate the wrinkling.
This second card uses the Newton's Nook Designs Pawprints Stencil. For this technique you will need a silicone mat and a manual die cut machine.
I happened to have a Sizzix, but I have a Spellbinders silicone mat. I had to play around with which platforms to use for this combination. Make sure that you play around with what you have until you get the right combination or you could also just purchase the one that works with your machine. I just used what I had on hand to make this work.
The main things you need to do to emboss with a stencil are to first place the stencil on top of the cutting plate, then place the cardstock on top of the stencil.
A little trick for working with foil: Take note of the direction the grain or lines are running on the backside (silver side) of the foil. Place the foil into the laminator so that the lines are running horizontal to the opening of the laminator. This will eliminate the wrinkling.
I just love the shimmer and shine that the foil adds to the background!
Embossed Background - Embossing with Stencils
This second card uses the Newton's Nook Designs Pawprints Stencil. For this technique you will need a silicone mat and a manual die cut machine.
The main things you need to do to emboss with a stencil are to first place the stencil on top of the cutting plate, then place the cardstock on top of the stencil.
Next, place the silicone mat on top of the paper and then place the other cutting plate on top of the mat. From there you will need to figure out the rest of the layers so you have enough pressure to achieve the embossing. I actually removed Layer 1 and only used Layer 2 along with the cutting plates.
Inked Background - Rotating the Stencil
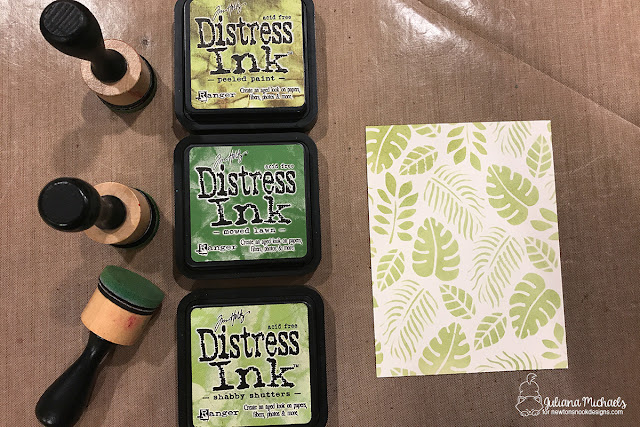
This third and final card uses a technique that many of you are familiar with...applying Distress Ink to your stencil using an ink blending tool. However, to step it up a bit, I added in rotating the stencil to achieve a more covered background design.
Select 3 colors of Distress Ink from the same color family. Here I used Peeled Paint, Mowed Lawn and Shabby Shutters for a green background.
Apply the lightest color first using an ink blending tool. Remember to tap off the excess onto your craft mat before you begin applying ink to the stencil.
Next, lift up the stencil and rotate it 90 degrees and stick it back down.
Ink the stencil using the next darkest color.
Rotate the stencil another 90 degrees.
Ink the stencil one last time with the darkest color of ink.
After I had applied all of the ink layers, I didn't like how "white" the paper was behind the stenciled design. To fix this, I went back over the entire piece using the ink blender from the first color layer. I did not add more ink to it. I just added a light layer of color to blend all of the layers together. I love how it makes the background look like a jungle forest!
Supplies
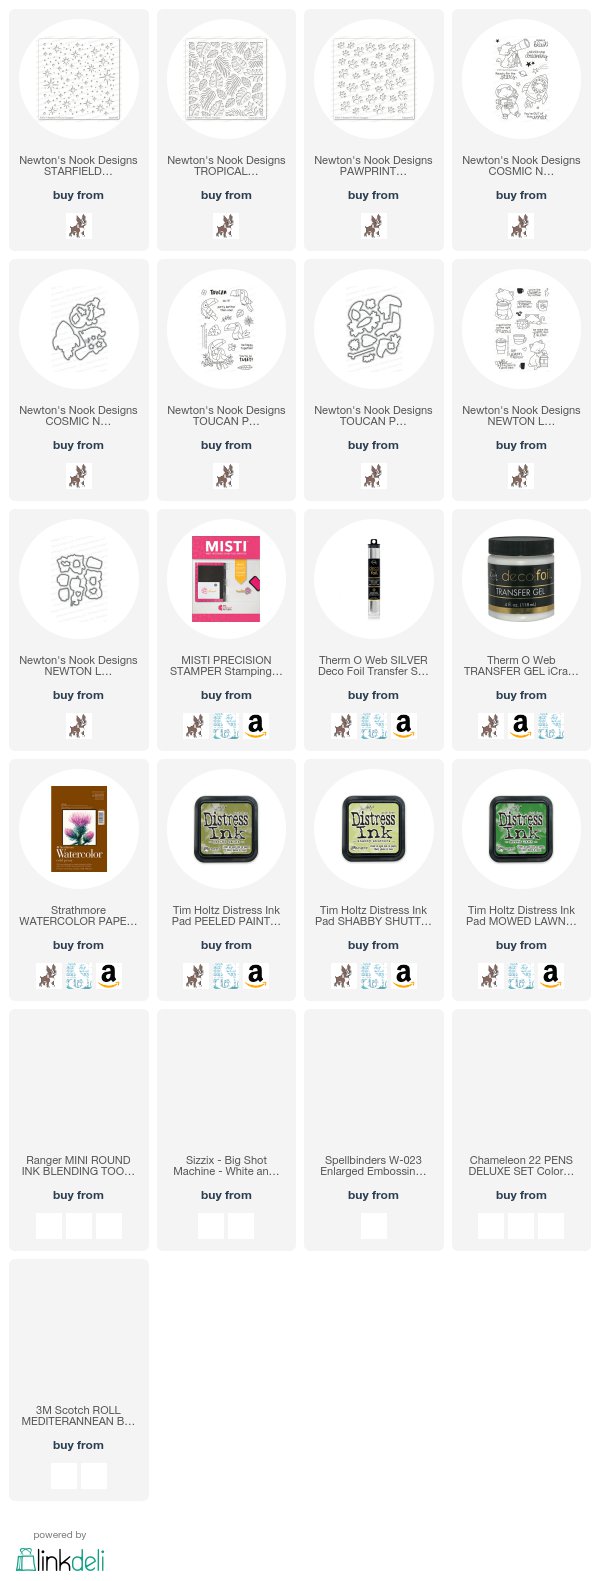
Are you interested in the supplies I used to create these cards? To make them easy for you to find, I've listed them below. Affiliate links are used at no additional cost to you and I've linked to them because I use them and love them! Click on the image below each picture to go to your favorite store.


Great explanations on the techniques. I love the foil idea!
ReplyDeleteYou're super welcome! Foiling adds such a fabulous look to a card!
DeleteFAB designs...great backgrounds!
ReplyDeleteThanks so much!
DeleteGreat looks with
ReplyDeletethese techniques!
Carla from Utah
Thanks Carla! I appreciate your comment!
DeleteWonderful,inspiring cards. Thank you for the instructions!
ReplyDeleteThank you! You're so very welcome!
DeleteLove this! I seem to have lost your web page somehow. so glad i found you again!
ReplyDelete