Merry Christmas Mini Slimline Card Set

I'm back with another mini slimline card set to share with you today and this one is Christmas themed! I don't know about you, but I'm all for getting an early start on my Christmas card making. This is actually the first one I've made this year and it's got me motivated to do some more really soon!
This set is very similar to my most recent Butterfly Thanks Mini Slimline Card Set in how it was constructed. I'll share all the differences below, and if you missed the other card set, make sure to check it out for more details and inspiration.

• • • • • • • • • • • • • • • • • • • •

Before I get into this card set, I have some super exciting news to share with you! Announcing the first ever Scrapbook.com SBC Fest 2022! 

What is SBC Fest you ask? It's a 2 day FREE virtual event filled with card making and scrapbooking classes from some of the top makers in the industry...including yours truly! Join me on September 16th and 17th for a fun-filled weekend of online classes, crafting and so much more! You can learn more about SBC Fest HERE!


Here's a look at the amazing makers who will be sharing and inspiring you during this event! Are you excited?! I know I am and I can't wait to see you there!

SBC Fest 2022 hosted by Scrapbook.com

• • • • • • • • • • • • • • • • • • • •

Now let's get on with the making!

Merry Christmas Mini Slimline Card Set


This mini slimline card set features some amazing new dies from Scrapbook.com including their new Tall Skinny Pocket and Snowflake Dies which I used to create a coordinating card, envelope and tag!

Merry Christmas Mini Slimline Card Set by Juliana Michaels featuring Scrapbook.com Tall Skinny Pocket Dies, Snowflake Dies and Christmas Block Word Dies

Merry Christmas Mini Slimline Envelope and Tag

To create the envelope, I used the largest Tall Skinny Pocket Die to cut out a piece of paper from the Scrapbook.com Christmas Patterned 6x8 Paper Pad. I then but another piece of the paper the same size as the pocket front to use as a back.
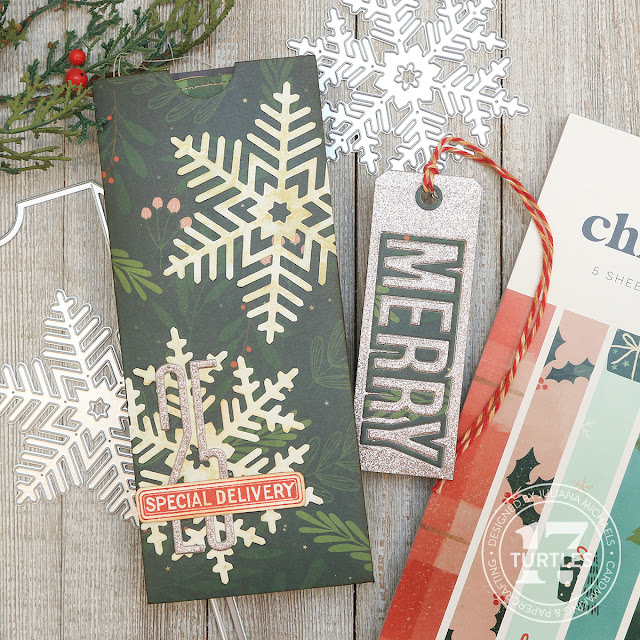
Merry Christmas Mini Slimline Envelope and Tag by Juliana Michaels featuring Scrapbook.com Tall Skinny Pocket Dies, Snowflake Dies and Christmas Block Word Dies

I applied Scrapbook.com 1/4" Clear Double Sided Tape to the tabs of the envelope and then attached it to the back piece. With the envelope assembled, I inked the edges with Vintage Photo Distress Ink using a foam blending tool.


The first thing I did to embellish the envelope was to add some snowflakes die cut from Distress Watercolor Paper using the Scrapbook.com Snowflakes Die Set. I used the ink smooshing technique to give them a vintage feel. To do this, I smooshed some Old Paper Distress Ink onto my craft mat, spritzed them with water and then smooshed the paper into the ink. I then dried it with my heat tool and adhered them to envelope using Distress Collage Medium. I recommend using watercolor paper or paper that is made to stand up to water when using the ink smooshing technique.

Next, I die cut the numbers "25" from a piece of glitter paper in the Scrapbook.com Mixed Metals Glitter Paper Pad using the Tim Holtz Alphanumeric Stretch Lower and Numbers Dies and adhered them. I finished it off by adding the "special delivery" label which is from the Tim Holtz Vintage Holidays Stamp Set, stamped in Barn Door Archival Ink. I then fussy cut it with scissors and inked the edges with Vintage Photo Distress Ink.


Merry Christmas Tag

To create the tag, I took the Scrapbook.com Nested Tag Die set and used the third size up from the smallest tag to cut a piece of the same glitter paper I used for the numbers on the envelope. I also used this same glitter paper to die cut the Merry die from the Christmas Block Words Die Set and saved the inside/negative pieces. I then cut it again from a piece of paper from the Scrapbook.com Christmas Patterned 6x8 Paper Pad. I layered these pieces along the center of the tag die and adhered them using Distress Collage Medium. I then trimmed the tag down to make it a skinny tag. To finish it off I added some red and white twine that I inked with some Vintage Photo Distress Ink to make it a bit more vintage.


Merry Christmas Mini Slimline Card

For the card, I cut a piece of the Scrapbook.com Christmas Patterned 6x8 Paper Pad to 2.75 x 7 inches. I had some scrap pieces leftover from the envelope and added a strip of that along the left hand side. I then added some machine stitching and inked the edges with Vintage Photo Distress Ink.
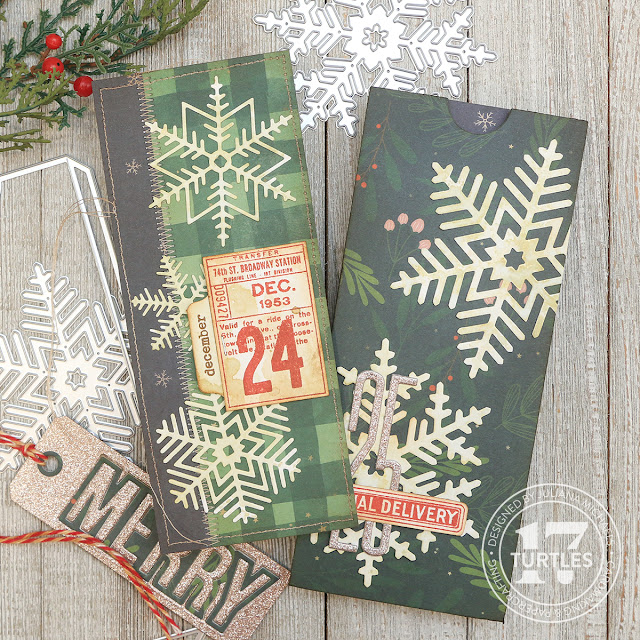
Merry Christmas Mini Slimline Card and Envelope by Juliana Michaels featuring Scrapbook.com Tall Skinny Pocket Dies, Snowflake Dies and Christmas Block Word Dies

To embellish the card, I added some more snowflake die cuts that I created using the same ink smooshing technique as the ones on the envelope. I also added another stamped image.


For the December Tab, I used a tab die from the Scrapbook.com Small Tabs Die Set and ink smooshed it just like I did the snowflakes. The "December" is from the Scrapbook.com Wordfetti December Stamp Set and is stamped in brown ink.


Thanks so much for stopping by today! I hope you enjoyed this Merry Christmas Mini Slimline Card Set and some early Christmas card inspiration.

Supplies - Merry Christmas Mini Slimline Card Set

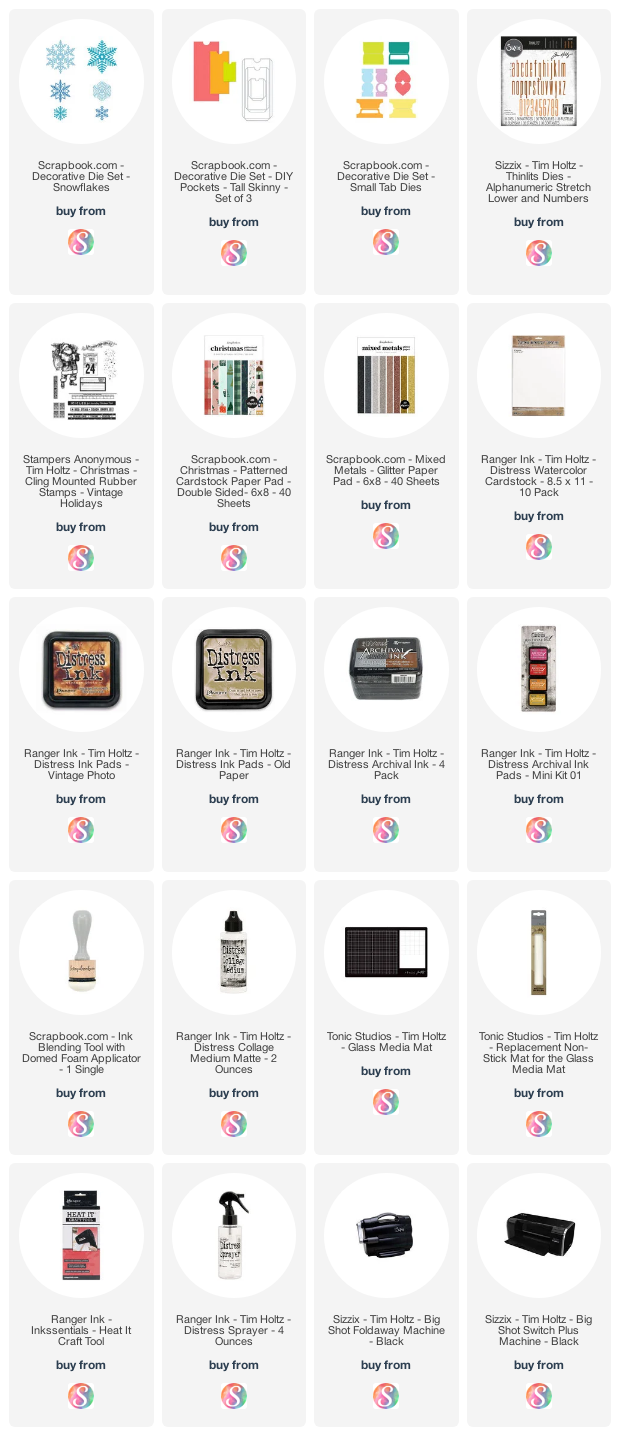
Below you can find the products I used to create this project along with compensated affiliate links to Scrapbook.com. These links are at absolutely no cost to you. When you shop through the links below, I receive a small commission from Scrapbook.com. These links are at absolutely no cost to you and the commission I receive helps me cover the costs of my blog and other expenses, which allows me to continue to provide you with FREE inspiration and tutorials. If you want to learn more about what an affiliate link is, you can see my full affiliate and product disclosure statement here. Thank you so much for your love and support!
Butterfly Thanks Mini Slimline Card Set

Hello my crafty friends! The summer is flying by and even though I haven't posted in awhile, I have been super busy BTS making and creating. Today, I'm excited to share one of the projects I've been working on with you. It's a mini slimline card set featuring some amazing new dies from Scrapbook.com including their new Tall Skinny Pocket and Butterflies Dies which I used to create a coordinating card, envelope and tag!

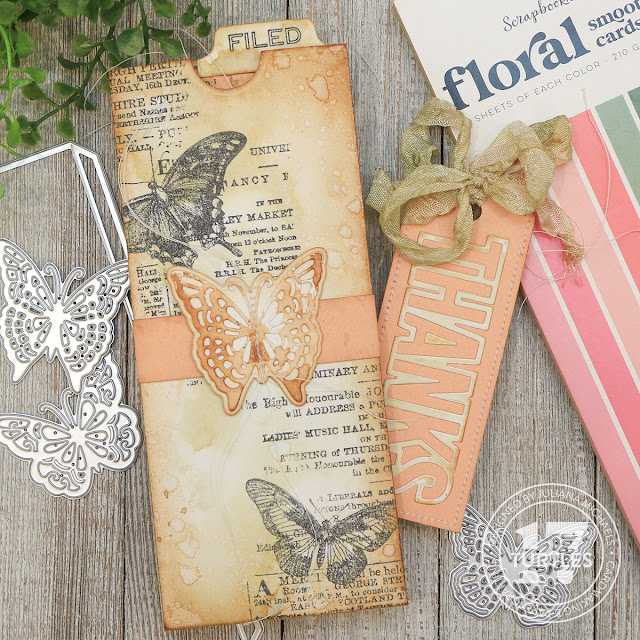
Butterfly Thanks Mini Slimline Card, Envelope and Tag by Juliana Michaels featuring Scrapbook.com Tall Skinny Pocket Dies and Butterflies 1 Dies

Butterfly Thanks Mini Slimline Envelope and Tag

To create the envelope, I used the largest Tall Skinny Pocket Die to cut out a piece of Distress Watercolor  Paper. I then cut another piece of the watercolor paper the same size as the pocket front to use as a back.
Once I had the paper cut, I used the ink smooshing technique. To do this I smooshed some Old Paper Distress Ink and just a tiny bit of Vintage Photo Distress Ink onto my craft mat, spritzed them with water and then smooshed the paper into the ink. I then dried it with my heat tool and repeated it until I was happy with the ink coverage. Next, I added a bit of stamping to the front of the envelope using the Tim Holtz Botanic Collage Stamp Set and Black Soot Archival Ink.

Butterfly Thanks Mini Slimline Envelope and Tag by Juliana Michaels featuring Scrapbook.com Tall Skinny Pocket Dies and Butterflies 1 Dies

I applied Scrapbook.com 1/4" Clear Double Sided Tape to the tabs of the envelope and then attached it to the back piece. With the envelope assembled, I inked the edges with Vintage Photo Distress Ink using a foam blending tool.

To further embellish the envelope, I added a strip of peach colored paper from the Scrapbook.com Floral Slimline Paper pad and a die cut created using the Scrapbook.com Butterflies 1 Die Set.


For the butterfly, I die cut both layers from Distress Watercolor paper. The detailed layer was smooshed into Vintage Photo Distress Ink on my craft mat and the solid layer was inked around the edges with the same ink. Using Distress Collage Medium, I adhered the layers and then attached them to the strip I had wrapped around the envelope.


Butterfly Thanks Tag

To create the tag, I took the Scrapbook.com Nested Tag Die set and used the third size up from the smallest tag to cut a piece of the peach paper. Using the same paper color, I die cut it using the Thanks die from the Card Maker Block Words Die Set and saved the inside/negative pieces. I then cut it again from Distress Watercolor paper that I had inked using the ink smooshing technique that I used on the envelope. I layered these pieces along the center of the tag die and adhered them using Distress Collage Medium. I then trimmed the tag down to make it a skinny tag and added some machine stitching around the outside edges. To finish it off I inked the edges with Vintage Photo Distress Ink and added a bit of ribbon.


Butterfly Thanks Mini Slimline Card

For the card, I cut a piece of the peach paper from the Floral Slimline Paper Pad to 2.75 x 7 inches. I then stamped some of the images from the Botanic Collage stamp set using Black Soot Archival Ink.

Butterfly Thanks Mini Slimline Card and Envelope by Juliana Michaels featuring Scrapbook.com Tall Skinny Pocket Dies and Butterflies 1 Dies

Next, I lightly splattered the paper with some Old Paper and Vintage Photo Distress Ink that I had added a little bit of water too. Because this paper is not meant to handle water, I wouldn't recommend the ink smooshing technique I used on the envelope. I then inked the edges with Vintage Photo Distress Ink.


The butterflies on the card were inked and colored the same way I did the one on the envelope. Once they were assembled I adhered them to the card front. The "filed" tab was created using the Scrapbook.com Small Tabs Die Set and a stamp from the Tim Holtz Field Notes Stamp Set and the sentiment is from the Scrapbook.com.


To finish off the the card, I added some machine stitching around the outside edges and down the center of the butterflies.


As always, I really appreciate you stopping by today and checking out what I've created and shared with you!


• • • • • • • • • • • • • • •

Before you go, I also wanted to remind you about the Cardmaker Success Summit that starts this week! All the fun for this FREE event begins on Thursday and I'll be presenting my project on Friday, July 29 at 2pm EST. 

Here's a peek at my card! During my presentation, I'll be sharing some easy to do mixed media techniques that you can incorporate on your upcoming Christmas cards. Along with my presentation, I've also created a worksheet with step by step instructions AND a detailed supply list for you as well. My goal is to help you create a beautiful mixed media holiday card that you can easily replicate!

Cardmaker Success Summit July 2022 Juliana Michaels

If you haven’t grabbed your FREE ticket to the summit yet, you can do that HERE. I sure hope to see you there!

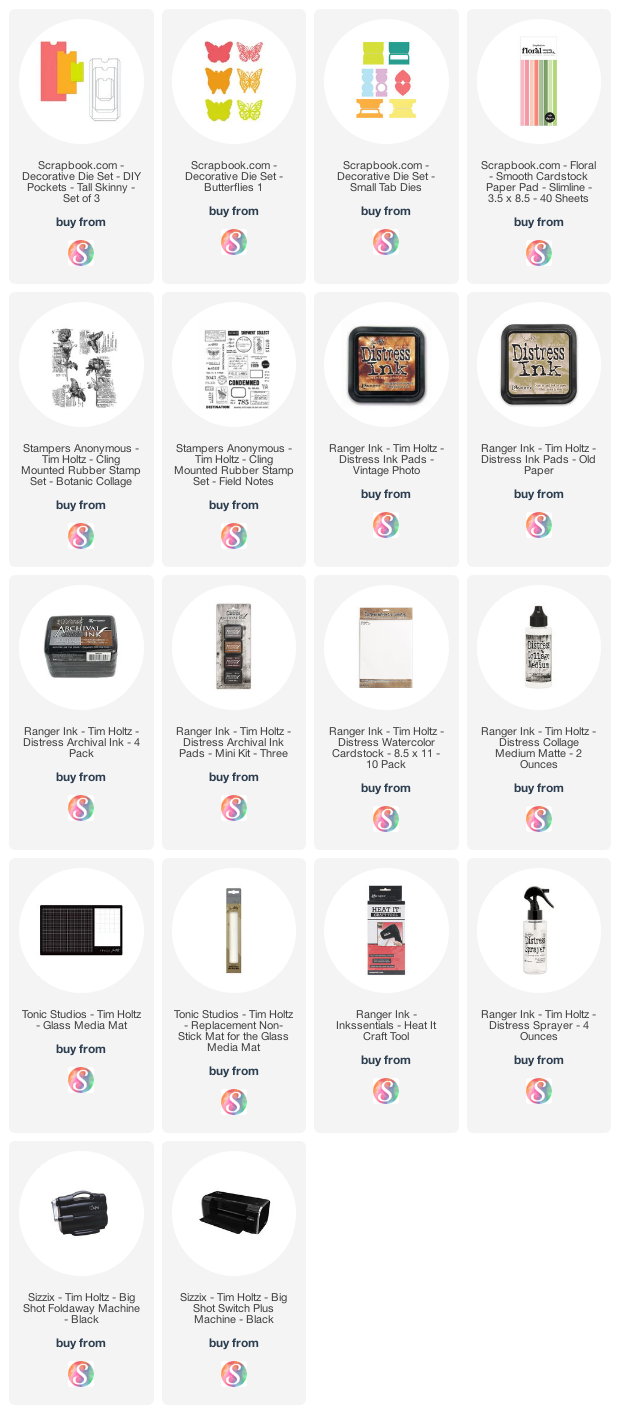
Supplies - Butterfly Thanks Mini Slimline Card Set

Below you can find the products I used to create this project along with compensated affiliate links to Scrapbook.com. These links are at absolutely no cost to you. When you shop through the links below, I receive a small commission from Scrapbook.com. These links are at absolutely no cost to you and the commission I receive helps me cover the costs of my blog and other expenses, which allows me to continue to provide you with FREE inspiration and tutorials. If you want to learn more about what an affiliate link is, you can see my full affiliate and product disclosure statement here. Thank you so much for your love and support!
New Tim Holtz Distress Color | Uncharted Mariner Card Inspiration

Hey friends! I'm so excited to be sharing some card inspiration with you using the new Tim Holtz Distress Color Uncharted Mariner. I have 3 cards to share with you AND I made a video for one of them! You can find all the details on how I created each of the cards in this blog post, along with some swatches I created comparing the new color.

I want to thank Scrapbook.com for their generosity in sending me this New Distress Color to create with!


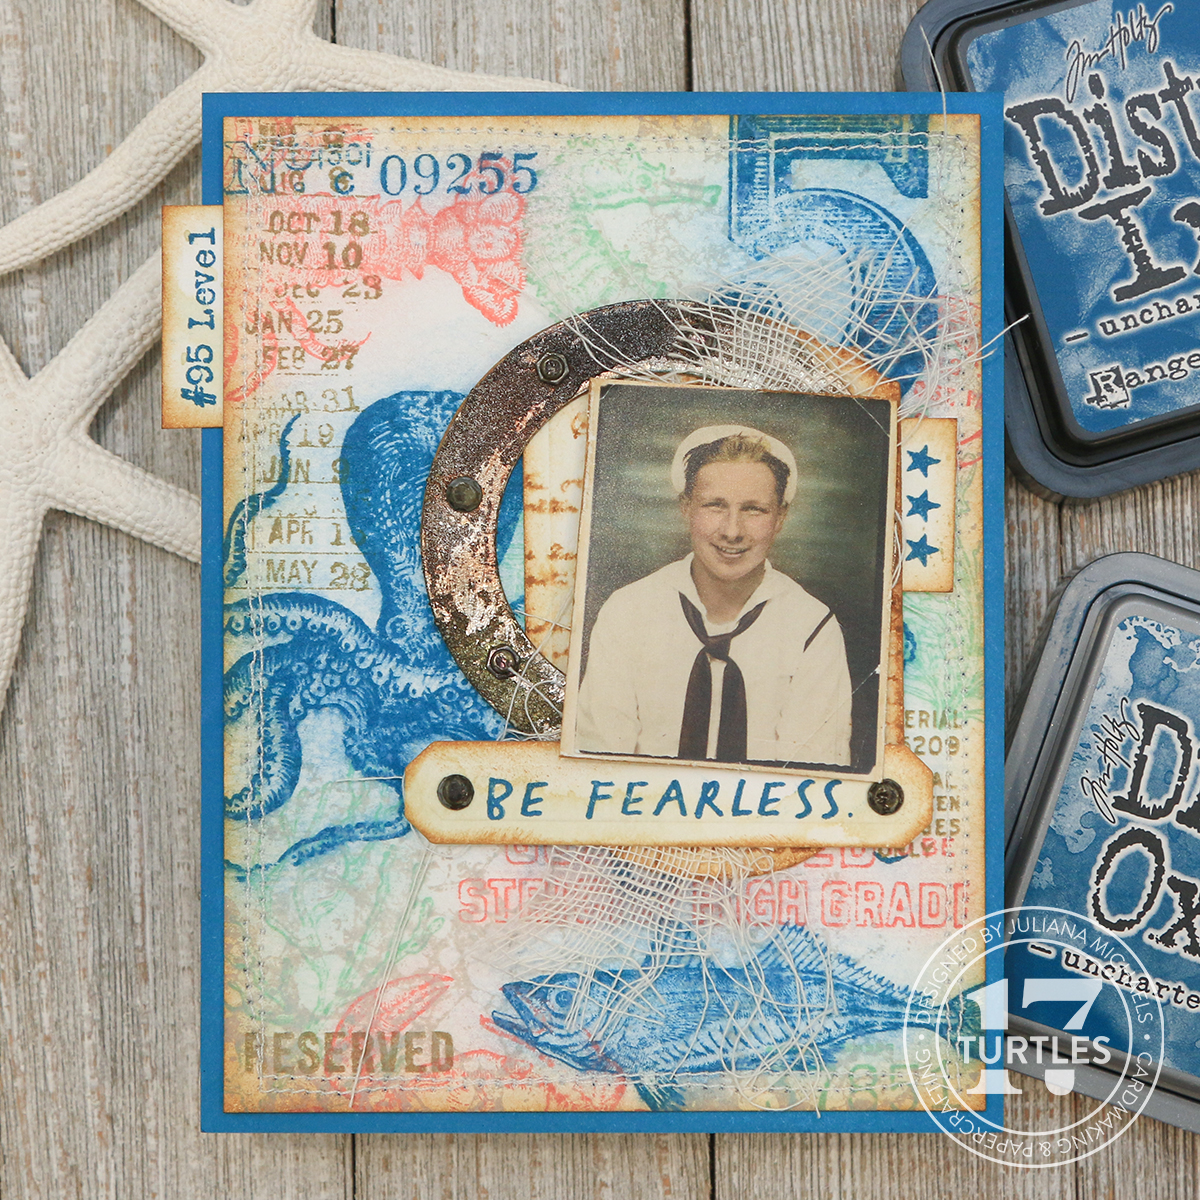
Be Fearless Card by Juliana Michaels featuring Tim Holtz Ranger Ink Uncharted Mariner Distress with Stamp and Smudge Technique

Distress Ink Swatches

Before I get into the card details, I want to share the swatches I created for the new ink. I'll admit I wasn't so sure about another blue, but after swatching all of the blues in the Distress family, I'm sold! At first I thought for sure that it was close to Faded Jeans, Broken China or even Peacock Feathers. As you can see, it's not even close. Maybe kind of to Broken China, but it's a much darker, moodier color than that and it's a perfect color to pair with this one if you are wanting a slight color gradient!

These swatches are created using Distress Ink and were done like I did my swatches for Saltwater Taffy. And guess what? These are the only butterflies you will see in this blog post!

As always, if you're looking for even more swatch details, make sure to check out Tim's YouTube Live!


Now, let's get on with the making! Here's the video I created using Uncharted Mariner and the Stamp and Smudge Technique. You can check it out below. If the video isn’t showing up, click HERE to watch it.


Be Fearless Card | Stamp & Smudge Technique

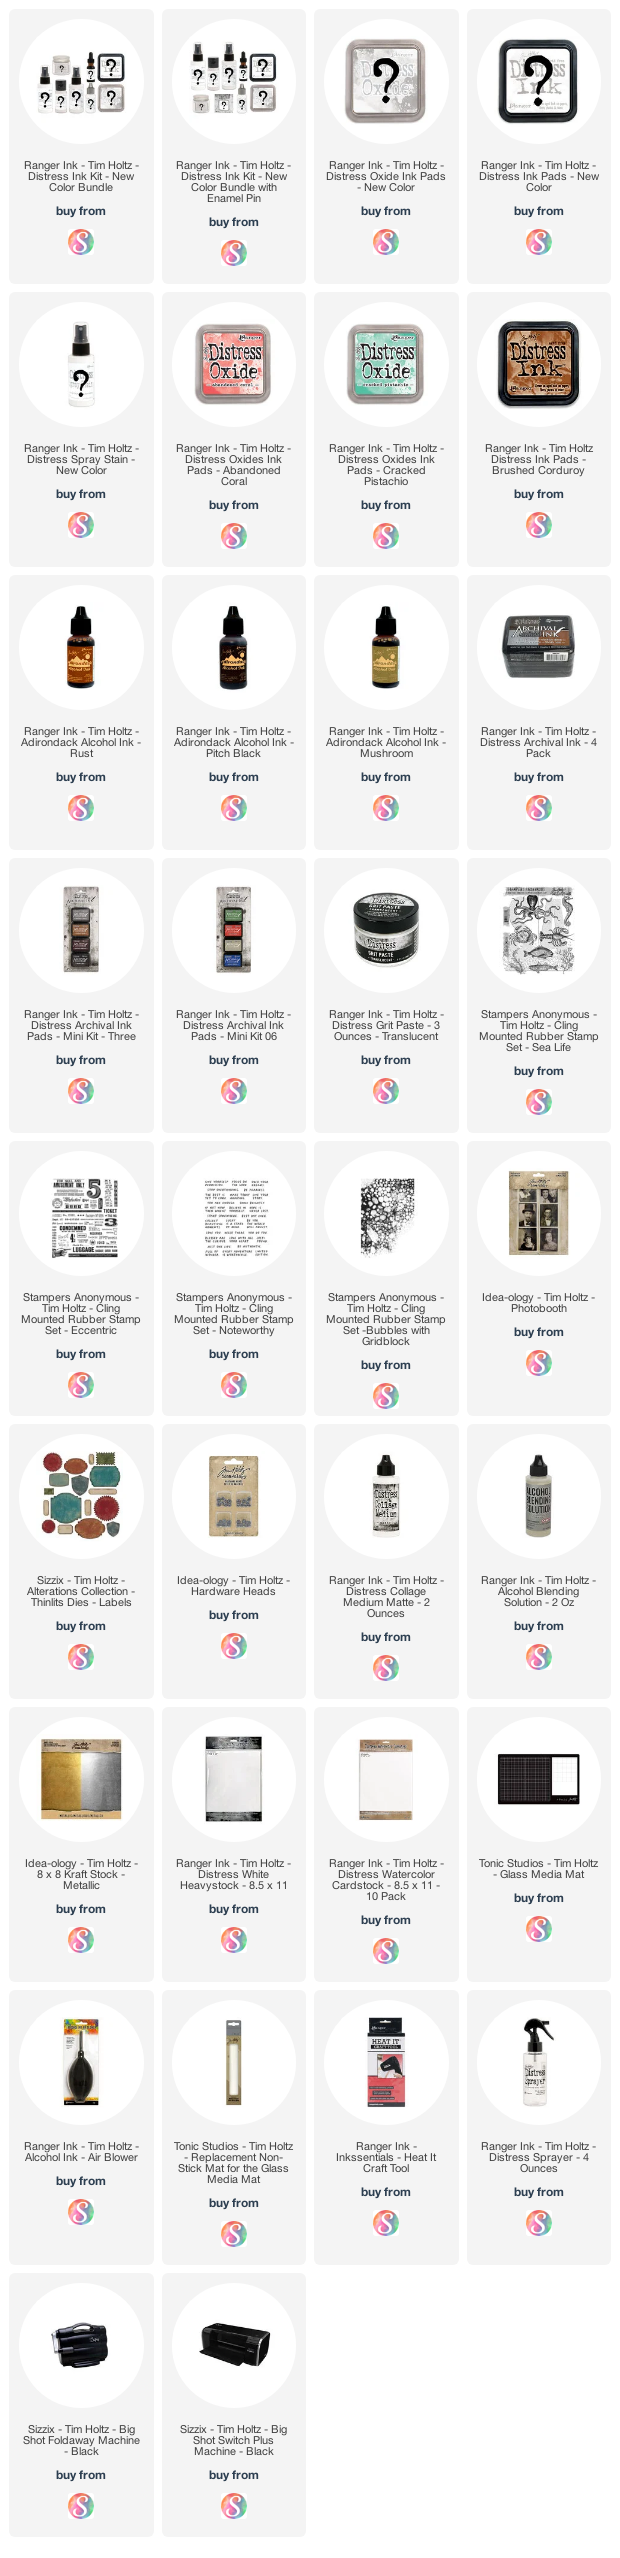
On this card, I began with a piece of Distress Heavystock paper cut to 4 x 5.25 inches. For the stamping, I used the Tim Holtz Sea Life and Eccentric stamp sets and Distress Oxide in Uncharted Mariner, Cracked Pistachio, and Abandoned Coral.

The Stamp and smudge technique is pretty simple. You stamp the image using Distress Oxide ink and then smudge the ink using a paper towel or rag. Oxide ink is the best type of ink to use for this technique because it has a slower drying time which gives you time to smudge it before it dries.

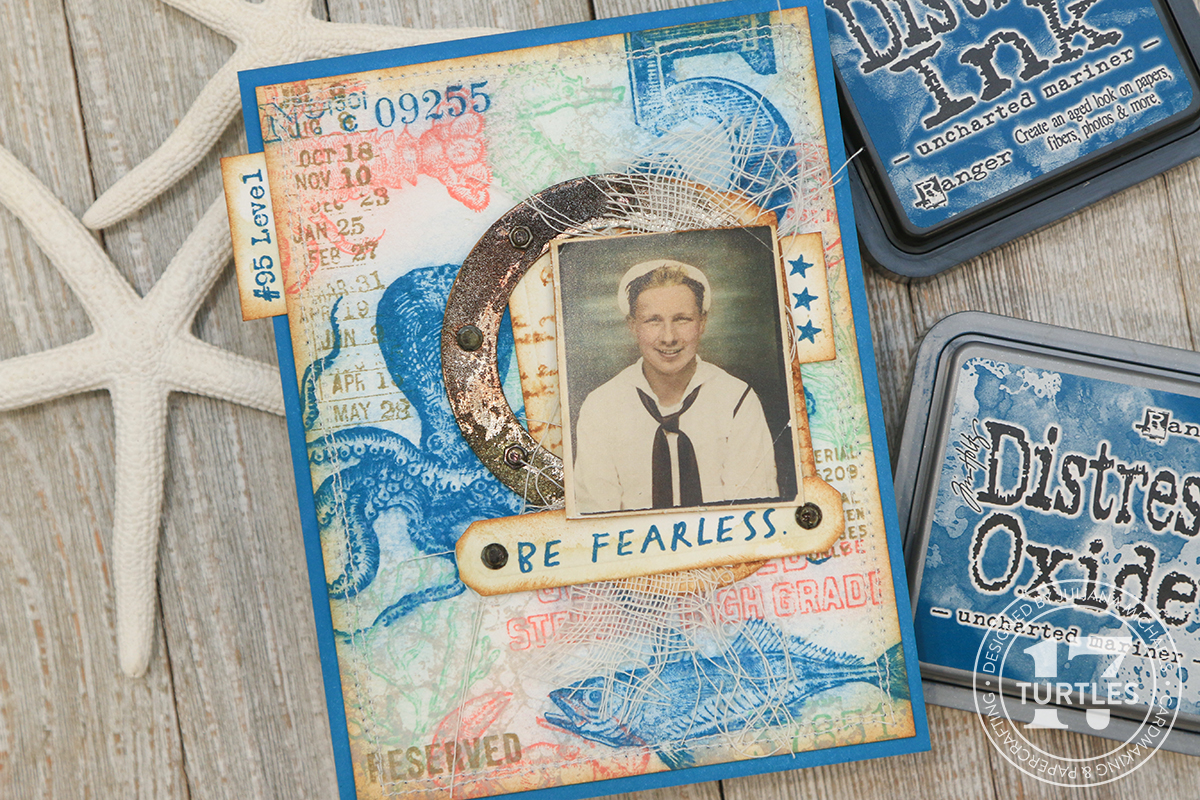
Be Fearless Card by Juliana Michaels featuring Tim Holtz Ranger Ink Uncharted Mariner Distress with Stamp and Smudge Technique

With the stamping and smudging completed, I added a bit more stamping using images from the Eccentric Stamp Set and stamped them in Frayed Burlap Archival Ink. For some extra texture, I stamped the Bubbles stamp in Pumice Stone Distress Oxide Ink in the upper right and bottom left hand corners.

After I finished the background I moved on to the focal point...the little sailor photo. I knew I wanted to create some layers to place behind it and I thought it would be fun to create a porthole.

To do this, I used Scrapbook.com Mint Tape to hold 2 circle dies in place on a piece of Silver Metallic Kraftstock. I then ran this through my die cutting machine. I repeated this process and cut 2 more pieces from Distress Heavystock and later glued these circles together to give the piece more dimension. I then took the Silver Metallic Kraftstock one and applied a thin layer of Distress Grit Paste to the piece and set it to the side to dry.

Once the Grit Paste was dry I began applying a mix of Alcohol inks to it in Pitch Black, Rust and Mushroom and used Alcohol Ink Blending solution to help blend the colors. I also used an Ink Blower to help blend and move the inks around. To finish off the porthole, I adhered some Idea-ology Hardware Heads that I grunged up Mushroom alcohol ink using Distress Collage Medium.


The layer behind the photo and porthole was created by die cutting a piece of Distress Watercolor paper using a die from the Labels Thinlits Die Set. After cutting it, I smooshed the paper into some Old Paper Distress Ink that I had placed on my craft mat, spritzed it with a little bit of water and then dried it with my heat tool.

Next, I applied Brushed Corduroy Distress Ink to a script stamp and stamped it onto the die cut. I then spritzed the piece with water using my Distress Sprayer, dabbed it with a paper towel to lift off some of the ink and then dried it with my heat tool. I finished it off by inking the edges with Brushed Corduroy Distress Ink.

The sentiment strip is from the Noteworthy stamp set and was stamped in Uncharted Mariner Distress Oxide ink, onto a piece of Distress Watercolor paper that I also die cut using a die from the Labels Thinlits Dies. Before die cutting the paper or stamping the sentiment, I used the same ink smooshing technique I did on the other piece. I then inked the edges with Brushed Corduroy Distress Ink.


To assemble the card, I adhered the label die cut and the porthole piece to the card front using Distress Collage Medium. I also added a couple of tabs using stamps from the Eccentric Stamp Set with Uncharted Mariner Distress Oxide. For added dimension I adhered the photo and the sentiment strip using double sided foam adhesive. To give the card a little more texture and to mimic fish netting, I added some Mummy cloth behind the photo. I also did a little machine stitching around the outside edge. I then inked around the edges of a piece of Distress Heavystock cut to 4.25 x 5.5 inches with Uncharted Mariner Distress Oxide to create a color coordinated layer to place behind the card front.

Condemned Card | Distress Spray and Translucent Crackle Paste

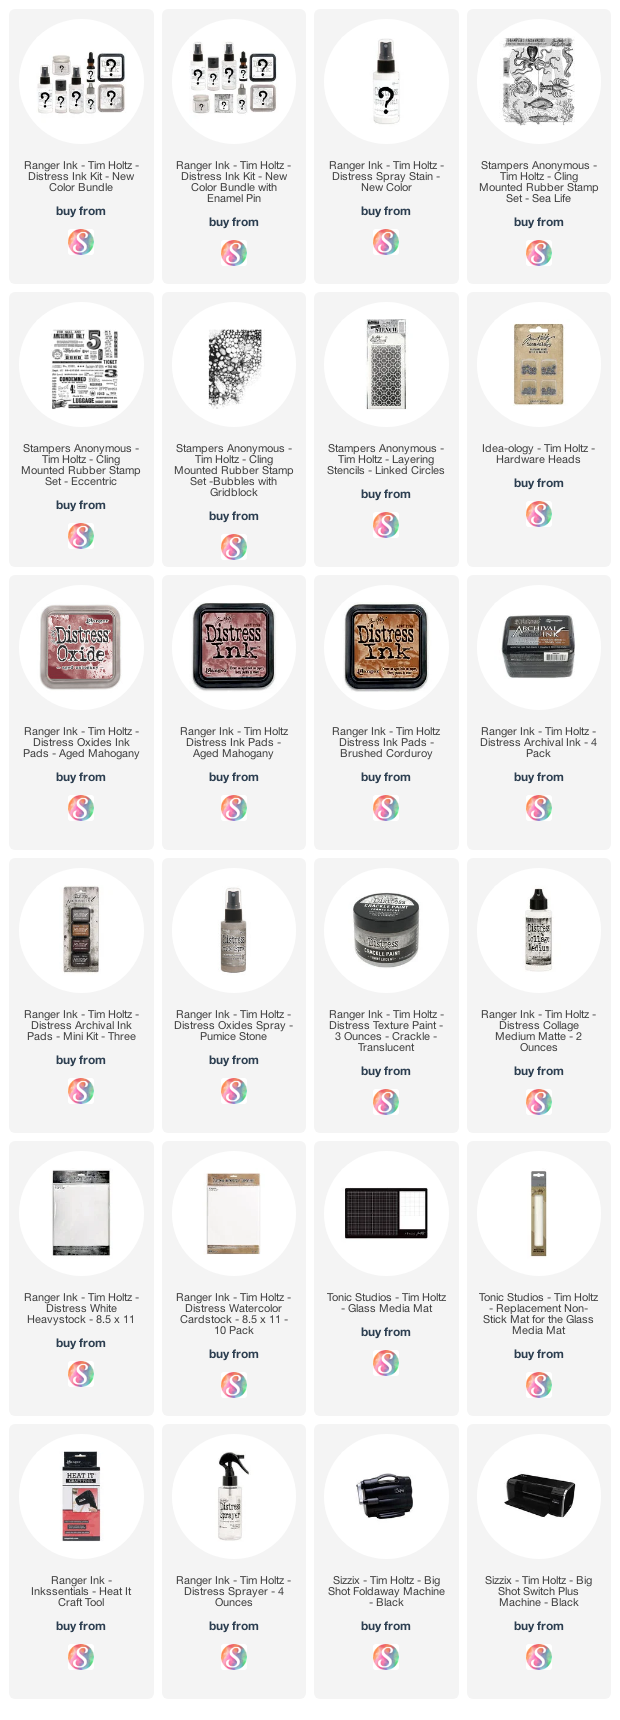
To create this card, I began with a piece of Distress Watercolor paper cut to 4 x 5.25 inches. I sprayed it with Uncharted Mariner Distress Spray along a diagonal inside my splat box. I then spritzed it with a bit a water to blend the color and dried it with my heat tool. Next, I added some splatters of Pumice Stone Distress Oxide Spray and Picket Fence Spray Stain and dried them with my heat tool. 

For more interest, I stamped the Bubbles stamp in Pumice Stone Distress Oxide Ink in the upper right and bottom left hand corners. I also added some images from the Eccentric stamp set using Black Soot Archival Ink.

Condemned Card by Juliana Michaels featuring Tim Holtz Uncharted Mariner Distress Spray and Translucent Crackle Paste

This next step doesn't show up well in the photos, but in real life it definitely adds a nice touch. I tool the Linked Circles Layering Stencil and applied Distress Translucent Crackle Paste over it along the area of the Uncharted Mariner Distress Spray. To cover the card front I did the upper left hand corner and then moved the stencil down and over to get the bottom right hand corner. I used my fingers to hold the stencil up so it didn't touch the still wet section while still using this area to line up the design. I then set the paper to the side to dry and washed my stencil. Once the crackle paste was dry, I inked the edges with Vintage Photo Distress Ink.


To embellish the card, I stamped the octopus from the Sea Life Stamp Set onto Distress Watercolor paper and watercolored it using a water brush and Distress Ink in Aged Mahogany and tiny touches of Uncharted Mariner, Antique Linen and Peeled Paint. I then fussy the image using scissor and an craft knife.  During the process I was reminded how I don't really enjoy this sort of fussy cutting! I used a black marker to hide some of the edges that weren't so perfect from my fussy cutting.


For the sentiment and label, I stamped some images from the Eccentric Stamp Set in Aged Mahogany Distress Oxide. I then added a couple of Hardware Heads inked with a bit of Mushroom Alcohol Ink to finish. The octopus and handle with care label were adhered with double sided foam adhesive. To finish off the card, I layered it onto a piece of black cardstock cut to 4.25 x 5.5 inches.

You Do You Card | Stamping On Die Cuts

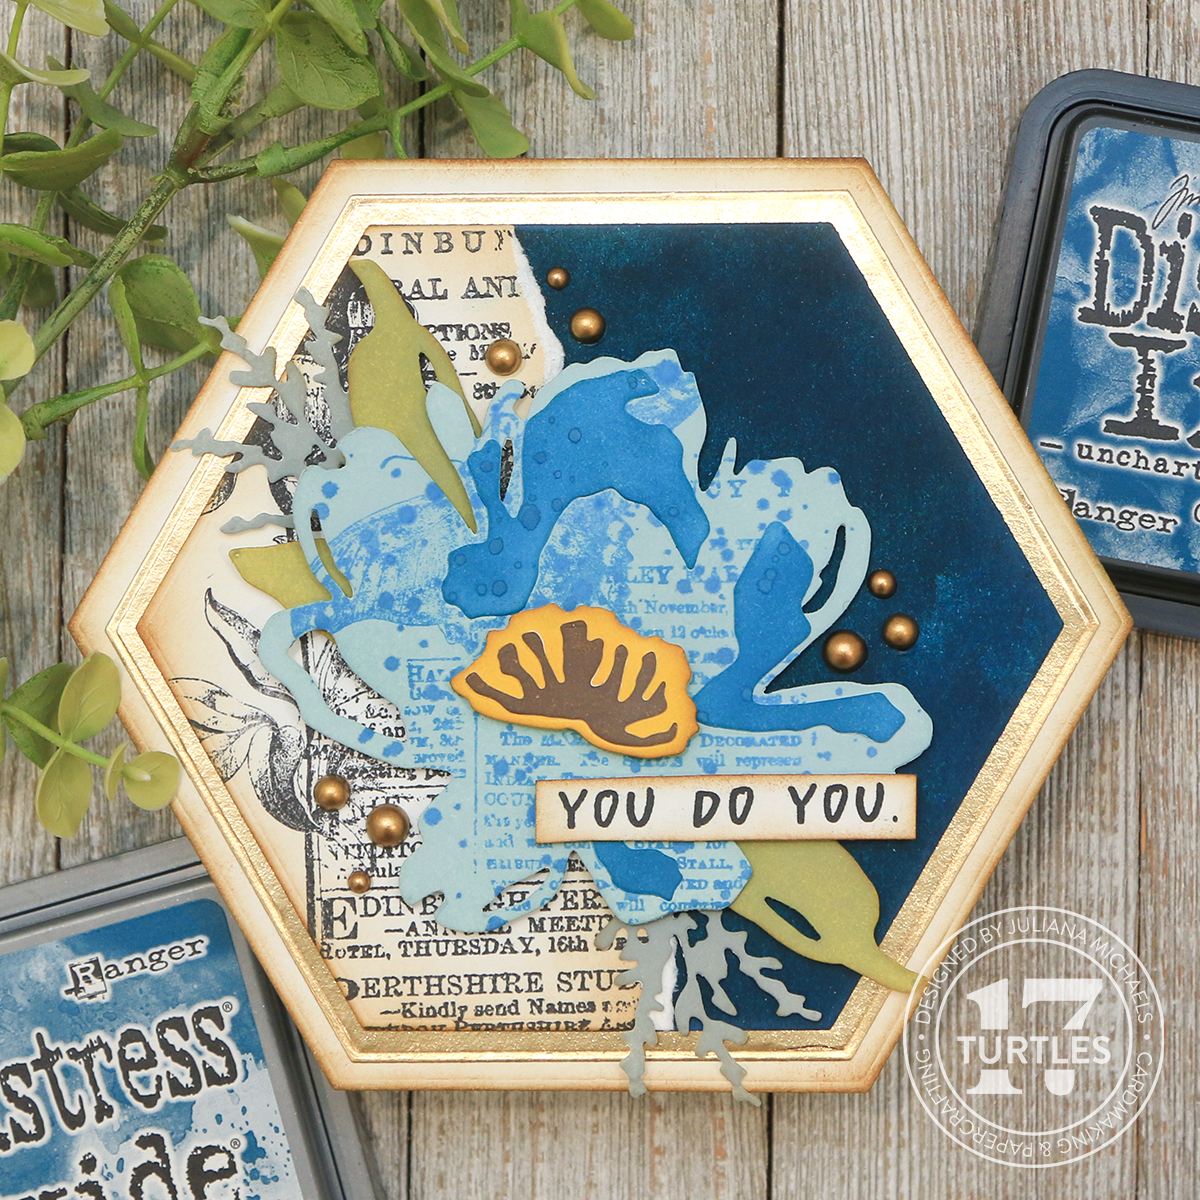
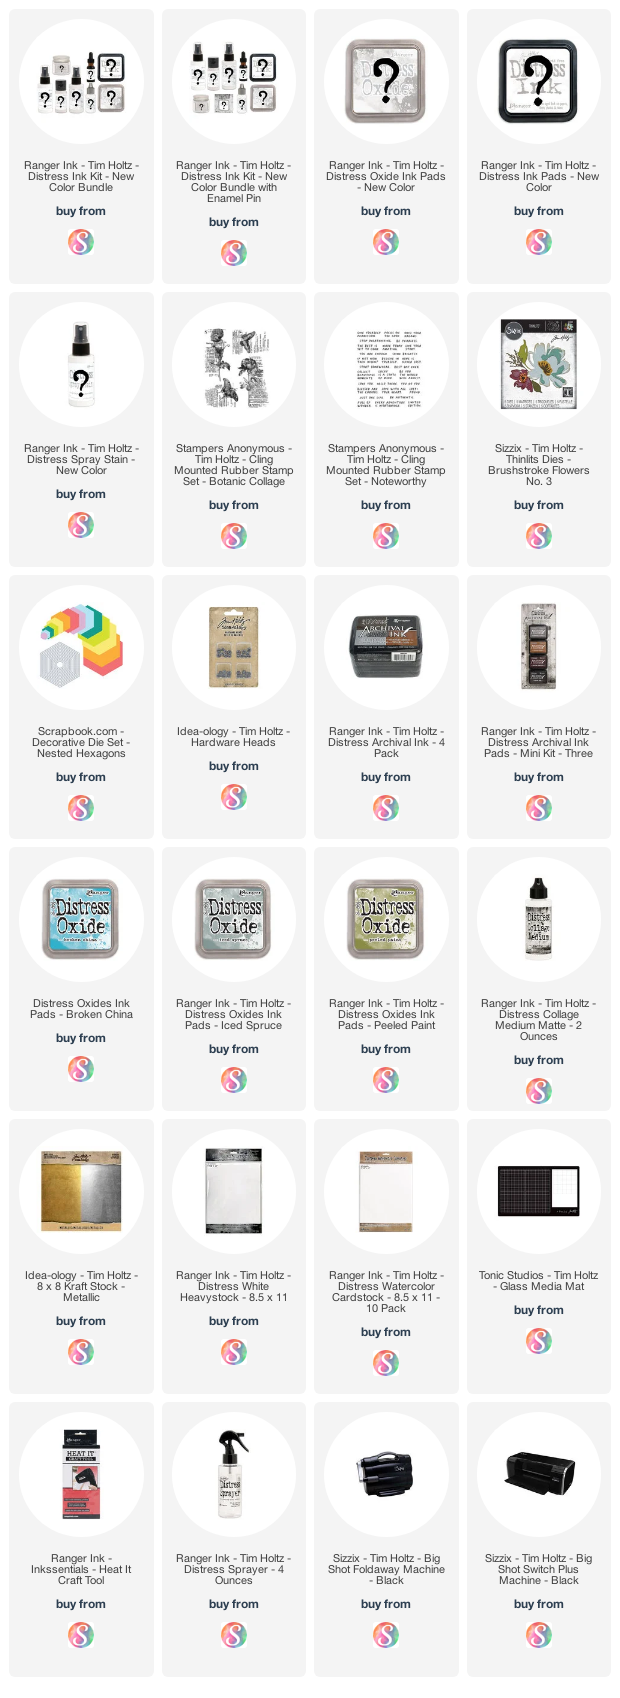
On this final card, I moved away from the nautical theme and went to flowers! I began with a piece of Distress White Heavystock and die cut it using the Brushstroke No. 3. I inked the main flower piece with Broken China Distress Oxide Ink and the detail pieces with Uncharted Mariner Distress Oxide Ink.  Before assembling the flower I stamped one of the images from the Botanic Collage Stamp Set in Uncharted Mariner Distress Oxide Ink. The center part of the flower was inked in Mustard Seed and Ground Espresso Oxide and then adhered with a piece of double sided foam adhesive.  The leaves/foliage are inked in Peeled Paint and Iced Spruce Distress Oxide.

You Do You Card by Juliana Michaels featuring Tim Holtz Uncharted Mariner Distress Ink and Stamping On Die Cuts

For the background, I stamped another image from the Botanic Collage Stamp Set using Black Soot Archival Ink onto a piece of Distress White Heavstock and inked the paper with some Vintage Photo Distress Ink. I then die cut it using the Scrapbook.com Nested Hexagon Die Set and tore the paper along the edge of the stamped image to give the effect of a torn book page. I then inked the edges of the die cut area. This piece was then layered onto a piece of Distress Watercolor Paper that I had sprayed with Uncharted Mariner Distress Spray and die cut with the hexagon die.


Next, I took another of the hexagon dies and cut a piece of gold metallic kraftstock and layered it onto a piece of Distress White Heavystock that I die cut with an even larger hexagon die and then inked the edges with Vintage Photo Distress Ink.


The sentiment is from the Noteworthy Stamp Set and is stamped onto Distress Heavystock in Black Soot Archival Ink. I then finished off the card by adhering some Pinkfresh Studio Matte Gold Metallic Pearls with Distress Collage Medium.


I sure hope you enjoyed the card inspiration and video I've shared featuring the new Tim Holtz Distress Color Uncharted Mariner. Thanks so much for your visit!

Supplies

Below you can find the products I used to create this project along with compensated affiliate links to Scrapbook.com. These links are at absolutely no cost to you. When you shop through the links below, I receive a small commission from Scrapbook.com. These links are at absolutely no cost to you and the commission I receive helps me cover the costs of my blog and other expenses, which allows me to continue to provide you with FREE inspiration and tutorials. If you want to learn more about what an affiliate link is, you can see my full affiliate and product disclosure statement here. Thank you so much for your love and support!

Be Fearless Card Supplies:

Condemned Card Supplies:

You Do You Supplies:

Tim Holtz Floral Elements & Distress Ink Watercoloring

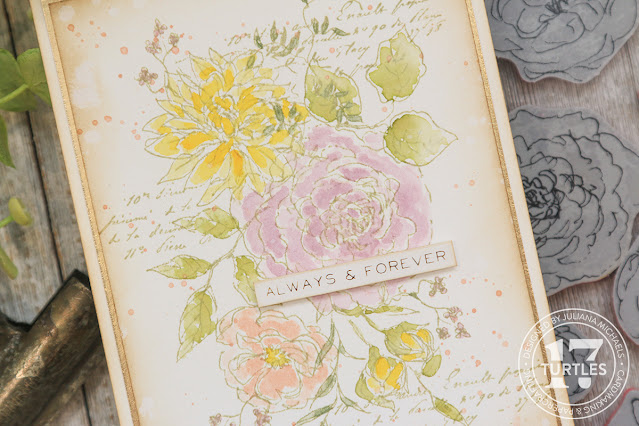
Another day another beautiful stamp set to share with you! Today I have a card I created for the Tim Holtz Stampers Anonymous YouTube Live to share with you featuring the new Floral Elements Stamp Set! This set features a variety of floral elements (hence the name) that allow you to create your own floral bouquets, backgrounds and more. This set is similar to the Floral Outlines stamp set, but with the ability to do even more with it!

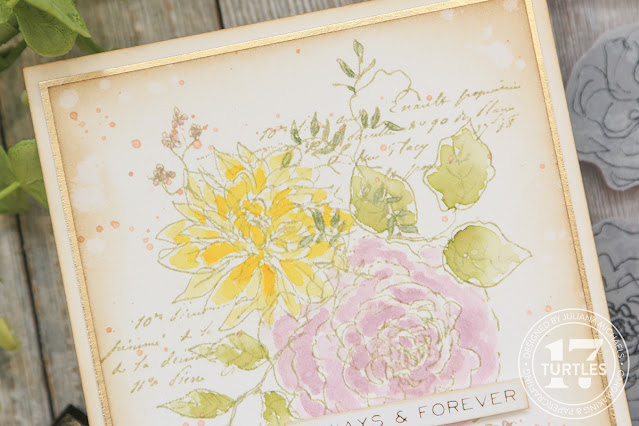
Always & Forever Card by Juliana Michaels featuring Tim Holtz Floral Elements Stamp Set and Distress Ink Watercoloring

ALWAYS & FOREVER CARD | TIM HOLTZ FLORAL ELEMENTS


For me, I loved the idea of using the Floral Elements stamp set to create my own bouquet. I began with a piece of Distress Watercolor paper cut to 4.25 x 5.5 inches and then started stamping a mix of the images. I knew I would end up trimming the panel down to 4 x 5.25 inches so this gave me ability to trim off whichever side I needed to if I didn't get the bouquet centered. To stamp the images, I used Old Paper Distress Ink.

Once I had my bouquet arranged, I began watercoloring the various flowers and leaves/foliage using Distress Ink and a water brush. I used Bundled Sage, Peeled Paint for the leaves/foliage. For the flowers I used Mustard Seed, Tattered Rose and Milled Lavender.


After the watercoloring was completed, I added some more stamping using the script stamp from Tiny Toadstools with Old Paper Distress Ink. If you do this before the watercoloring, some of the ink may bleed because it Distress Ink is water reactive. So just keep that in mind. Next, I added some ink splatters of Tattered Rose Distress Ink. I finished off the background by applying Frayed Burlap Distress Ink to  the edges with a blending tool and then adding a few spritzes of water with my Distress Sprayer that I dabbed dry with a paper towel.


The sentiment is from the Idea-ology Metallic Sticker Book. I mounted the background onto a piece of gold metallic Kraftstock and then onto a piece of Distress Heavystock to complete the card.


Thanks SO much for stopping by today and checking out the card I created using the Tim Holtz Floral Elements Stamp Set. For even more inspiration make sure to visit Tim's Blog and see what the other Makers created.

SUPPLIES

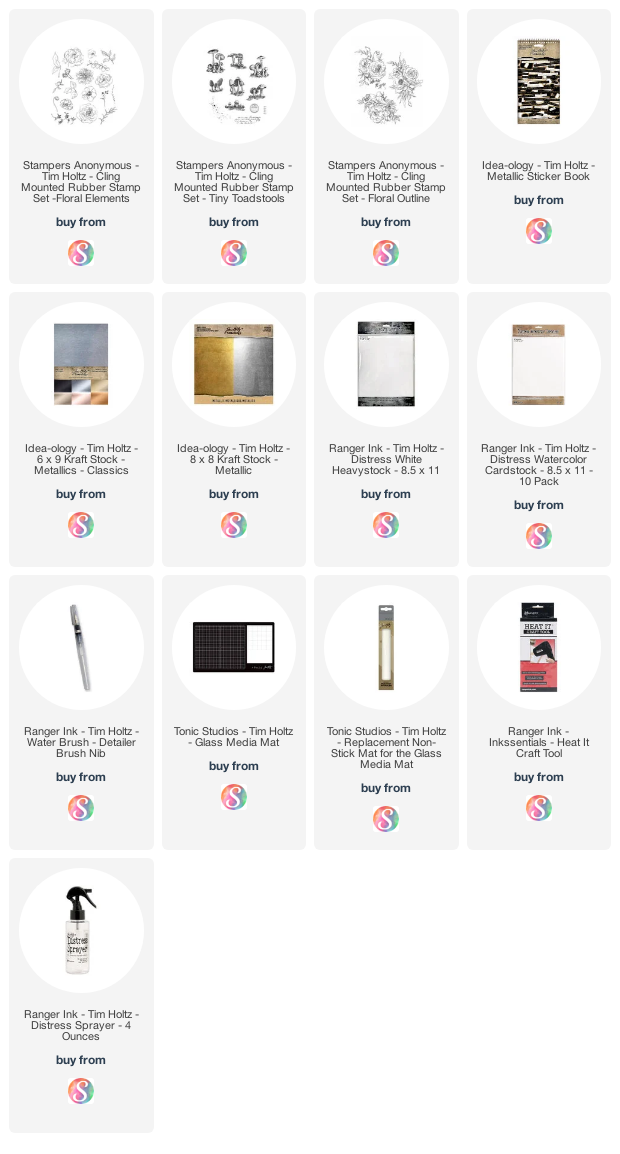
Below you can find the products I used to create this project along with compensated affiliate links to Scrapbook.com. These links are at absolutely no cost to you. When you shop through the links below, I receive a small commission from Scrapbook.com. These links are at absolutely no cost to you and the commission I receive helps me cover the costs of my blog and other expenses, which allows me to continue to provide you with FREE inspiration and tutorials. If you want to learn more about what an affiliate link is, you can see my full affiliate and product disclosure statement here. Thank you so much for your love and support!

Tim Holtz Botanic Collage & Oxidized Stamping Technique

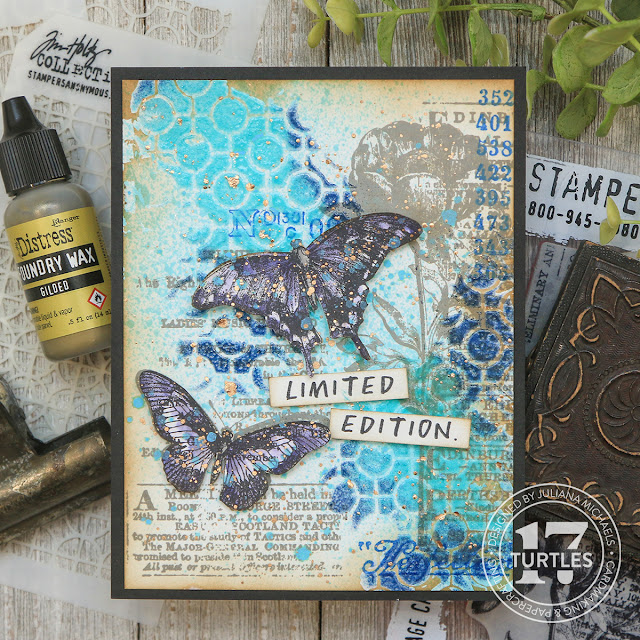
Hello friends! Today I'm so excited to share my first make from the Tim Holtz Stampers Anonymous YouTube Live Release. On this card I'm using Botanic Collage stamp set (which may or may not be my new favorite stamp set!) and the Mini Linked Circles stencil from the Mini Stencil Set #52. I'm also going to share an accidental technique I discovered when I was playing around with the new stamps. I'm calling it Oxidized Stamping. Now let's get on to the making!

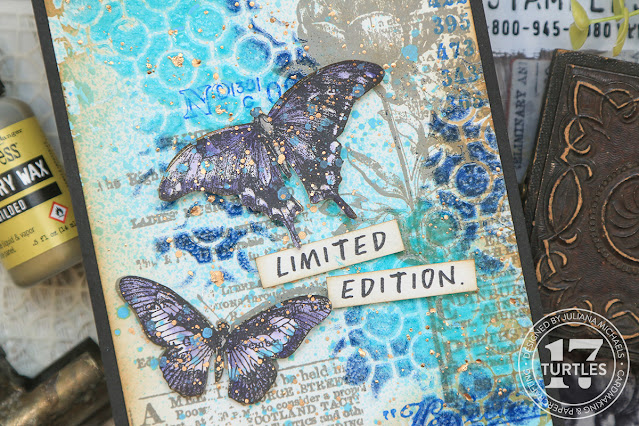
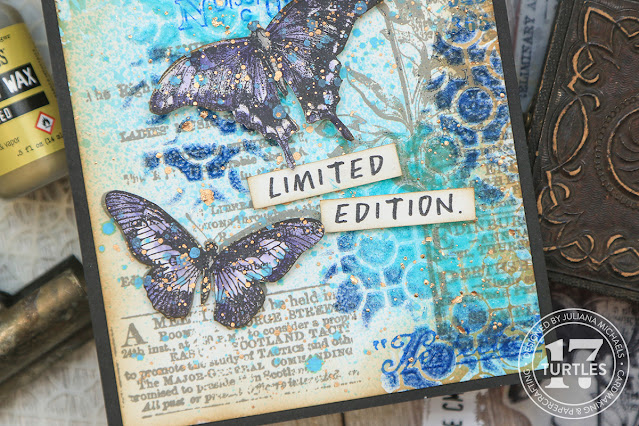
Limited Edition Card by Juliana Michaels featuring Tim Holtz Stampers Anonymous Botanic Collage Stamp Set and Oxidized Stamping Technique

For those of you who would prefer to watch how I created this card, feel free to check out my video below. If the video isn’t showing up, click HERE to watch it.


TIM HOLTZ BOTANIC COLLAGE STAMP SET AND OXIDIZED STAMPING TECHNIQUE

I began with a piece of Distress Watercolor cut to 4 x 5.25 inches. I choose to use this paper because it holds up great to a variety of wet mediums and I knew I wanted to work with a variety of mediums including Distress Translucent Texture Paste. I then stamped one of the images from the Botanic Collage Stamp Set using Distress Archival in Hickory Smoke using a stamping platform. I highly recommend using a stamping platform so you can repeatedly stamp the same image in the same spot. After I had stamped the image with the Archival Ink, I cleaned the stamp and inked it with Hickory Smoke Distress Oxide Ink. I'm not sure what is happening during this layering of ink, but it definitely makes the image look lighter and gives it an an oxidized look, which is why I'm calling this technique Oxidized Stamping.

I discovered this Oxidized Stamping technique when I was playing around with the new stamps and trying to figure out what I wanted to do. I actually stamped the Archival Ink first and then stamped a different color of Oxide over it because I decided I wanted a different color than what I had used originally. That's when I saw what happened by layering those 2 inks on top of each over.

I wanted to add a little more stamping before I added any texture, so I selected some images from the Eccentric stamp set. I choose 3 different images and placed them in a triangle to each other. Once I had decided on their placement, I stamped them using Prized Ribbon Distress Archival Ink. Next I placed the paper into my Splat Box and spritzed it lightly with a bit of Salvaged Patina Distress Spray.


To add some texture to the card, I used Distress Translucent Texture Paste with the Linked Circles from the Mini Stencil Set #52. I placed the stencil toward the upper left corner and began applying the paste using a palette knife. I didn't want to cover the entire piece of paper so I applied some to the upper left side of the paper and then moved the stencil so I could apply some to the lower right side. When doing this, I just use my fingers to hold the stencil off of the area that I just applied the paste.

While the paste was still wet, I pulled out some Distress Embossing Glaze in Salvaged Patina and Prize Ribbon. Using my finger I sprinkled the powder over the paste. I'm working over a piece of typing paper folded in half. Once I had the paste covered with the glaze powder, I tapped off the excess and dumped it into the trash. If you don't like to waste things you could certainly save this powder for another project.

At this point, you could set the paper to the side to dry and then heat emboss the glaze OR if you are like me and aren't that patient, you can use your heat gun to dry the paste AND melt the glaze. As you dry the paste and melt the embossing glaze it becomes shiny like glass! Once the embossing glaze is melted it's time for the next step.

To add more interest to the card, I added some ink splatters using Salvaged Patina DO Spray. For another bit of interest, I decided to add a bit of Distress Foundry Wax in Gilded. Once it was well mixed, I applied a bit to my craft mat and then added just a drop of isopropyl alcohol. Working quickly, I mixed them together using a paint brush and then flicked the liquid wax onto my background. I repeated this process until I was happy with the amount of splatter. I then used my heat gun, like the one you would use for heat embossing, to permanently set the wax. If you want to learn more about Distress Foundry Wax, make sure to check out my Foundry Wax blog post and video. The process of heating the wax and watching it transform into its permanent shiny finish is something I seriously love to do!

The next step for this card background was to add some Frayed Burlap Distress Ink to the edges using a blending tool.


To embellish the card, I stamped the 2 butterfly images from the Botanic Collage Stamp Set onto Distress Watercolor paper using Black Soot Distress Archival Ink and watercolored them using Villainous Potion Distress Ink and a water brush. Once the paper was dry, I used a pair of scissors to fussy cut the butterflies and then adhered them to the card front using double sided adhesive strips.

For the sentiment I used a stamp from the Noteworthy stamp set and Black Soot Archival Ink. I trimmed it into 2 strips, inked the edges and adhered it with a bit of double sided foam adhesive. I then layered the card front onto a piece of black cardstock cut to 4.25 x 5.5 inches.


I hope you enjoyed learning how I created this card using some of the new Tim Holtz stamps and stencils and about the Oxidized Stamping Technique.

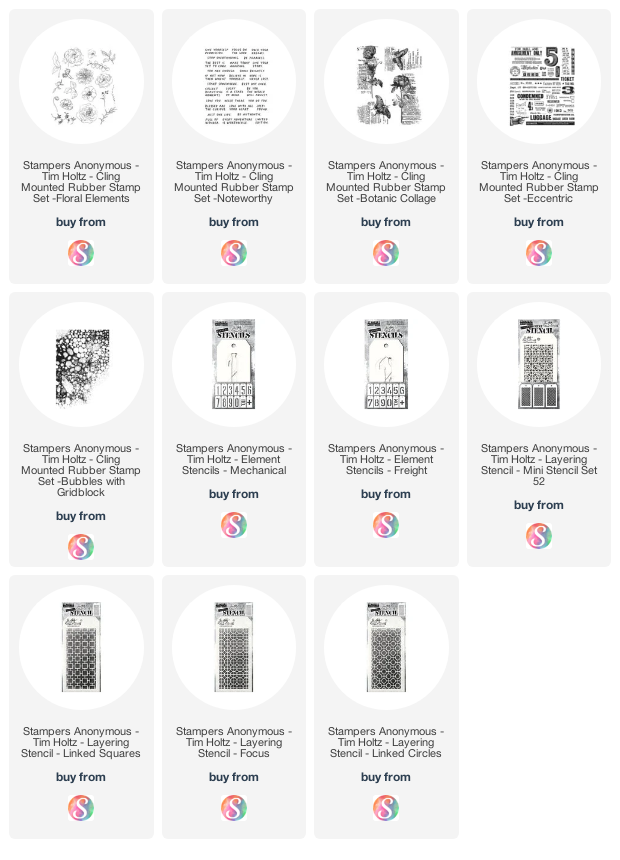
SHOP THE NEW TIM HOLTZ STAMPERS ANONYMOUS RELEASE

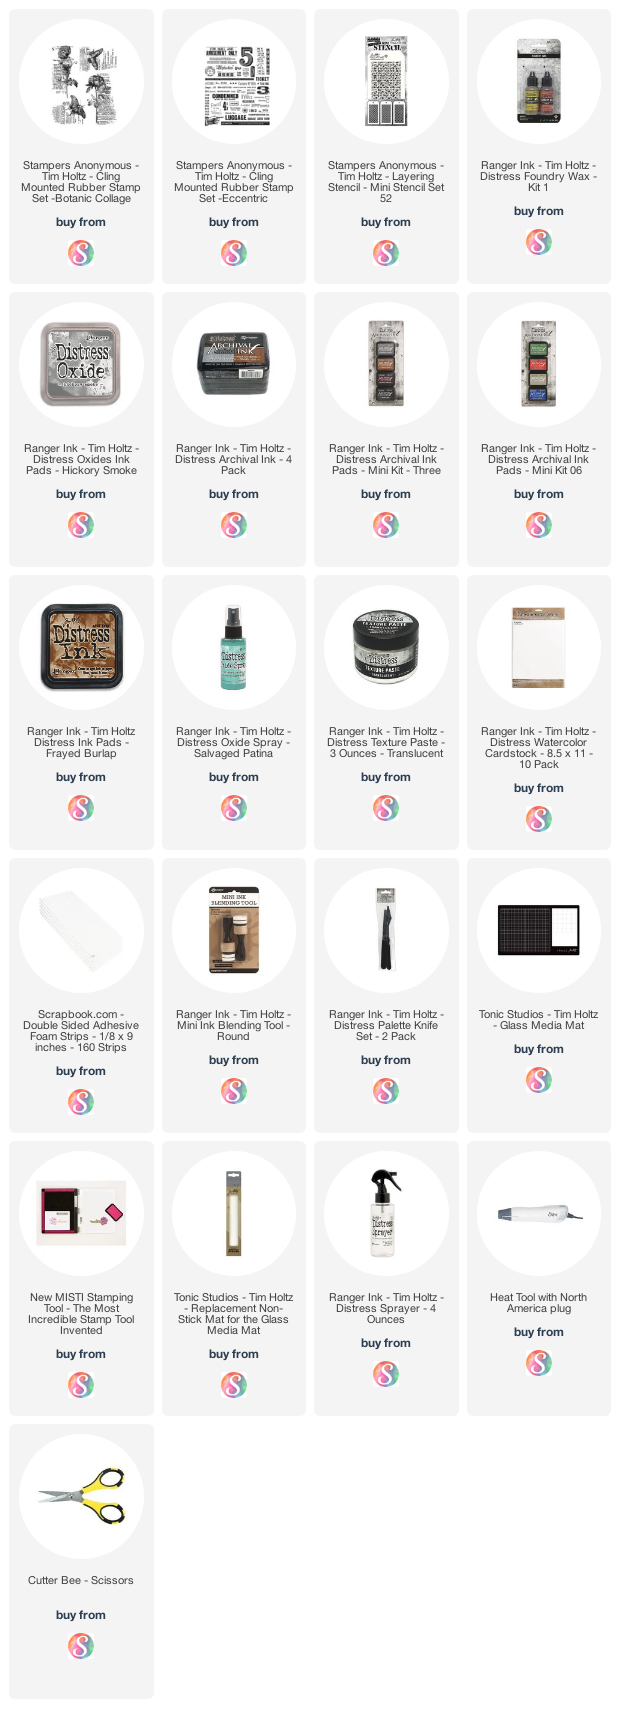
PROJECT SUPPLIES

Below you can find the products I used to create this project along with compensated affiliate links to Scrapbook.com. These links are at absolutely no cost to you. When you shop through the links below, I receive a small commission from Scrapbook.com. These links are at absolutely no cost to you and the commission I receive helps me cover the costs of my blog and other expenses, which allows me to continue to provide you with FREE inspiration and tutorials. If you want to learn more about what an affiliate link is, you can see my full affiliate and product disclosure statement here. Thank you so much for your love and support!
Subscribe